Intro
App Connect Form repeat makes it easy to insert or update nested data in your database tables using a single insert or update action. This way you can easily insert data in your main table as well as in its sub tables.
In this tutorial we will show you how to store a user and its contacts. The user will be stored in the main table, while its contacts will be stored in a sub table.
Database Structure
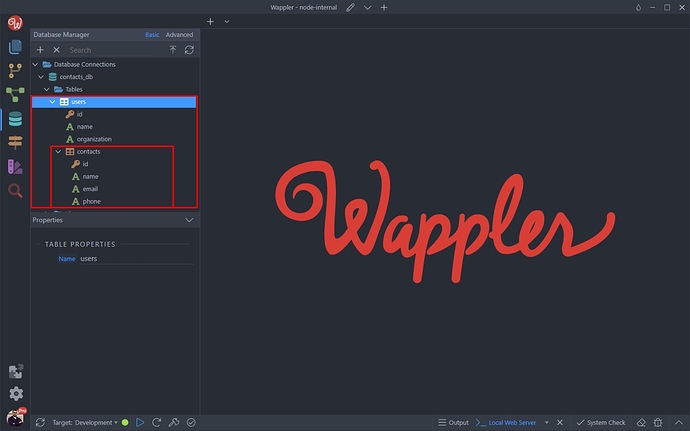
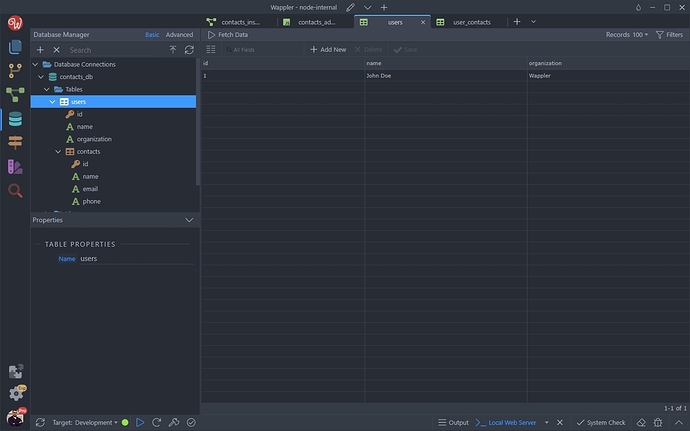
Our database structure is quite simple. We have a main table called users, having an unique key field, name and company fields. We also have a sub table called contacts which contains an unique key, name, email and phone fields:
Page Setup
We have an empty page, where we will add our insert form.
Main DB Table Data
First we will add two inputs for the main database table data - user and organization.
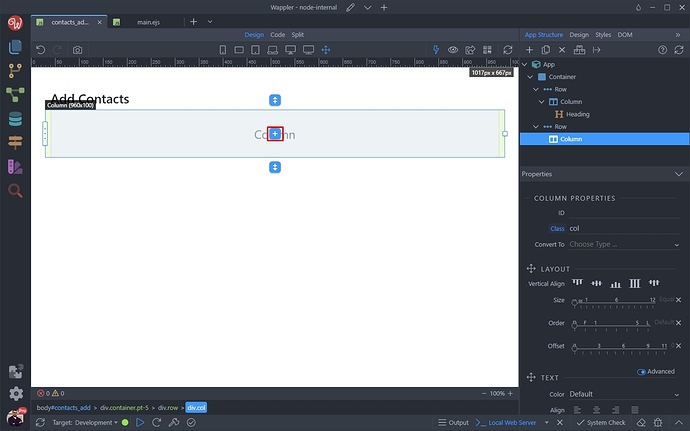
Click add new element:
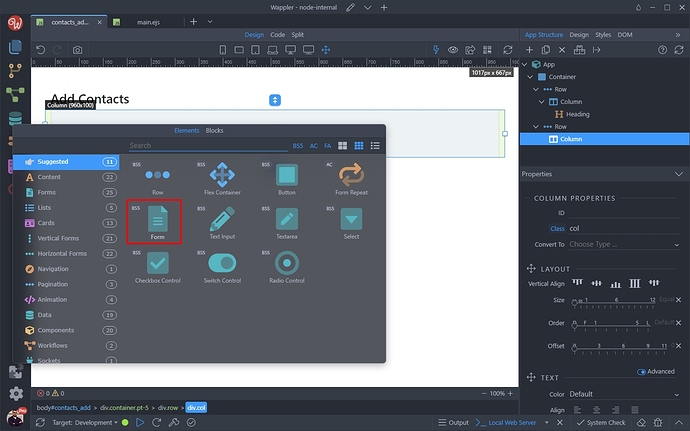
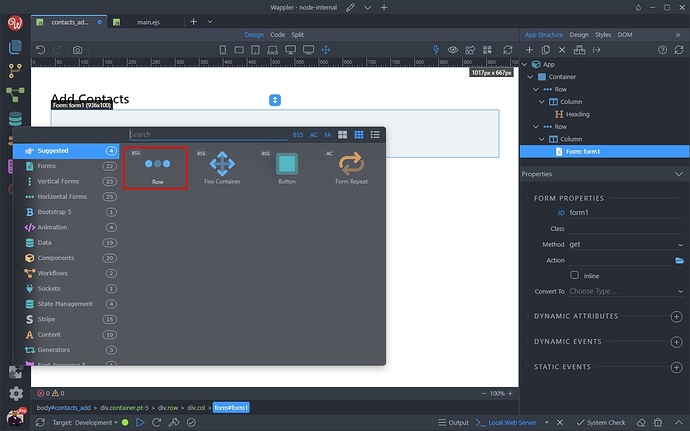
Select Form:
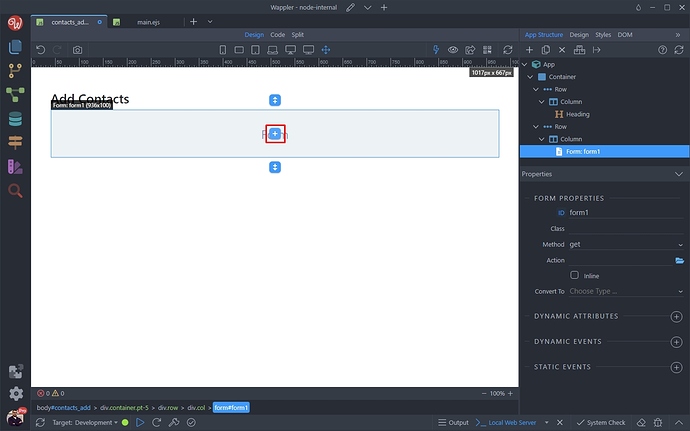
And add an element inside the form:
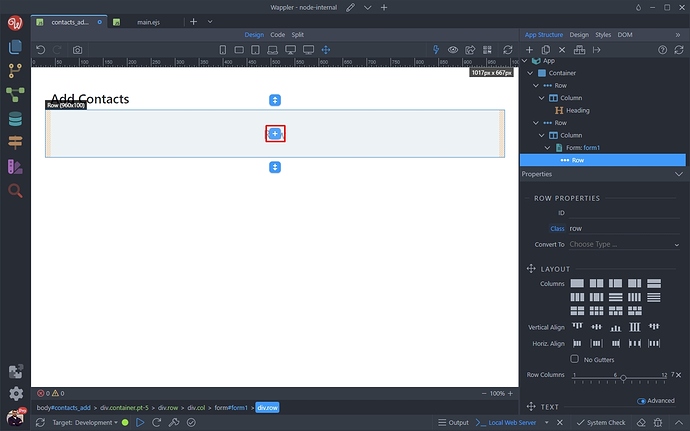
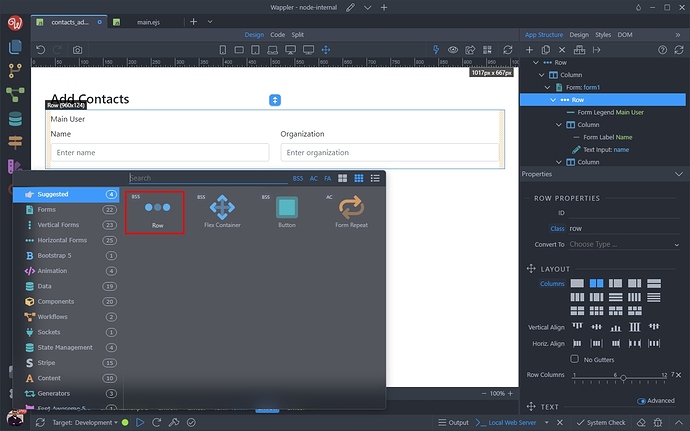
We select Row:
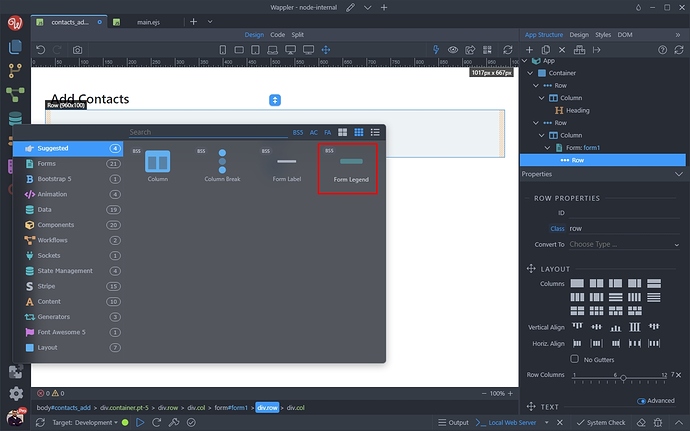
And add another element inside the row:
Select Form Legend:
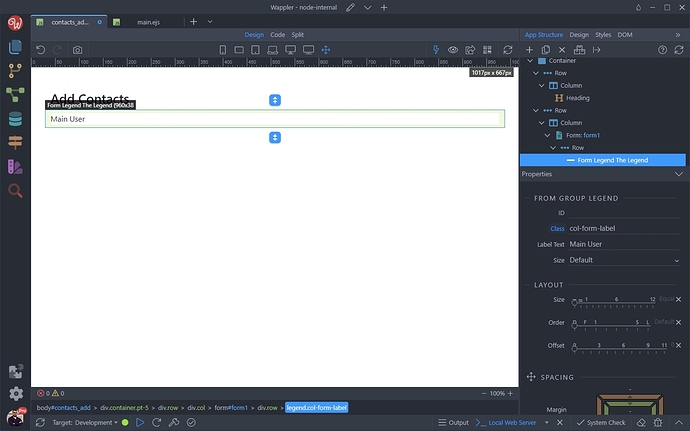
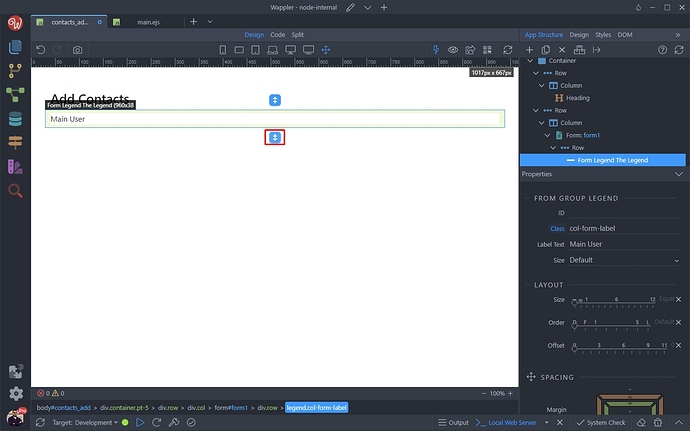
And enter some text for the legend. We enter Main User:
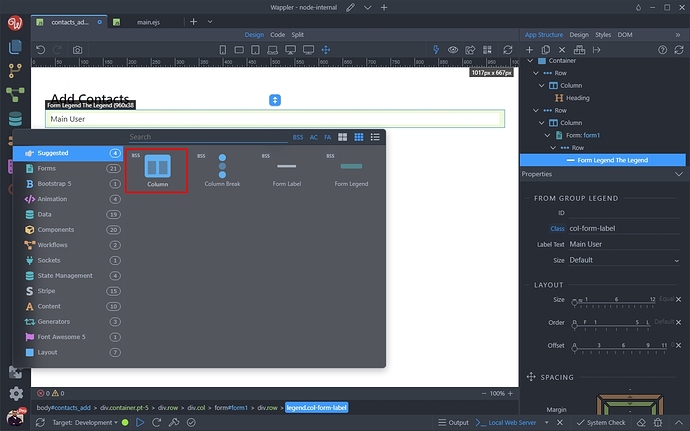
Now add another element after the legend:
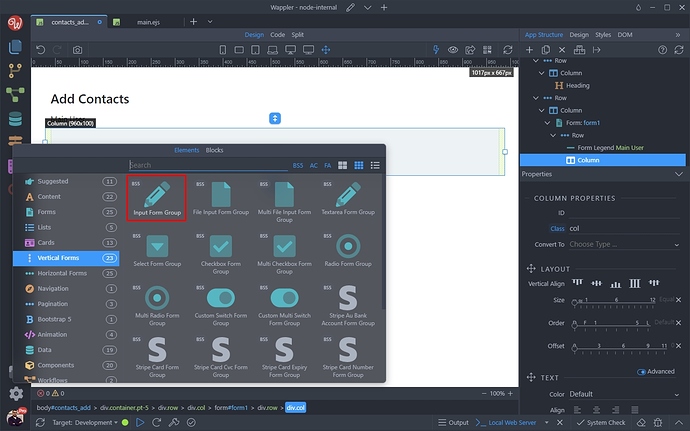
Now we add a column:
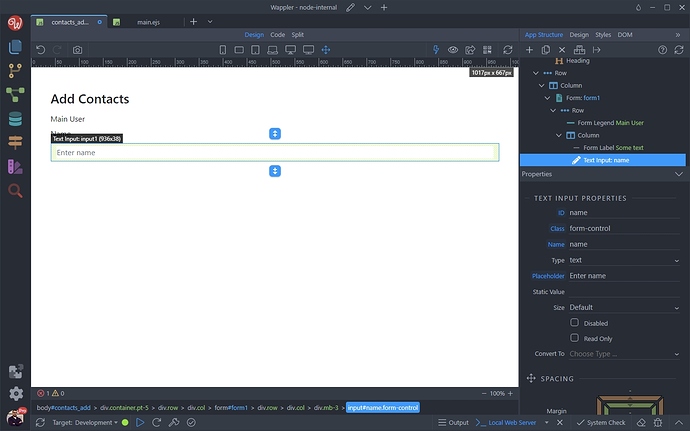
And inside the column we add a text input:
This is the main user input. Customize its name, id, label and placeholder:
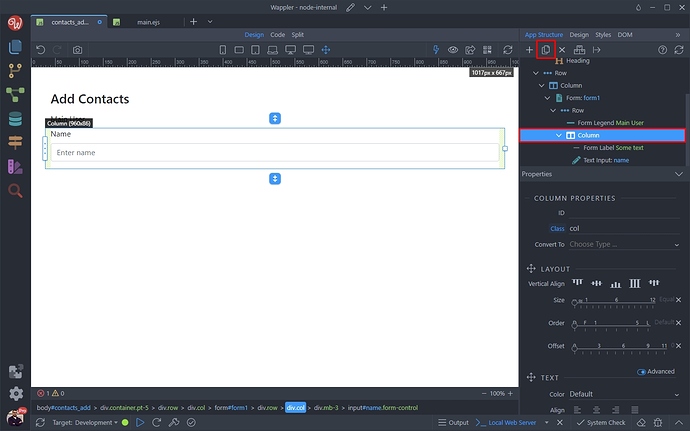
Now select the column with the input we just added and duplicate it:
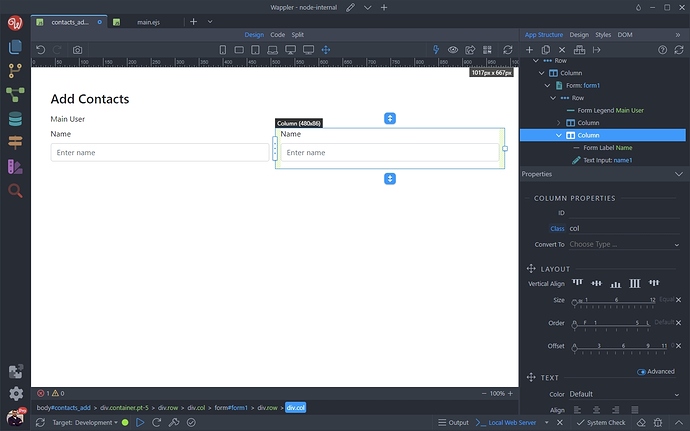
You can see the new column on the right:
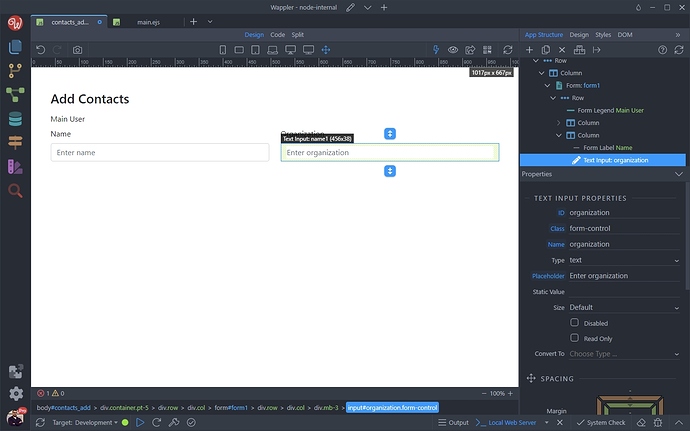
This is the organization input. We customize its name, id, label and placeholder:
And we are done with the fields for the main database table.
Sub DB Table Data
Now we will add the form repeater, with the inputs required for the sub table data.
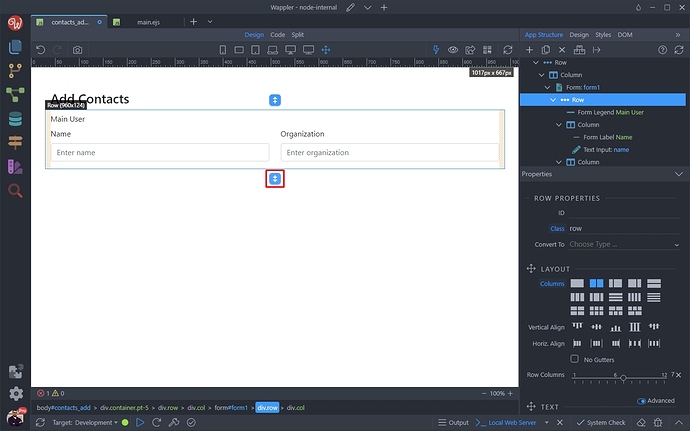
Select the row wrapping the two inputs for the main table and add new element:
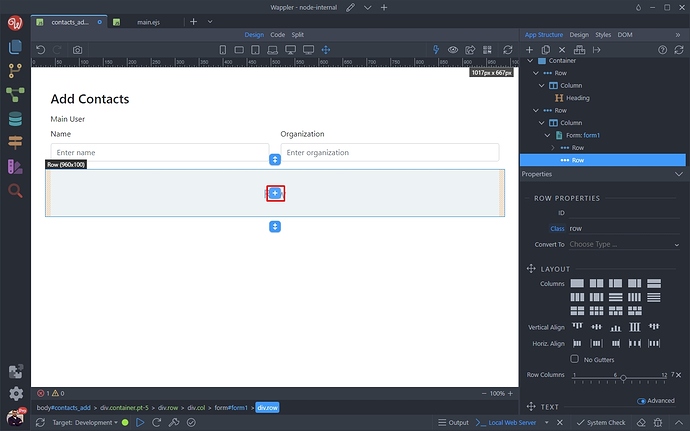
We add a row:
And then inside the row:
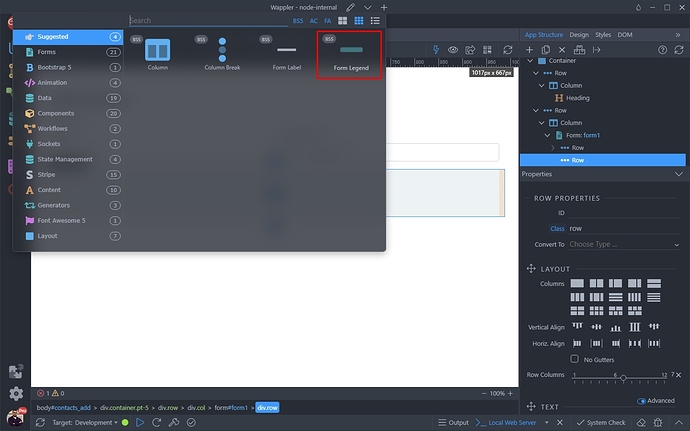
We insert a legend:
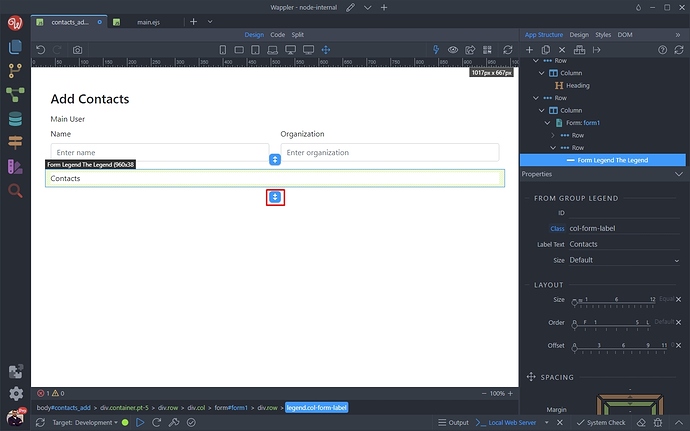
We enter Contacts as text for the legend and add new component after it:
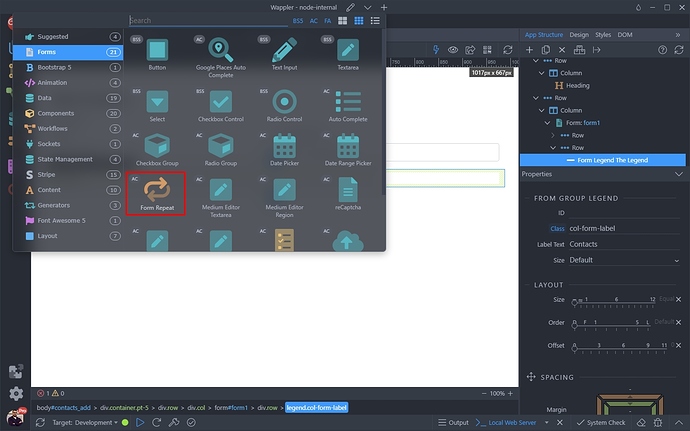
Under Forms we select Form Repeat:
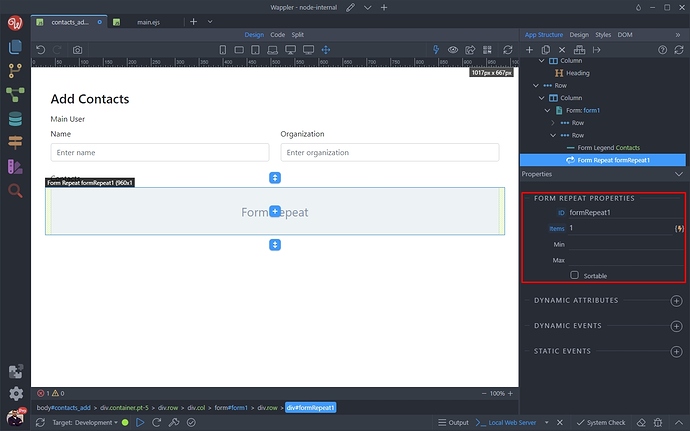
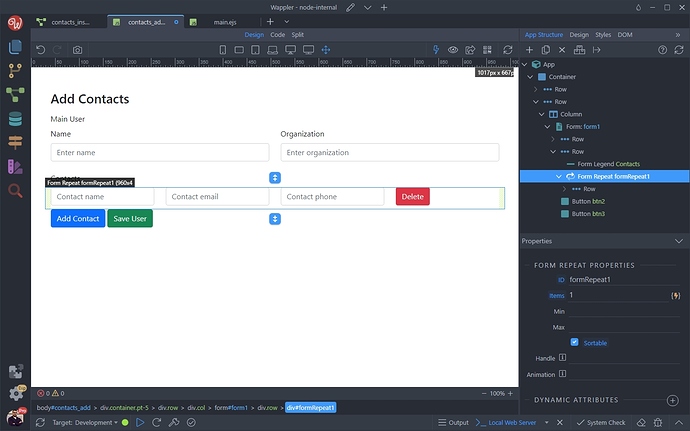
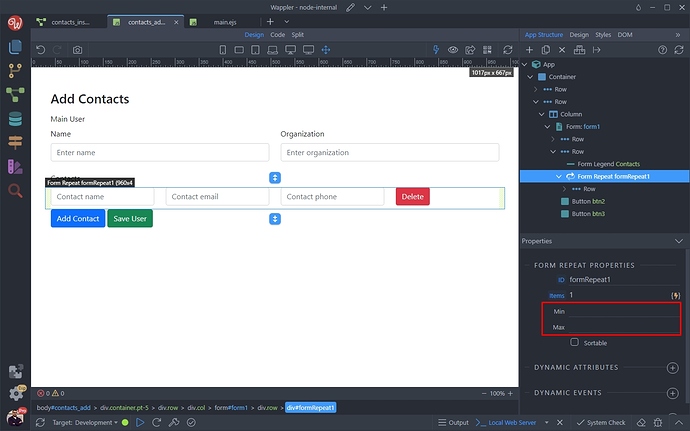
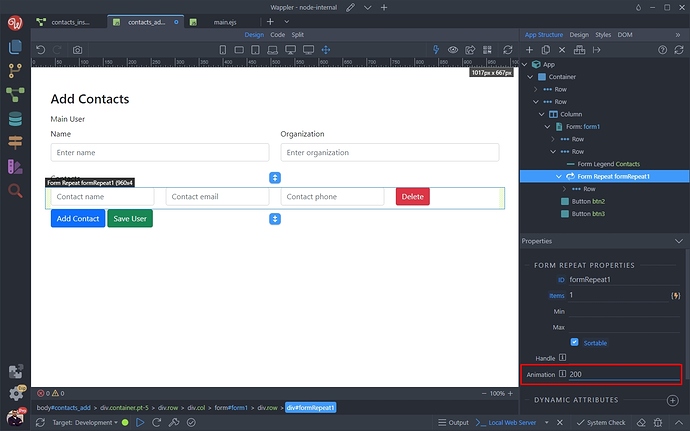
You can see the Form Repeat properties - you can limit the min and max elements it can contain you can also make its elements sortable by dragging. We just leave the options to their defaults:
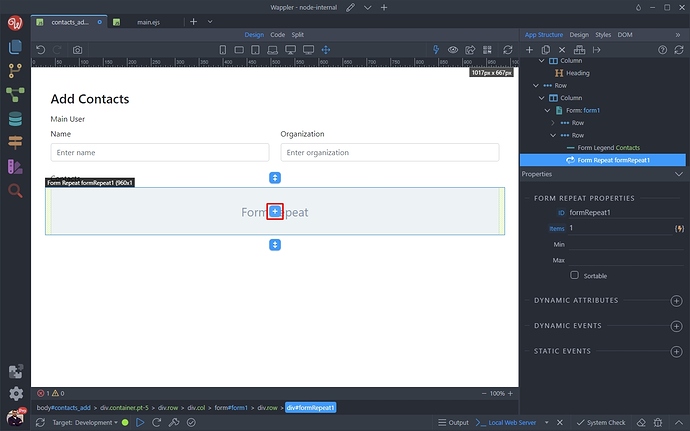
Click the add new element button inside the form repeat:
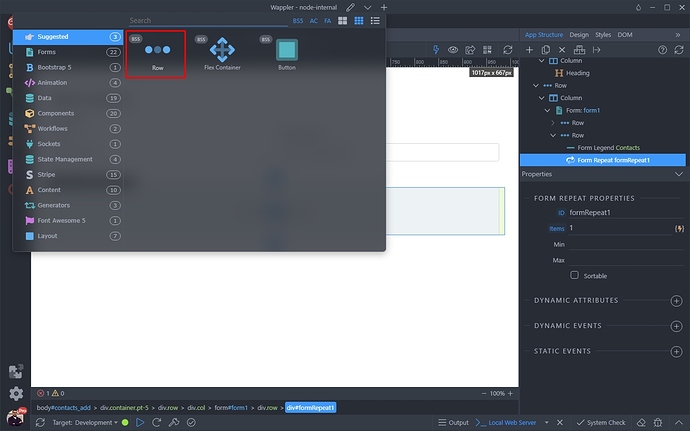
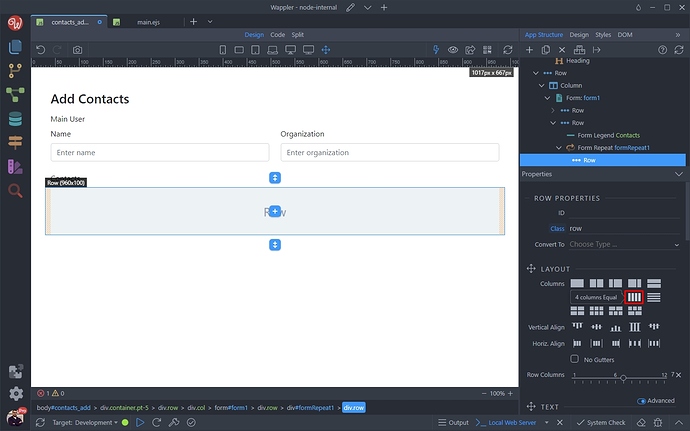
Select Row:
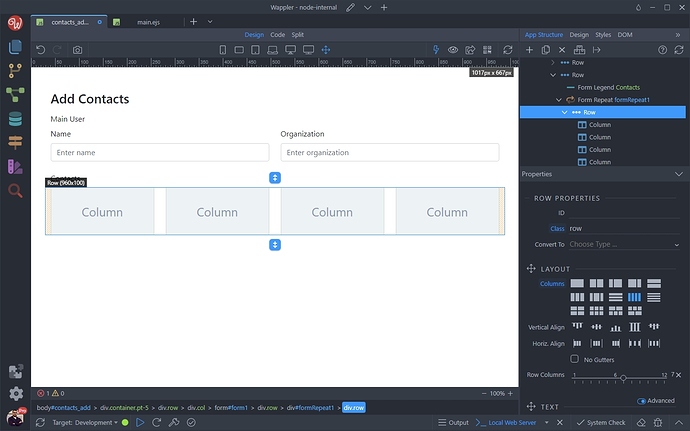
And in the layout, select 4 equal columns:
We need 4 columns here. The first 3 will contain the inputs - name, email and phone and the last one will contain a “delete” button:
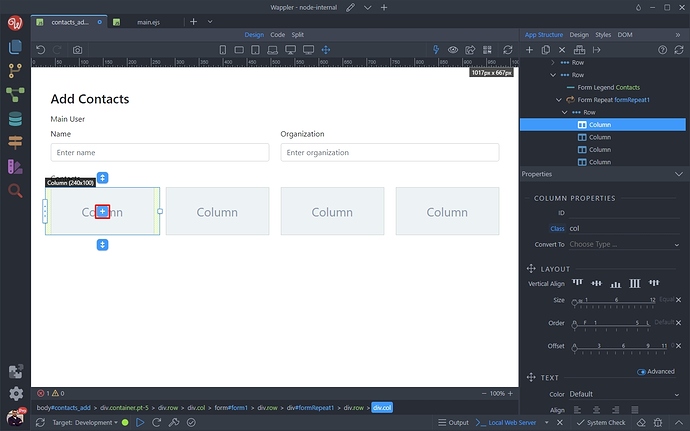
Click the add element button inside the first column:
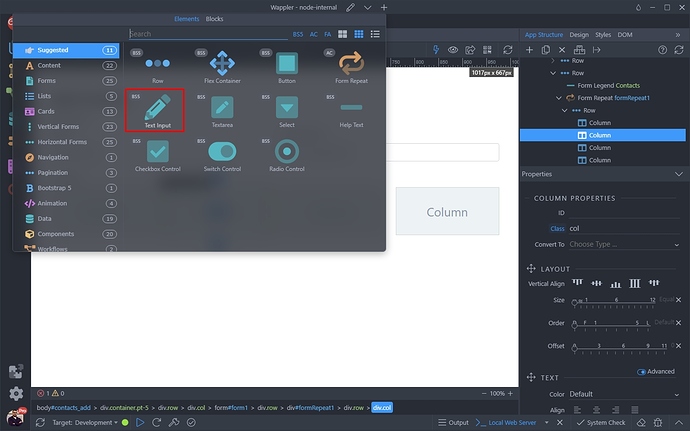
And add a text input:
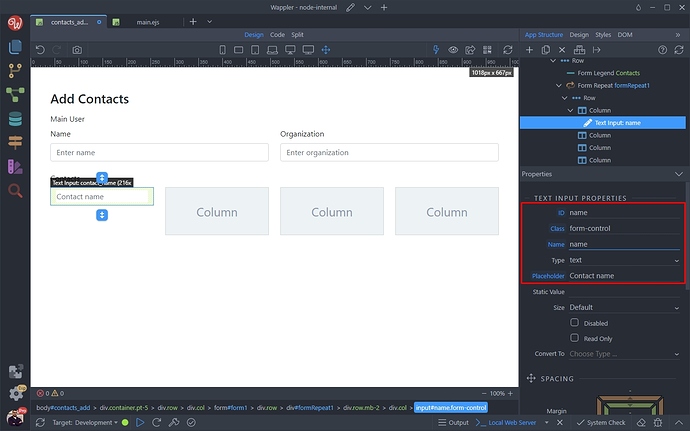
And setup the id, name and placeholder for it. NOTE that the name of the input must be the same as the database table field name. In this case - name:
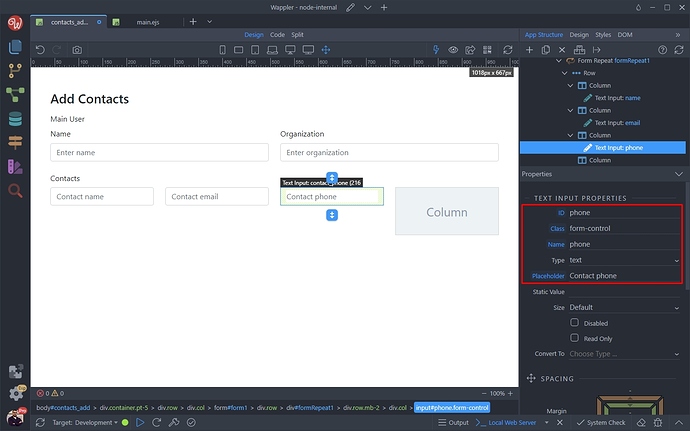
We do the same in the other columns adding the other 2 inputs required for the sub table - email and phone:
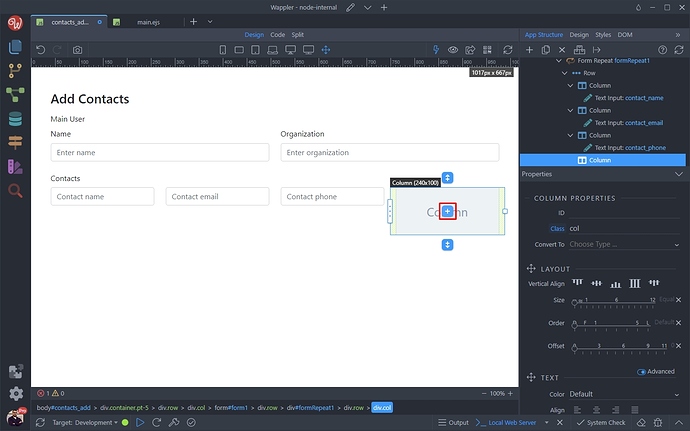
Click inside the last column and add new element:
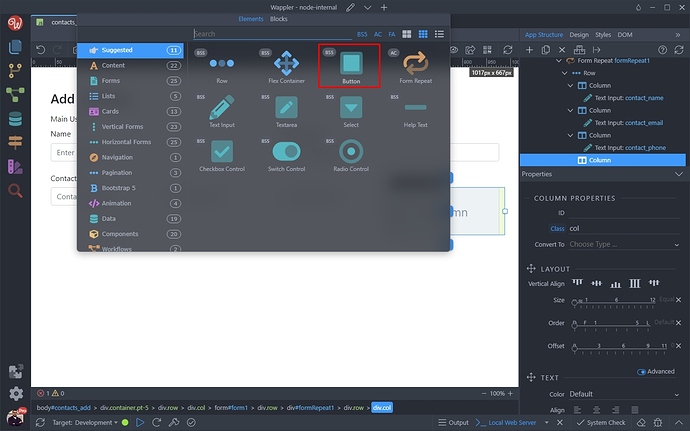
Select button:
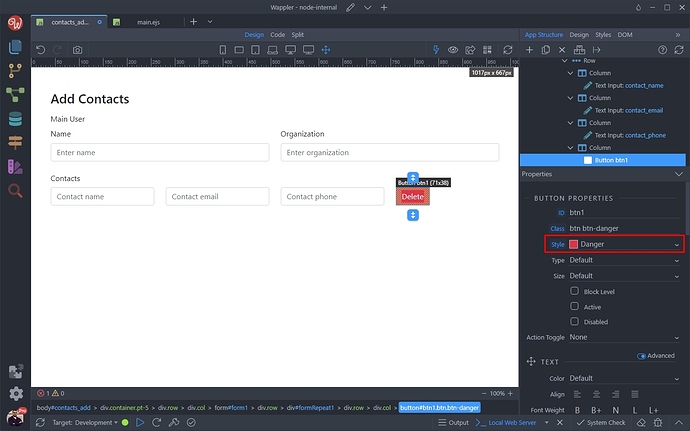
We change the style of the button to Danger and add “Delete” text inside it. We will use this button to delete lines in this repeat:
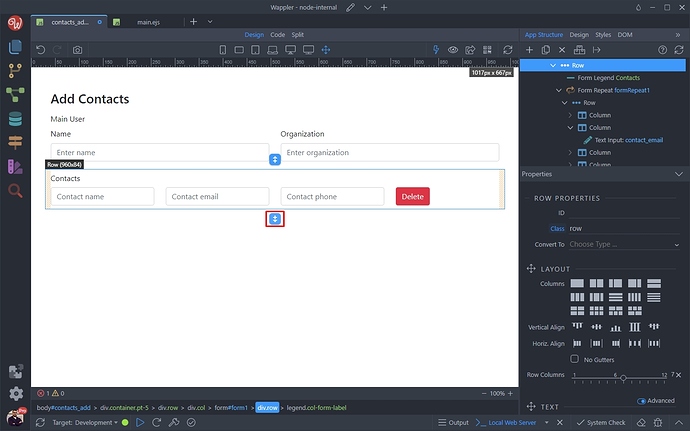
Now let’s add a button, which adds another row of inputs on click. Select the form repeat add an element after it:
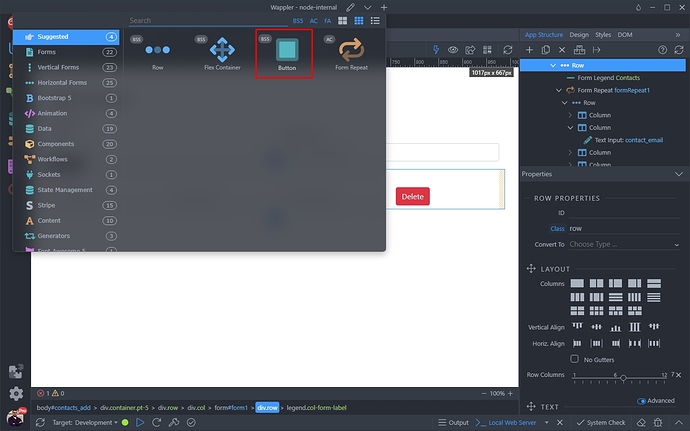
Select Button:
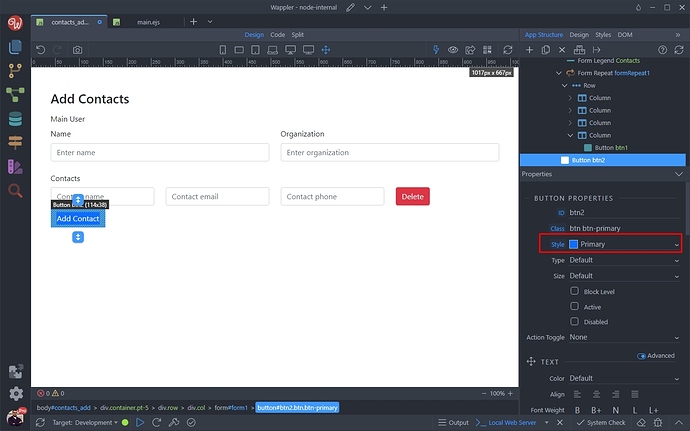
We add “Add Contact” text inside it and set its style to Primary:
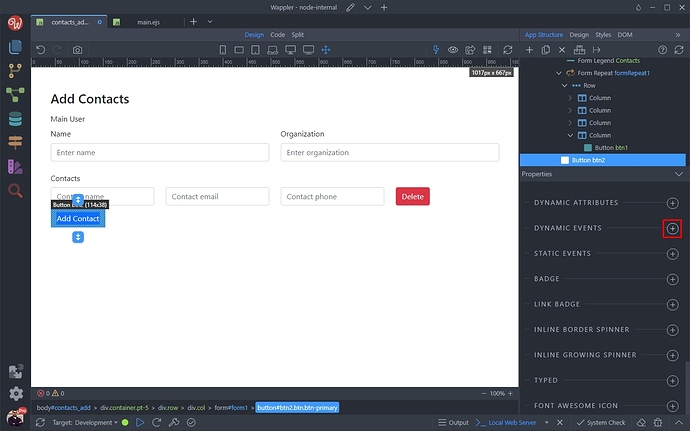
We have our two buttons added already so let’s add functionality to them. With the Add Contact button selected, add new dynamic attribute:
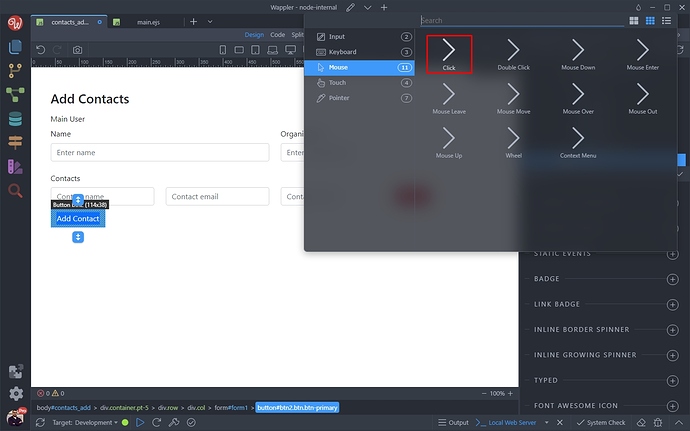
Select Mouse > Click:
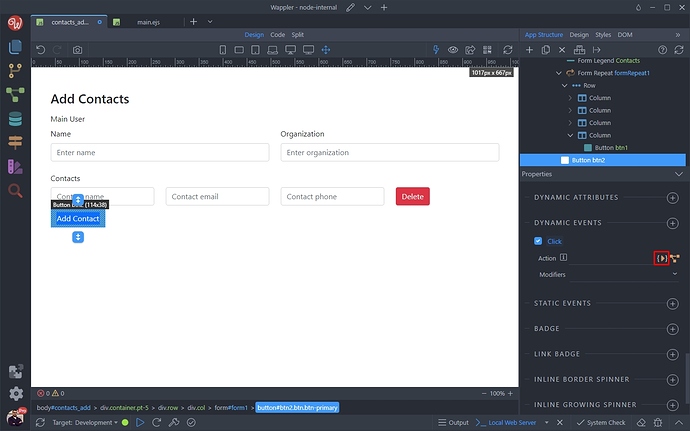
And click the dynamic actions picker:
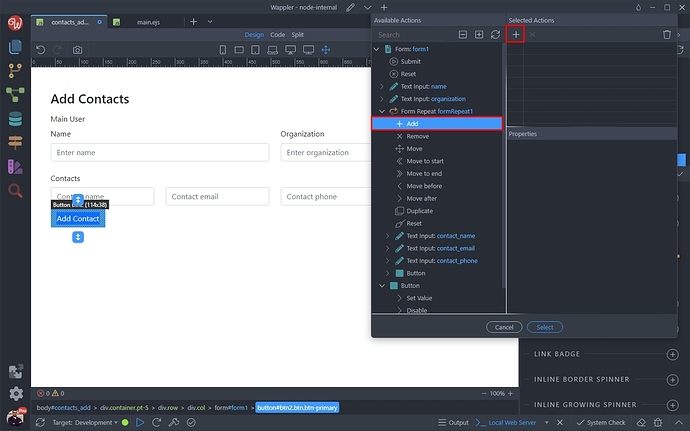
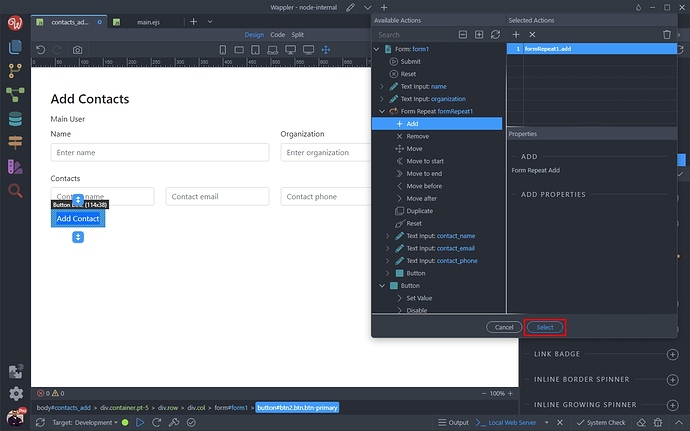
Select Add under the Form Repeat component:
And click the Select button. This button will now add new row with inputs when clicked:
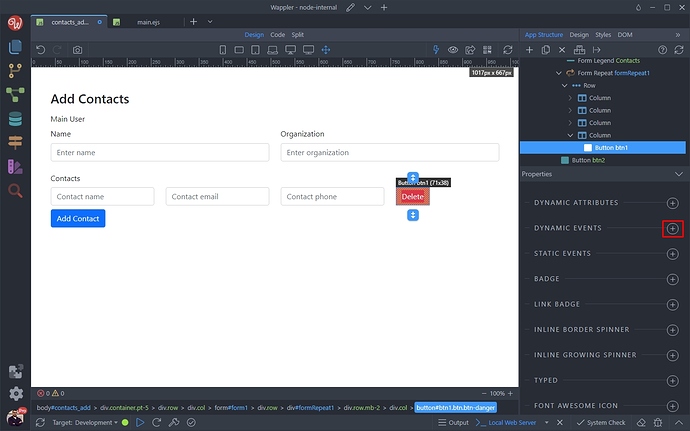
Then select the Delete button and add new dynamic event:
НН
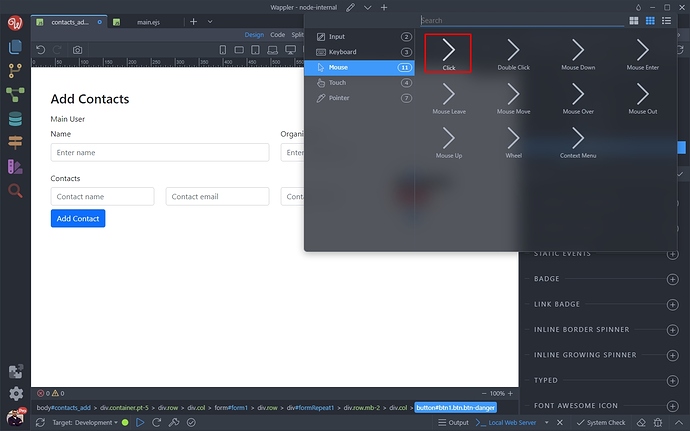
Select Mouse > Click:
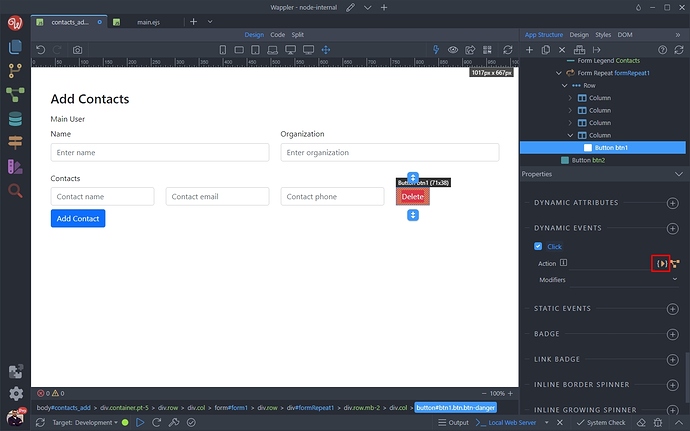
And click the dynamic actions picker:
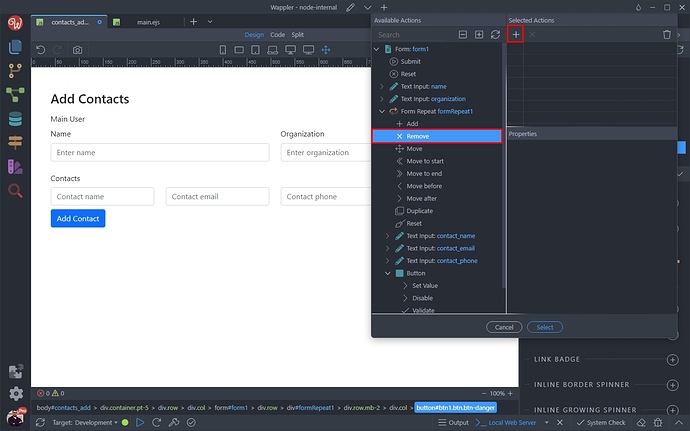
Select Remove under Form Repeat component and add it:
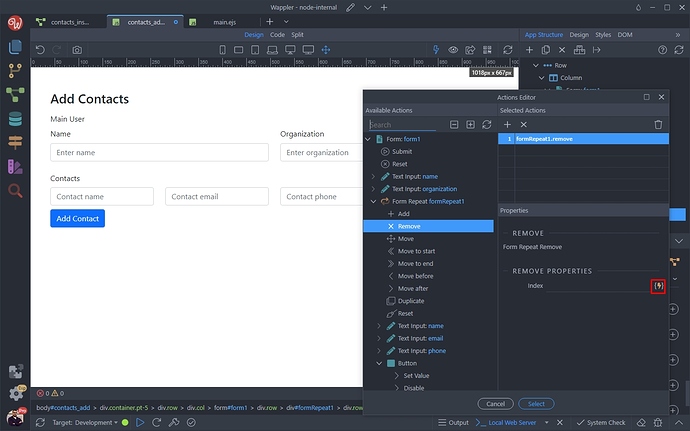
We need to specify which element / row in the repeat to delete when clicking the button. So click the dynamic data picker in the Remove Properties section:
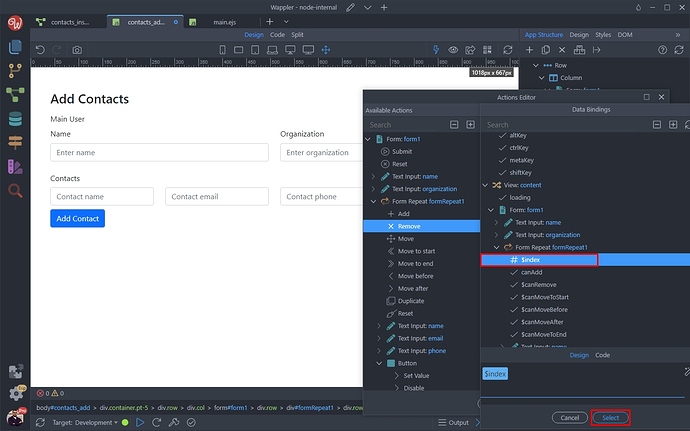
Select the $index under Form Repeater in the data picker. This will send the selected element index to the delete:
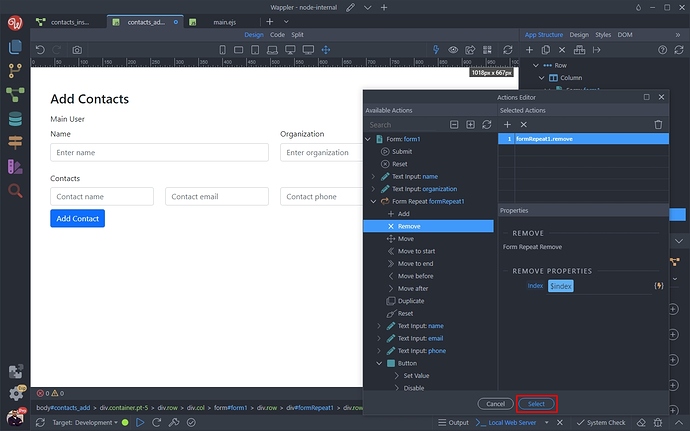
Click Select when you are done:
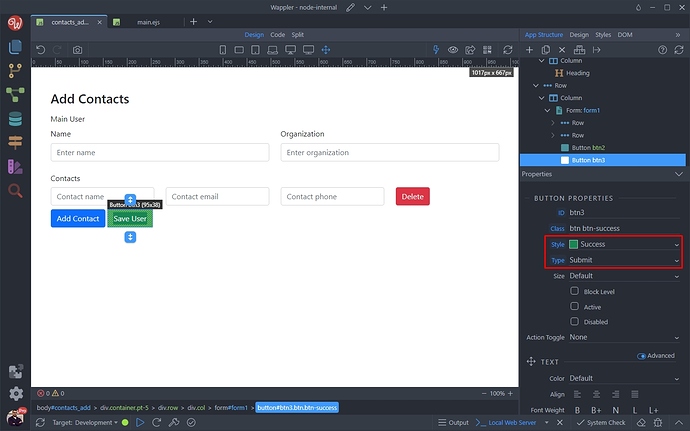
Finally we add a submit button after the Add Contact button, which will be used to submit the form and store the data in the main and sub tables:
Server Side Setup
Now as we are ready with the form on our page, let’s setup the insert action.
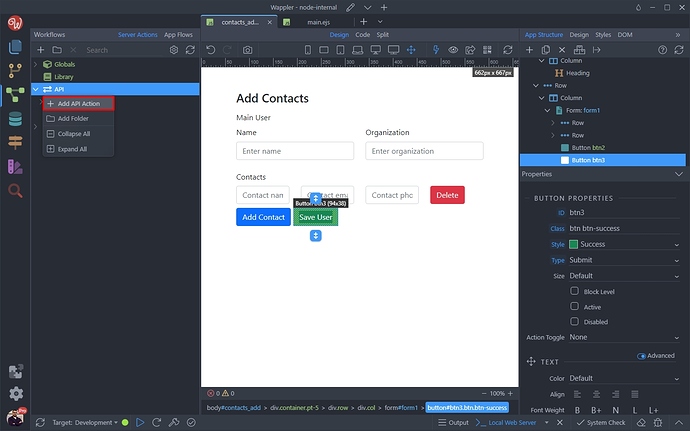
Open the Server Connect panel and add new API Action:
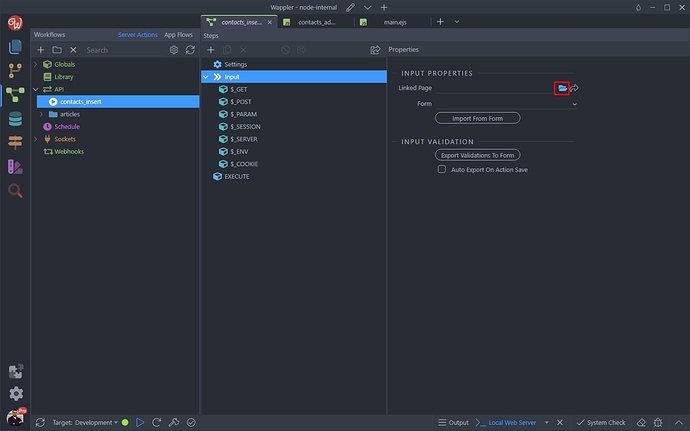
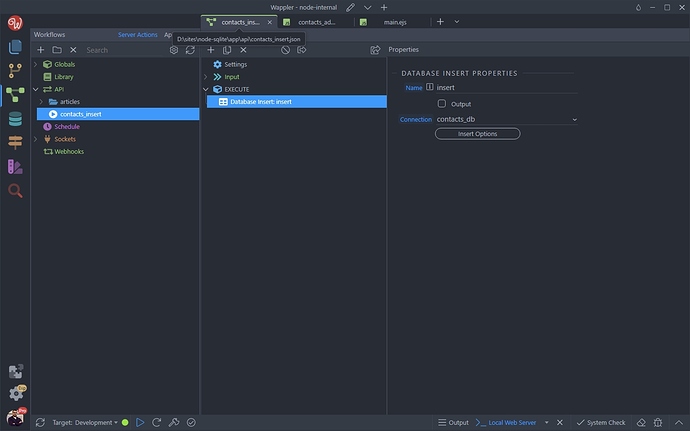
We call it contacts_insert.
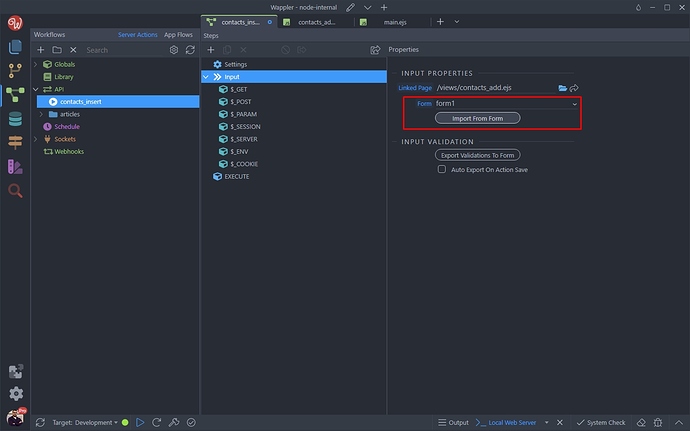
Open the Input section and click the browse button in the Linked Page field:
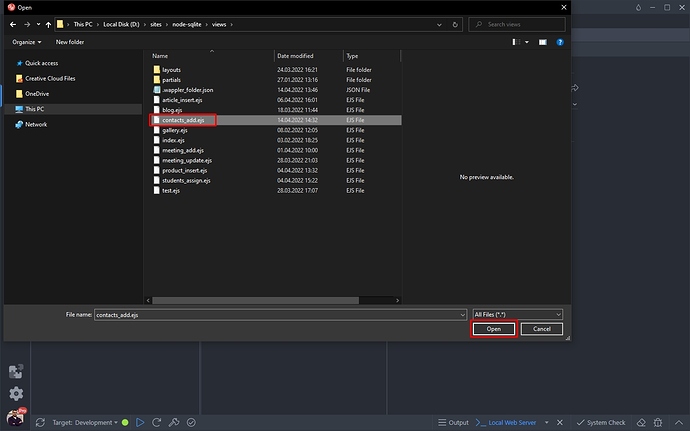
Browse to the page containing your form and select it:
Then select your form from the dropdown and click the Import button:
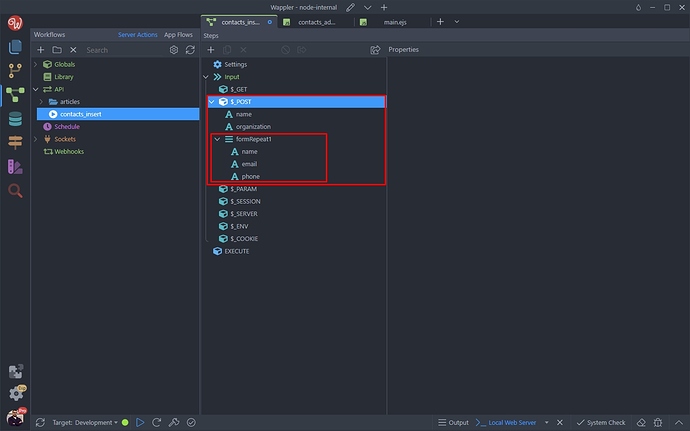
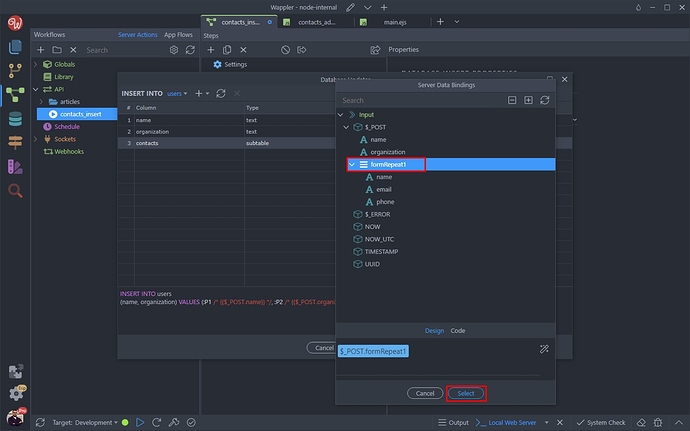
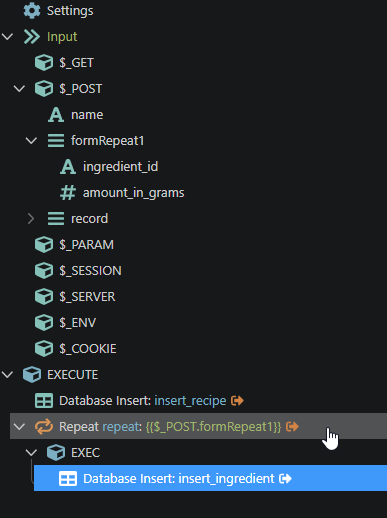
This imports our form inputs under $_POST. You can see the form repeat is imported as an array and its inputs are inside it:
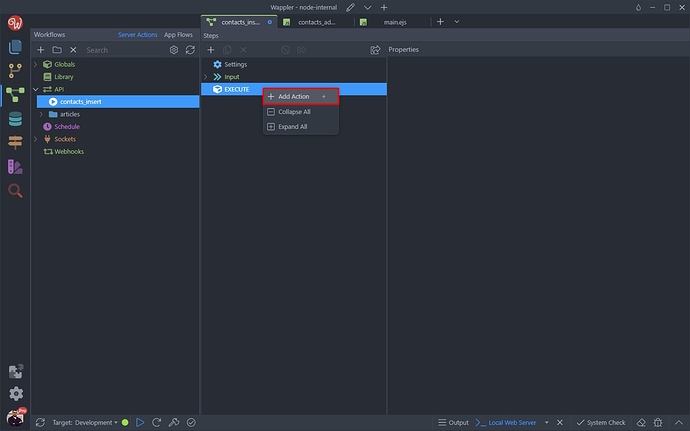
Close the input section and add new step in the API Action:
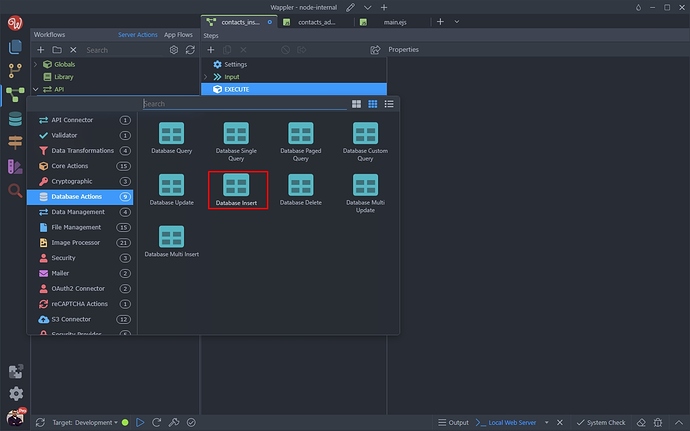
Add Database Insert:
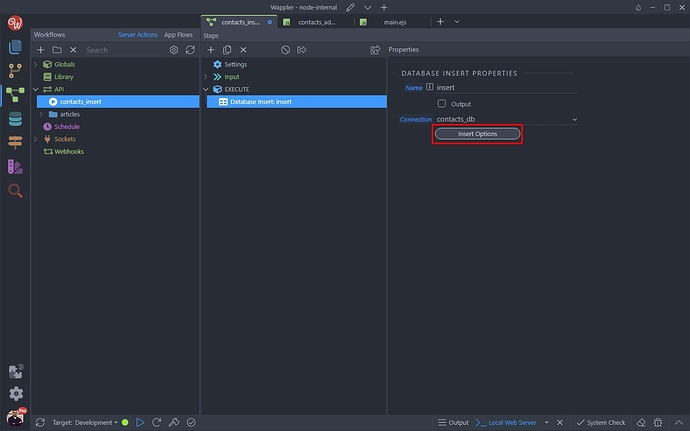
And click the Insert Options button:
Inserting Data in the Main Table
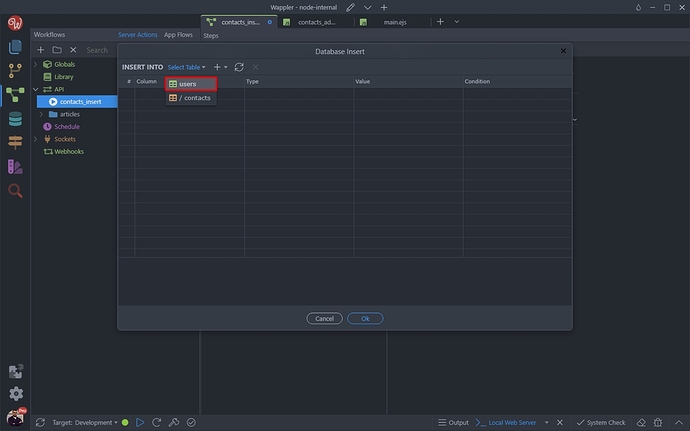
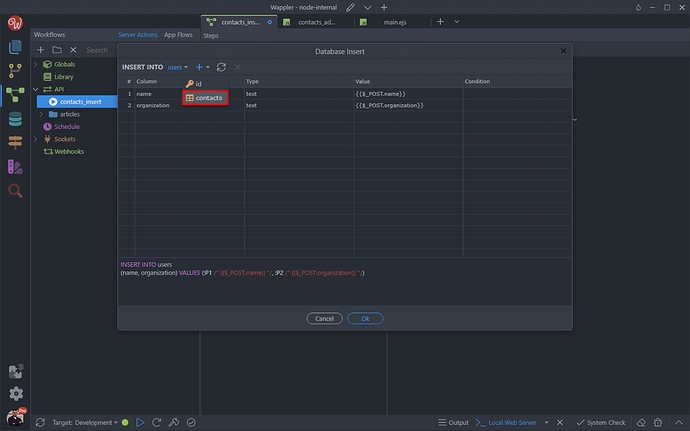
Open the Tables dropdown and select the main table, in our case that’s the users table:
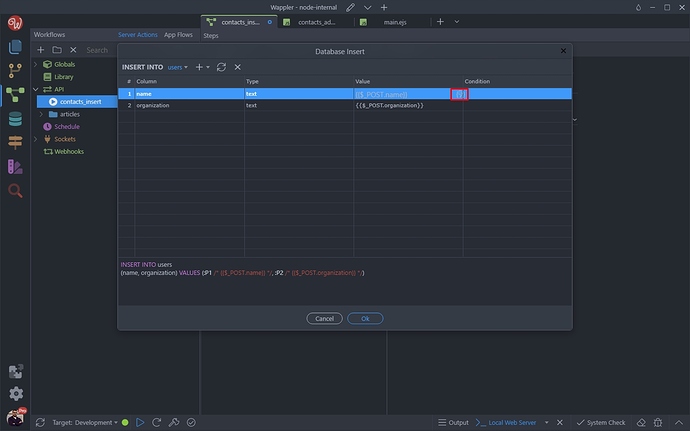
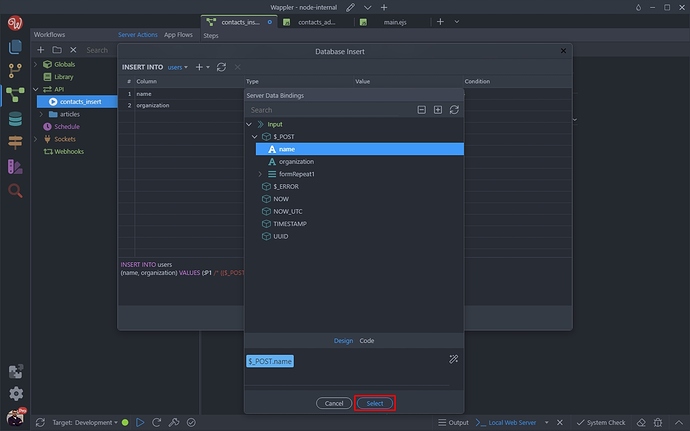
Then select the POST variable for the name field:
Click Select:
Do the same for the rest of the fields, selecting the corresponding POST variable.
Inserting Data in the Sub Table
Now open the Add Column dropdown and select your sub table, in our case contacts:
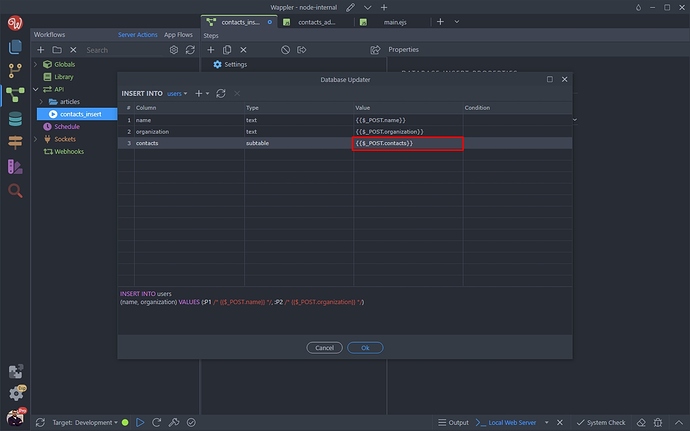
Select a dynamic value for its value:
This needs to be the table repeat array, under the $_POST section:
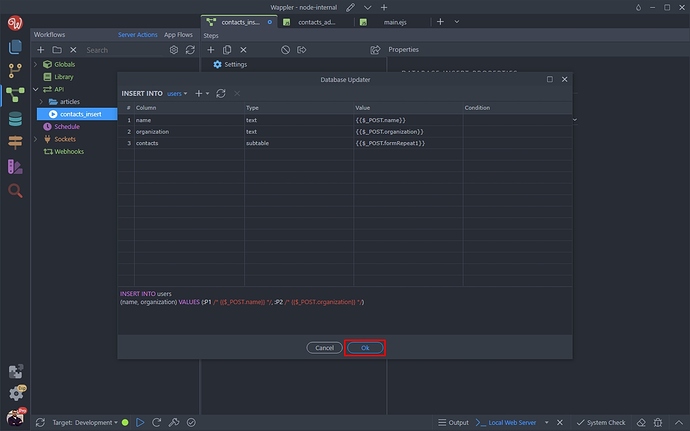
Click OK:
And save your API Action:
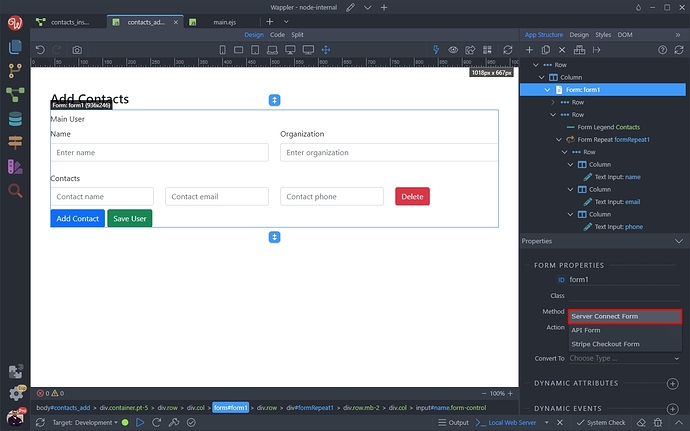
Then back on our page, select the insert form and convert it to a server connect form:
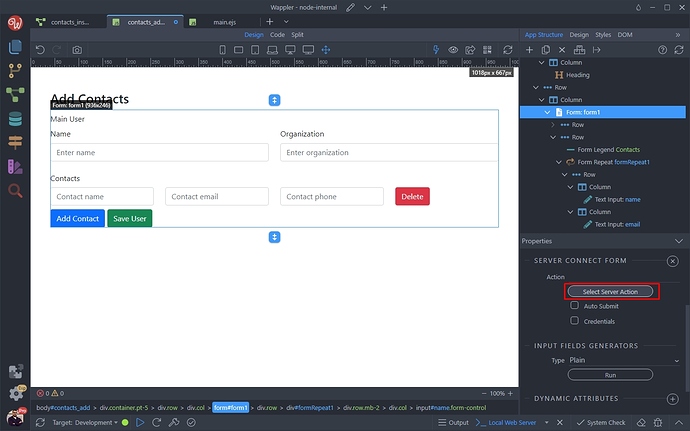
Select a server action:
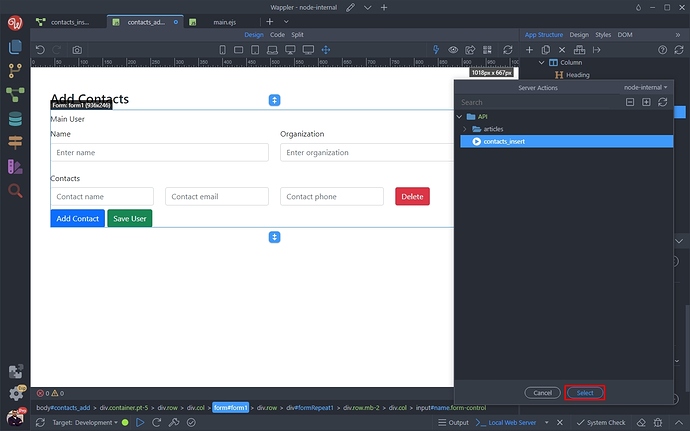
This is the contacts_insert server action:
And you are done. You can add some notification or other type of action on success insert, to let your users know the data has been inserted successfully. You can also adjust the form layout for different screen sizes so that it looks nice on all devices.
Results
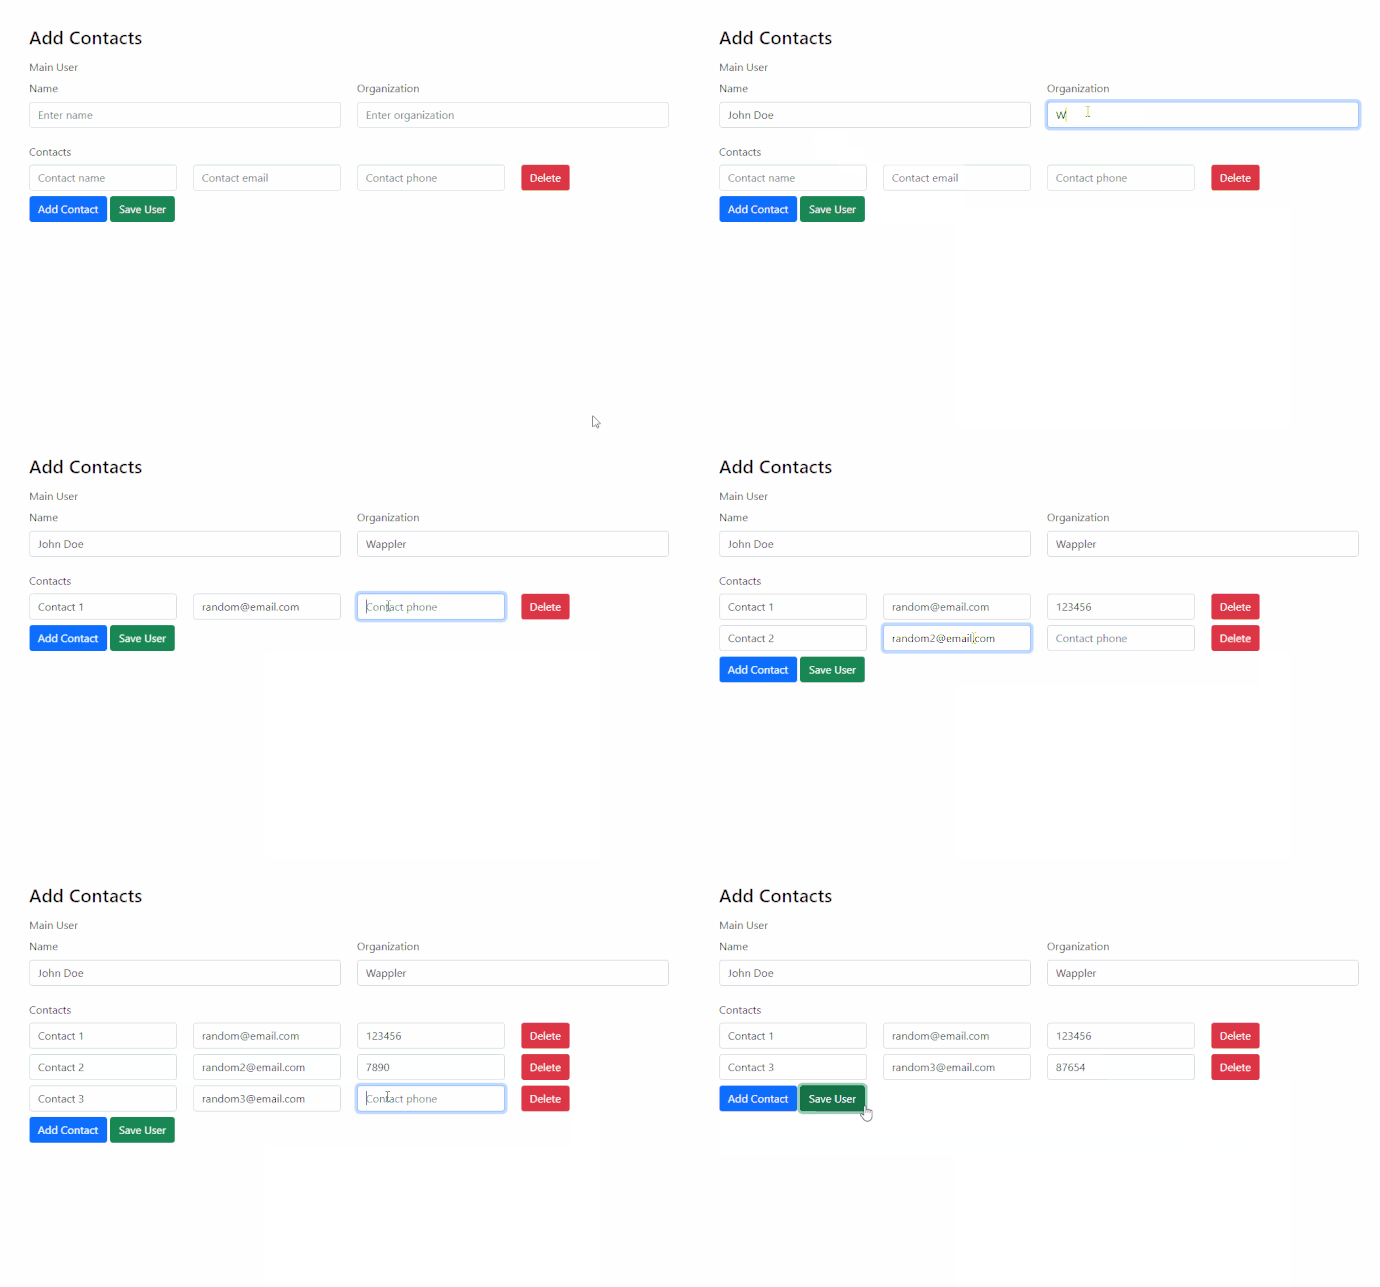
We can test the results in our browser - you can add new rows with inputs for the contacts or remove any of them, before submitting the form:
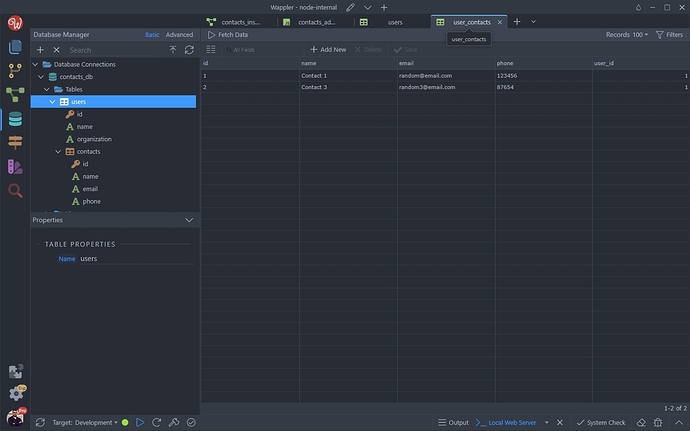
And checking the users table and its contacts sub table we can see the data we just added:
Form Repeat Properties
There a few options to customize the Form Repeat component:
Min and Max Items
Min and Max - allow you to set the min number of items allowed in the form repeat and max allows you to limit the max number of items inside it:
Sortable
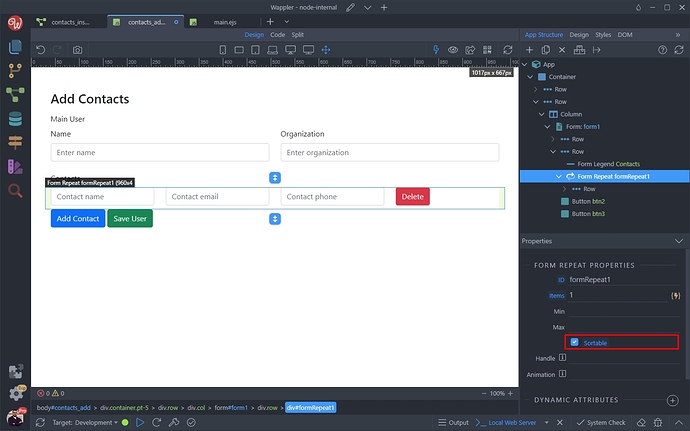
Sortable - enable or disable the sortable (by mouse drag) option for the items inside the form repeat:
Handle - you can allow the drag only on specific element. If this field is empty, the whole element will be draggable.
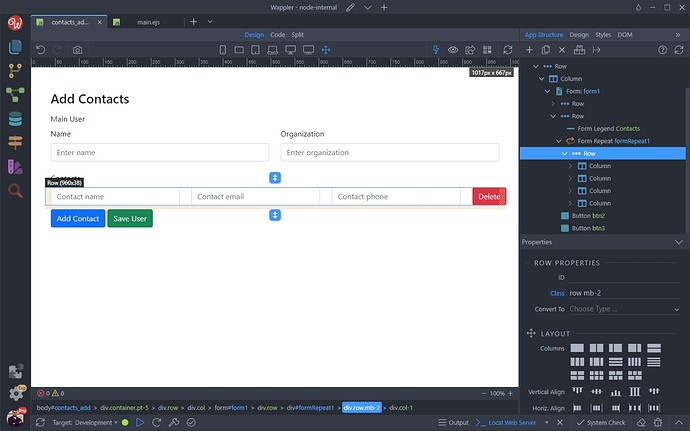
For example, we can select our row:
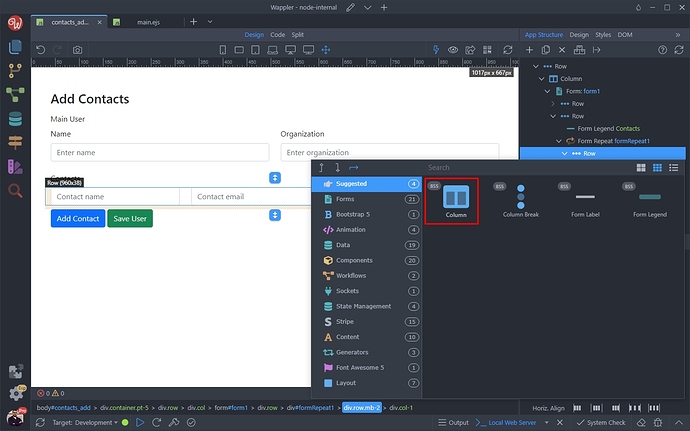
And add a new column inside it:
Resize it to size 1:
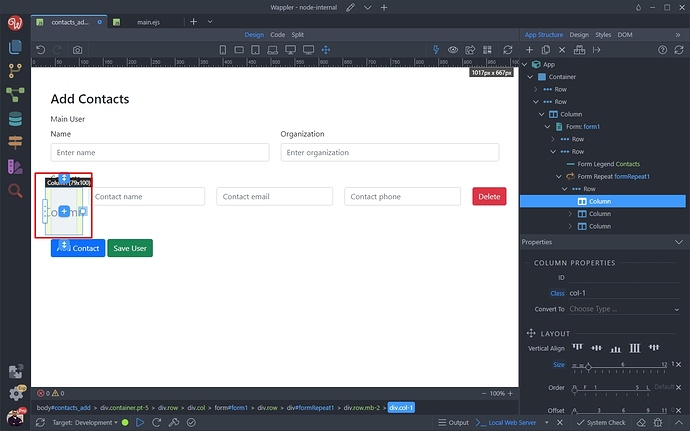
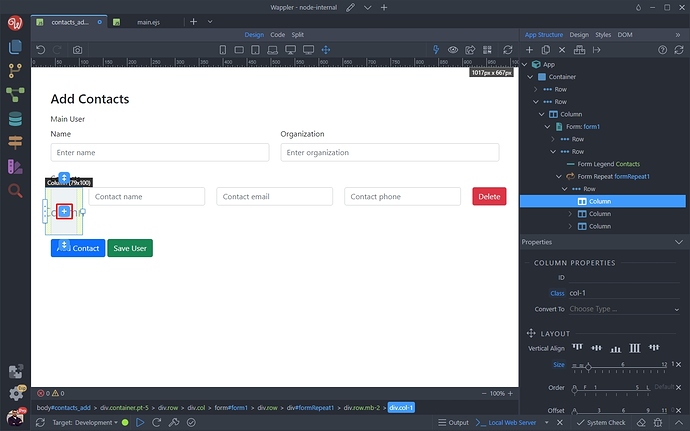
And add an element inside it:
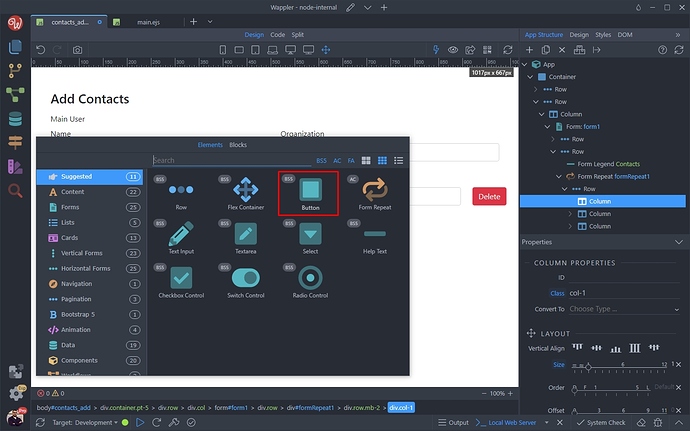
We select button:
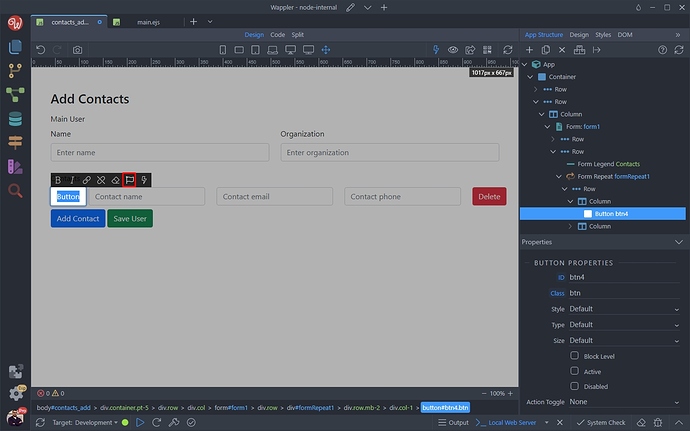
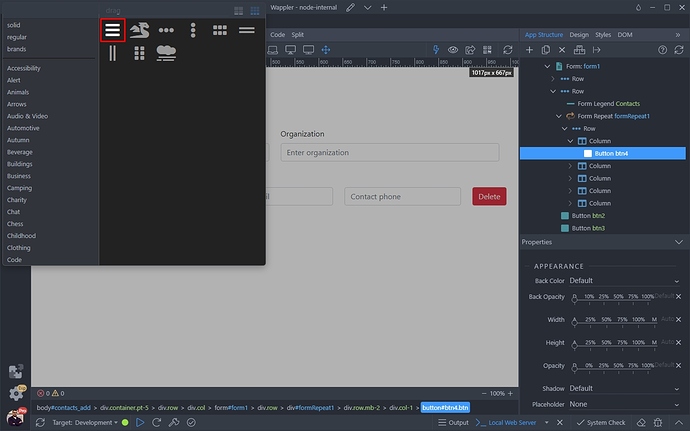
Double click the button text and click the font awesome icon:
We select an icon, suitable for dragging:
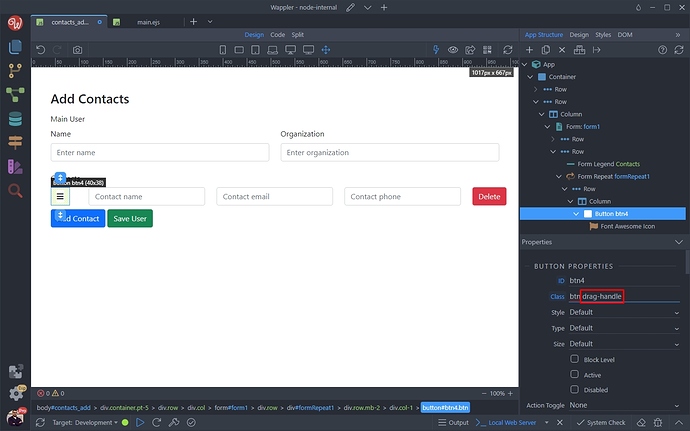
And then we add a class of drag-handle to our button:
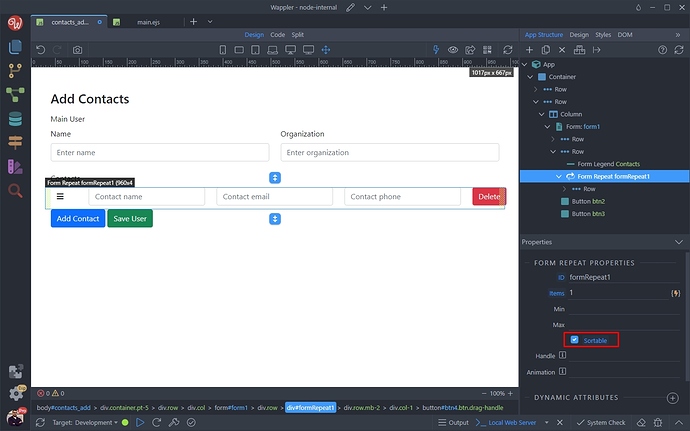
Enable Sortable in Form Repeat options:
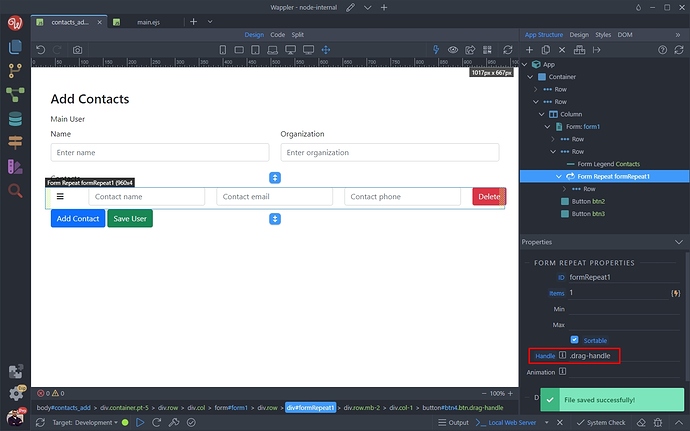
And enter the CSS selector for this button i.e. .drag-handle:
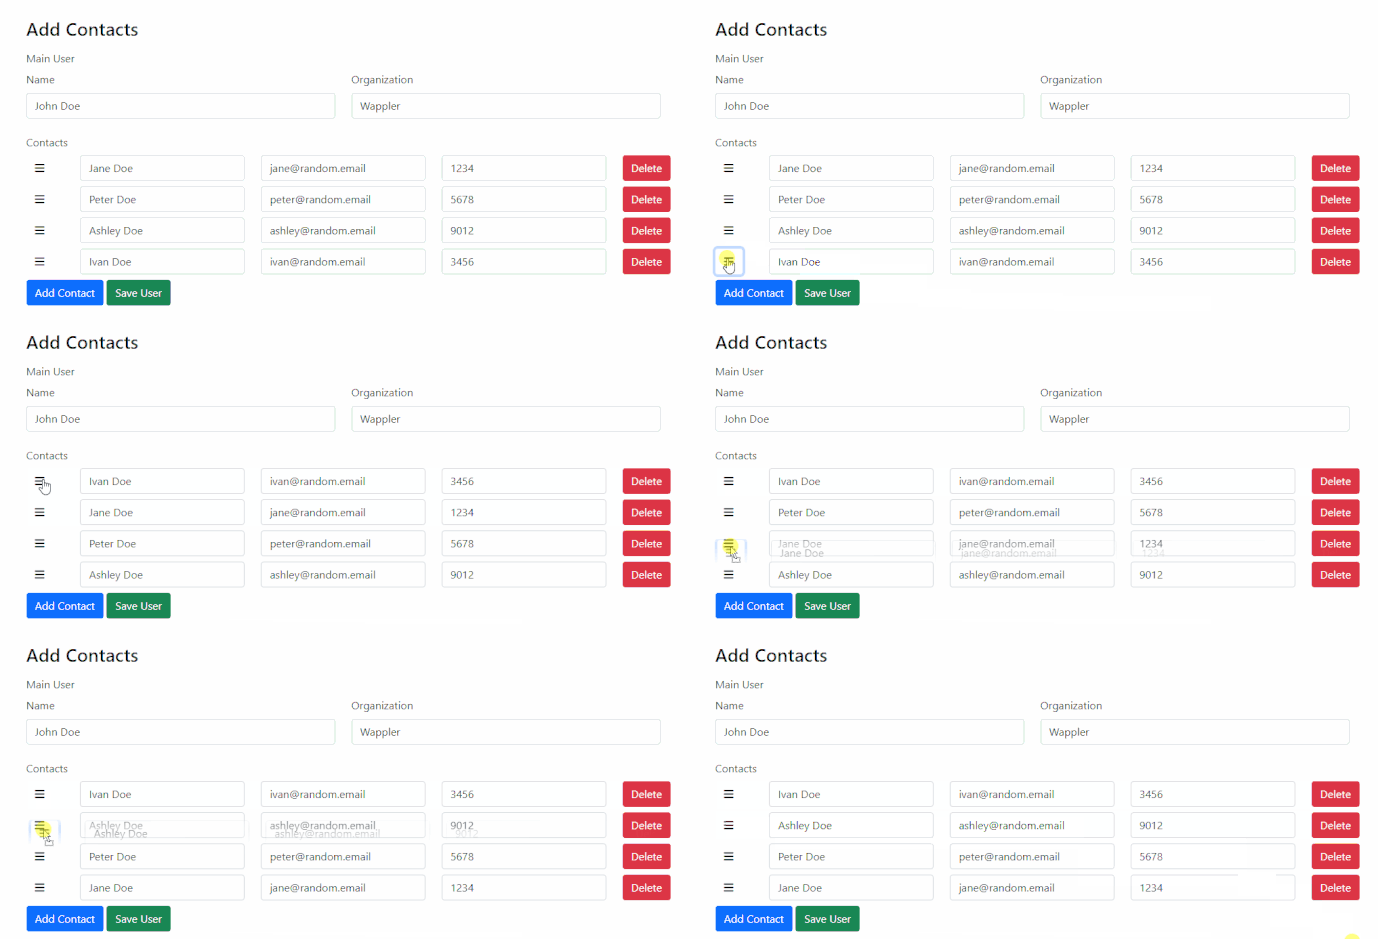
Now, when you click the button and start dragging up and down, you can reorder the order of the items.
Animation - enter the animation duration in milliseconds to be used during the drag:
Sort via drag handle example:
