You already know how to setup your pages to use Sever Side Rendering with NodeJS. In this tutorial we will show you how to use Server Connect data in your page meta tags, such as page title and description.
Overview
In our example we will show you a dynamic product details page, where the product title will be displayed as page title and product description will be added to the description meta tag.
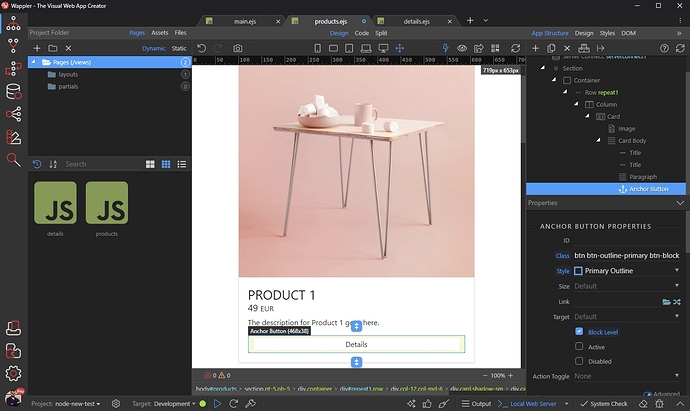
We have a page listing our products:
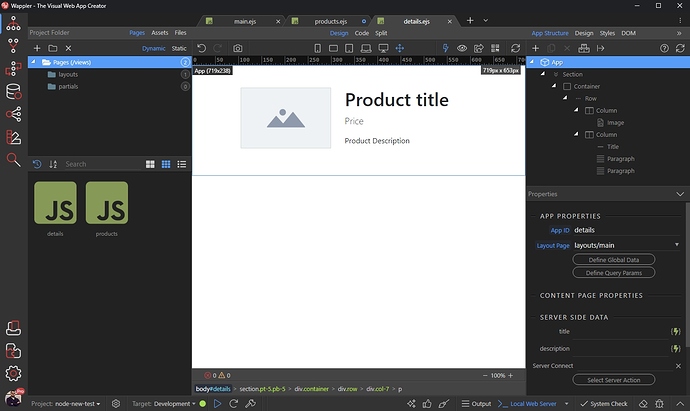
When the details button is clicked, the users will be redirected to a page showing the details for each of the products:
Setup Routing
We will use an URL parameter in order to filter our details page data. We first need to define this in the routing.
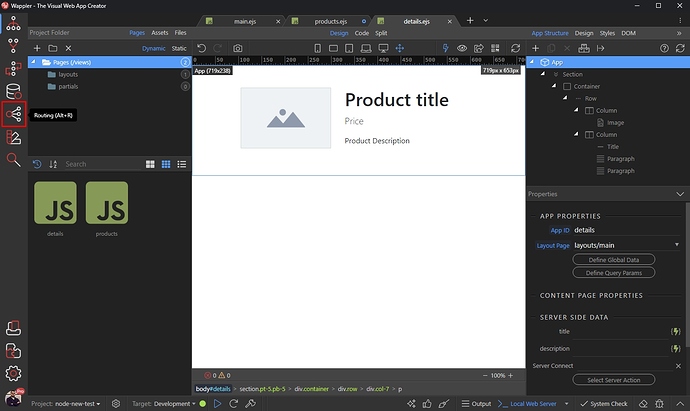
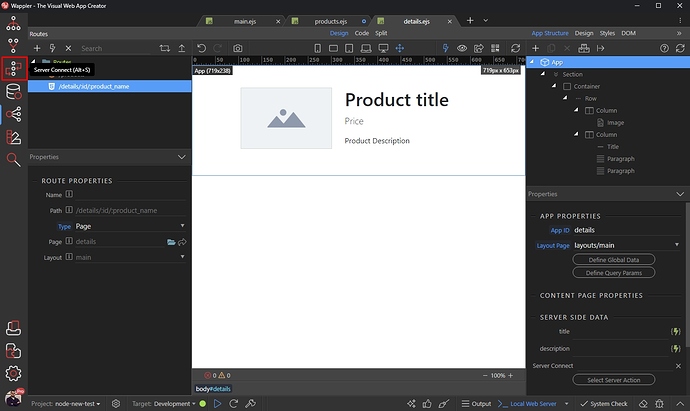
Open the Routing Panel:
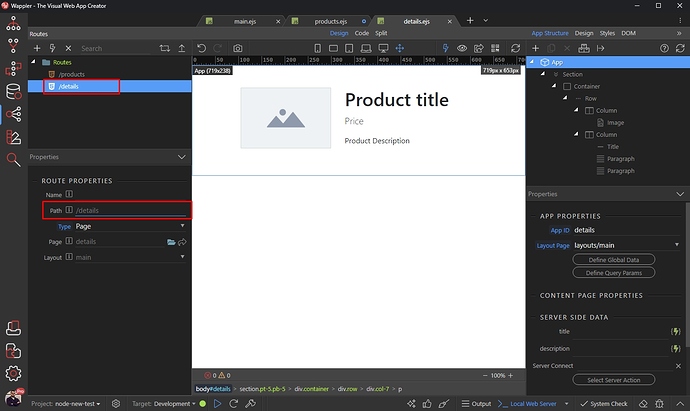
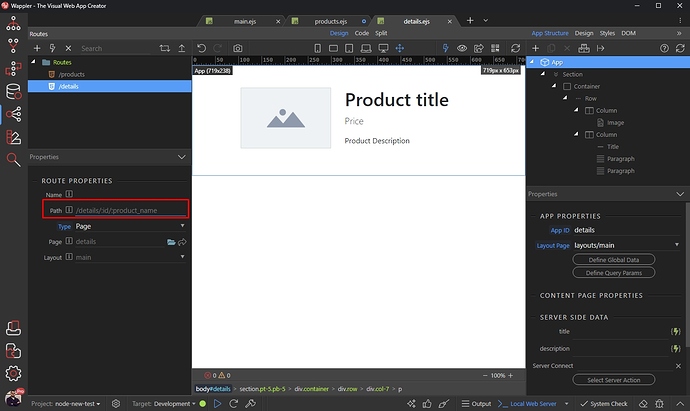
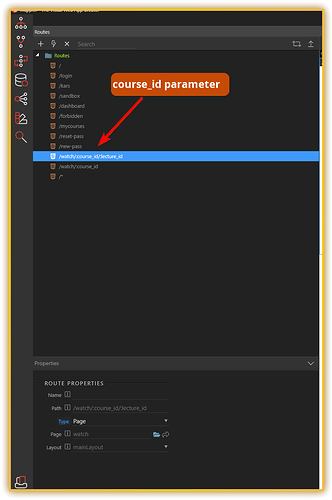
Select the details page route, then edit the Path:
We add the following parameters there /:id/:product_name where id will be used to actually filter the data and product_name will be used just for SEO/Friendly URL purposes. The generated URL will be something like: myproducts.com/details/1/product-1-name-goes-here:
And we are done.
Setup the Server Action
Add URL Parameters
The next step is to setup the Server Action, which will be used to populate our page meta tags. Open the Server Connect Panel:
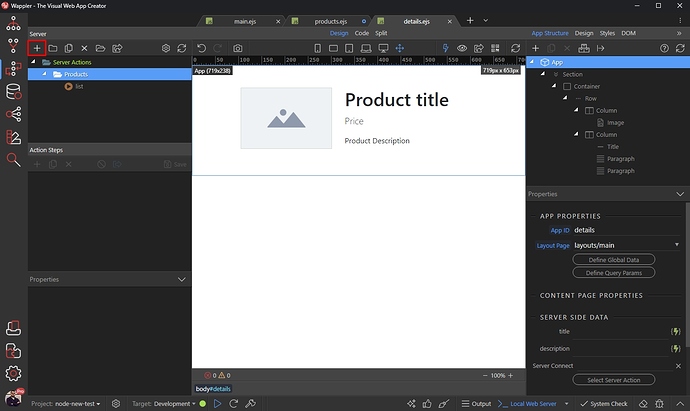
Create a new Server Action:
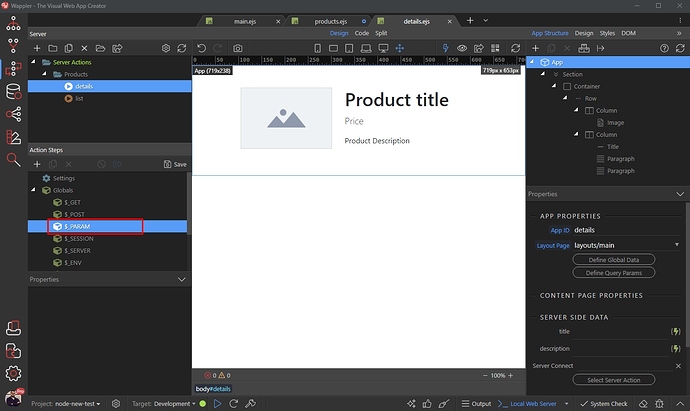
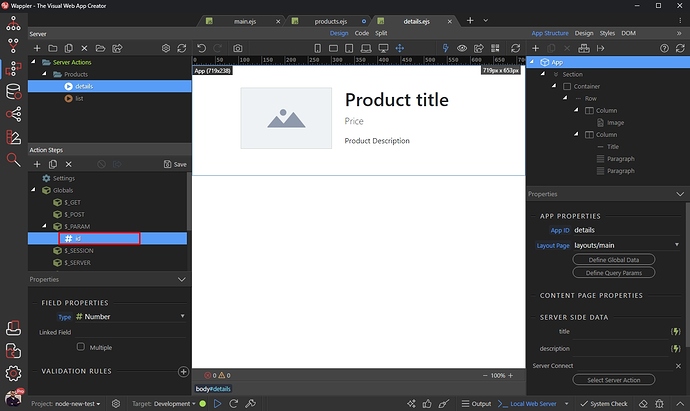
Then open Globals and right click $_PARAM, here we define the URL Parameters which are used on the page with this Server Action:
We only need the id parameter as it will be used to filter the database query, so create it here:
It is important to understand that the Server Connect used on the page inherits all the input query parameters or route path parameters of the current page, so it will automatically “see” them in the URL.
Create the Database Query
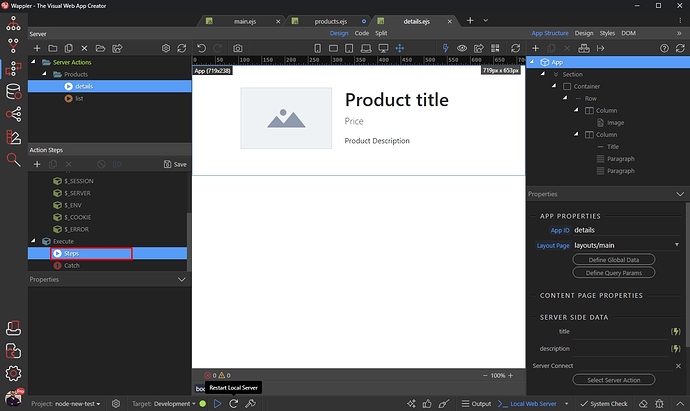
As we have our parameter created, now we can use it to filter a database query. Right click steps:
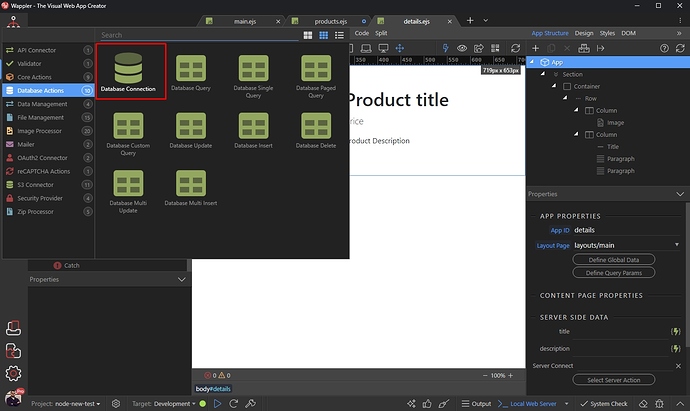
Add a database connection:
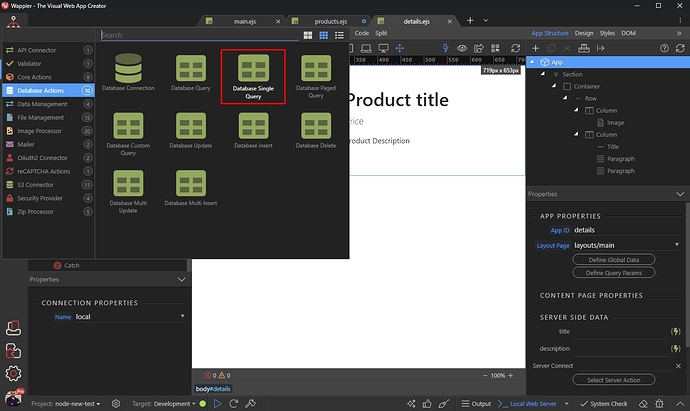
Then add a Single Database Query:
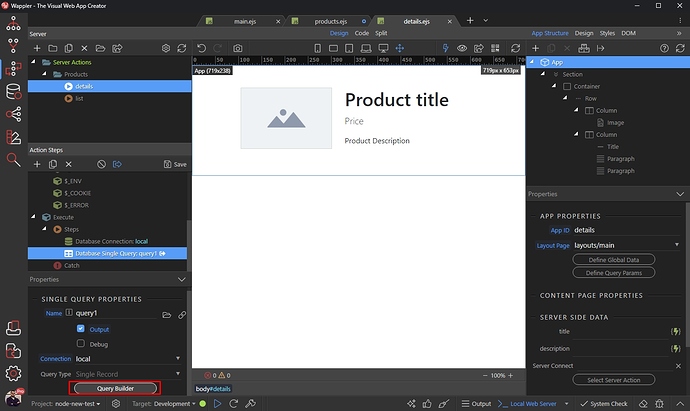
Open the query options:
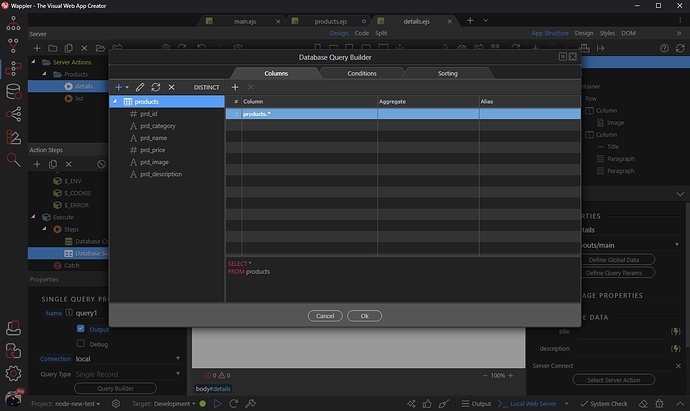
Select your database table and add the columns to the selected columns list:
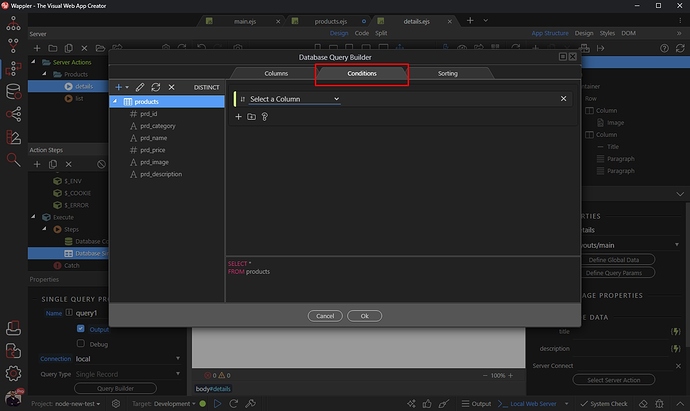
Open conditions:
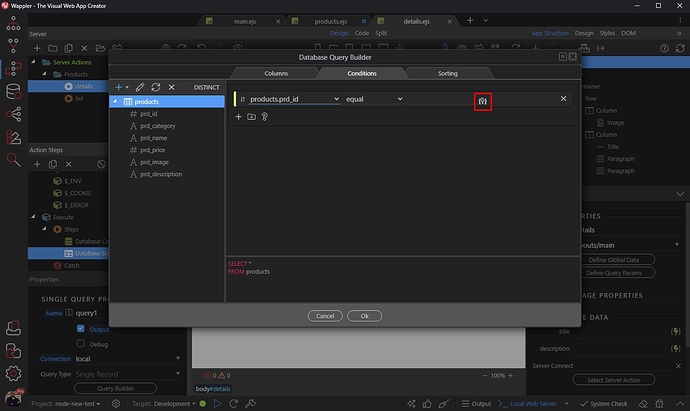
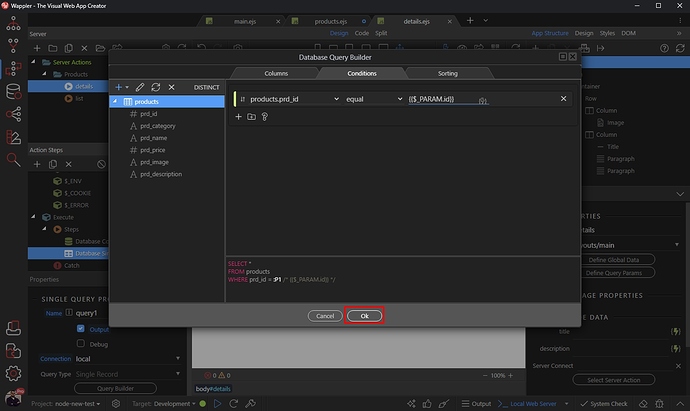
Select the column you want to filter the data by. In our case this is the product id column. Then select the dynamic data picker to select a filter value:
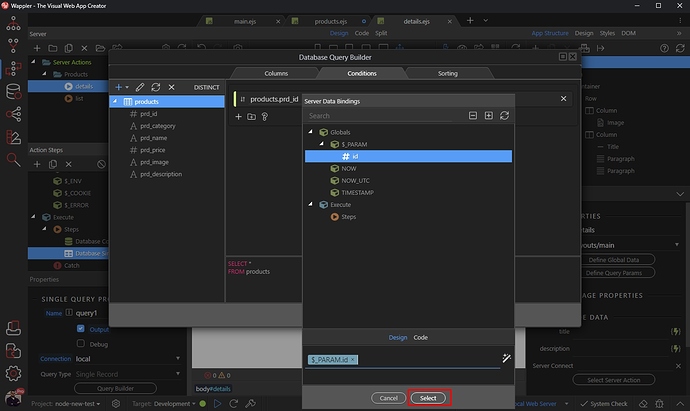
Select the parameter we created and click the select button:
Click OK:
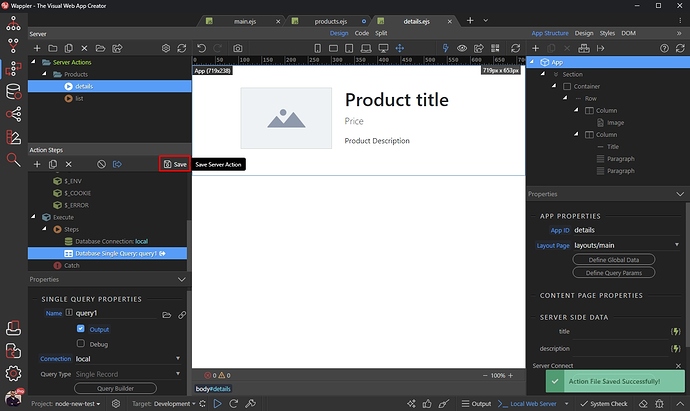
And save your server action:
Setup the Details Page
Add Details Server Action
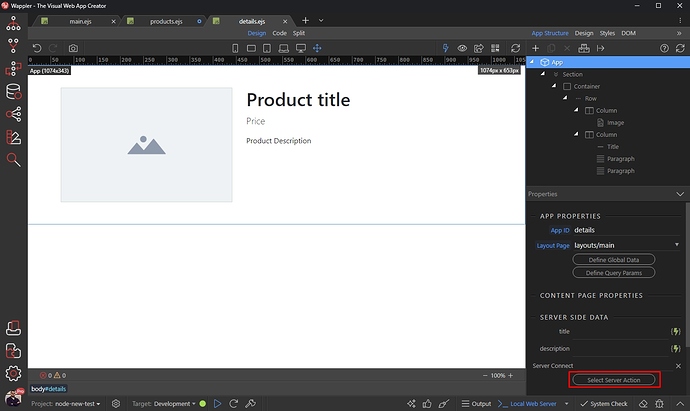
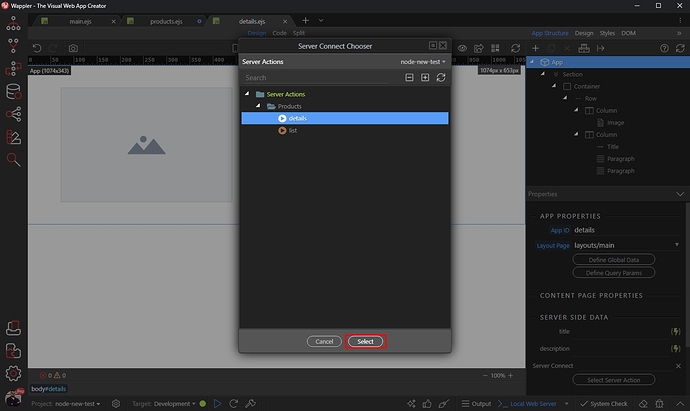
Open the details page and under the Server Side Data click the Select Server Action button:
Select the details server action, which we just saved:
Bind Dynamic Data
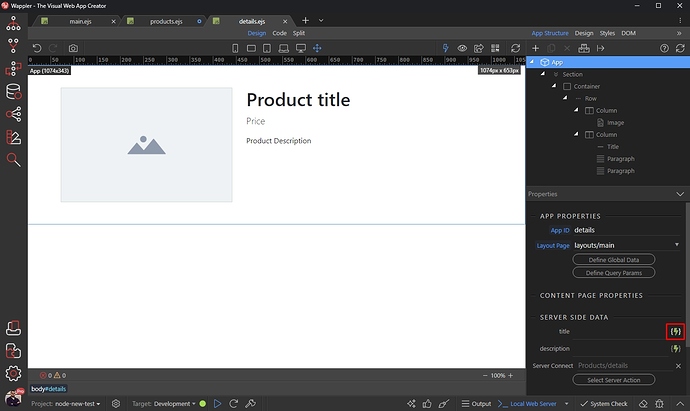
The next step is to bind the title and description dynamic data from the server action which we selected.
Click the dynamic data picker for title:
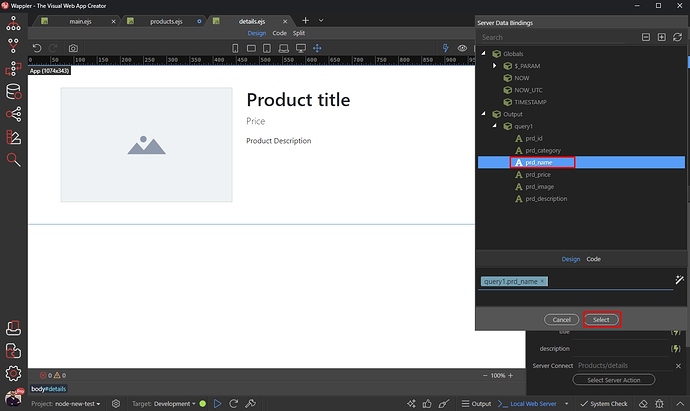
Select the binding which you want to appear in the page title. In our case this is the product name:
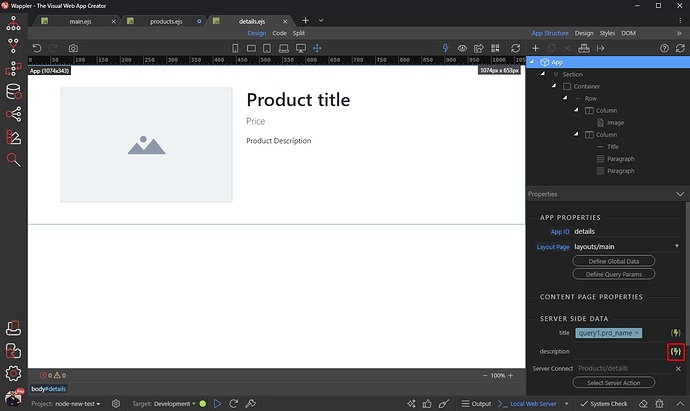
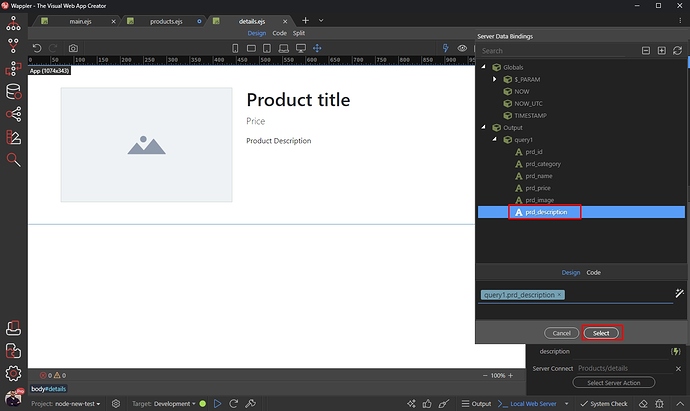
Do the same for the description:
This time we select the product description binding:
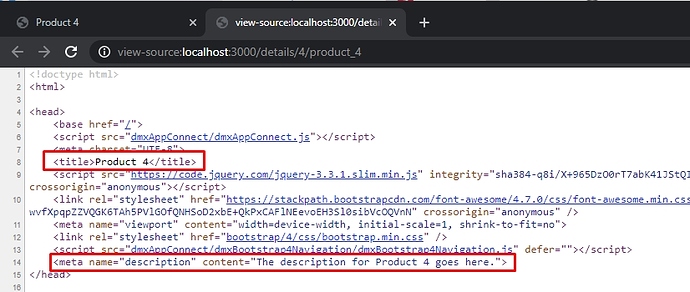
If you enter your page URL and inspect the source code, you can see the title and description returned by the server action, which is filtered by the URL parameter:
Creating Links to Details Page
You can easily create SEO fiendly URLs, which send the users from the product list page to the details page.
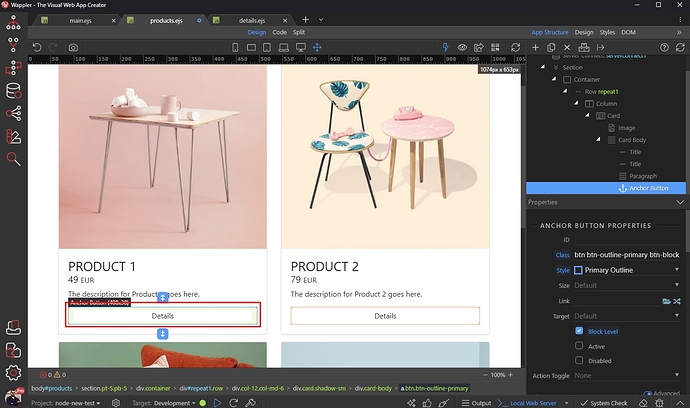
We have a simple anchor button in the repeat on the list page:
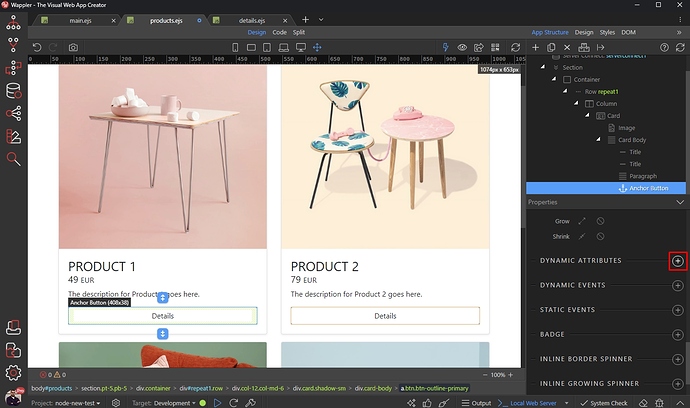
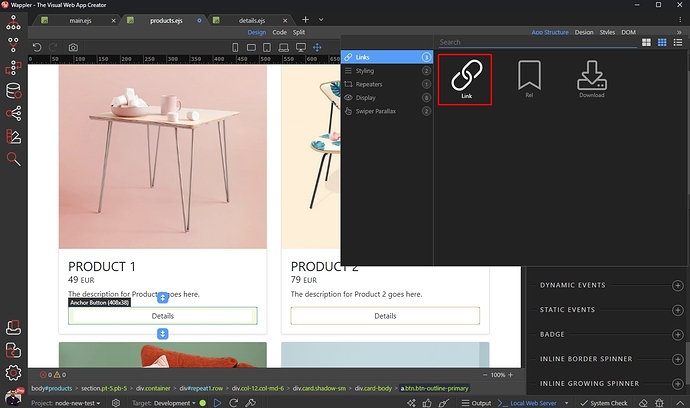
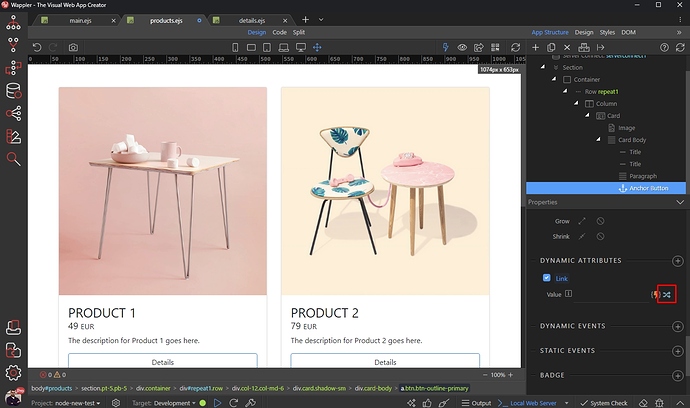
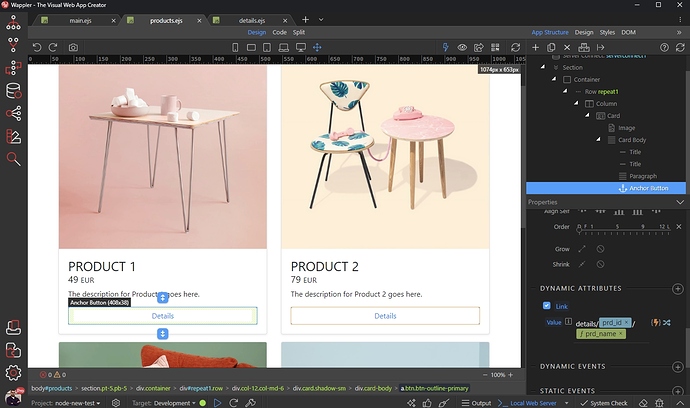
Select it and add new dynamic attribute:
Select Link:
And then click the route picker icon:
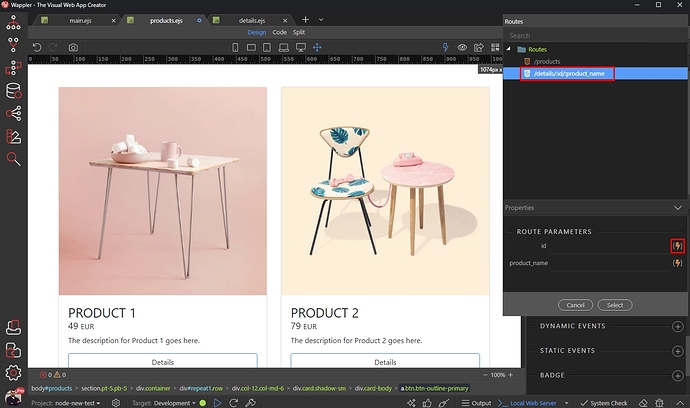
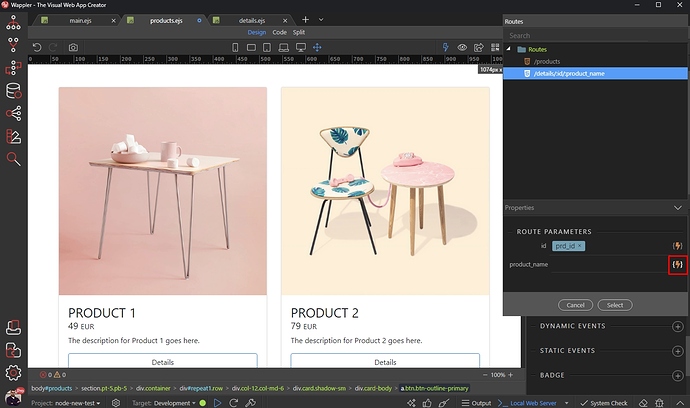
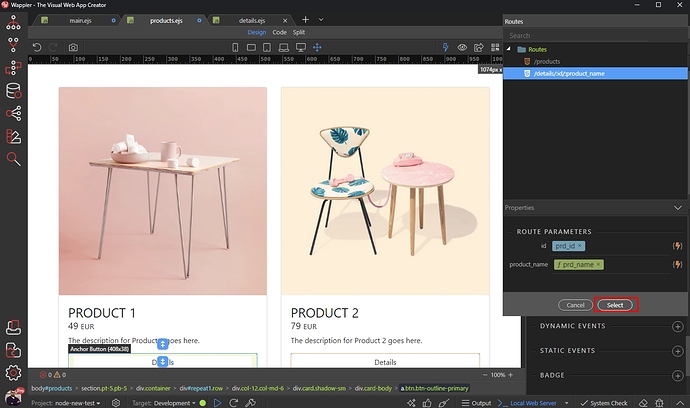
Select the details page route and click the dynamic data picker for the id parameter:
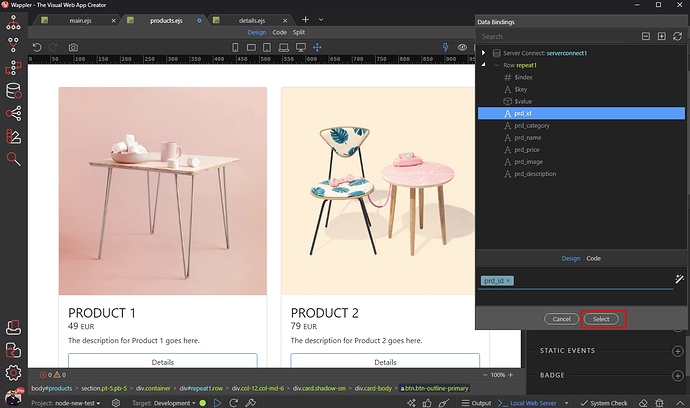
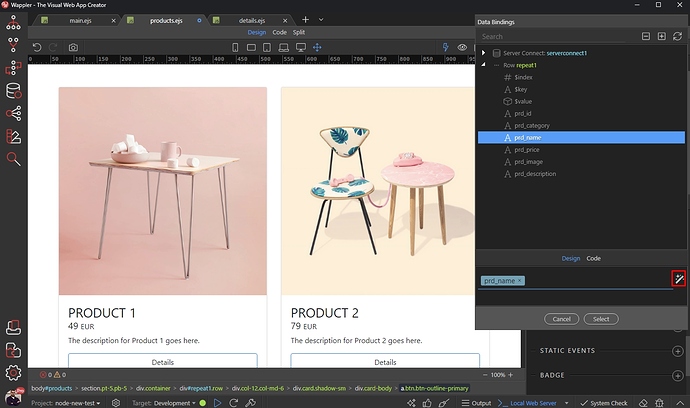
Here we select the product id, which will be used by the Server Action and filter our database query:
Click the dynamic data picker for the product_name parameter. As we already explained it won’t be used to filter the data, but only for SEO purposes:
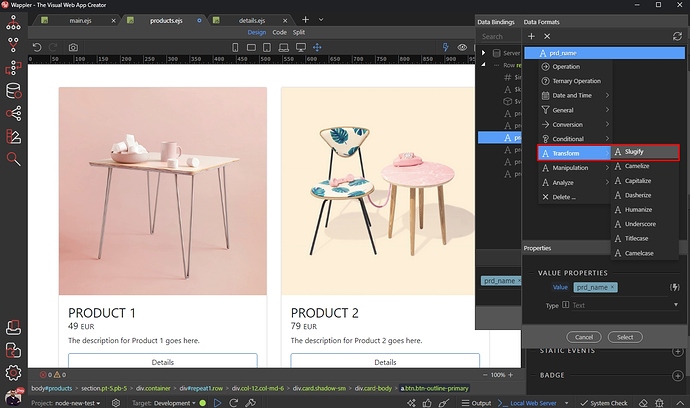
Select the product name. We want to be sure our URLs don’t have any spaces or special characters, so we will apply the Slugify formatter to it. It will turn Product Name Here to product-name-here, which is how your URLs should look like.
Click the formatter icon:
Open Transform and select Slugify:
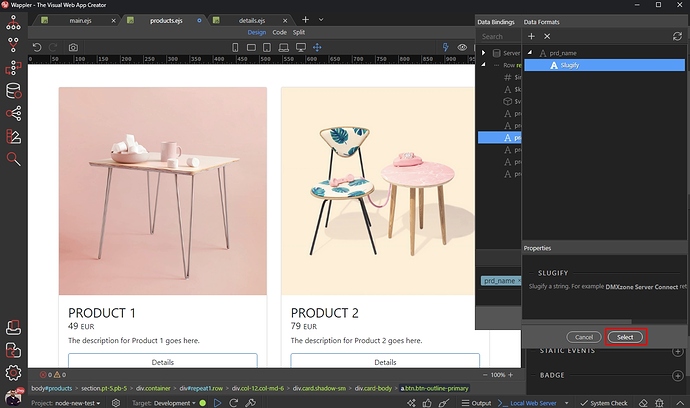
Click select:
And then click select once again:
Your dynamic URLs are now added on the page:
