Part 1: Firebase project setup
Part 2: Mobile project and receiving notifications
-> Part 3: Server project and sending notifications
Extra: Navigation and parameters
Server project:
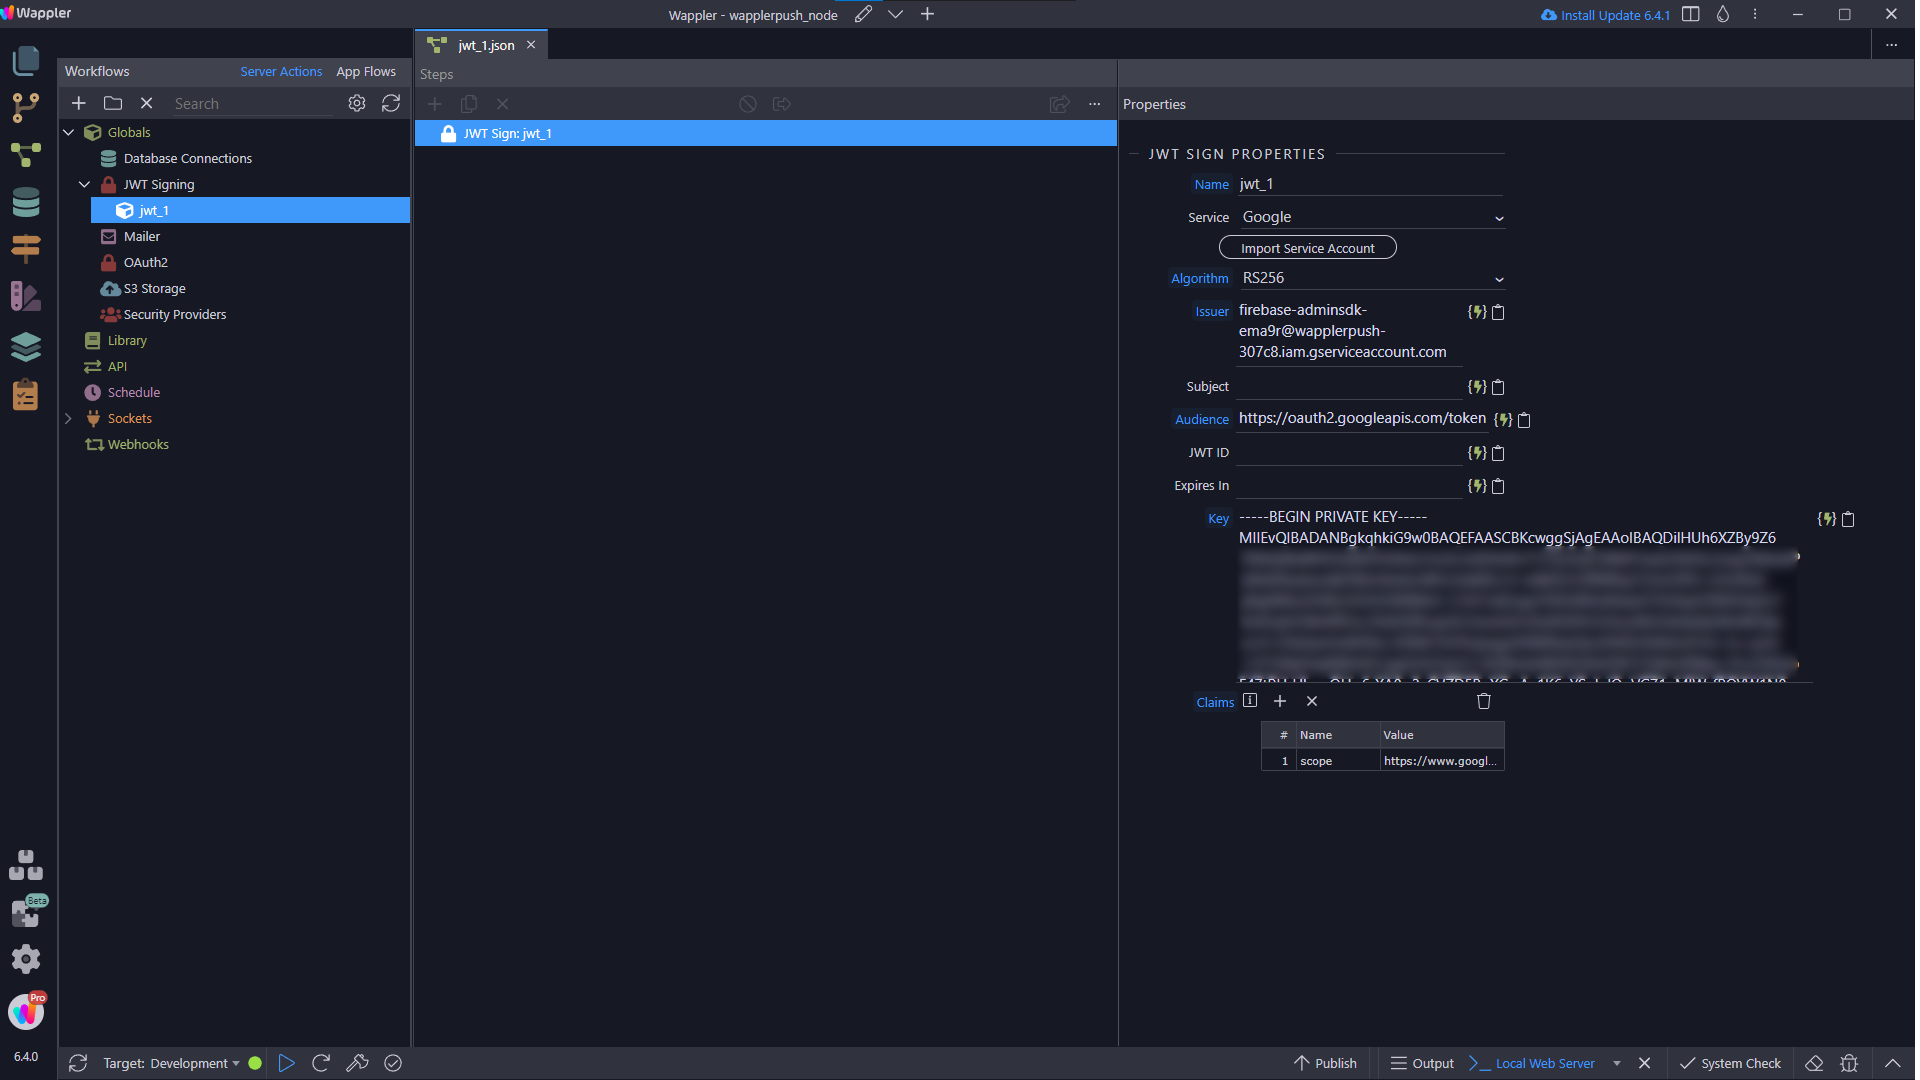
35 .- We create a project (I’ll use NodeJS) and we create a new JWT service
We import the file that we save on the Point Nº 14 and we add a scope: https://www.googleapis.com/auth/firebase.messaging
So we got:
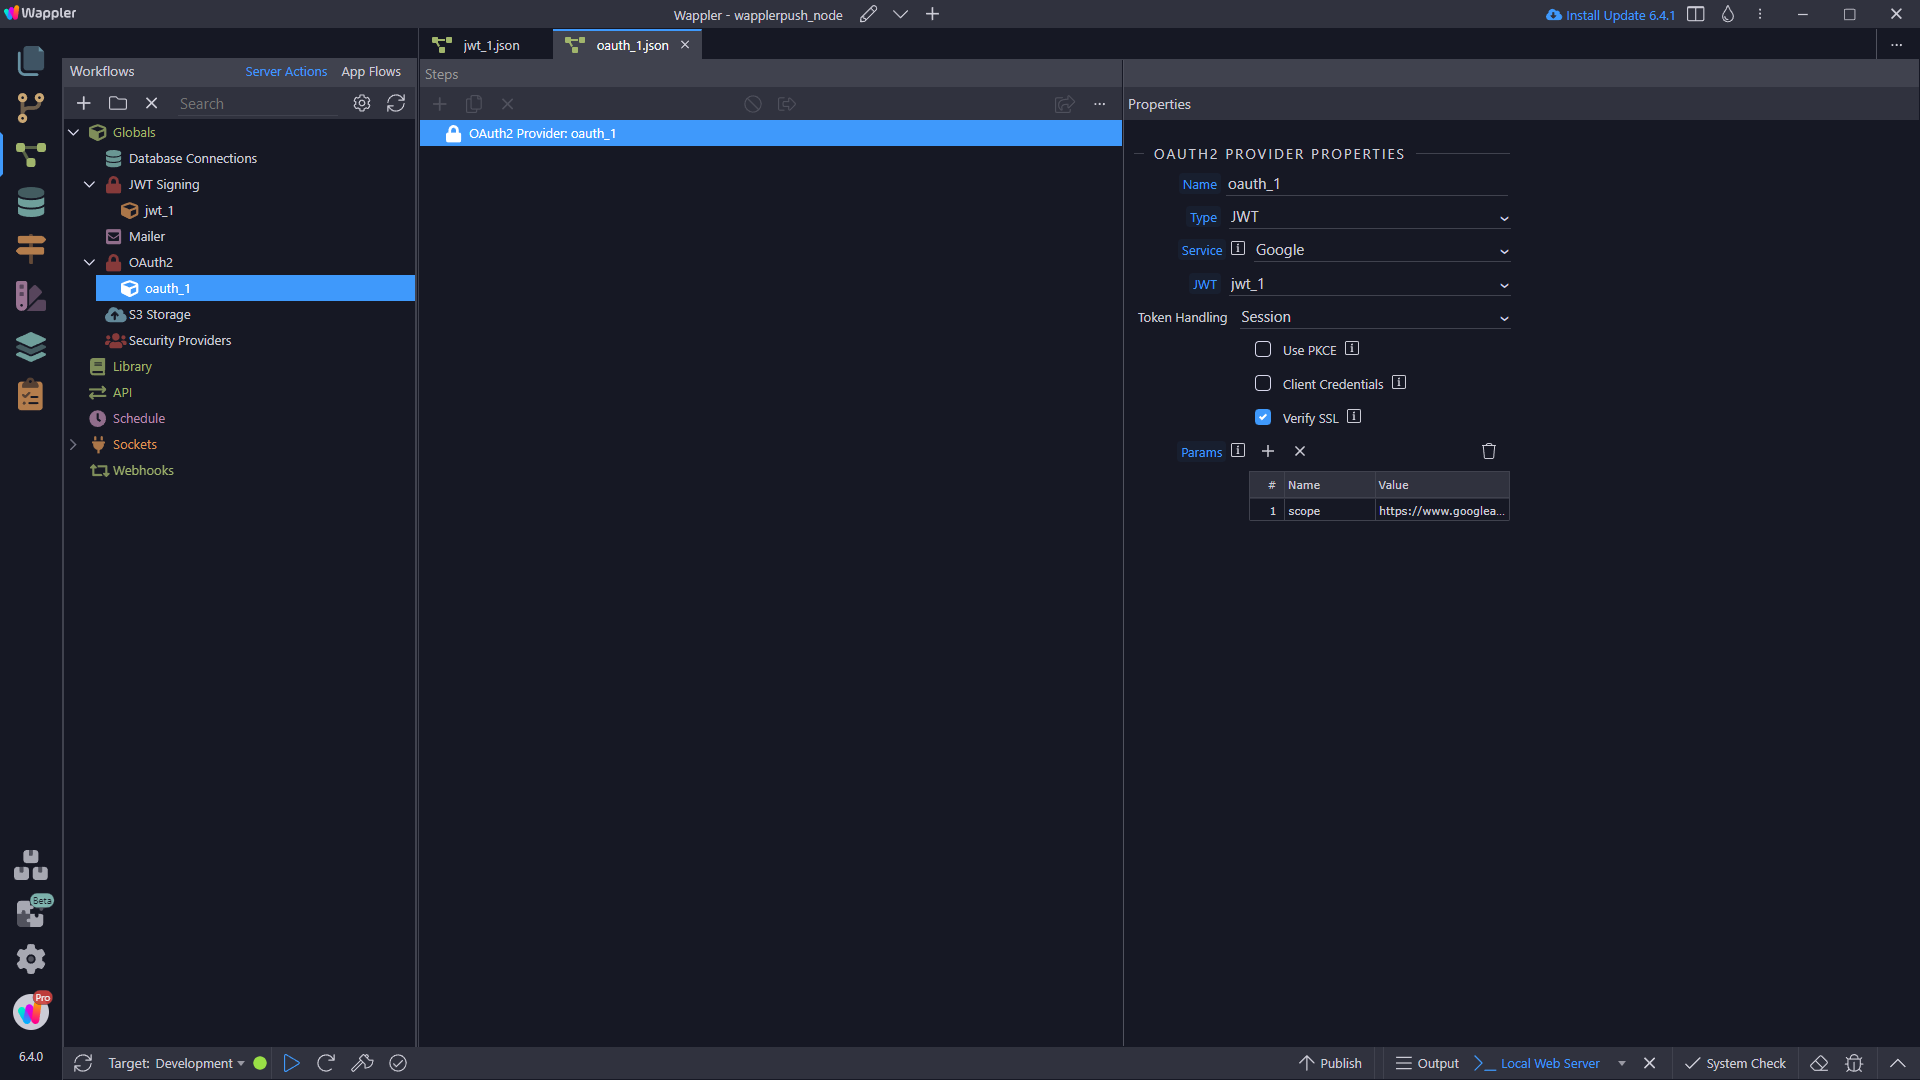
36 .- We create a new OAuth service we set to the JWT we created before, select Google as Service and we create a new scope with https://www.googleapis.com/auth/firebase.messaging:
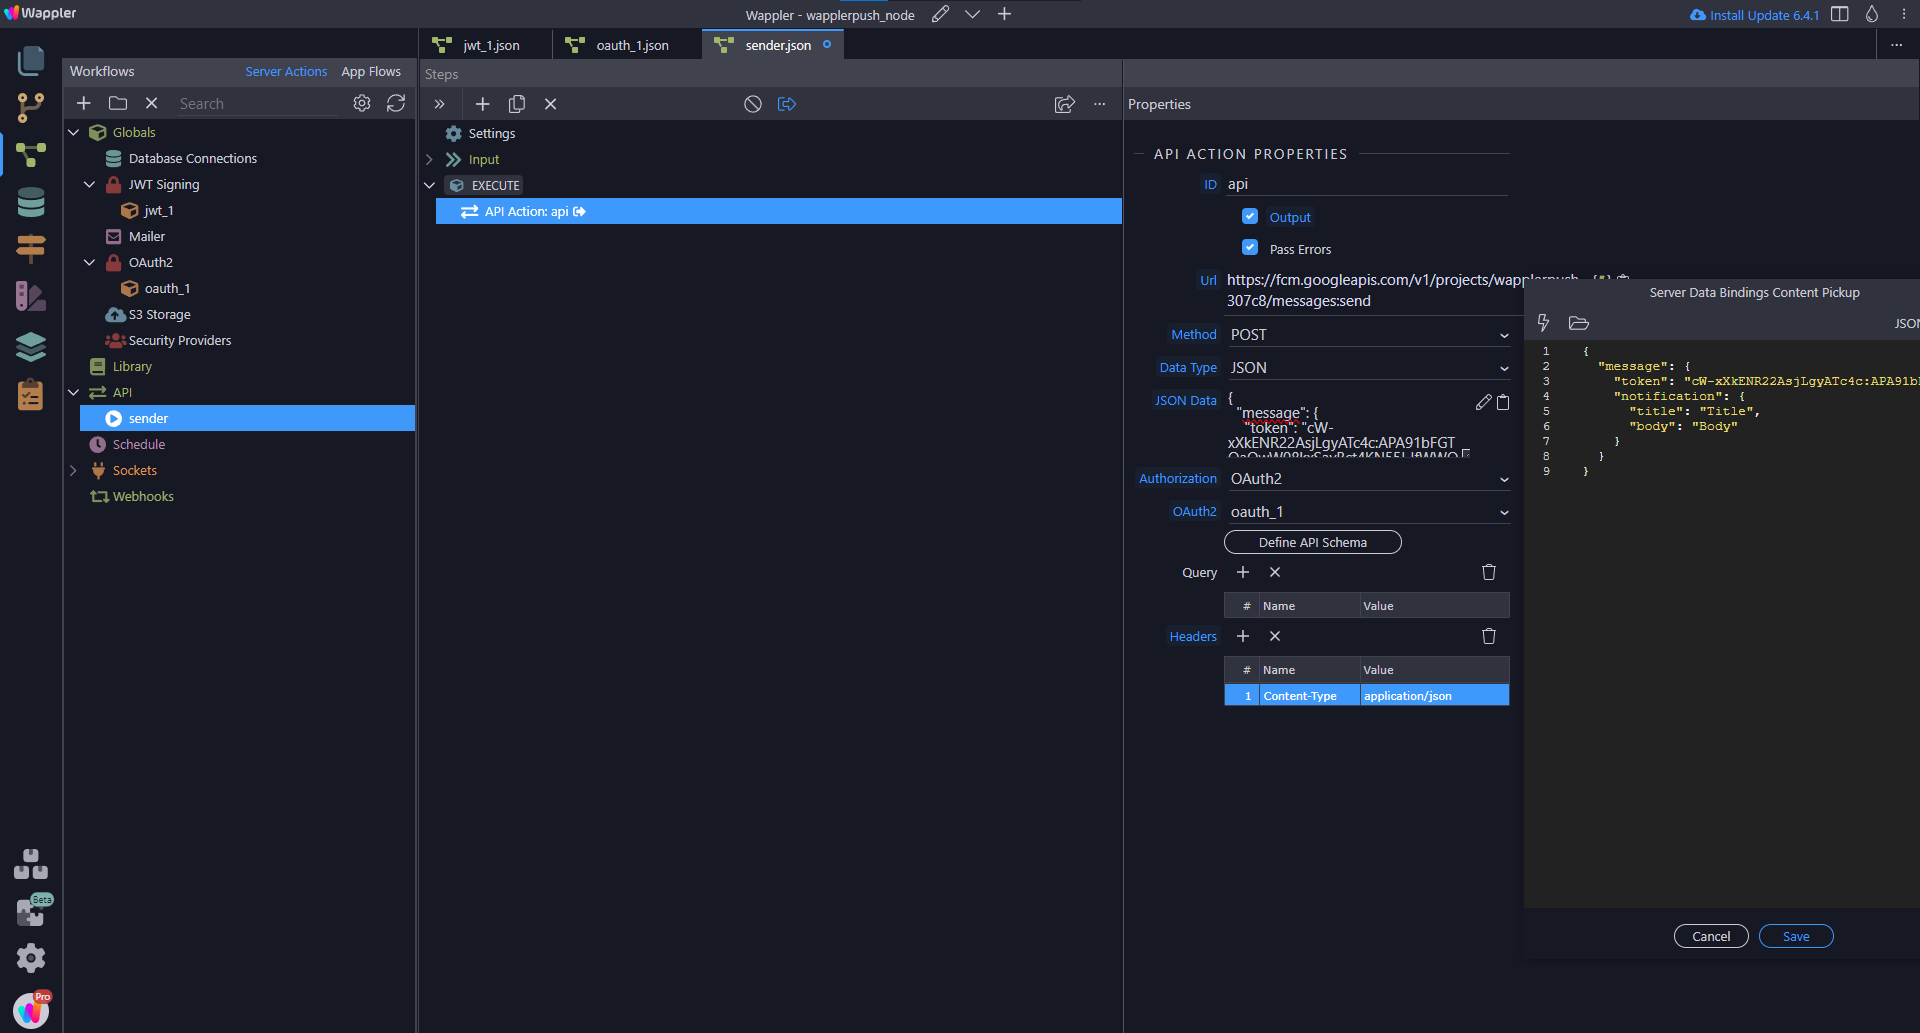
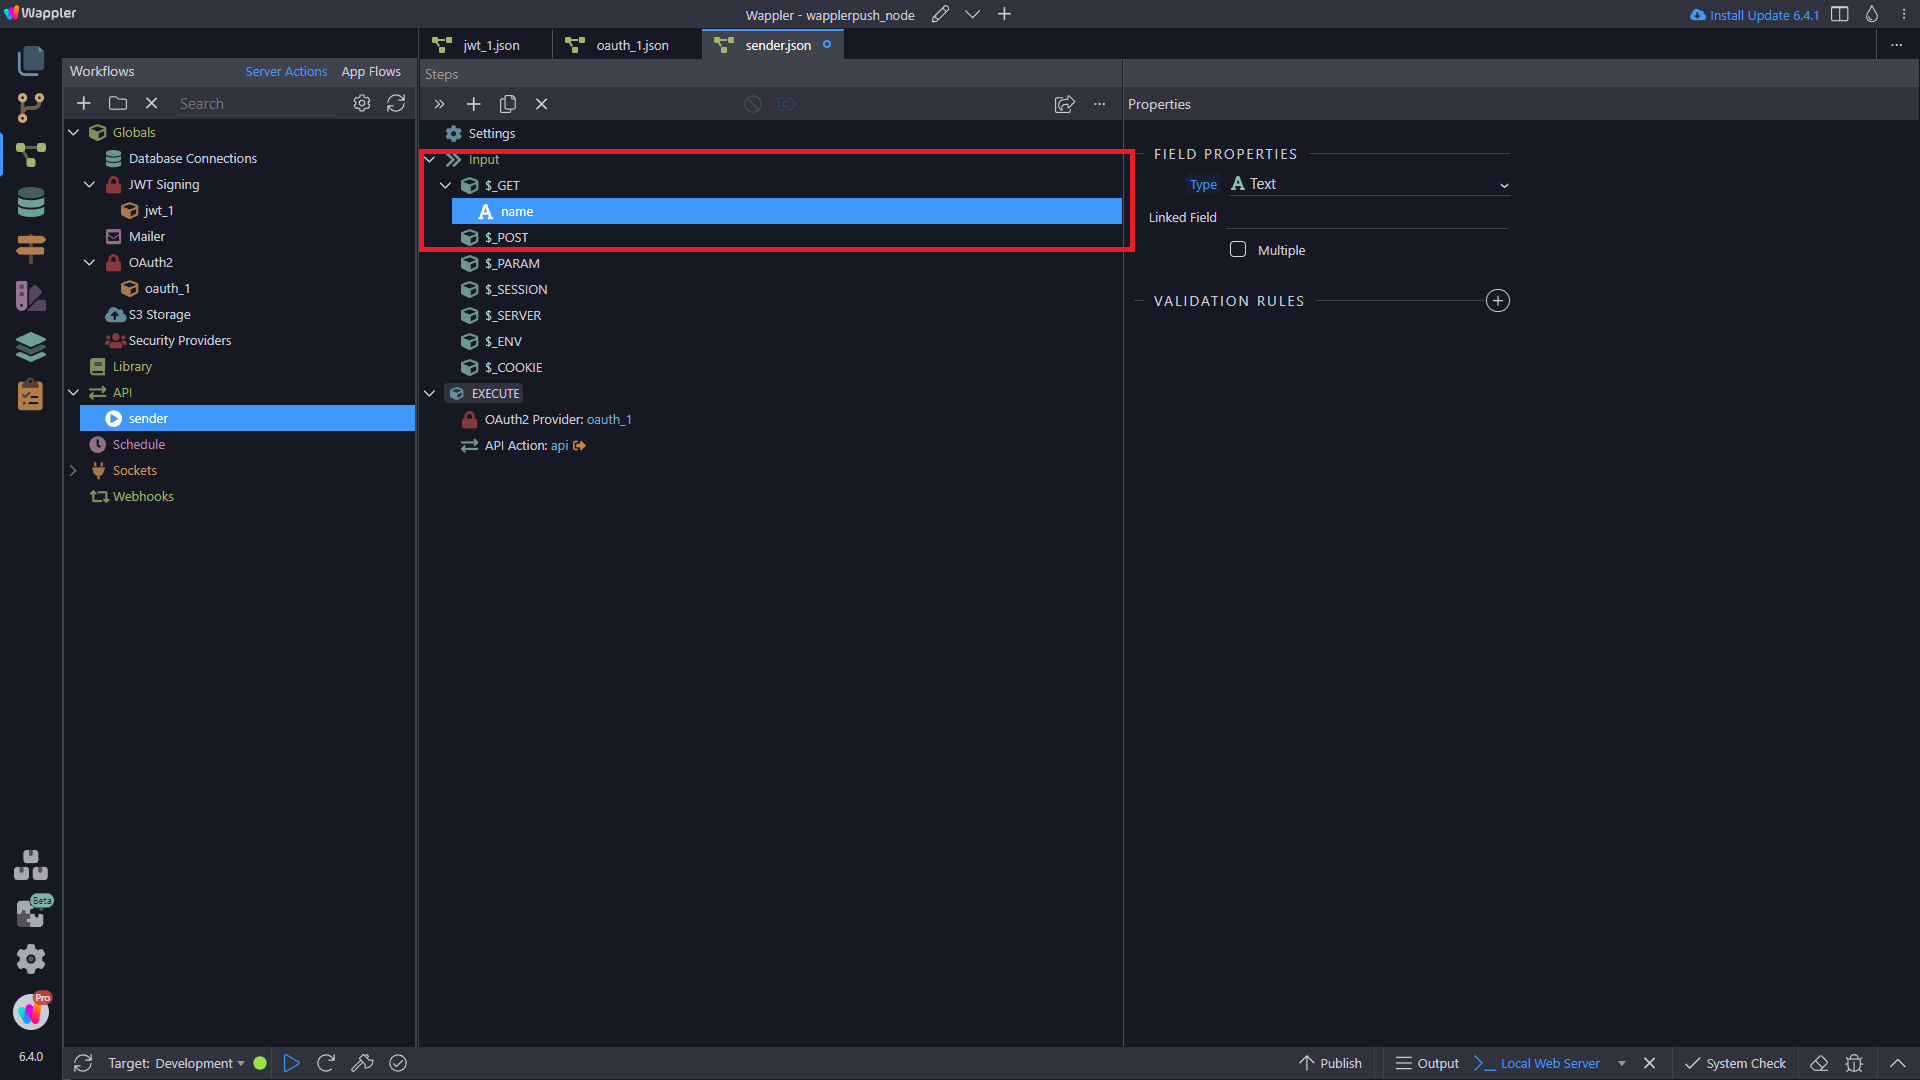
37 .- The API will handle all the job for us.
- Set the URL (
https://fcm.googleapis.com/v1/projects/PROJECTID/messages:send) - Select JSON and paste all the message there
- Select the OAuth2 authorization previously created
- And the header: “Content-type: application/json”
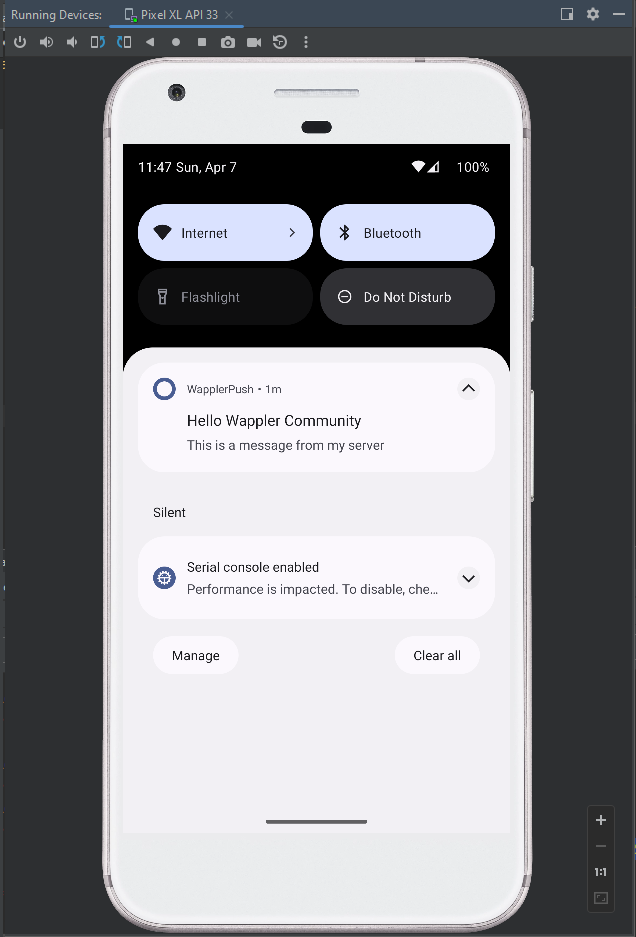
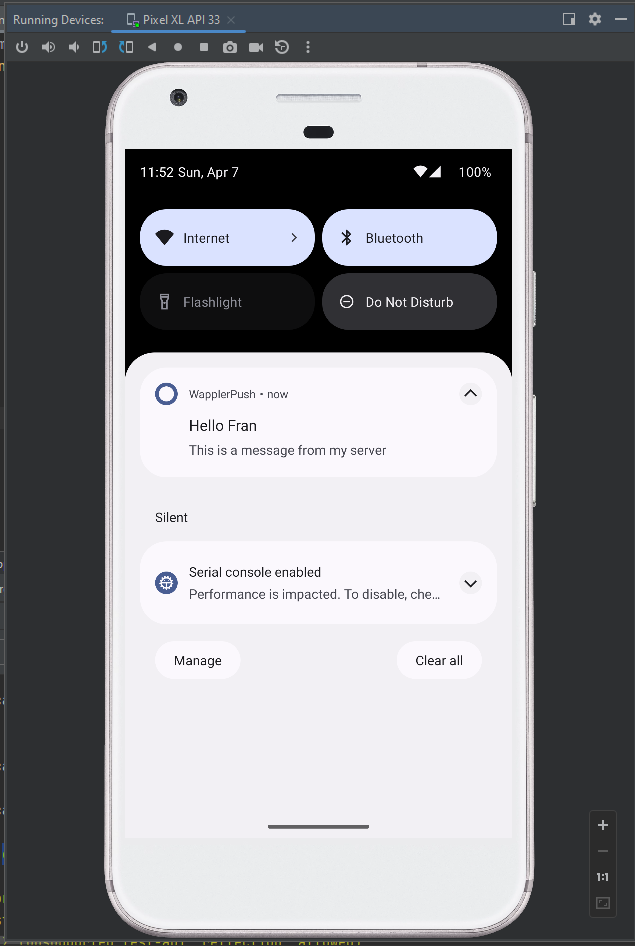
38.- I’m going to send this:
Hello Wappler Community
This is a message from my server
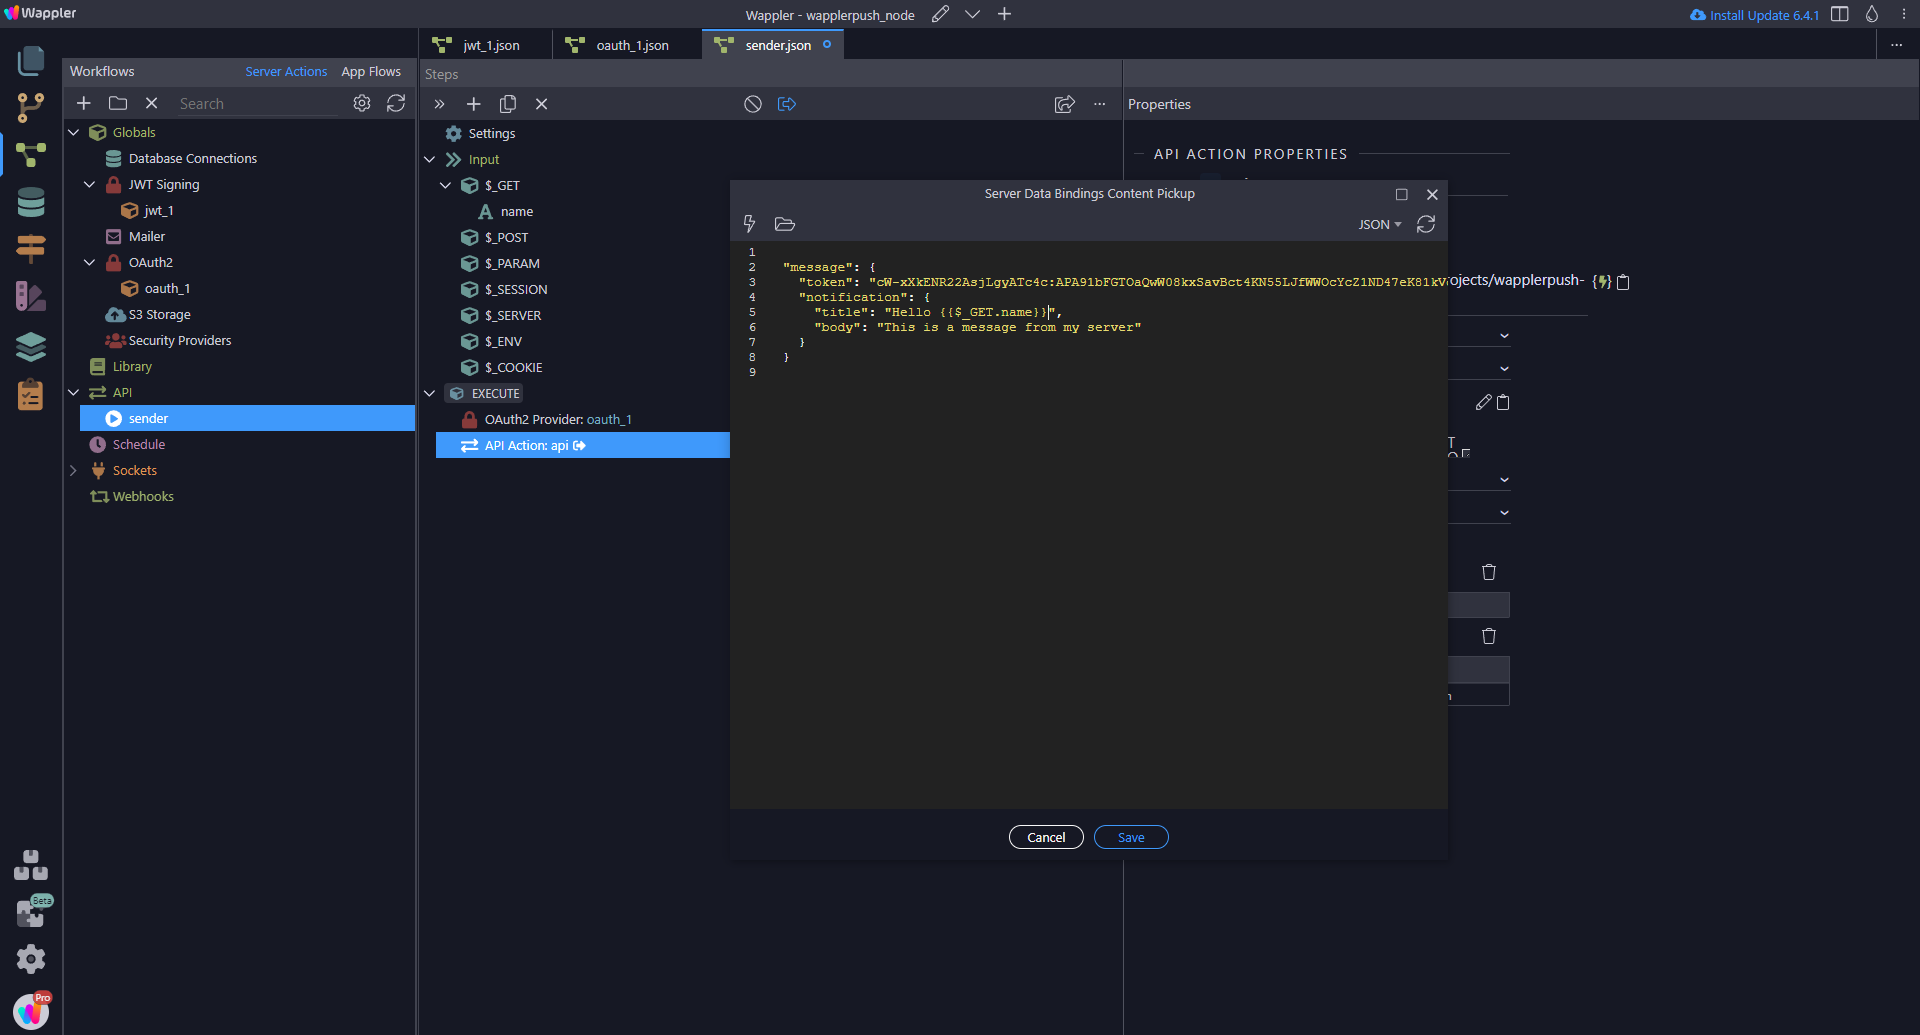
So the JSON will be:
{
  "message": {
    "token": "cW-xXkENR22AsjLgyATc4c:APA91bFGTOaQwW08kxSavBct4KN55LJfWWOcYcZ1ND47eK81kVoUr8lt63NmLjikZrHVTizZ6KbzdFIAy2JSDKvcUCnwsBduxq8-vfmrOYbAeNyD_pzkYroYMLNOGryhVAz7FC7dh2a6",
    "notification": {
      "title": "Hello Wappler Community ",
      "body": "This is a message from my server"
    }
  }
}
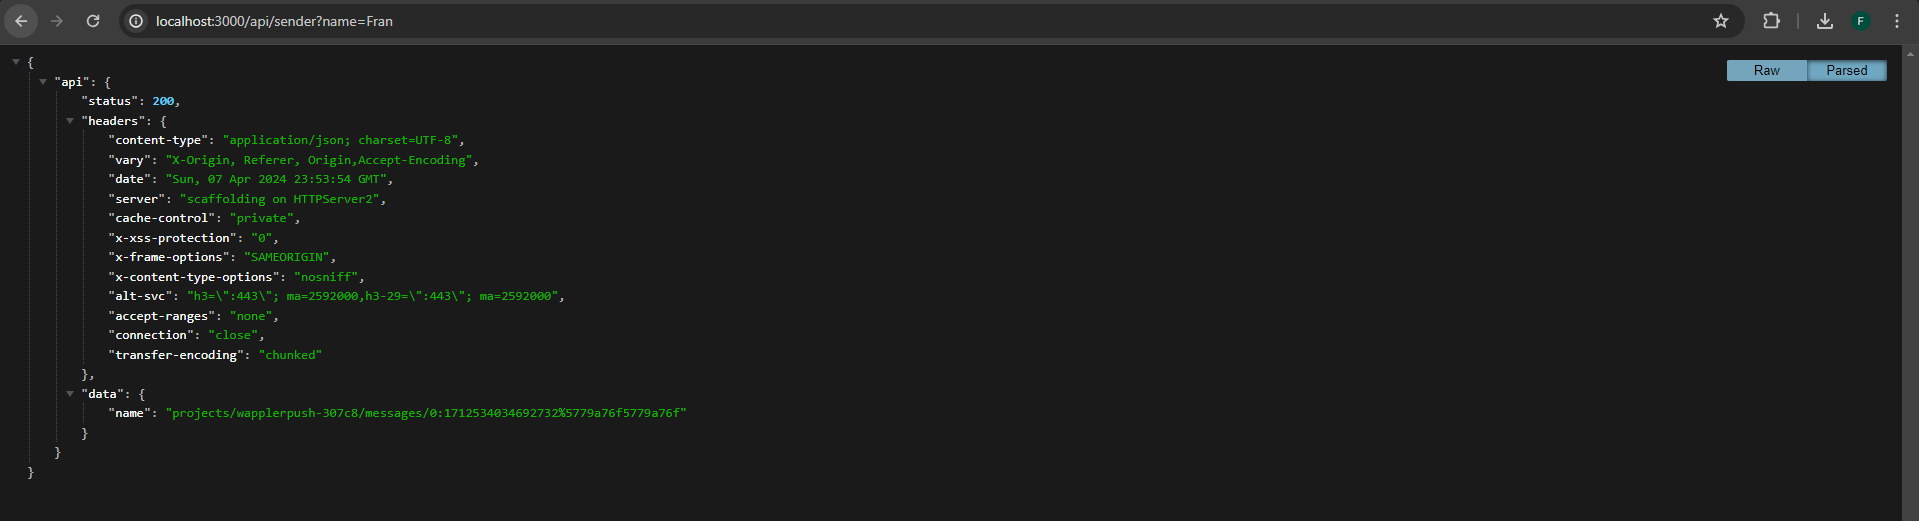
We test the API and:
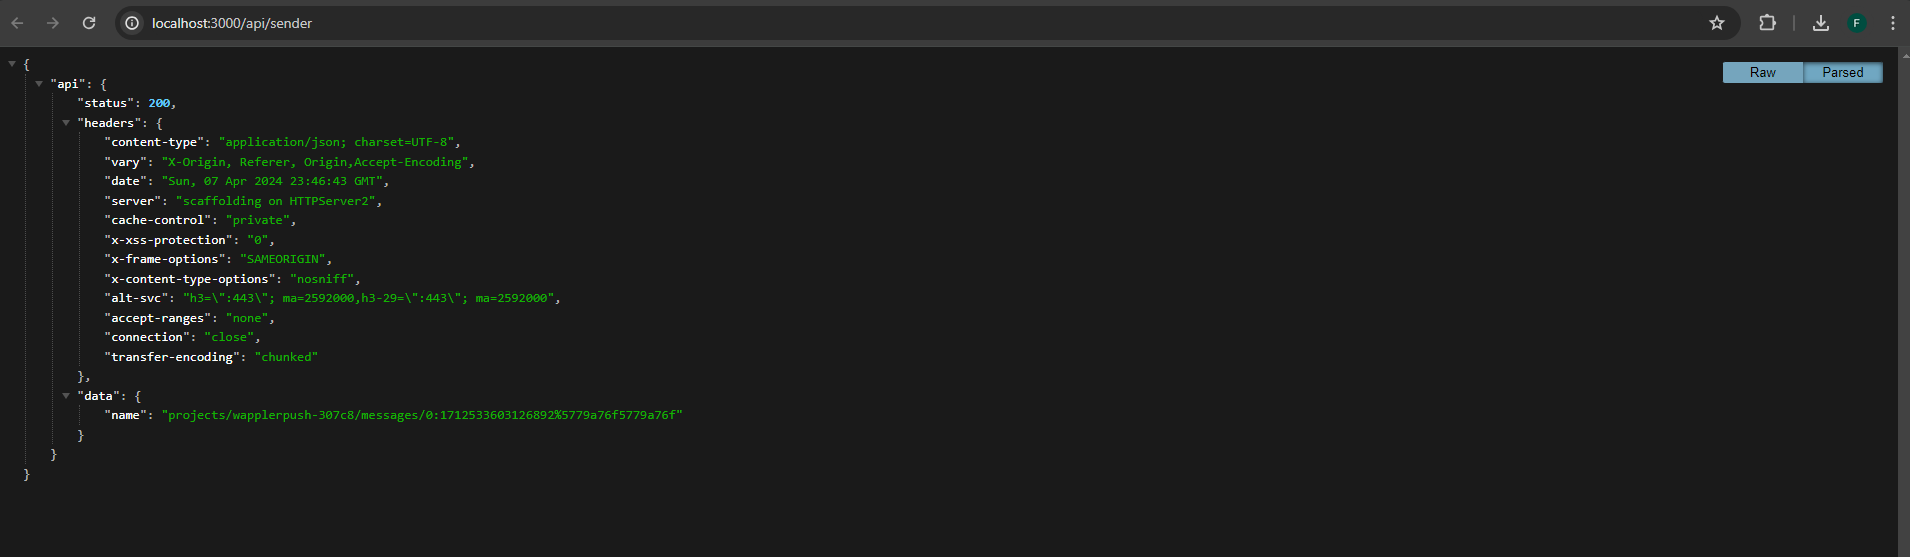
If you need to send dynamic values just use them on the JSON, for example:
Extra: Navigation and parameters
Thanks all for reading, I hope you can find this useful on the future 