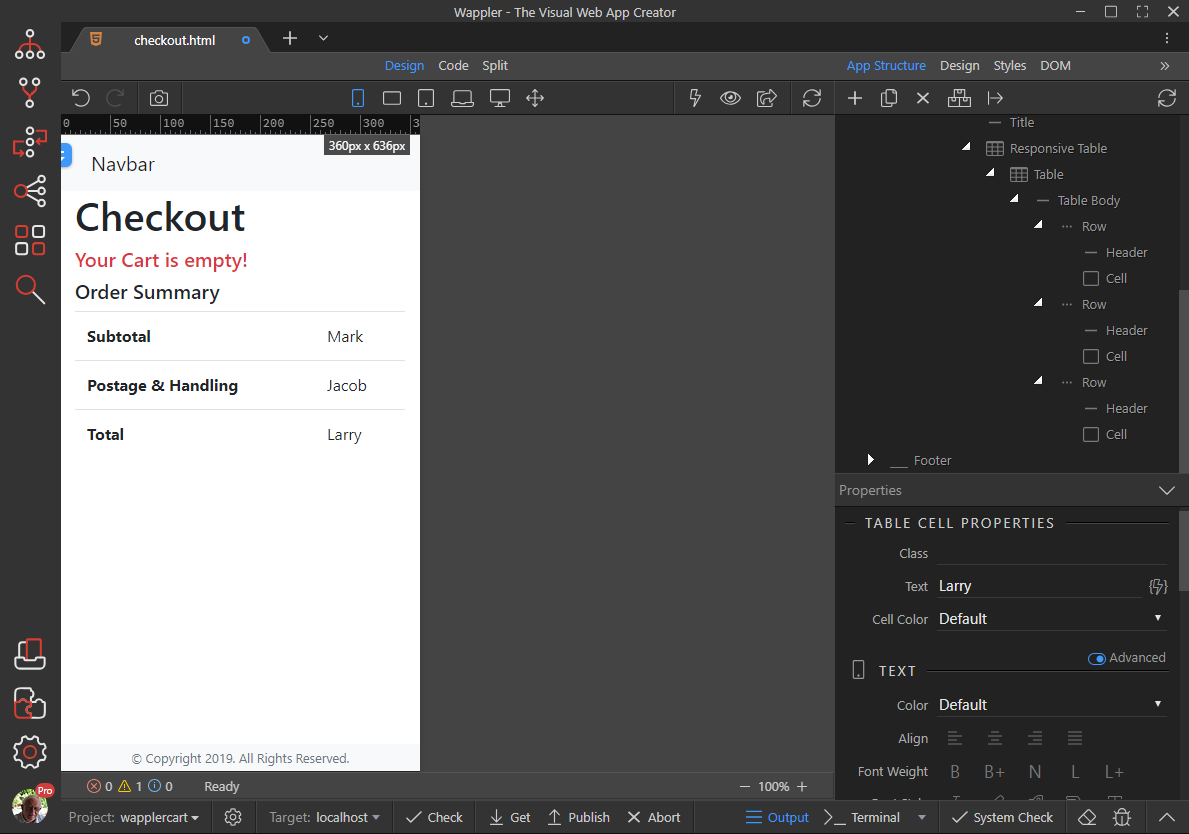
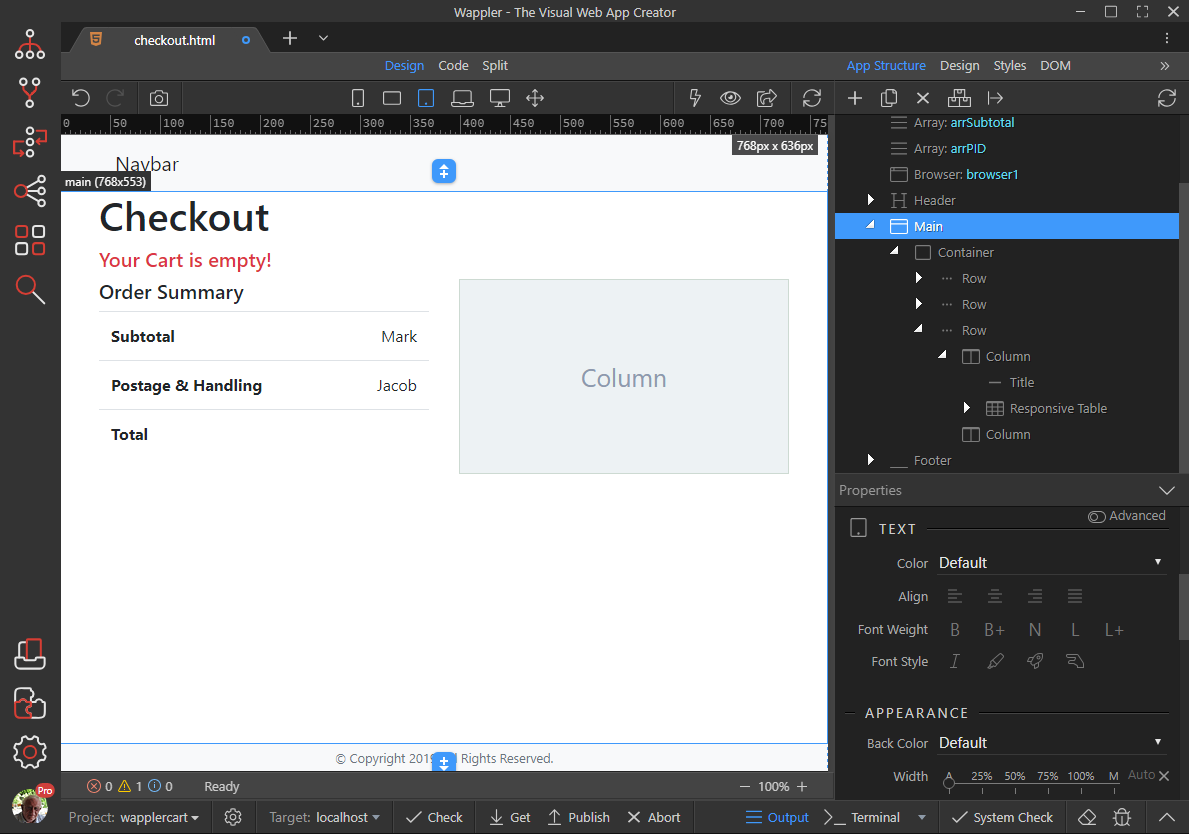
For this part of the wCart Tutorial, we will create a page that will look like
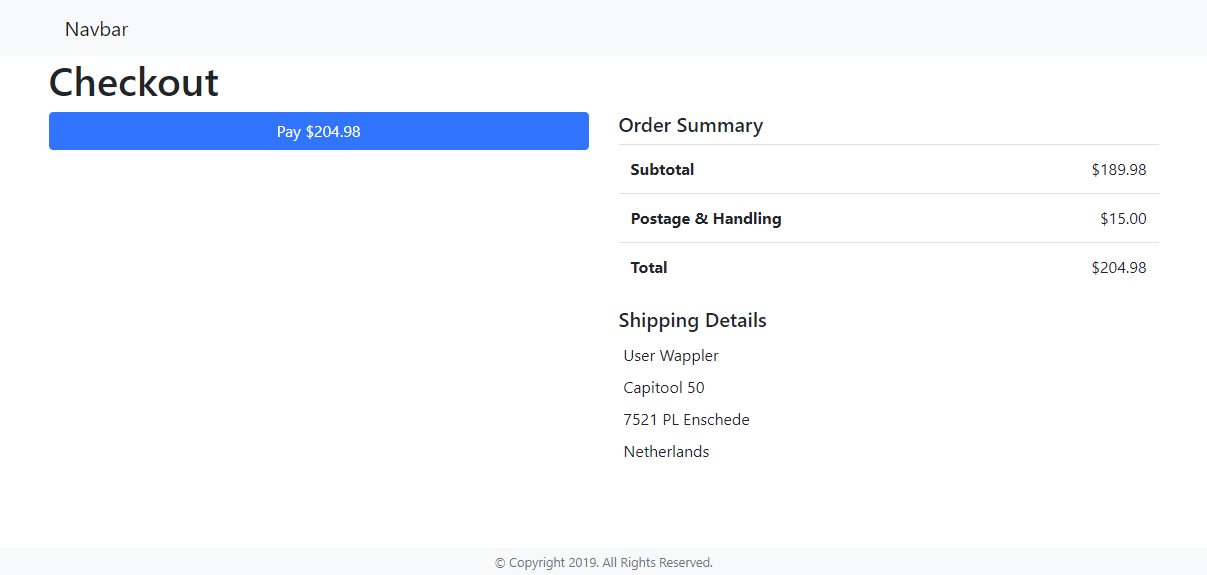
-
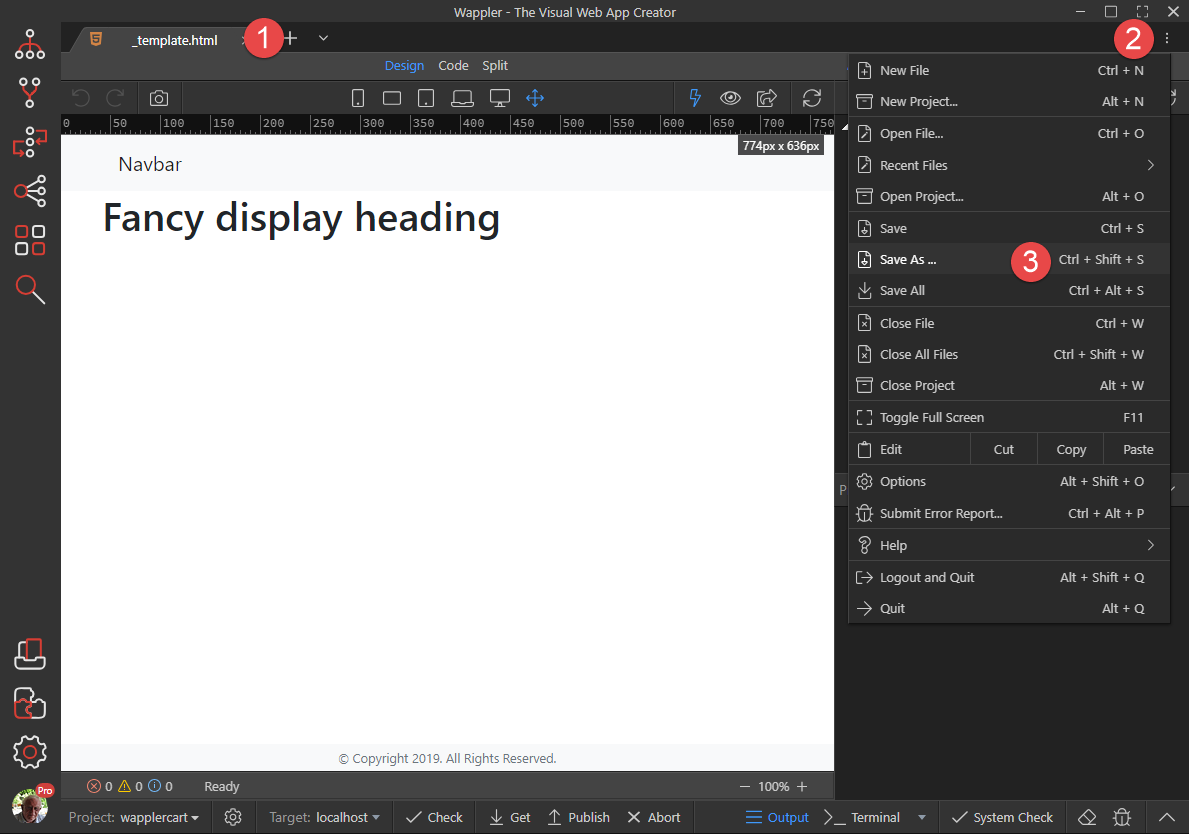
Load the _template.html page (1), click the Menu button (2) and select Save As (3)
-
In the pop-up, give the new file a name (1), we have called it cart.html, and click Save (2)
-
Double click the Title (1) and change the text
-
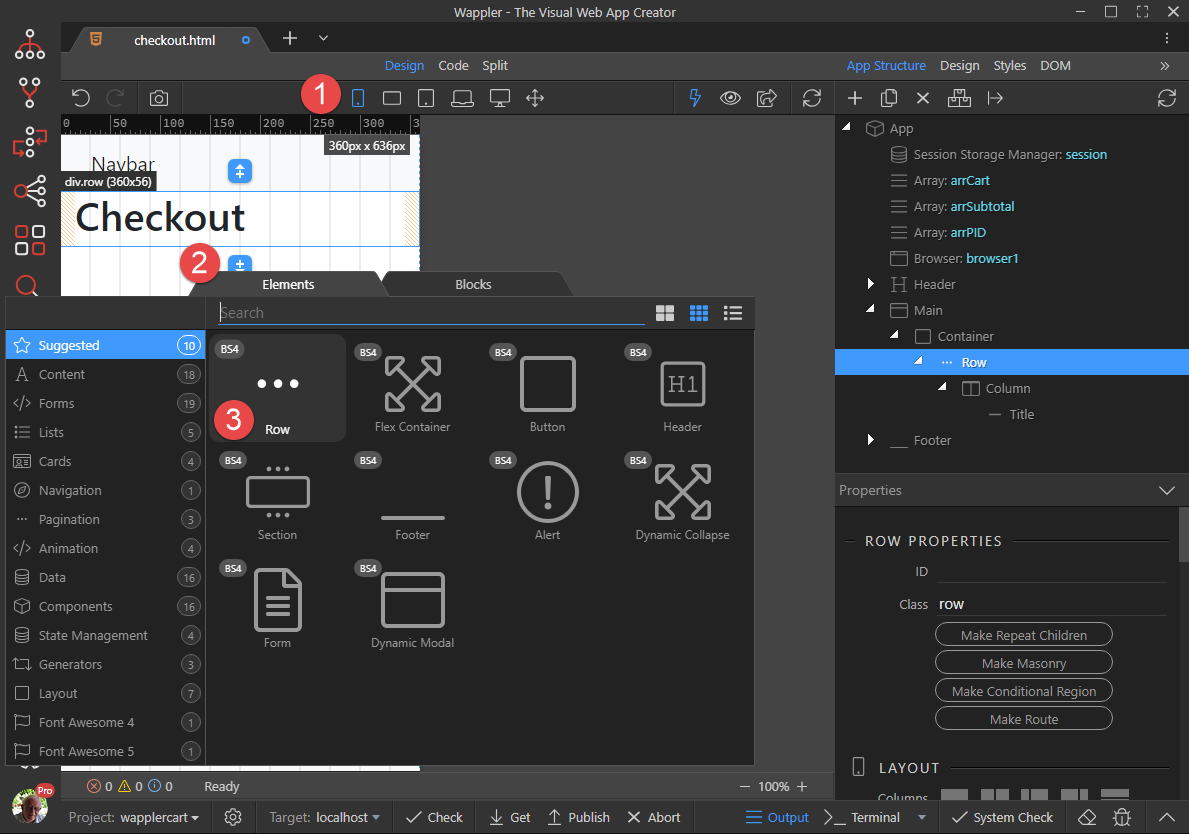
Because Bootstrap is structured mobile first, we will now go to the mobile view (1), click the Insert After button (2) and Row (3)
-
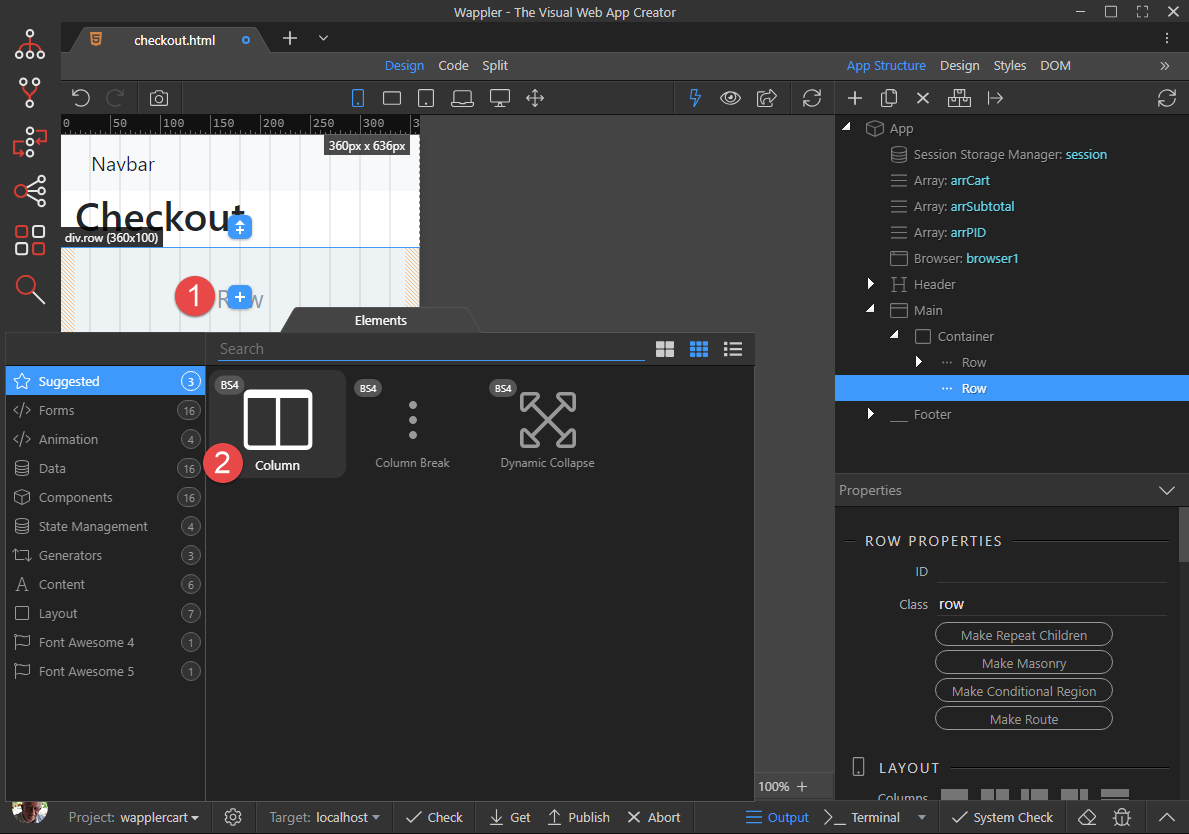
Right click the Insert Child button (1) and click on Column (2)
-
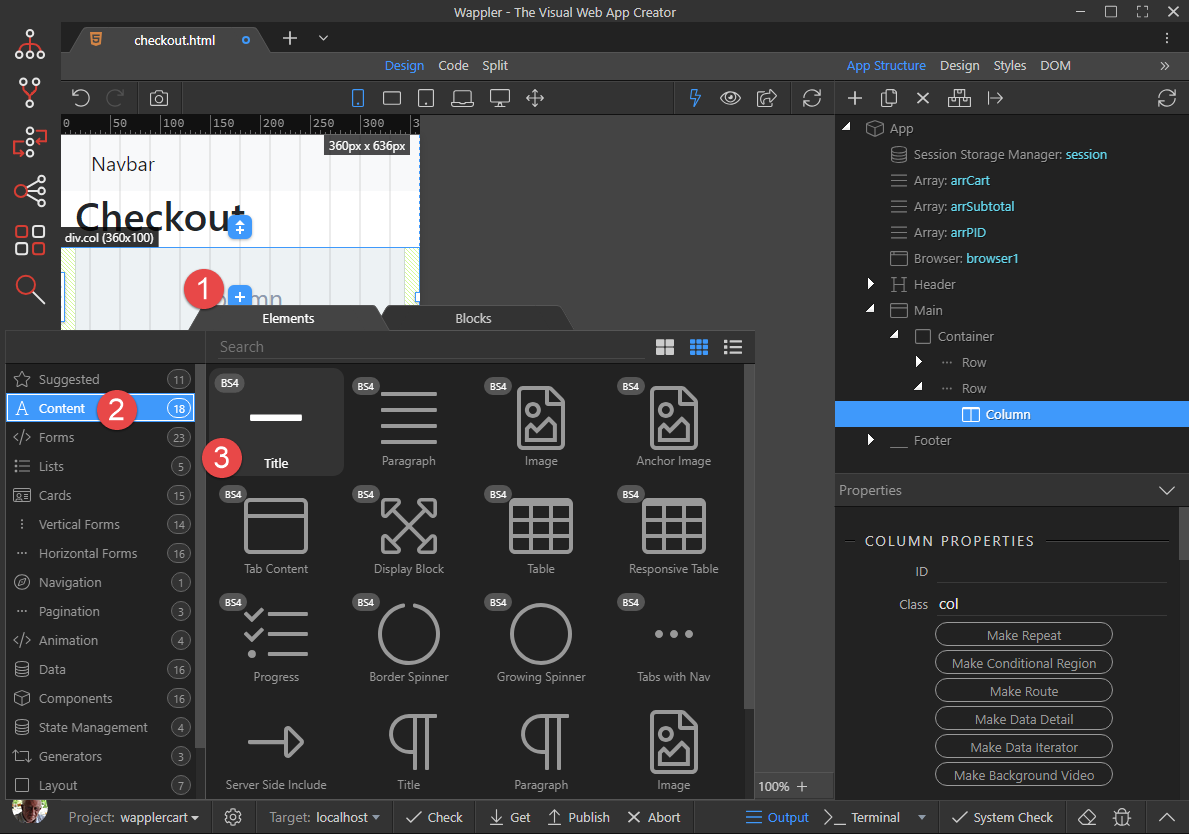
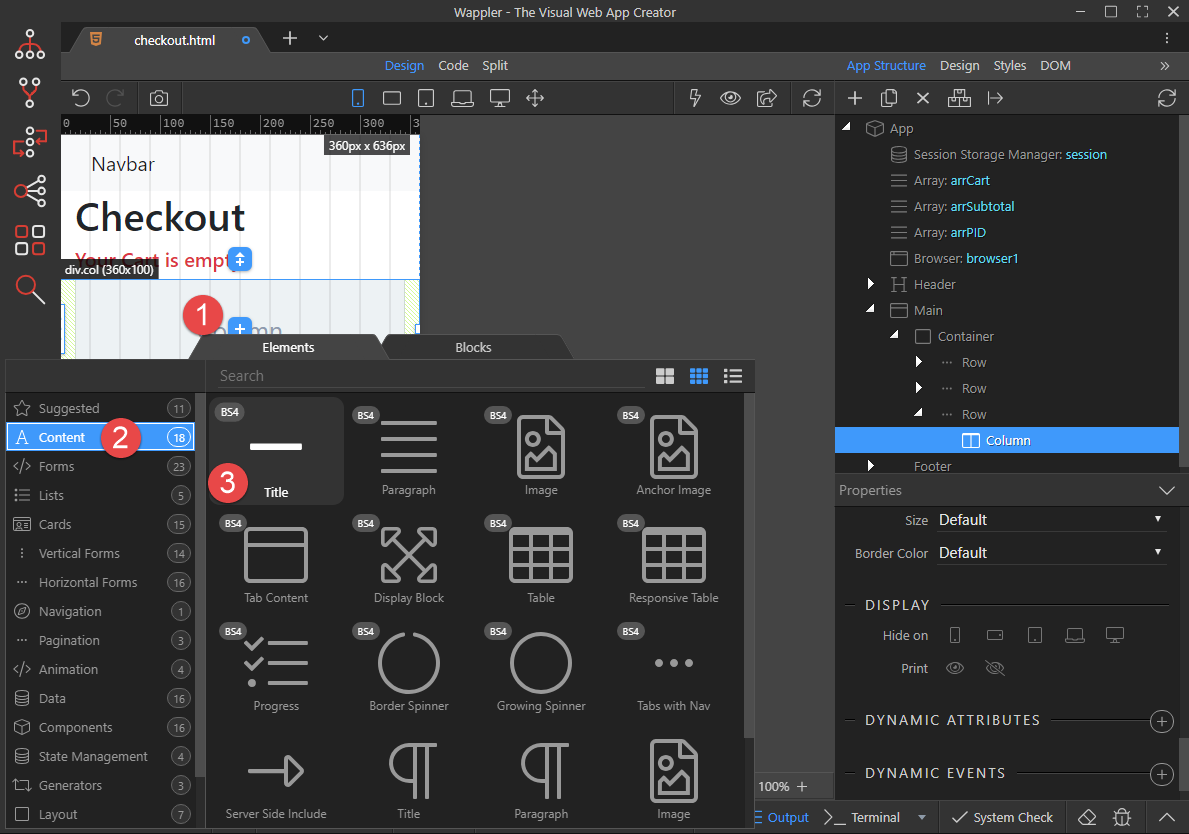
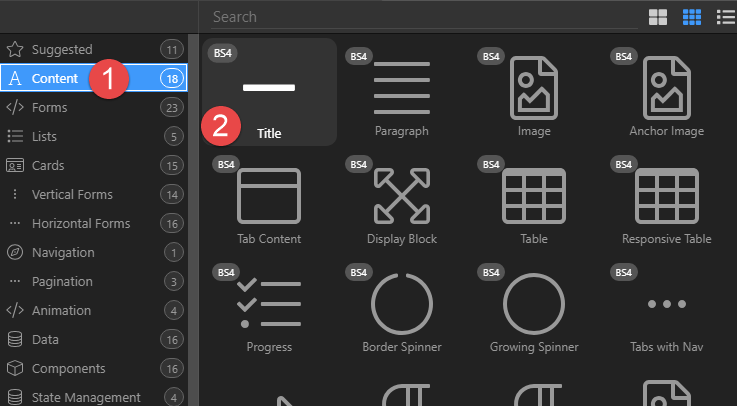
Right click the Insert Child button (1), choose Content (2) and click on Title (3)
-
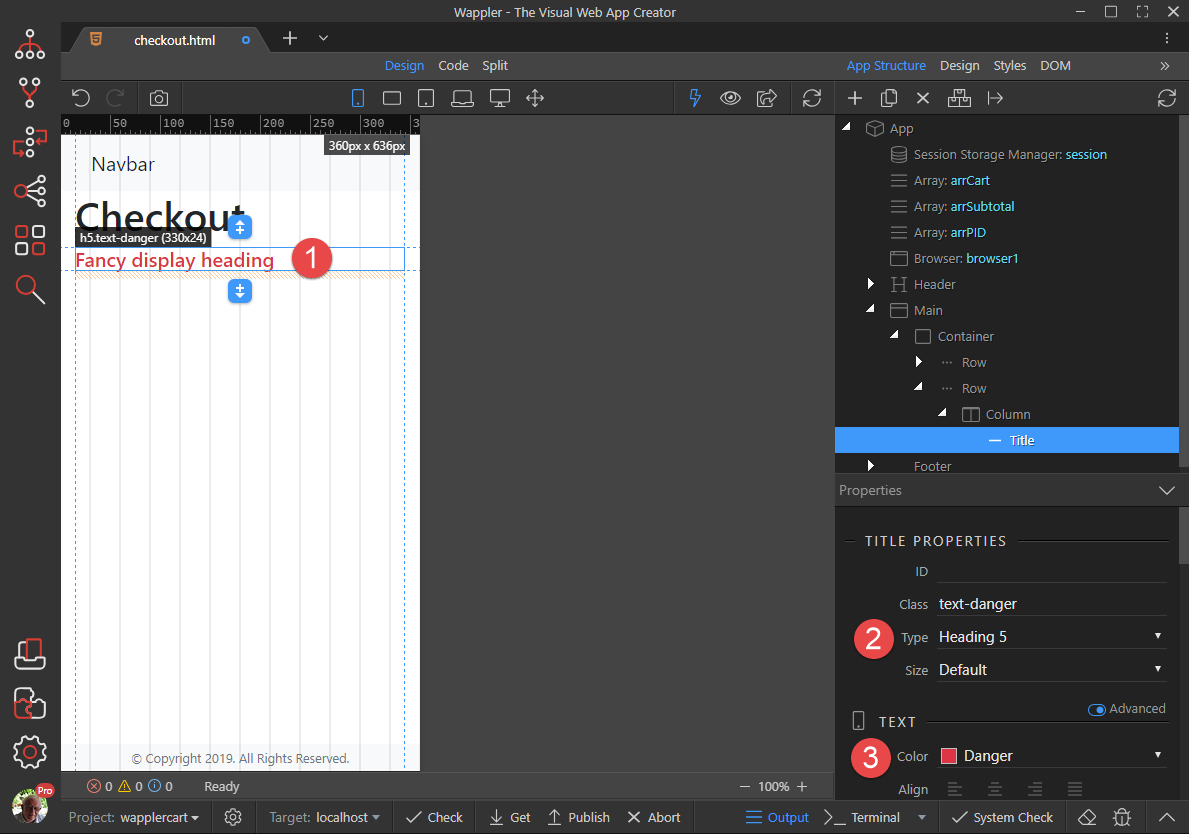
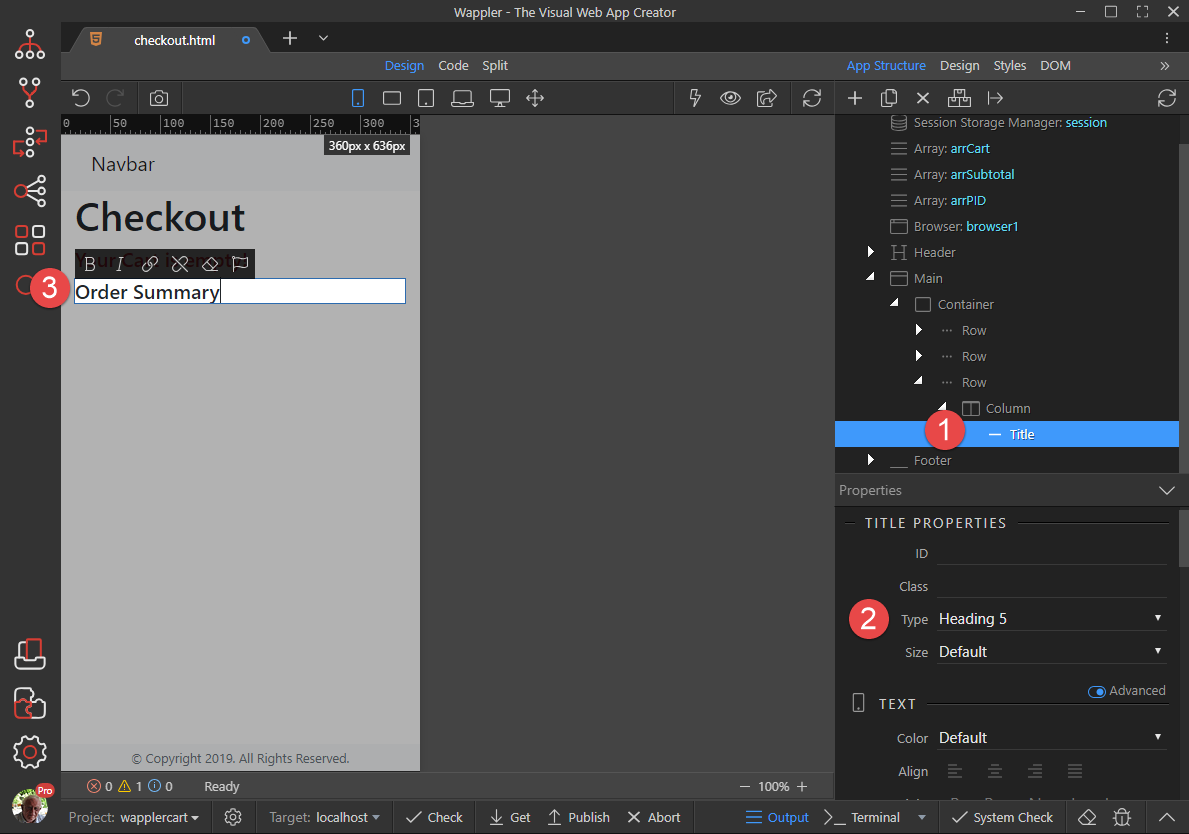
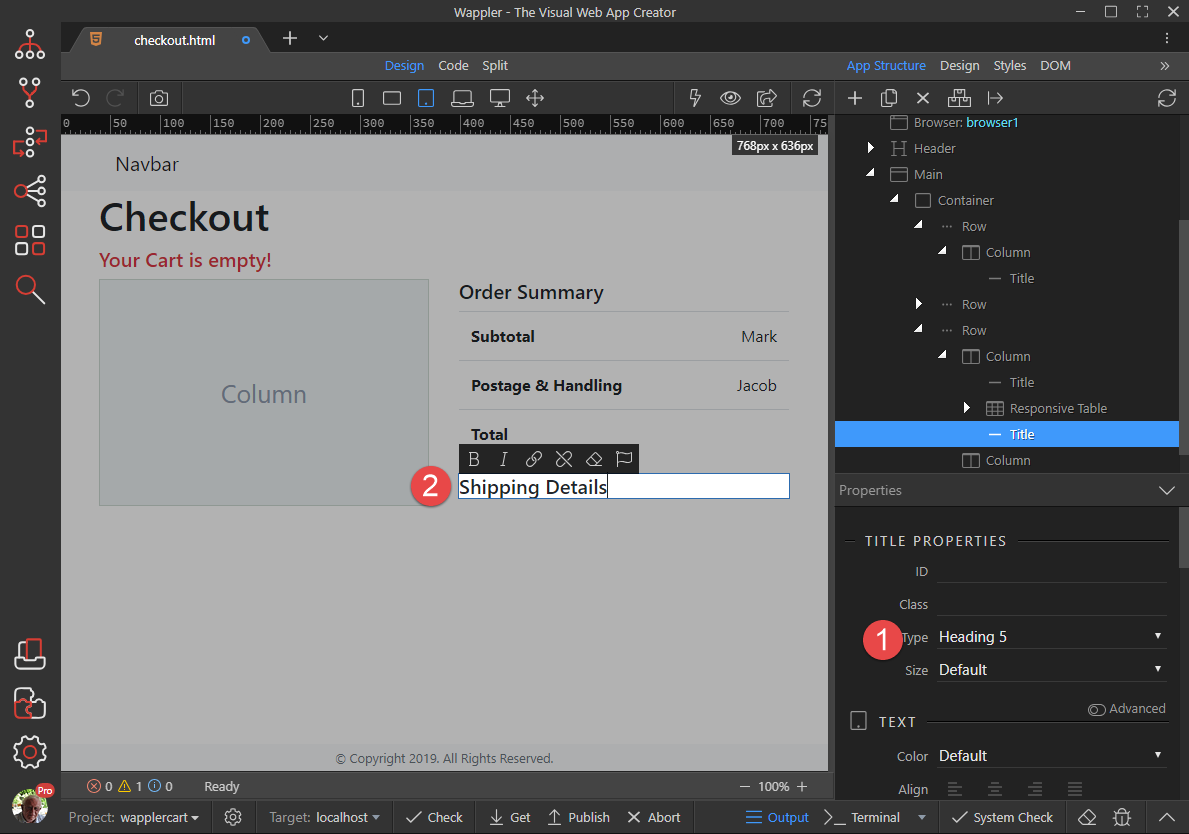
With the Title (1) selected, change the Type (2) to Heading 5 and the Text Colour (3) to Danger
-
Double click the Title (1) and change the wording.
-
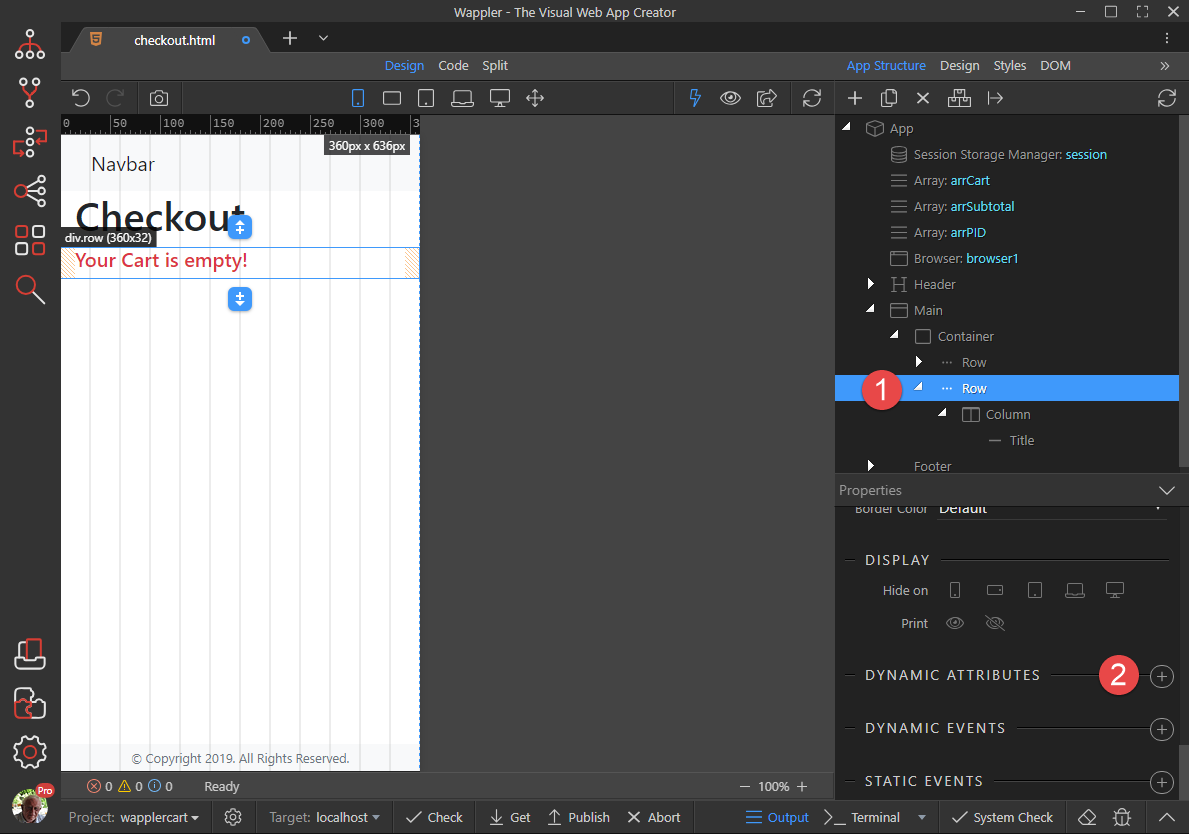
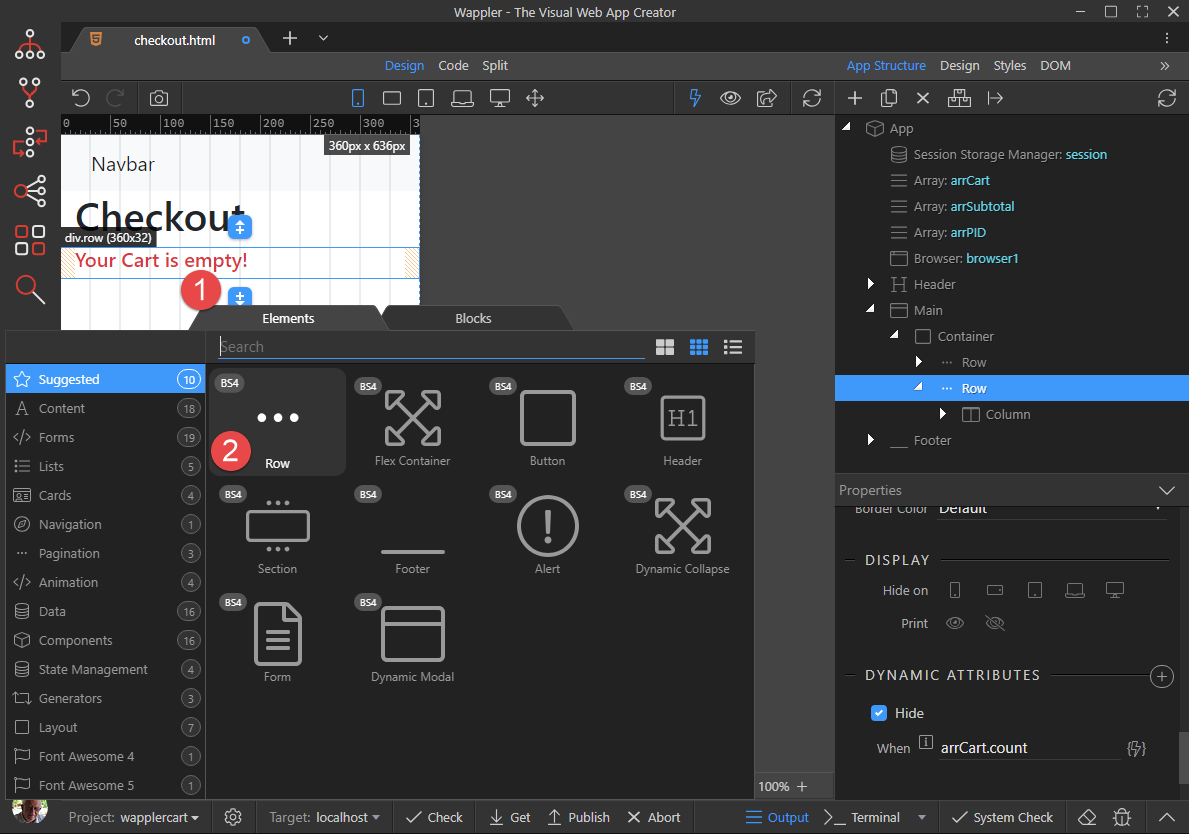
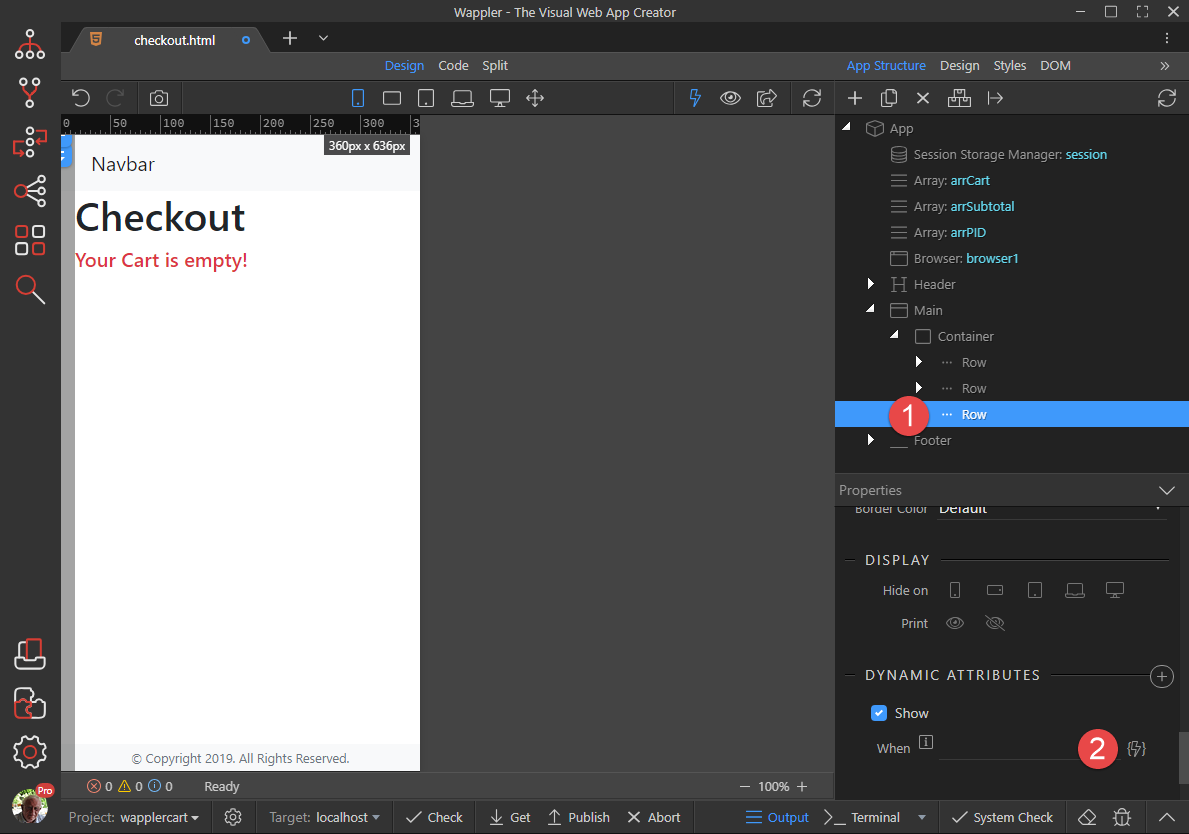
Select the Row (1) containing the Title and click on Dynamic Attributes (2)
-
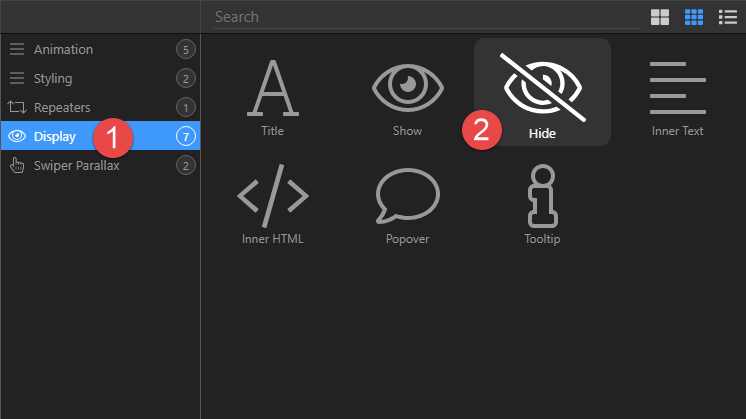
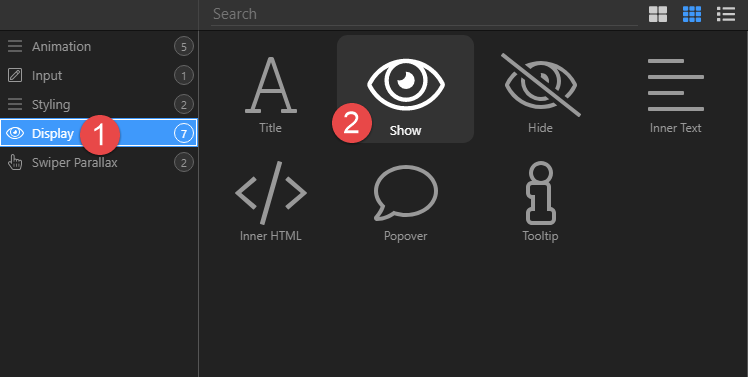
In the pop-up, select Display (1) and click on Hide (2)
-
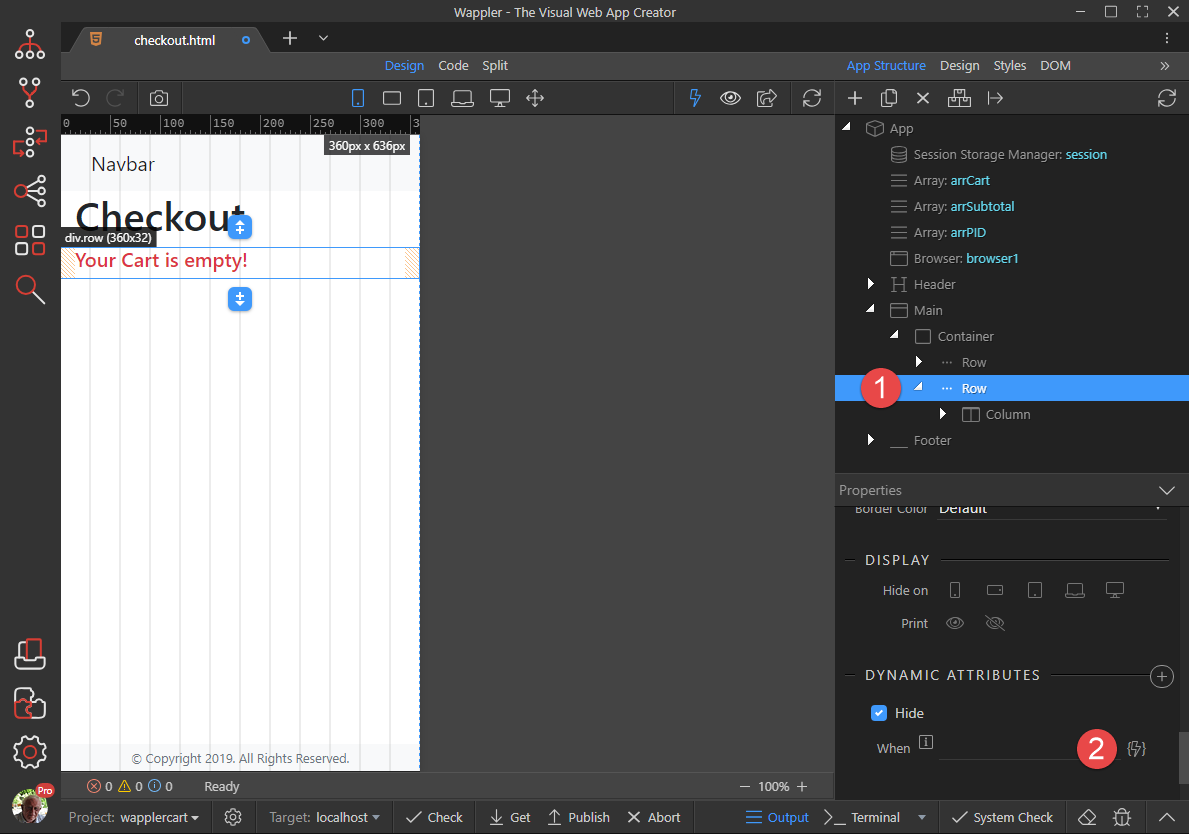
With the Row (1) still selected, click the When button (2)
-
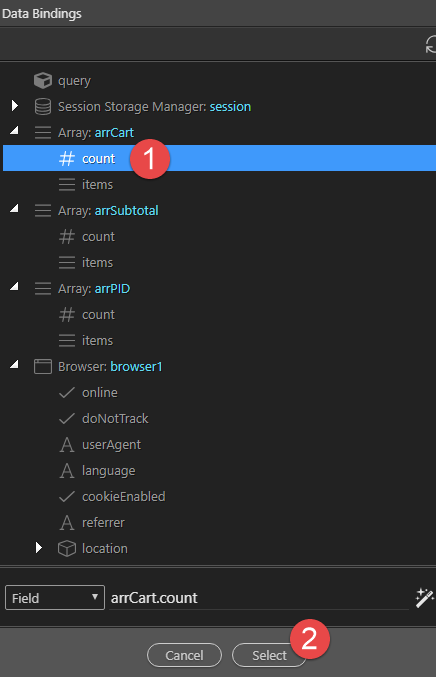
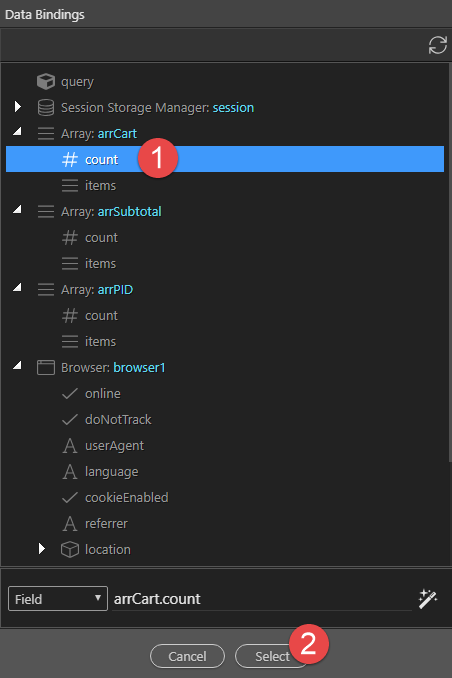
In the pop-up, select Array:arrCart (1) and click Select (2)
-
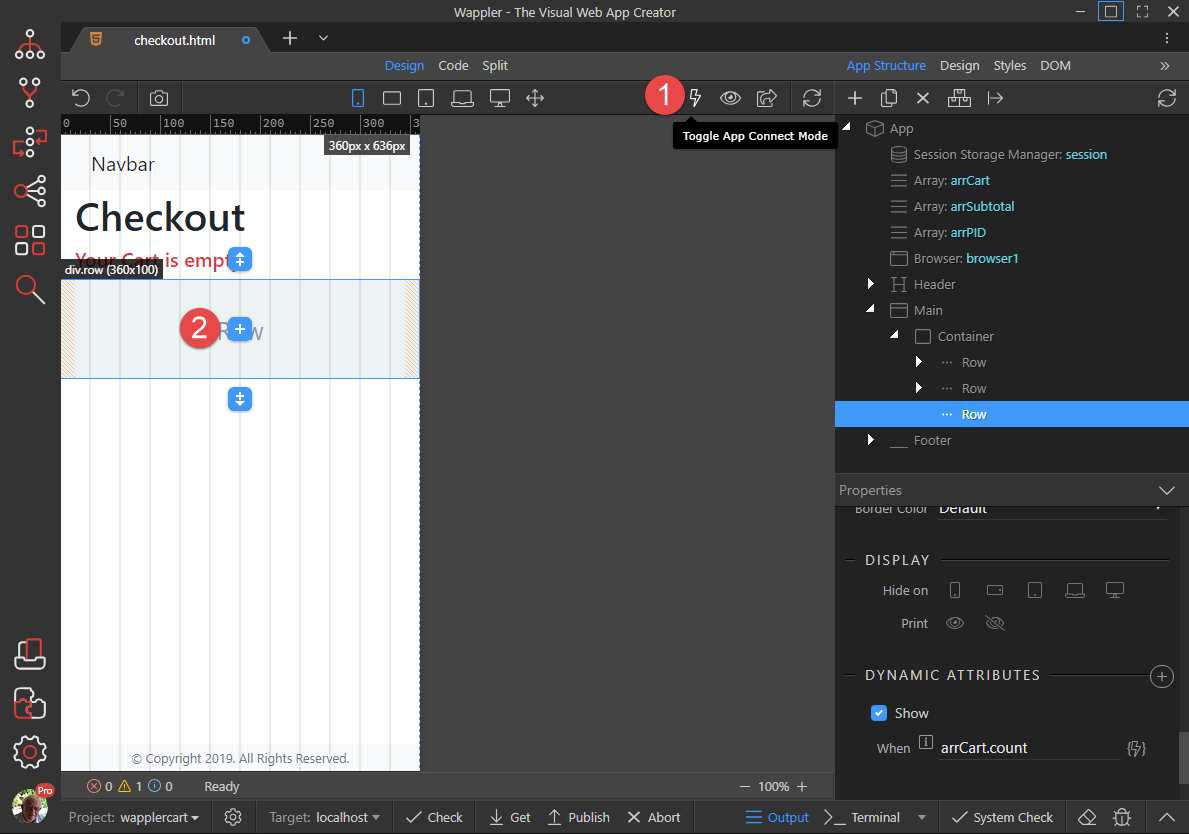
Click the Add After button (1) and click on Row (2)
-
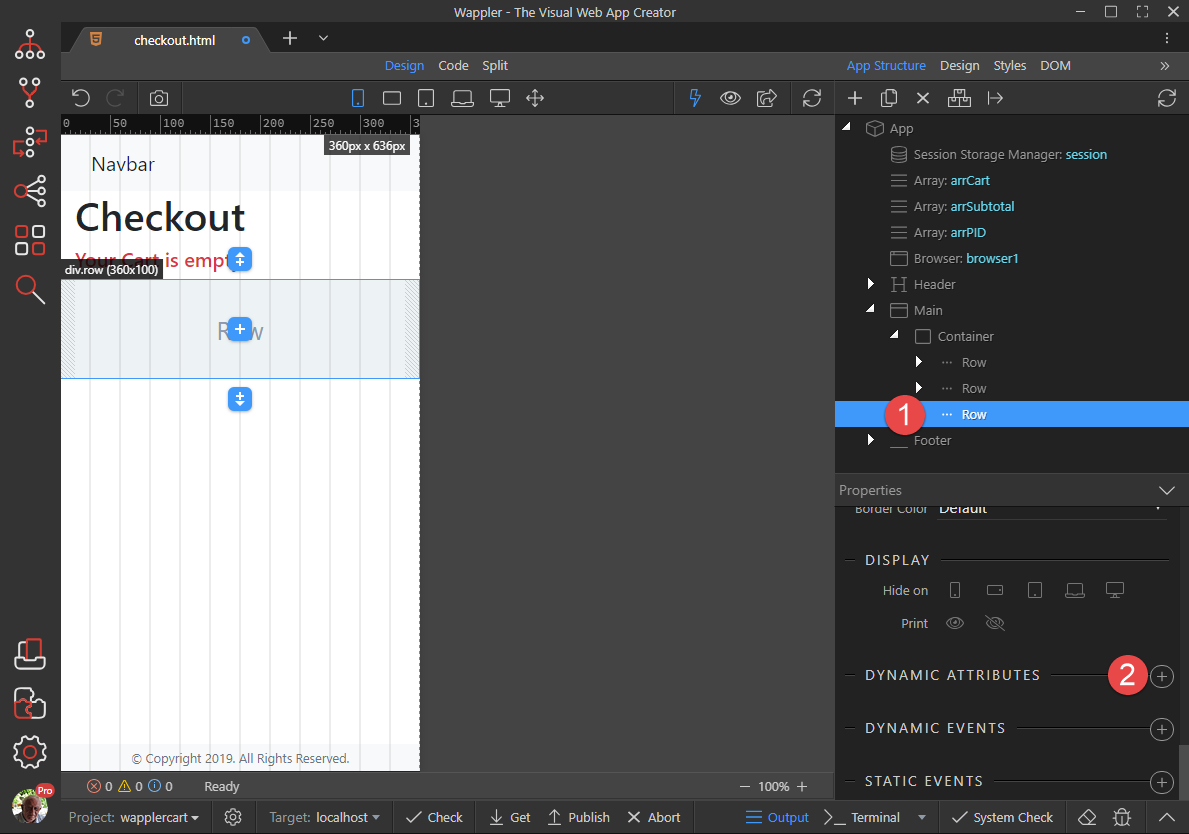
With the new Row (1) selected, click on Dynamic Attributes (2)
-
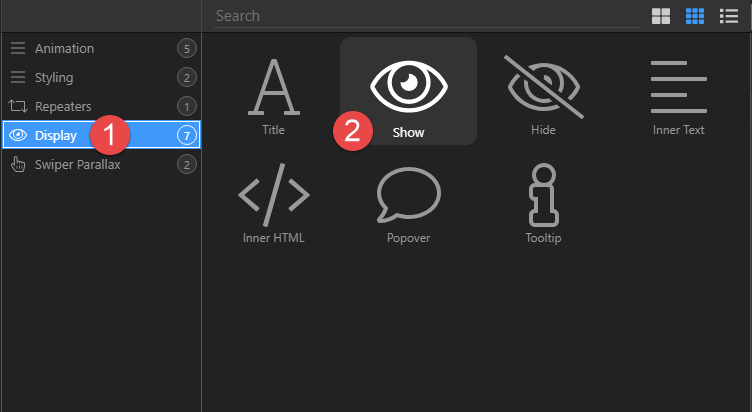
In the Pop-up choose Disp[lay(1) and clcik on Show (2)
-
Withe the Row (1) still selected, click on the When button (2)
-
In the pop-up, click on Array: arrCart (1) and Select (2)
-
So that we can see the hidden content, click the Toggle button (1) and click the Insert Child button (2)
-
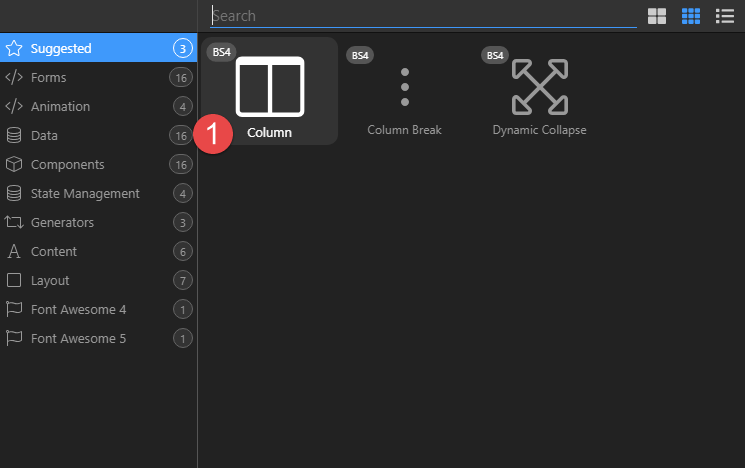
Click Column (1)
-
Click the Insert Child button (1), choose Content (2) and click Title (3)
-
With Title (1) selected, change the heading Type (2) to Heading 5, double click the Title (3) and change the wording
-
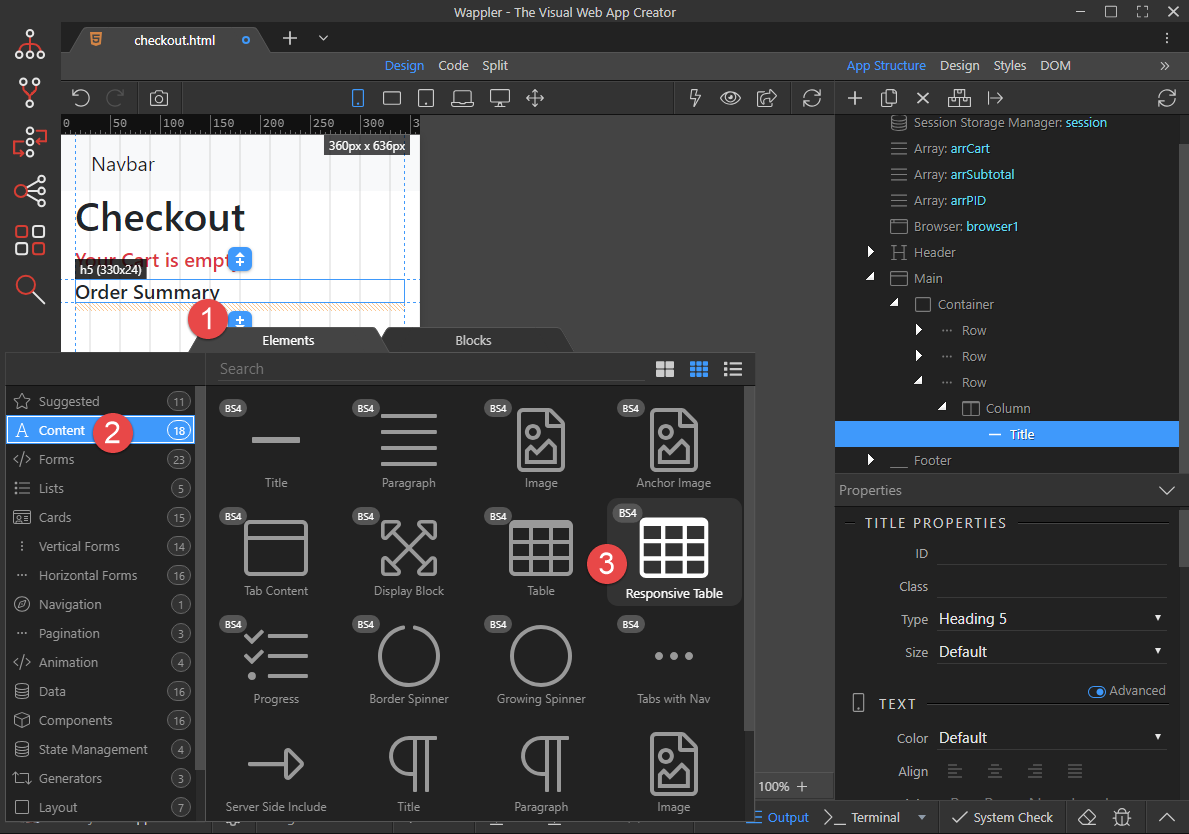
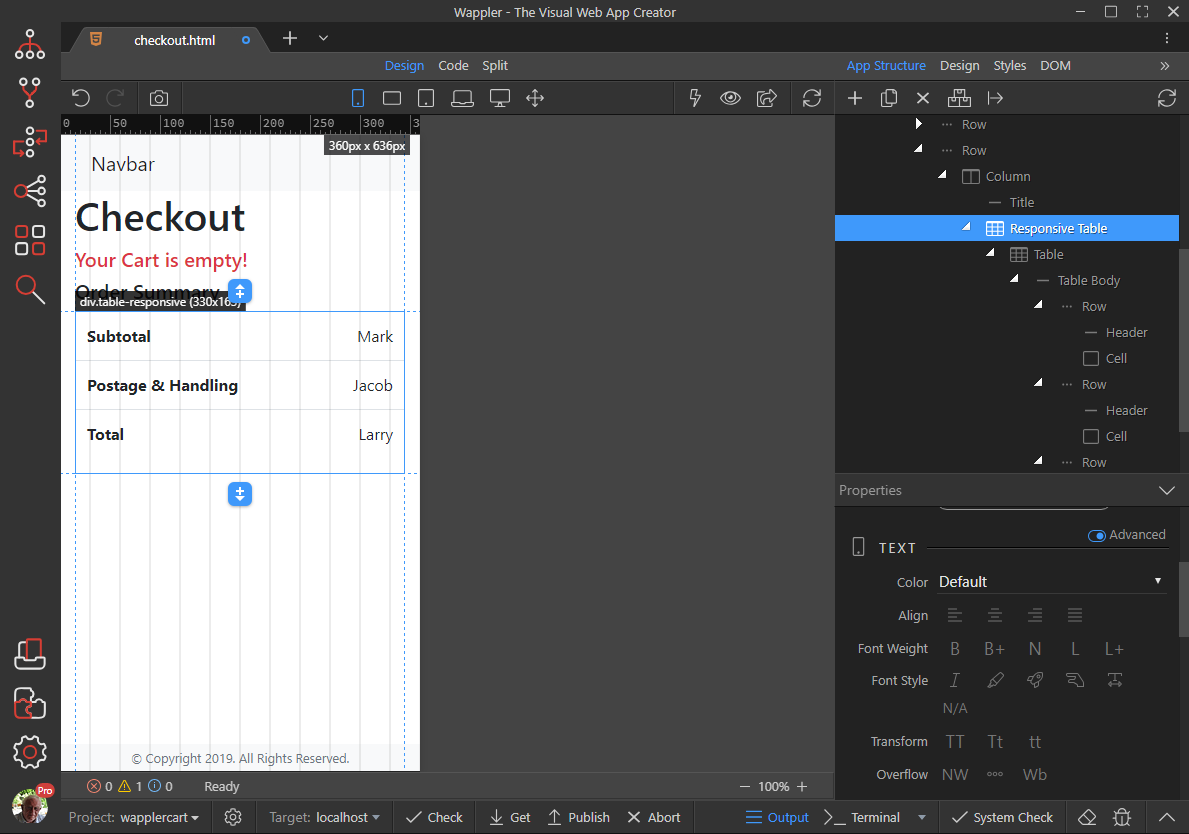
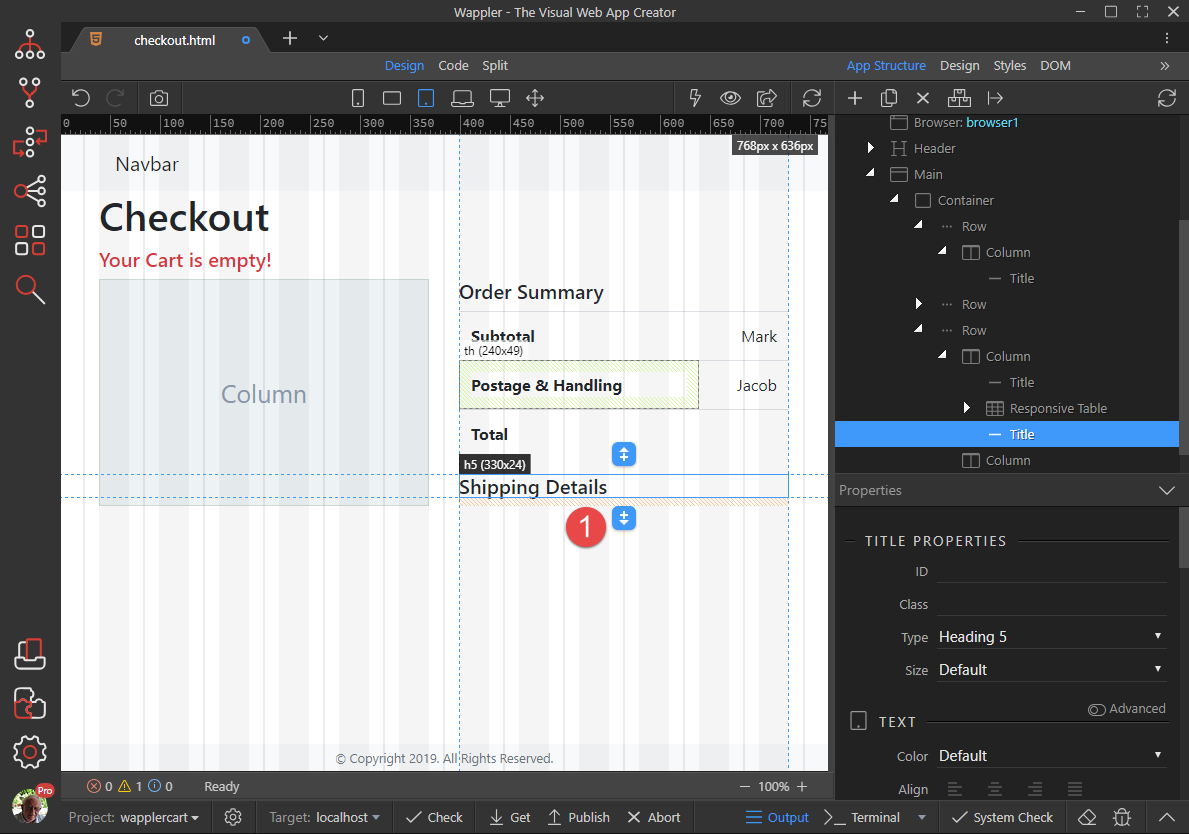
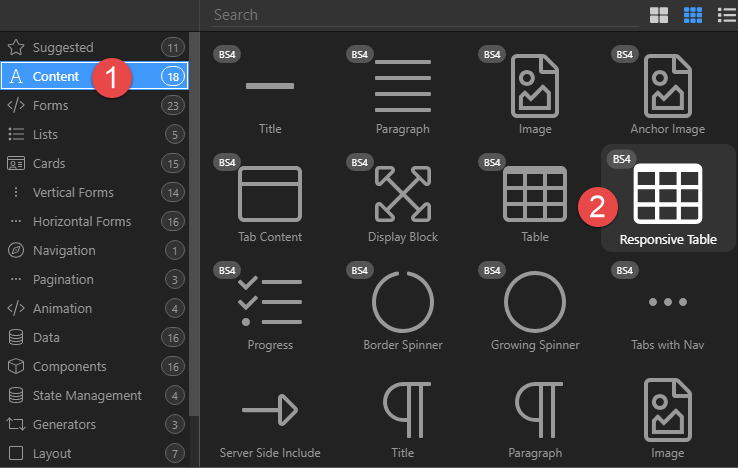
Click the Add After button (1), choose Content (2) and click on Responsive Table (3)
-
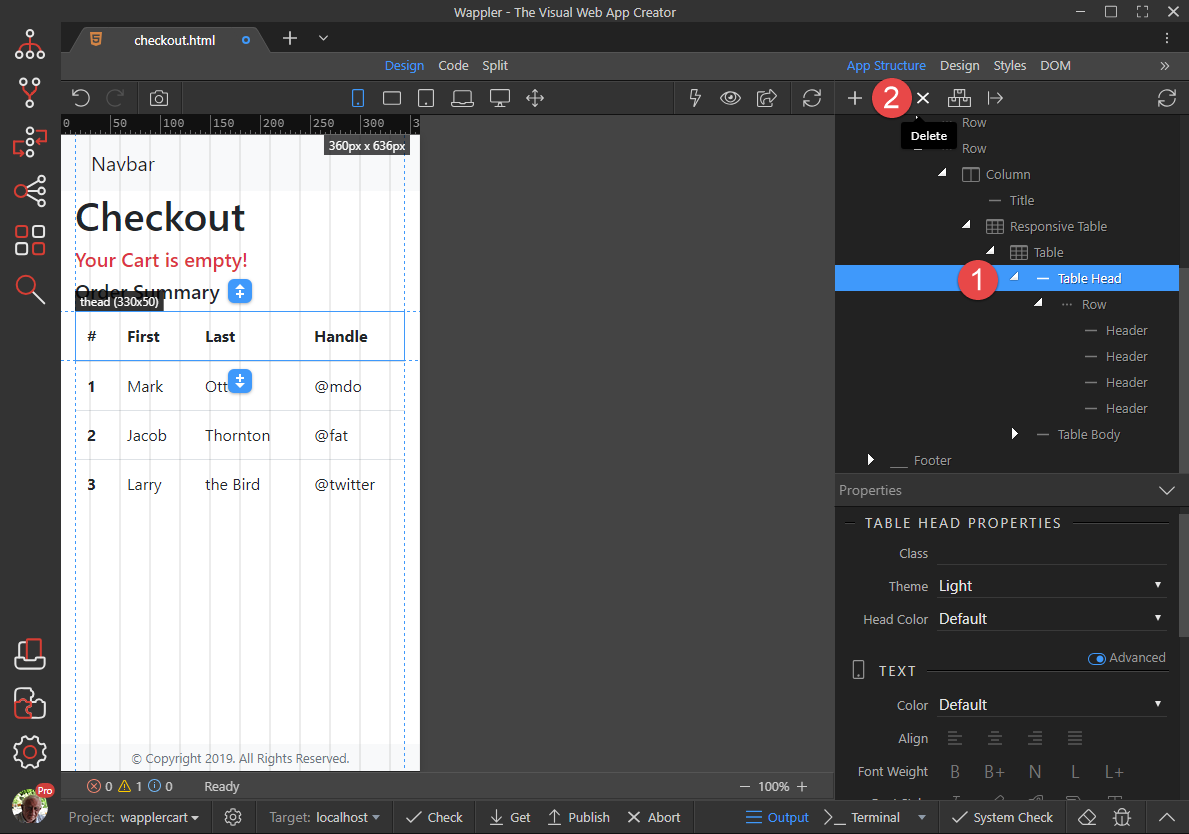
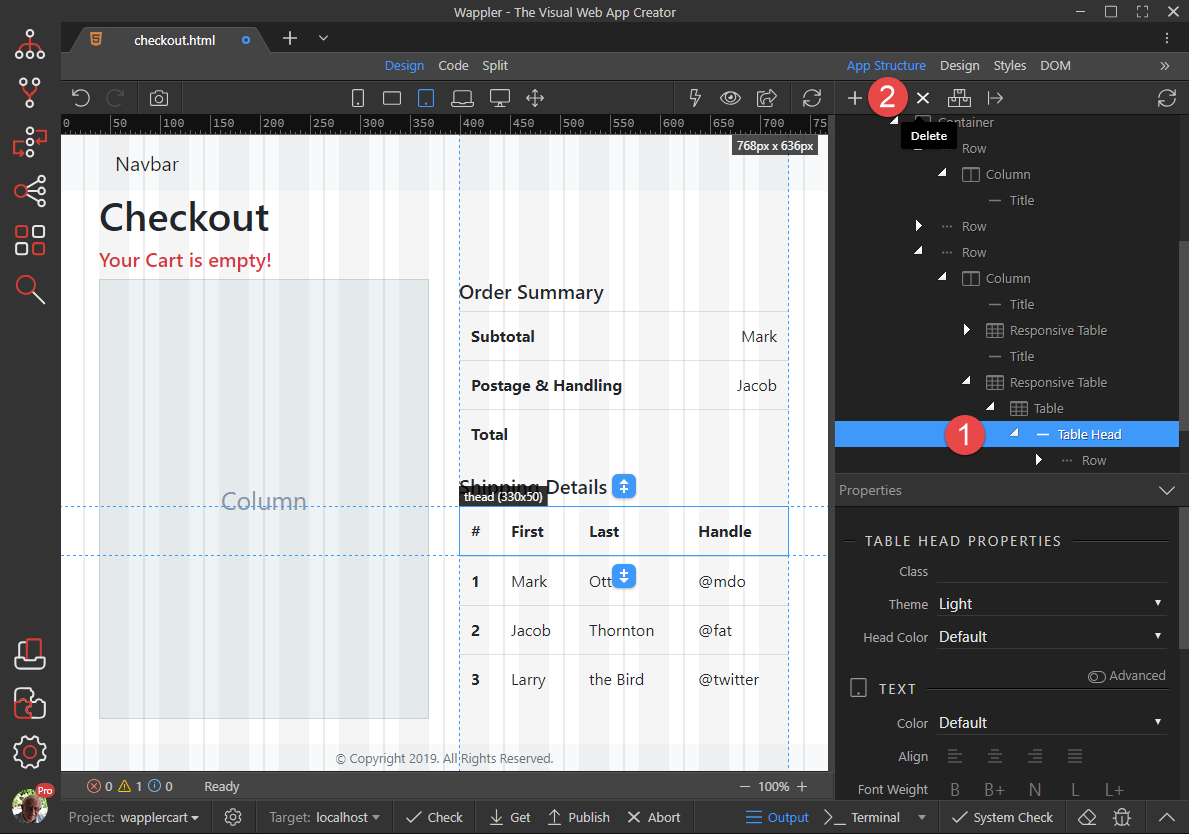
Select the Table Head (1) and click the Delete button (2)
-
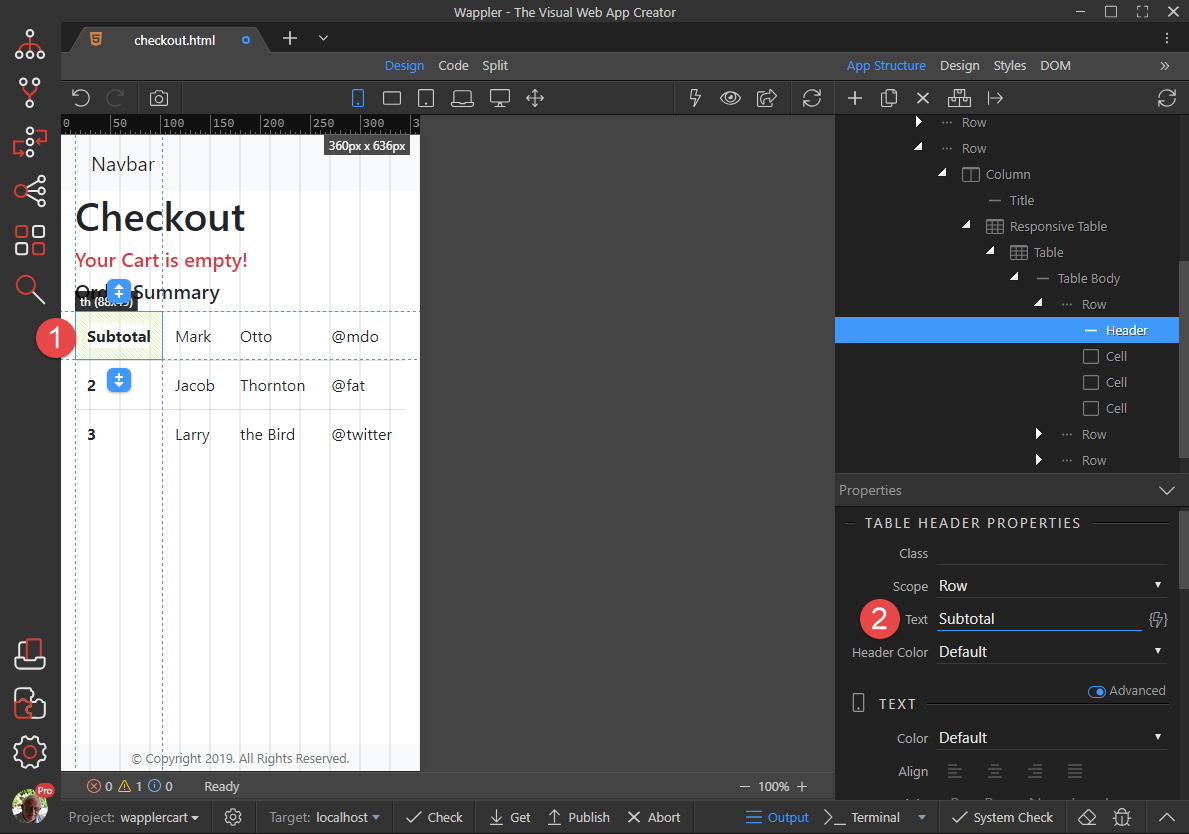
Select the Header (1) of the first Row and change the Text (2) to Subtotal
-
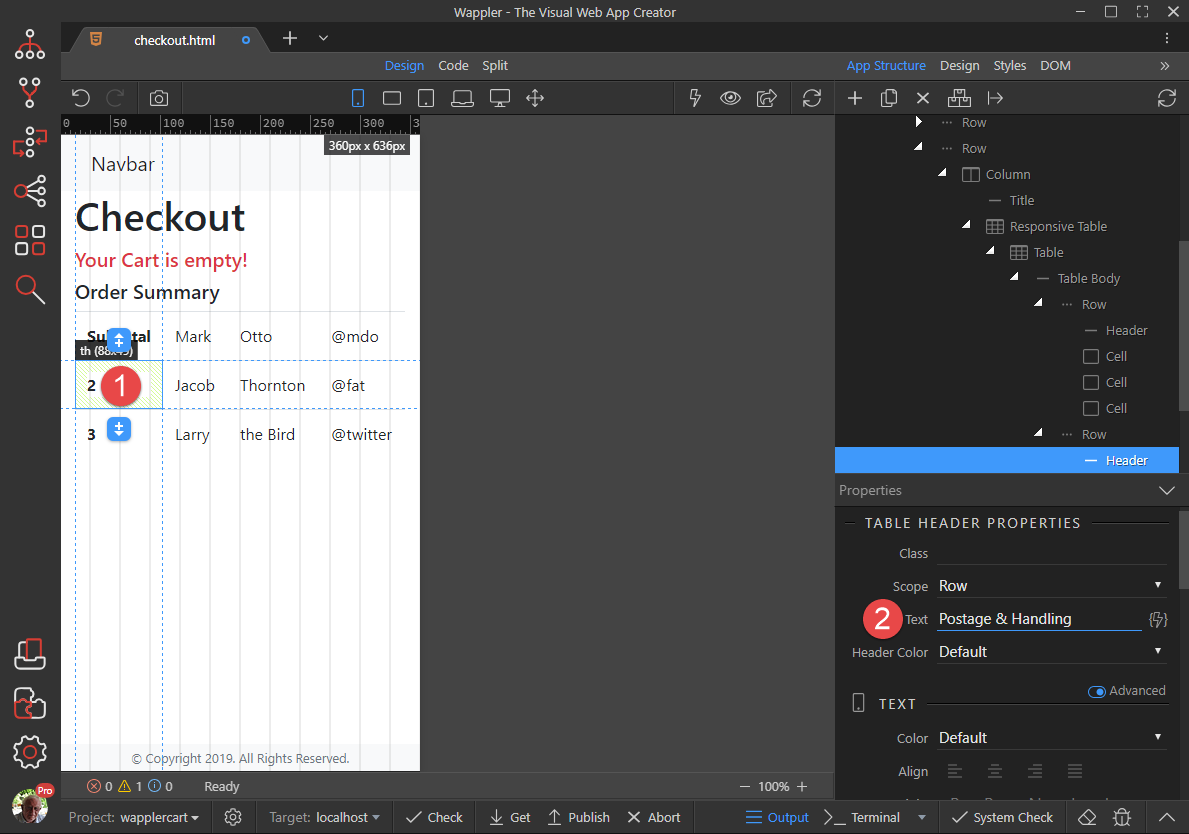
Select the Header (1) for the second Row and change the Text to Postage & Handling
-
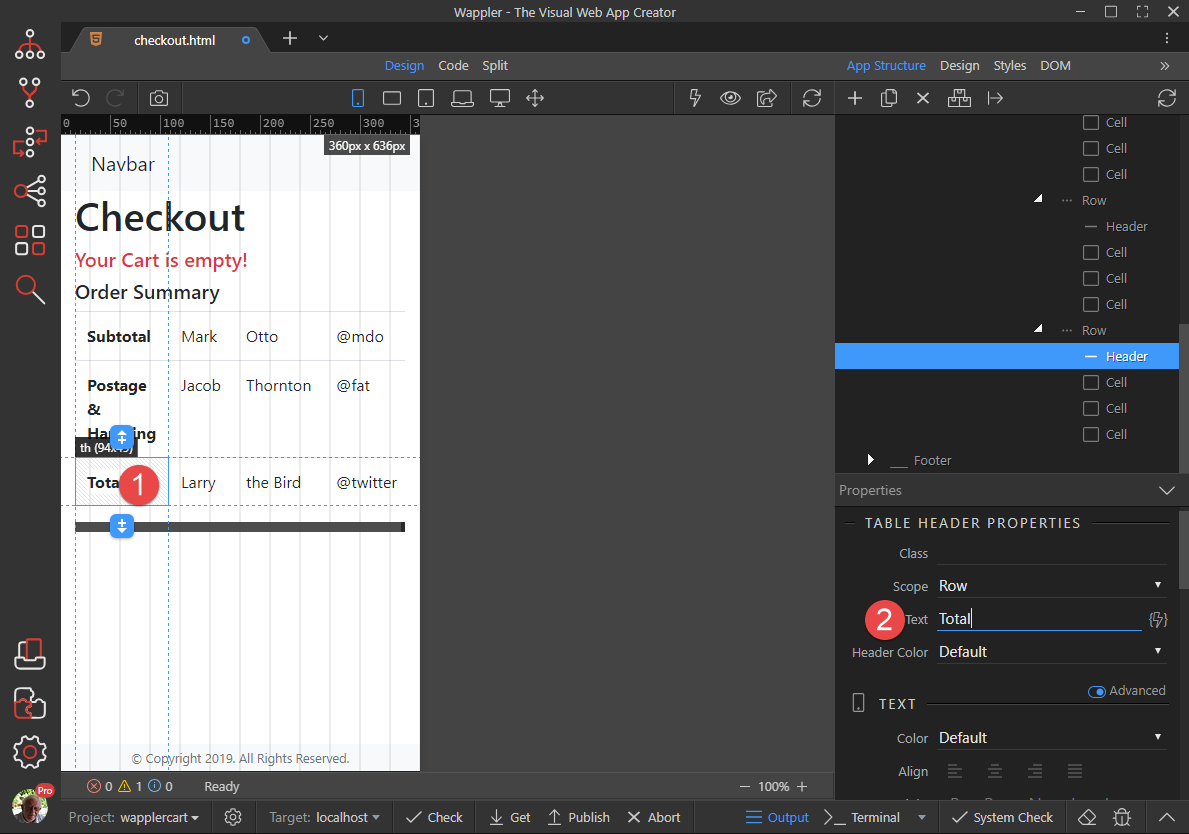
Select the Header (1) for the third Row and change the Text (2) to Total
-
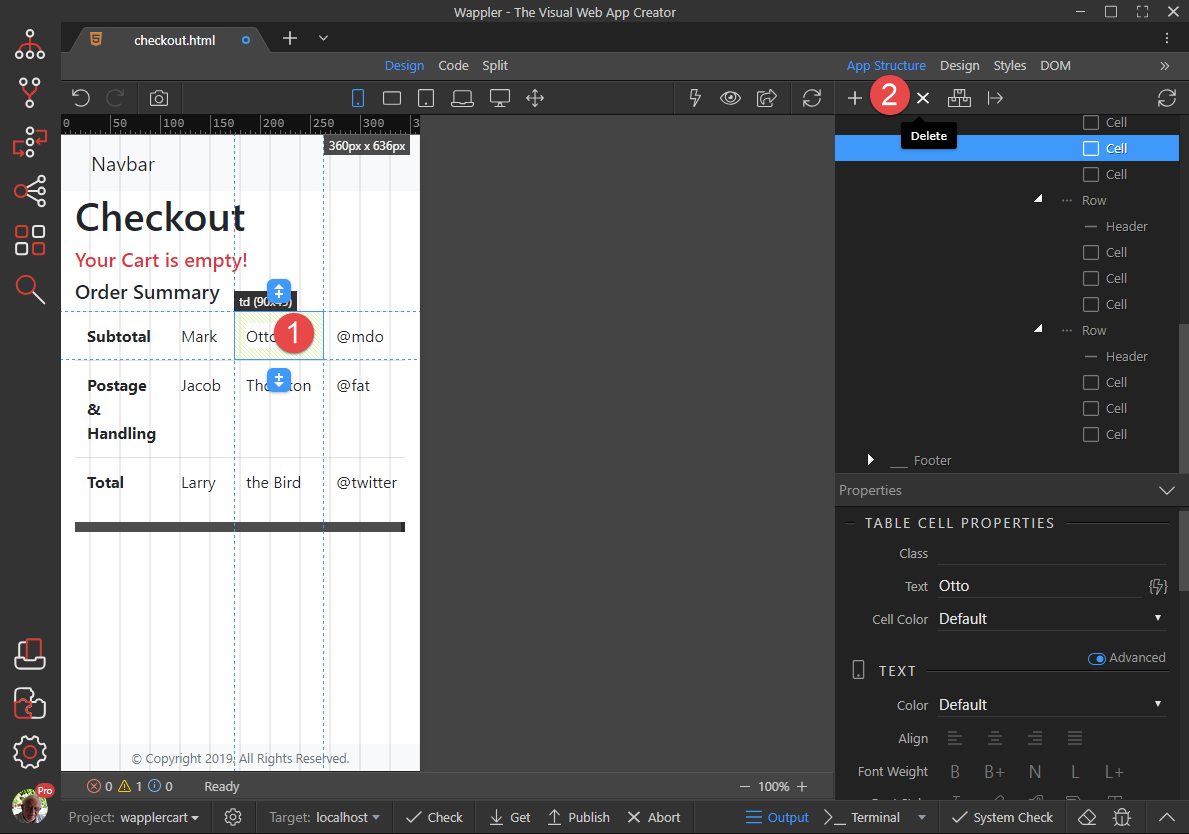
Select the first unwanted Cell (1) and Delete (2)
-
Repeat for the other unwanted Cells so that we finish up with
-
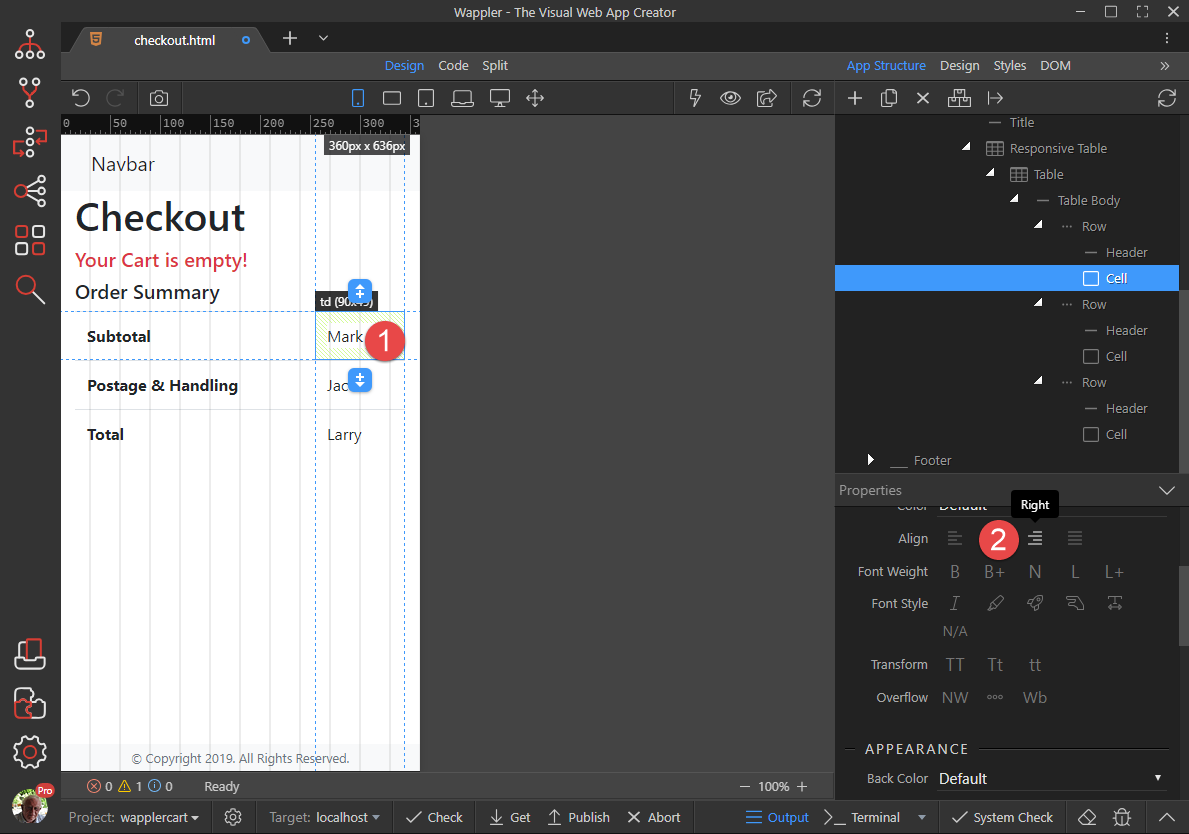
Select the first Cell (1) and Align Right (2)
-
Reapeat for the other 2 Cells so that we finish up with
-
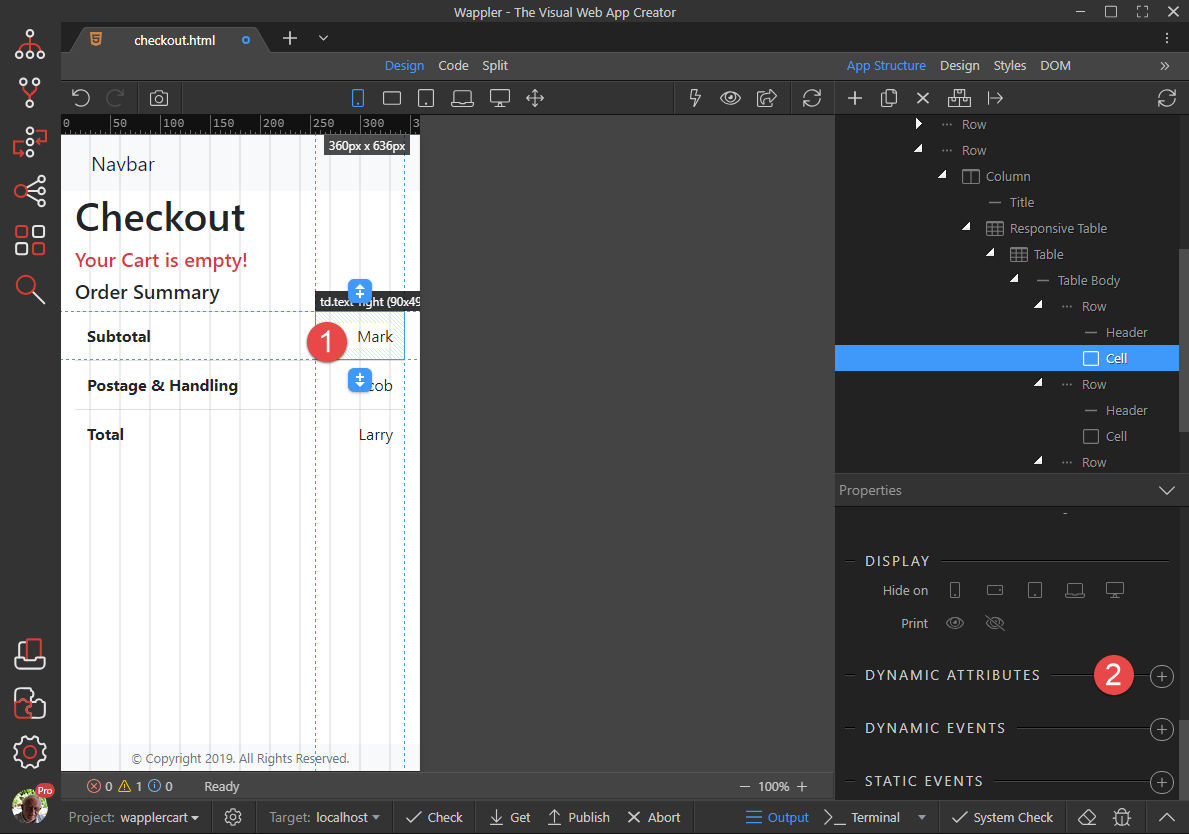
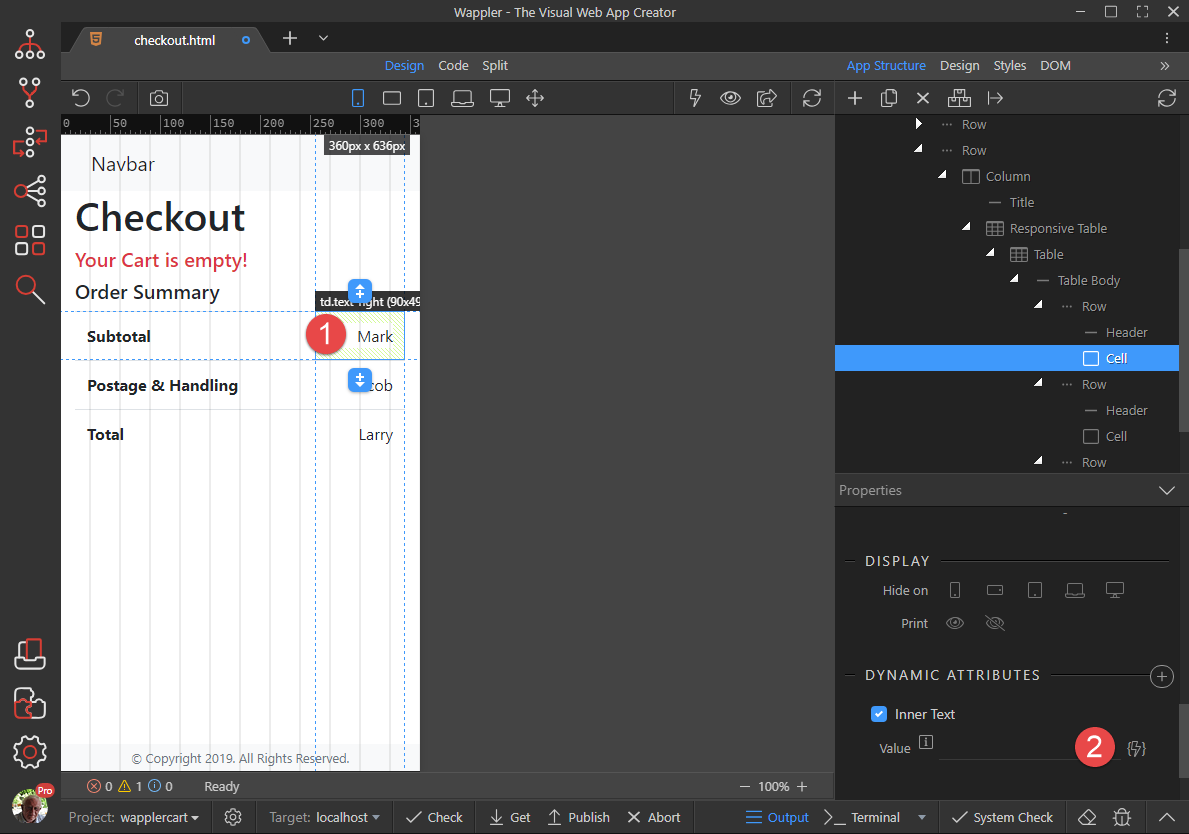
Select the first Cell (1) in the first Row and click Dynamic Attributes (2)
-
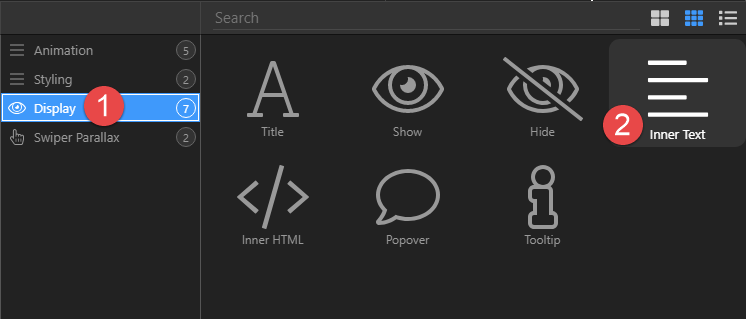
In the pop-up, select Display (1) and click on Inner Text (2)
-
With the Cell (1) still selected, click the Value button (2)
-
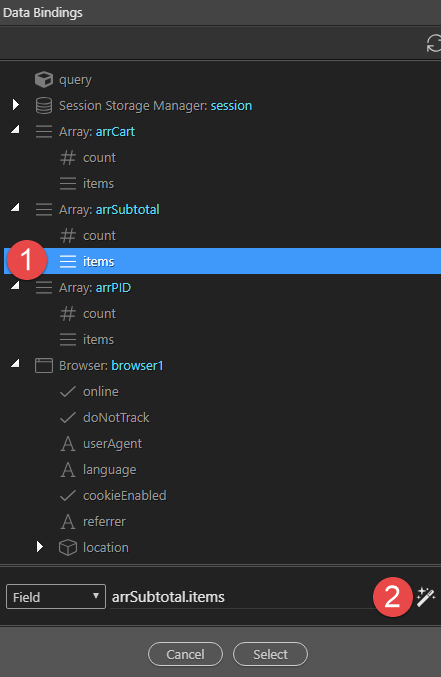
In the pop-up, select Array: arrSubtotal items (1) and click the Format button (2)
-
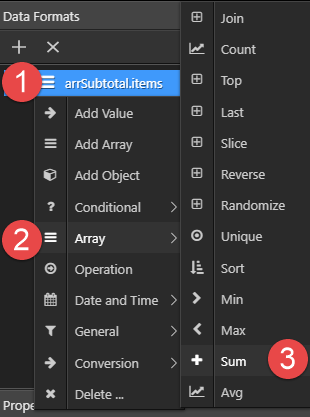
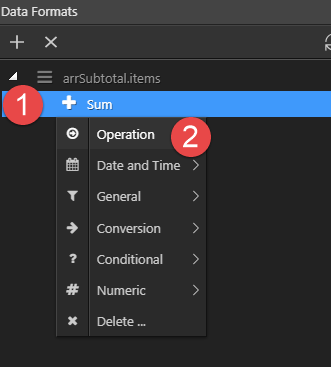
Right click arrSubtotal.items (1), choose Array (2) and click on Sum (3)
-
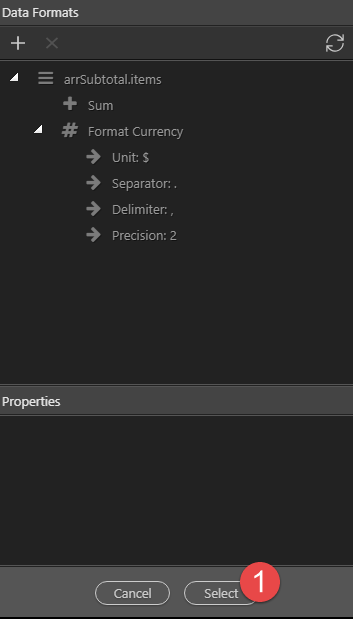
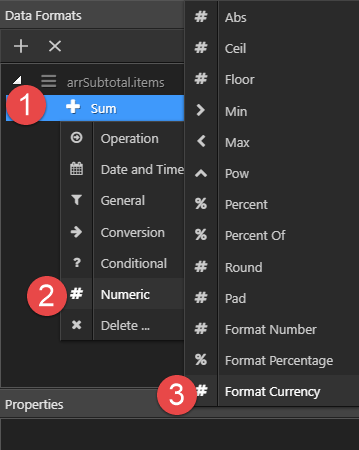
Right click Sum (1) choose Numeric (2) and click on Format Currency (3)
-
Format the Currency and click Select (1)
-
Click Select (1)
-
Select the Cell (1) in the second Row and click on Dynamic Attributes (2)
-
In the pop-up, select Display (1) and click on Inner Text (2)
-
With the Cell (1) still selected, click the Value button (2)
-
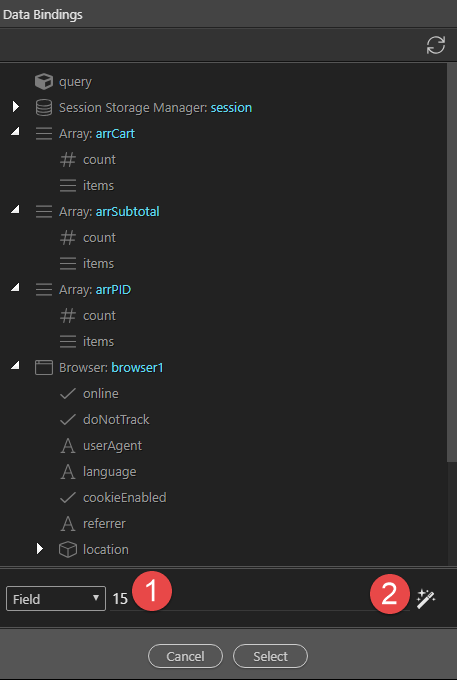
In the pop-up, enter 15 (1) - our static value for this project - and click the Format button (2)
-
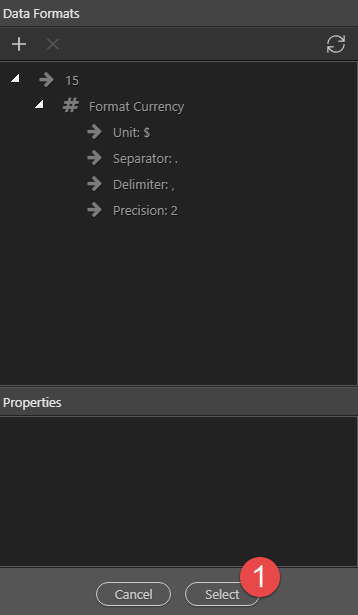
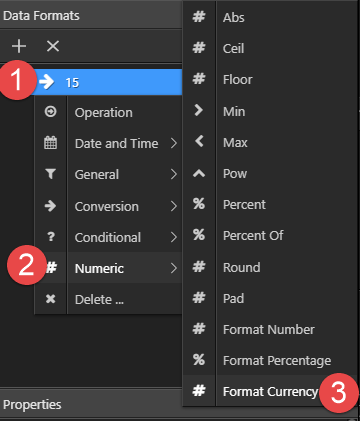
Right click 15 (1), choose Numeric (2) and click on Format Currency (3)
-
Format the Currency and click Select (1)
-
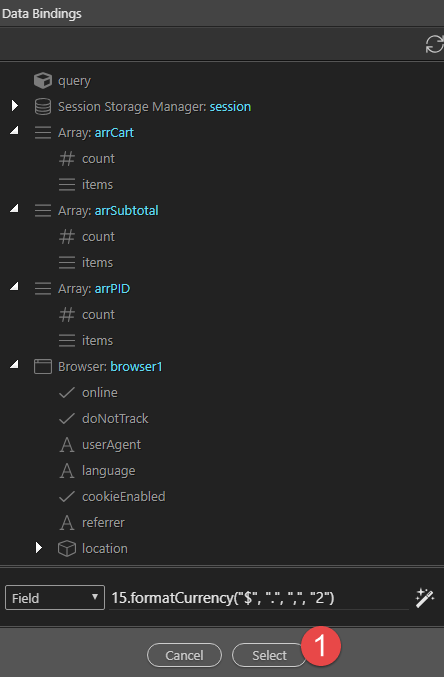
Click Select (1)
-
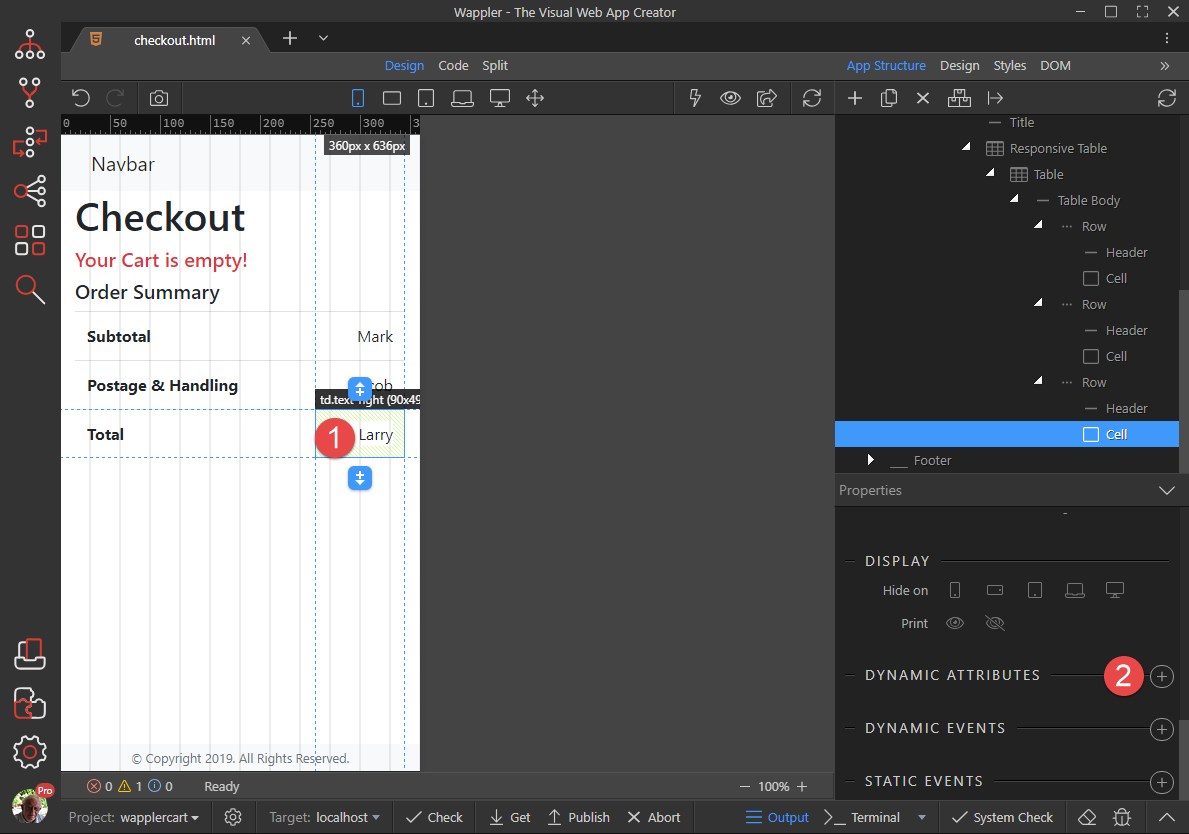
Select the Cell (1) in the last Row and click Dynamic Attributes (2)
-
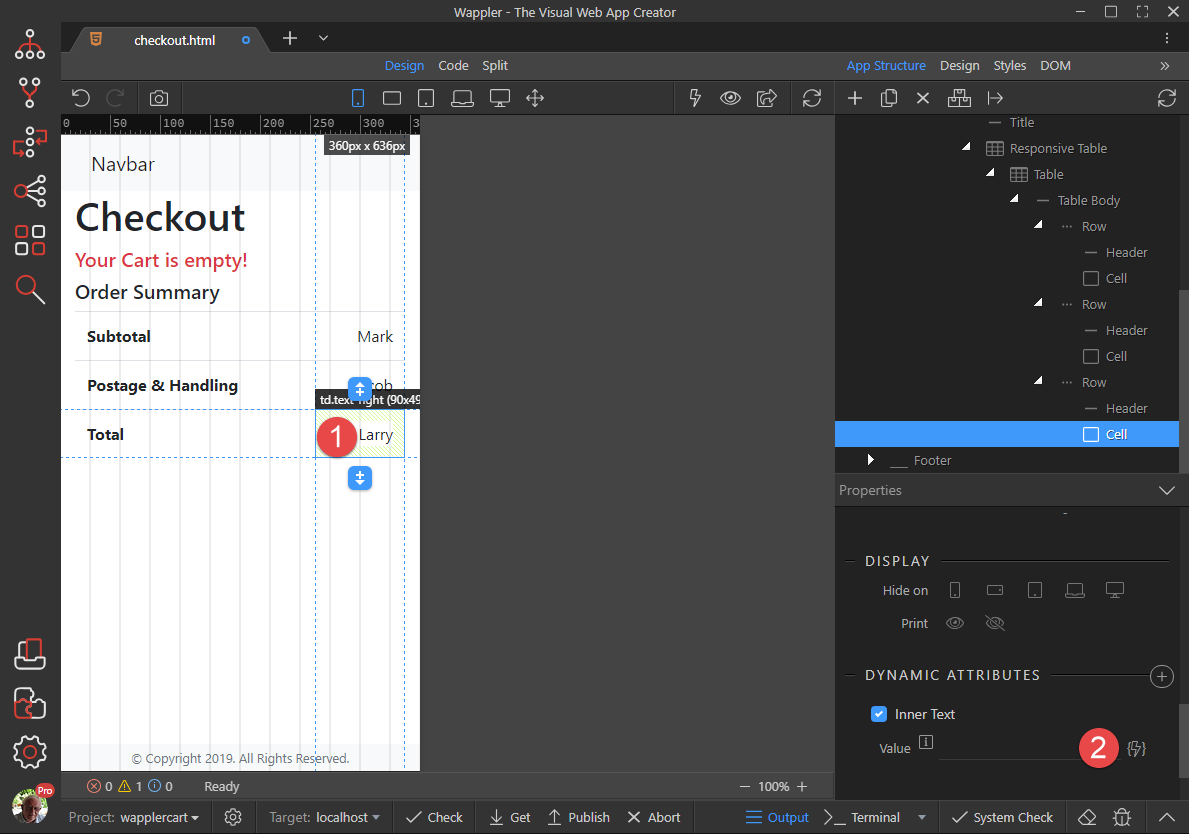
In the pop-up, select Display (1) and click on Inner Text (2)
-
With the Cell (1) still selected, click the Value button (2)
-
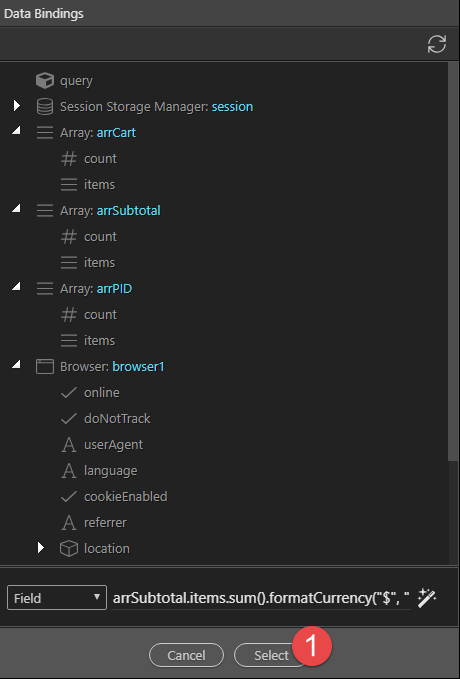
In the pop-up, select Array: arrSubtotal items (1) and click the Format button (2)
-
Right click arrSubtotal.items (1), choose Array (2) and click on Sum (3)
-
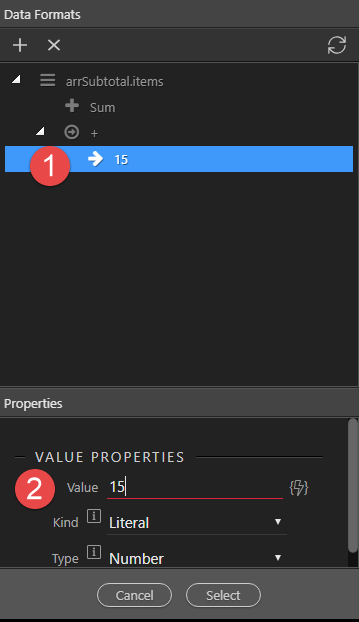
Right click Sum (1) and click Operation (2)
-
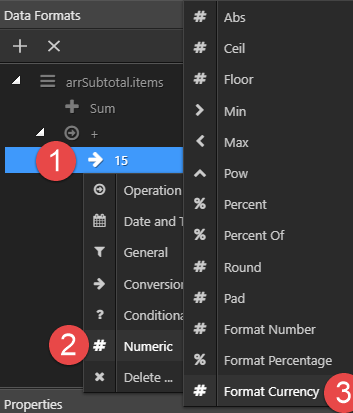
Select the Arrow (1) and enter a Value of 15 (2) for our static value.
-
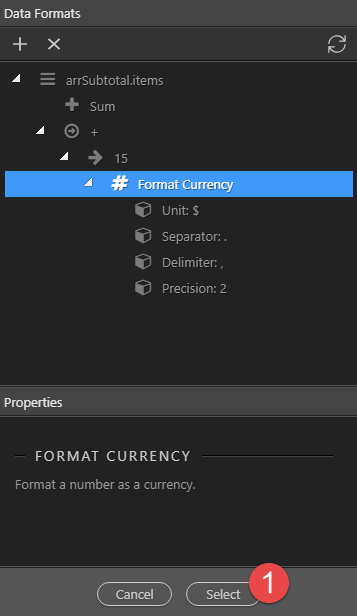
Right click 15 (1), Numeric (2) and Format Currency (3)
-
Format the currency and click Select (1)
-
Click Select (1)
Because I still do not know how to use complicated formating, we need to adjust the code in Code view from
<td dmx-text="arrSubtotal.items.sum() + (15.formatCurrency("$", ".", ",", "2"))">
to
<td dmx-text="(arrSubtotal.items.sum() + 15).formatCurrency("$", ".", ",", "2")"> -
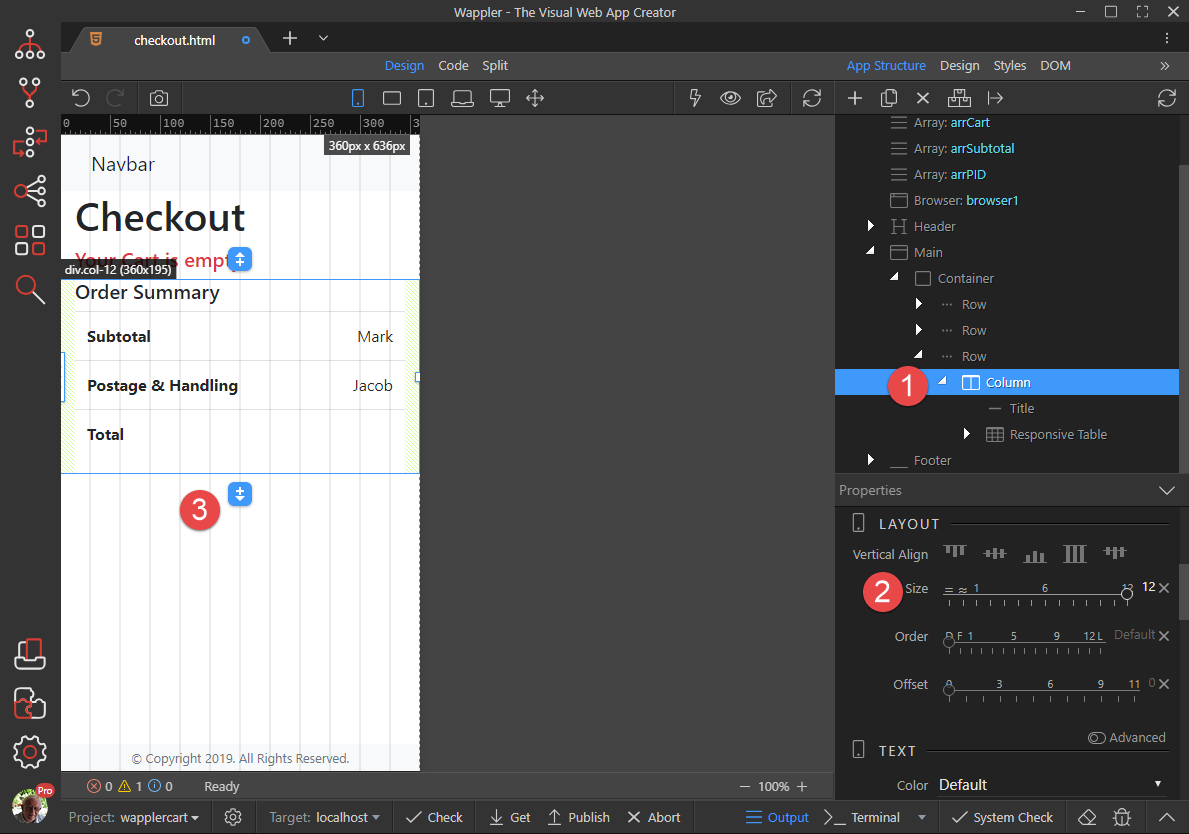
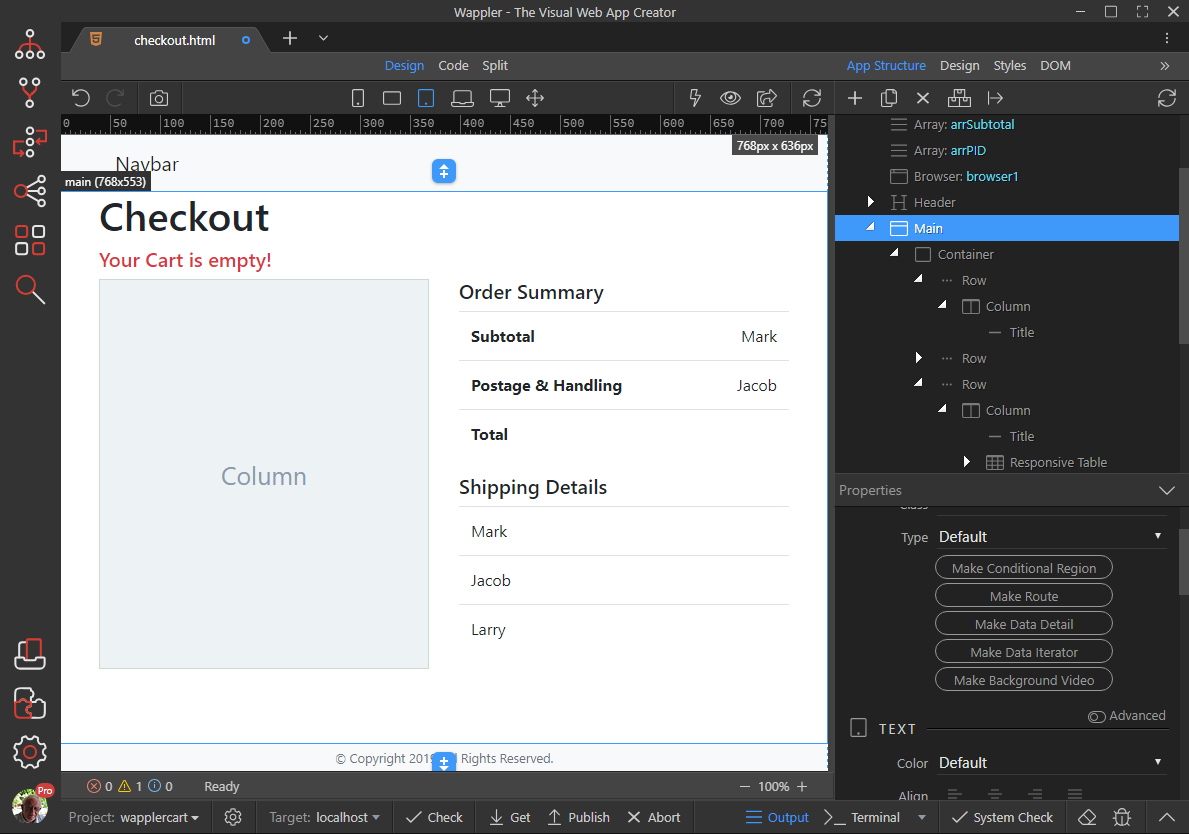
Select the Column with the Order Summary (1), give it a Size of 12 (2) and click the Insert After button (3)
-
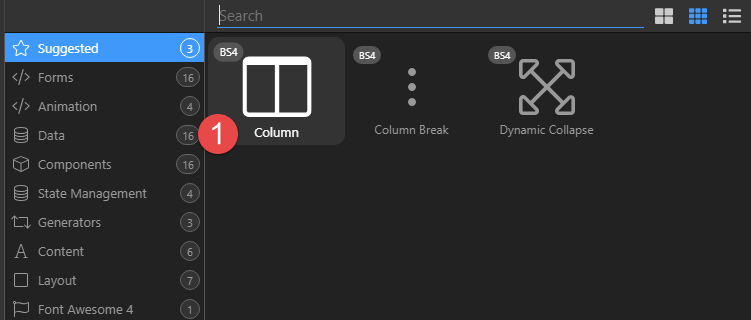
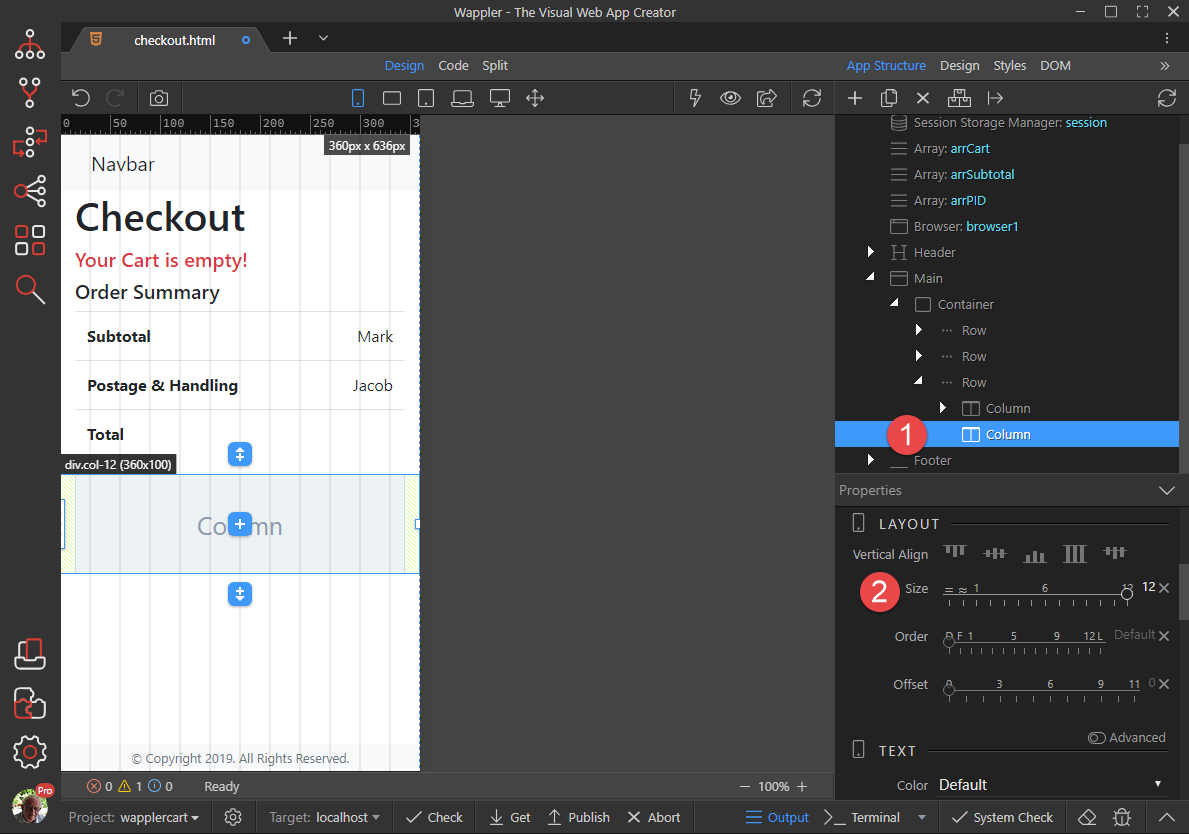
Click on Column (1)
-
With the new Column (1) still selected, give it a Size (2) of 12
-
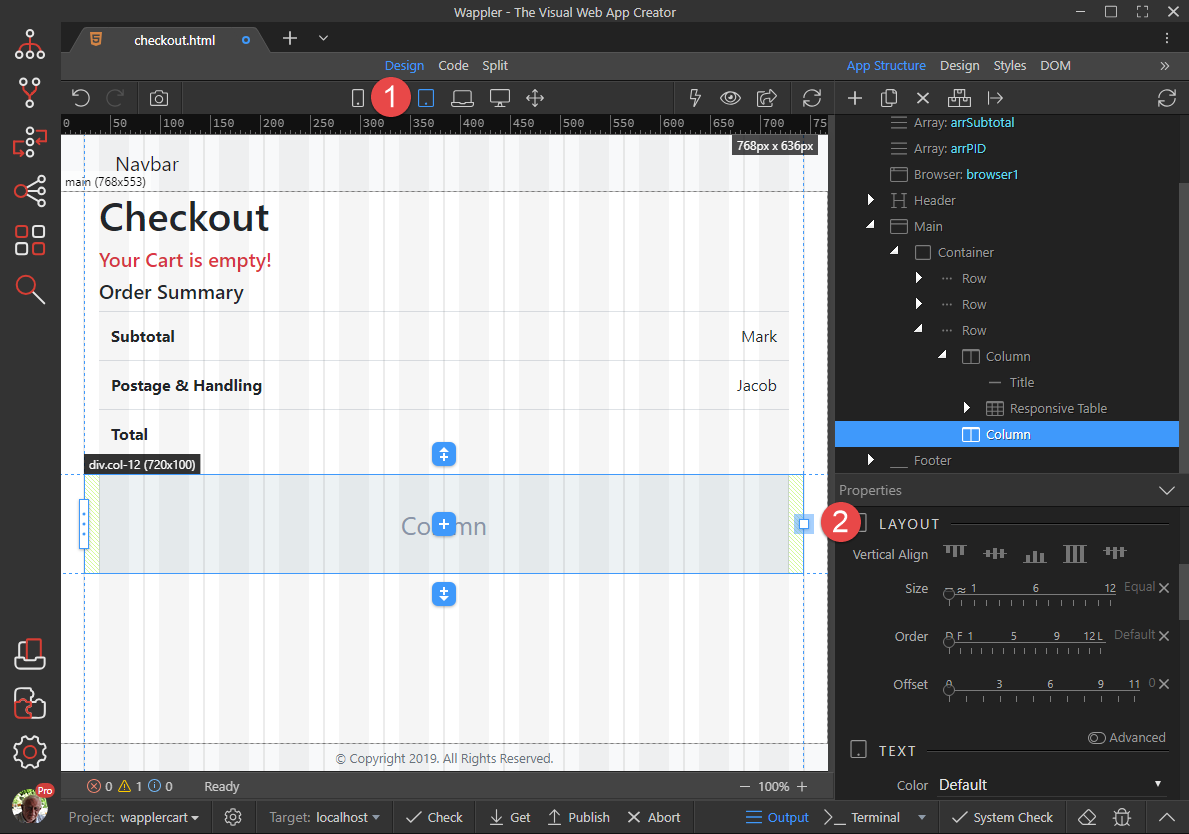
Select the Tablet mode (1) and with the second Column (2) still selected, grab the handle (3) and drag it to the centre
-
Do the same with the first Column so that the result is
-
Change the Order of the first Column to 2 (1)
There are a number of ways to grab the details of the addressee, either by having them register and log-in or by having a form. For our exercise, we’ll grab the details from our only user in the database.
-
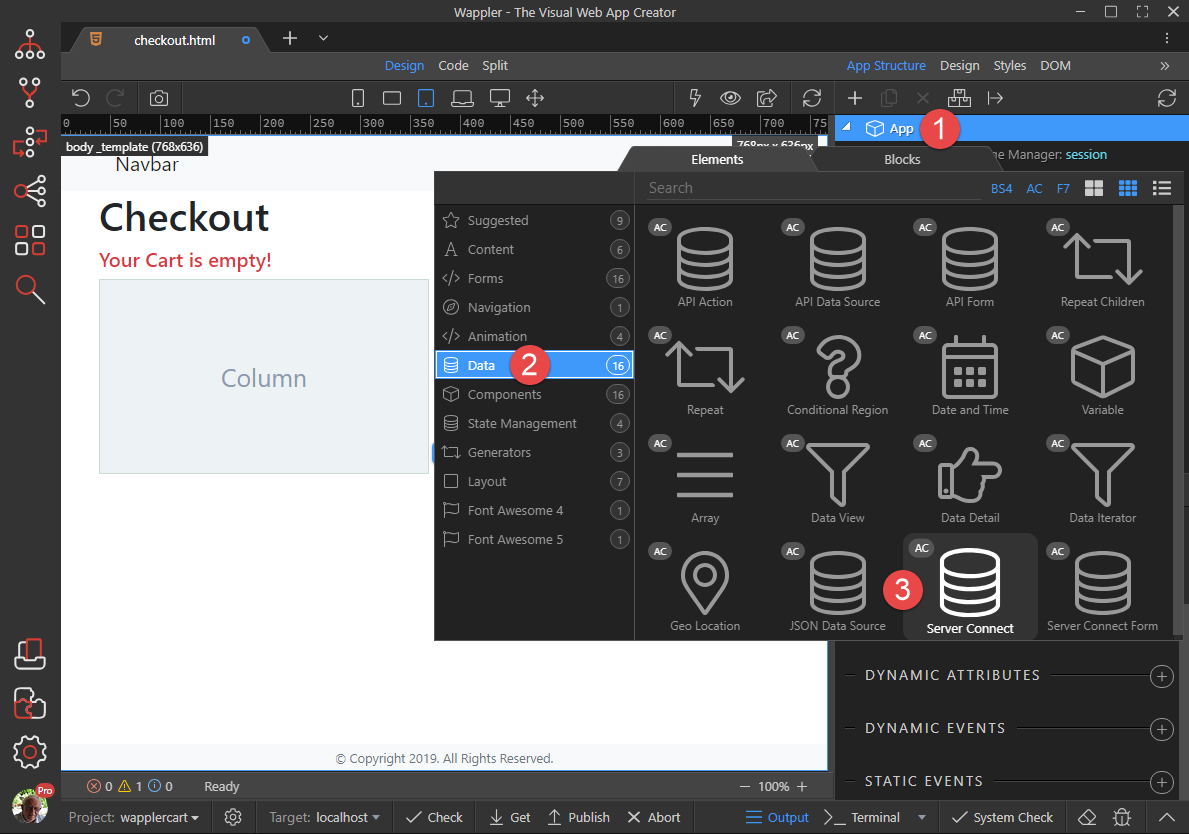
Right click App (1), choose Data (2) and click Server Connect (3)
-
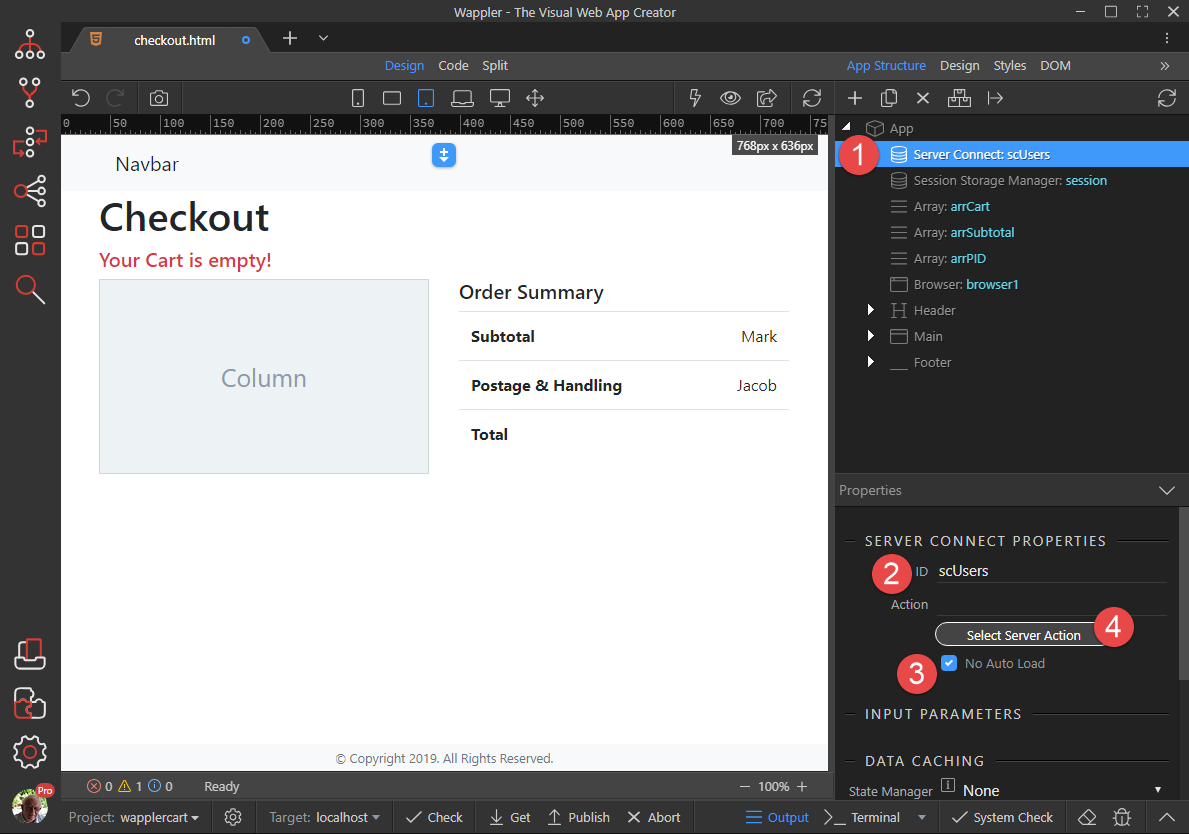
Select Server Connect (1), give it an ID (2), choose the No Auto Load (3) and click Select Server Action (4)
-
Under Users (1) choose list (2) and click Select (3)
-
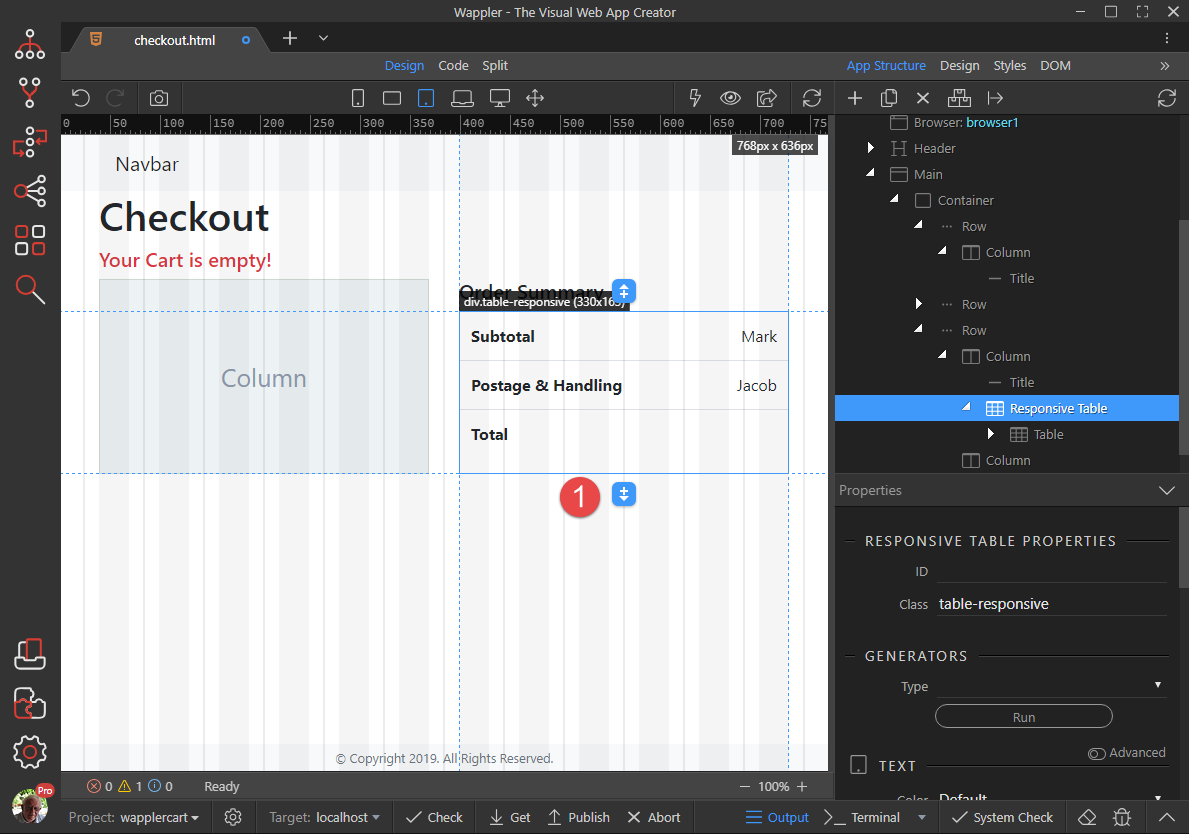
Click the Add After button (1) of the Responsive Table
-
Select Content (1) and click on Title (2)
-
Change the Type to Heading 5 (1) and double click the Title to change the wording (2)
-
Click the Insert After button (1)
-
Select Content (1) and click Responsive Table (2).
-
Select The Table Head (1) and click the Delete button (2)
-
We need just one Cell per Row so we’ll delete the others. Select a Cell (1) and click the Delete button (2)
-
Do the same for the other Cells so that this is what we finish with
-
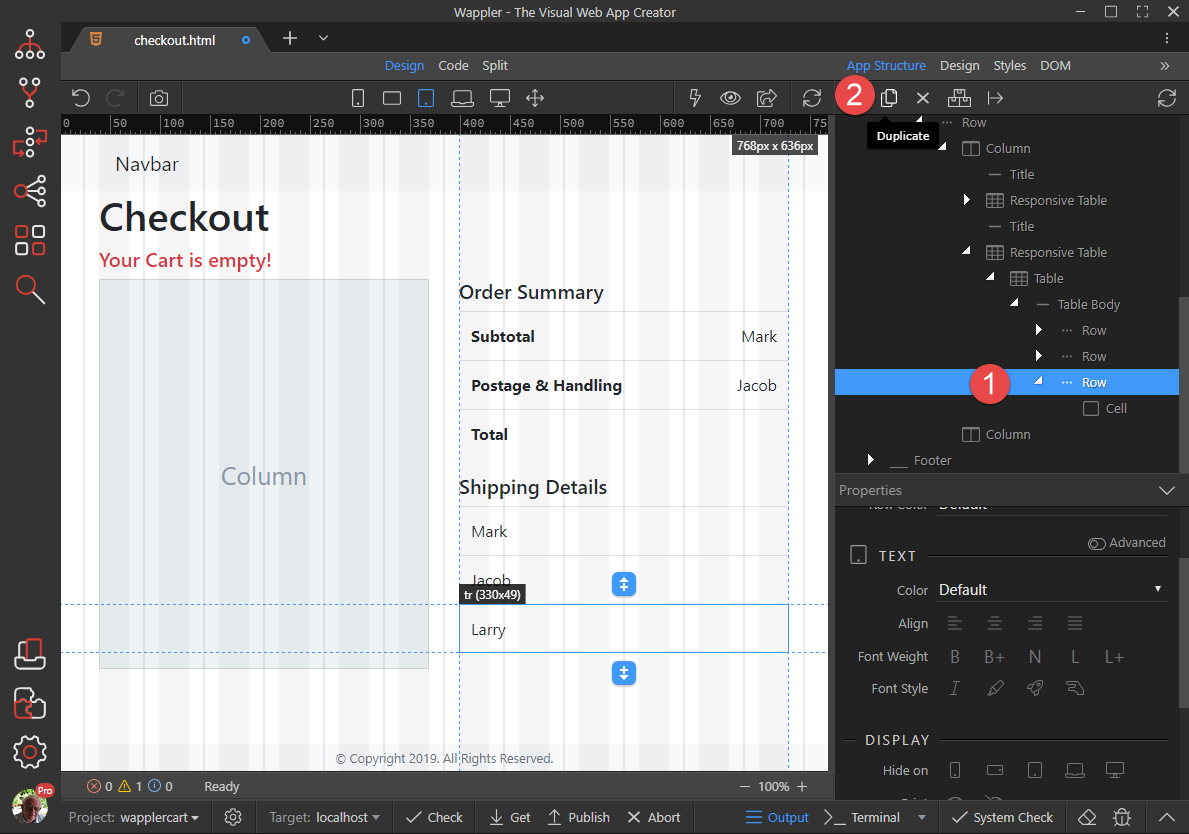
Select the last Row (1) and click the Duplicate button (2)
-
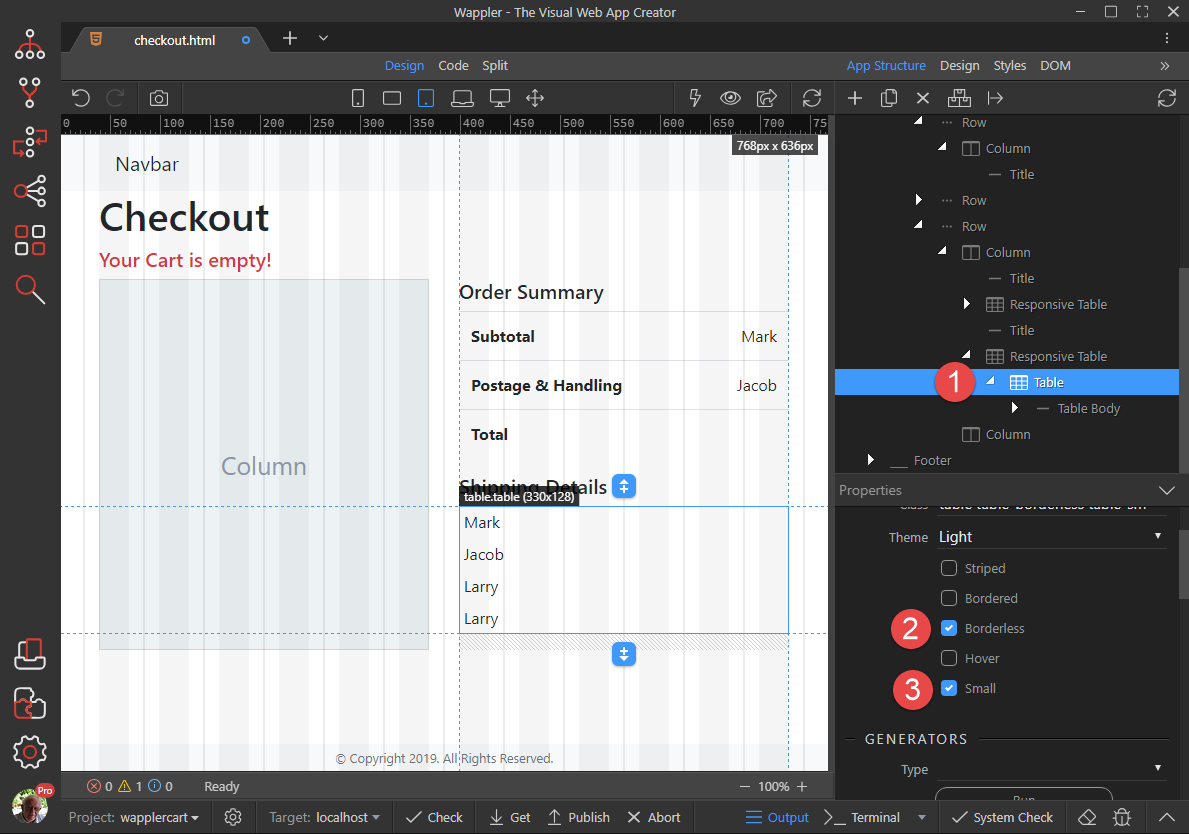
Select Table (1) and check Borderless (2) and Small (3)
-
Select the Cell (1) of the First Row and click Dynamic Attributes (2)
-
In the pop-up, select Display (1) and Inner Text (2)
-
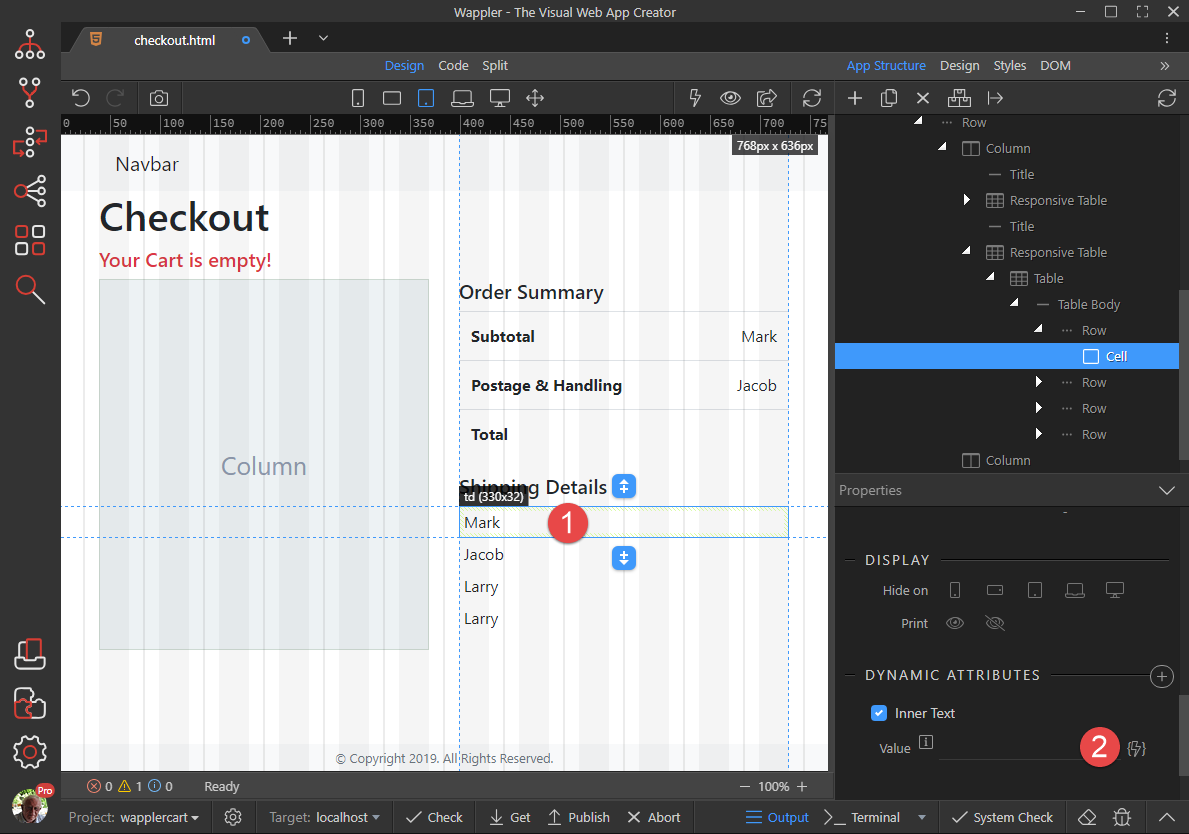
With the Cell (1) still selected, click the Value button (2)
-
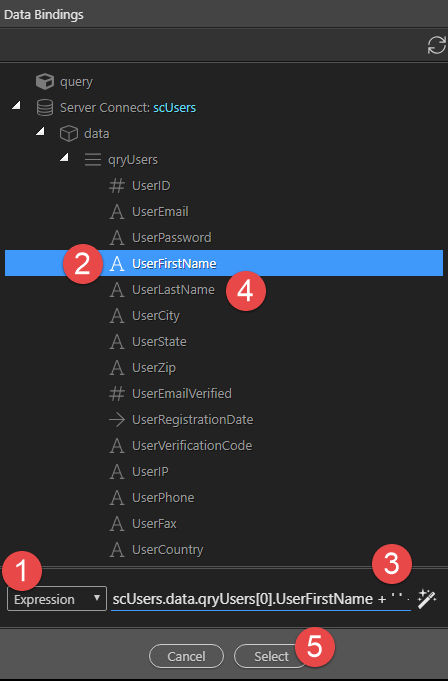
In the pop-up, select Expression (1), click on UserFirstName (2), add + ’ ’ + (3) and click UserLastName (4). Click Select (5)
-
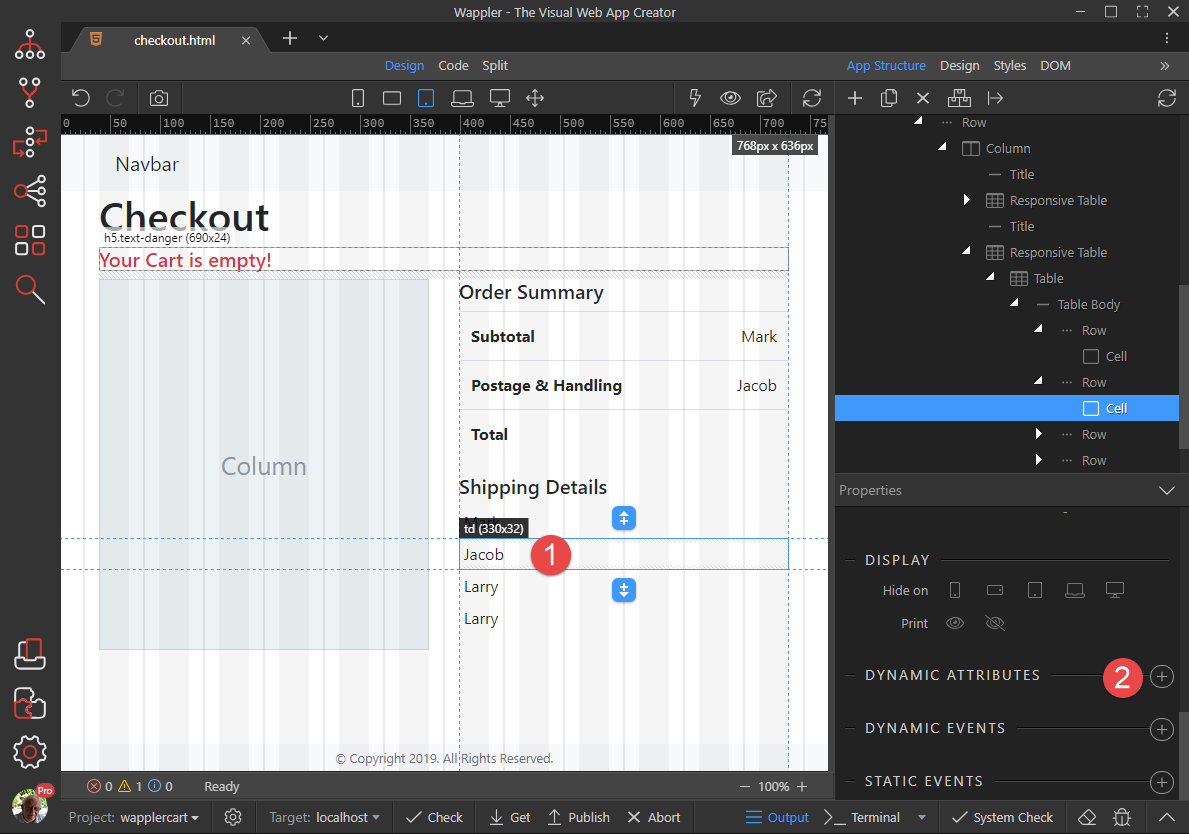
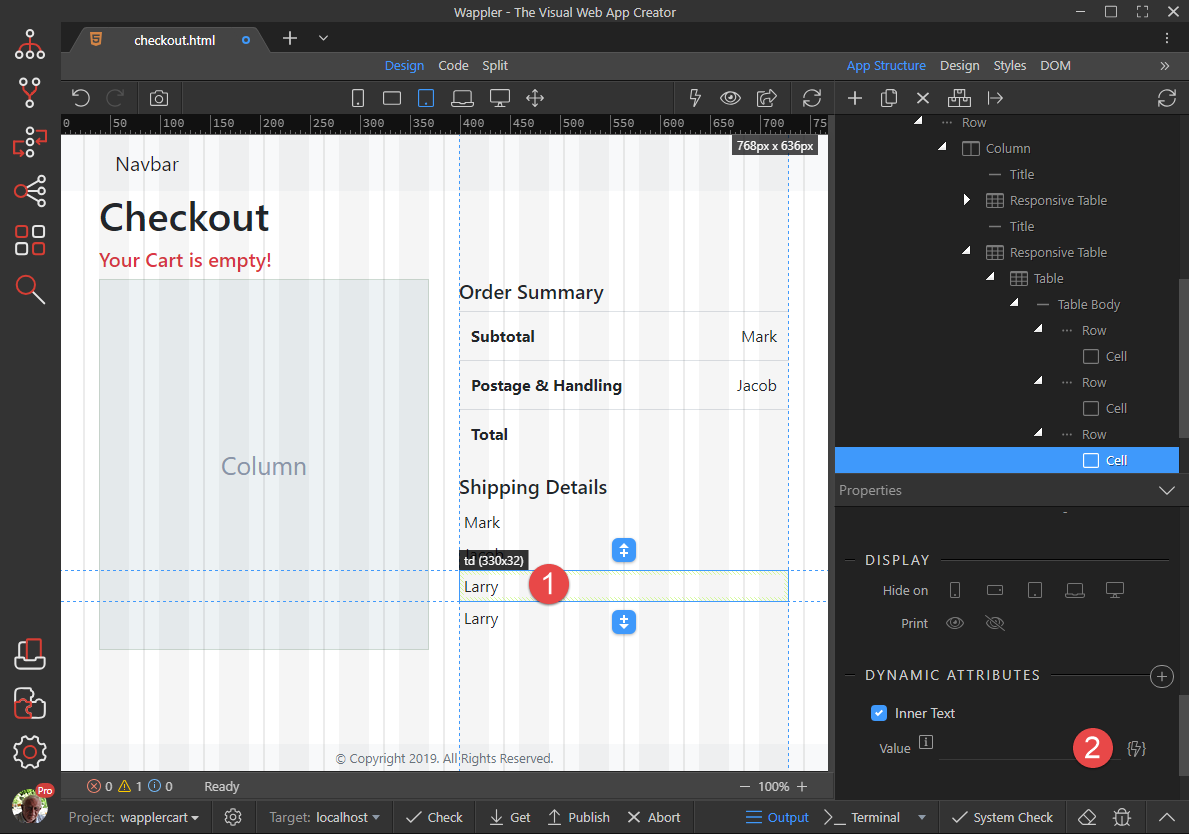
Select the Cell (1) in the second Row and click Dynamic Attributes (2)
-
In the pop-up, select Display (1) and Inner Text (2)
-
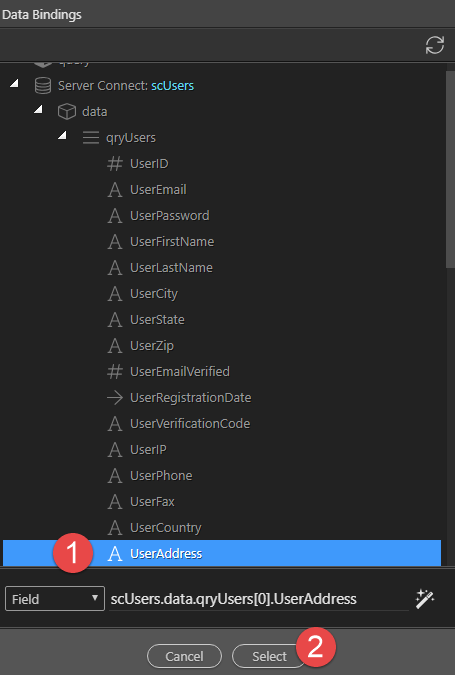
With the Cell (1) still selected, click the Value button (2)
-
In the pop-up, click UserAddress (1) and Select (2)
-
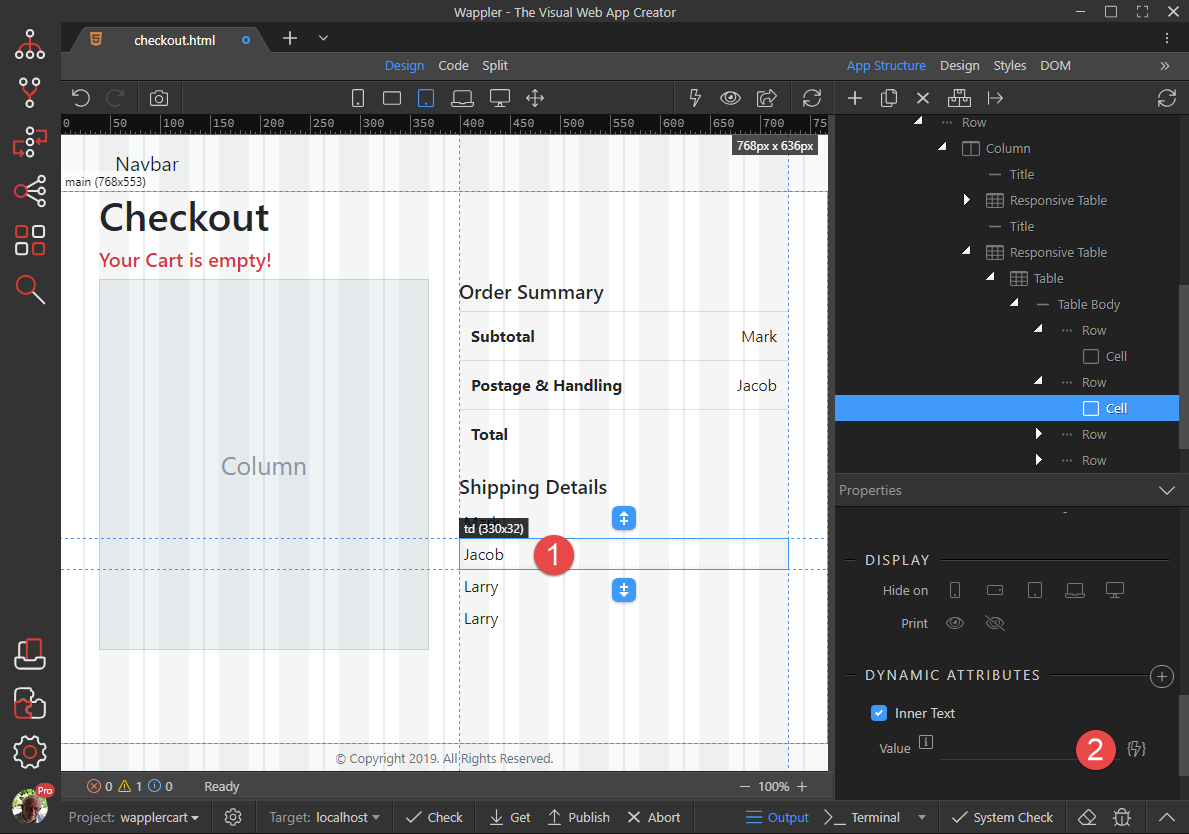
Select the Cell (1) in the third Row and click Dynamic Attributes (2)
-
In the pop-up, select Display (1) and Inner Text (2)
-
With the Cell (1) still selected, click the Value button (2)
-
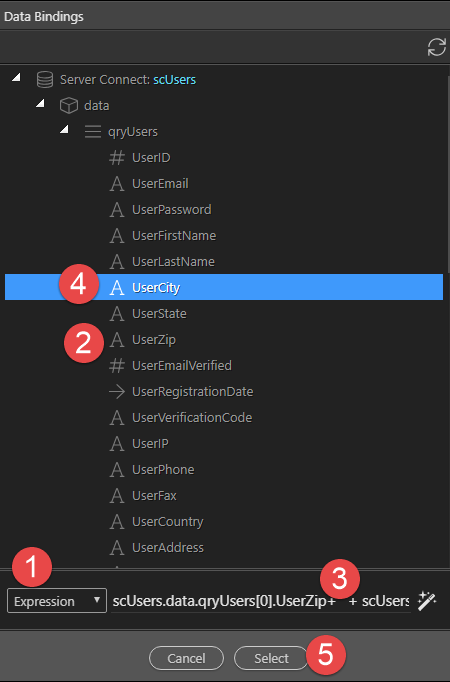
In the pop-up change the field to Expression (1), click UserZip (2), add +’ '+ (3), click UserCity (4) and Select (5)
-
Select the Cell (1) in the last Row and click Dynamic Attributes (2)
-
In the pop-up, select Display (1) and Inner Text (2)
-
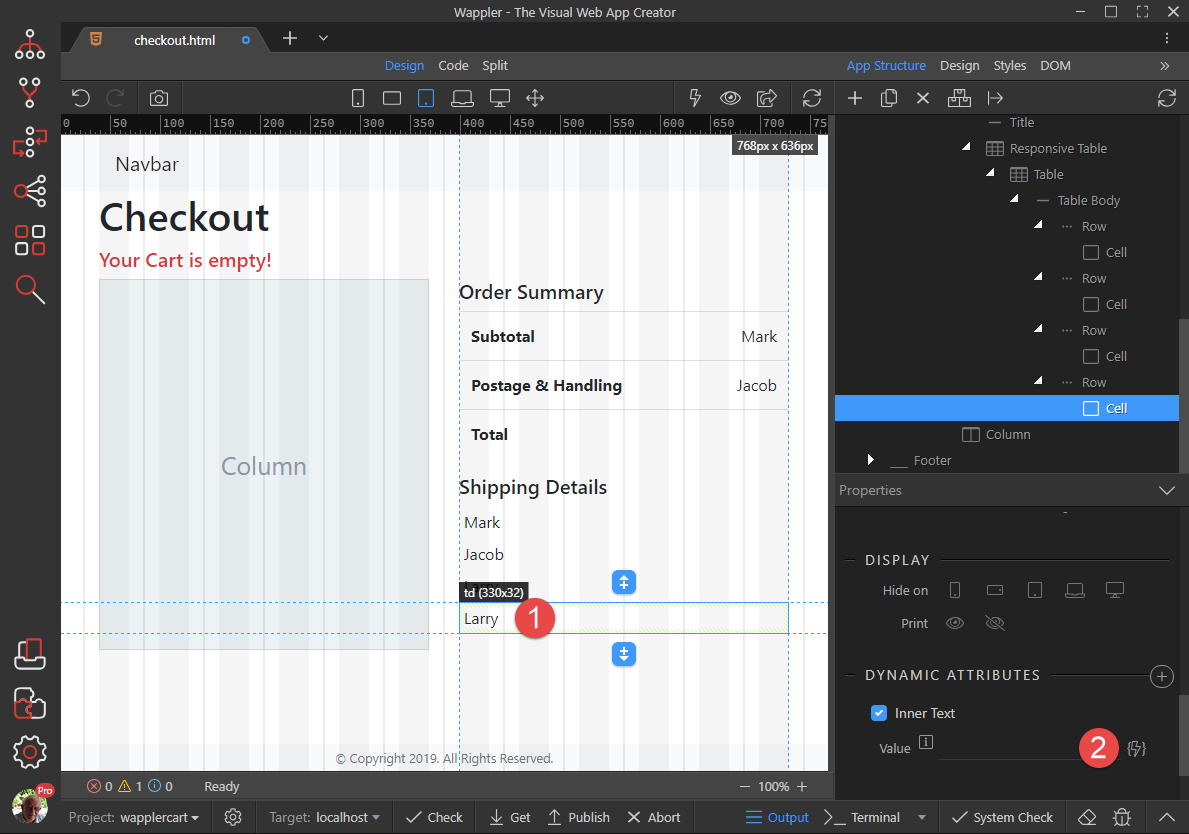
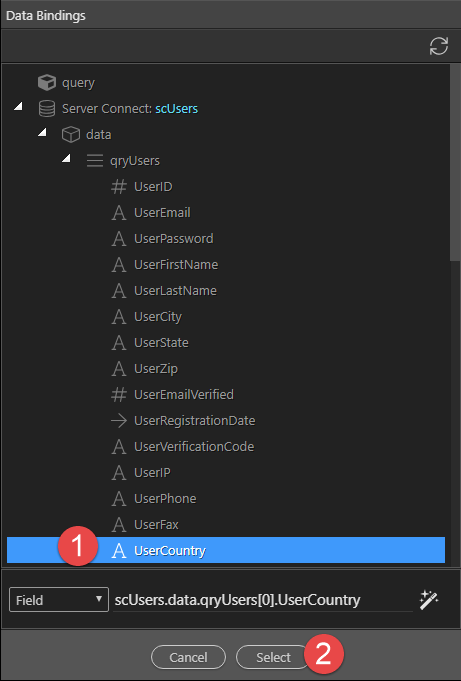
With the Cell (1) still selected, click the Value button (2)
-
In the pop-up, click UserCountry (1) and Select (2)
-
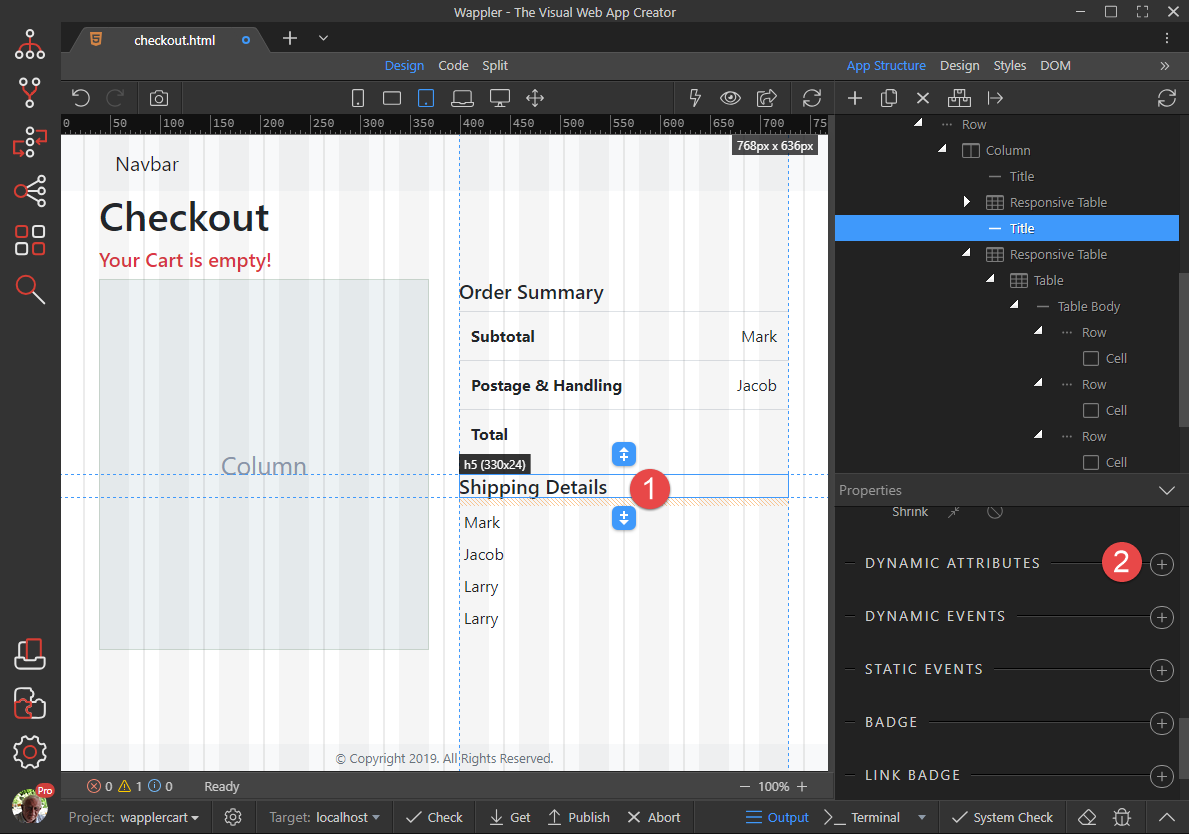
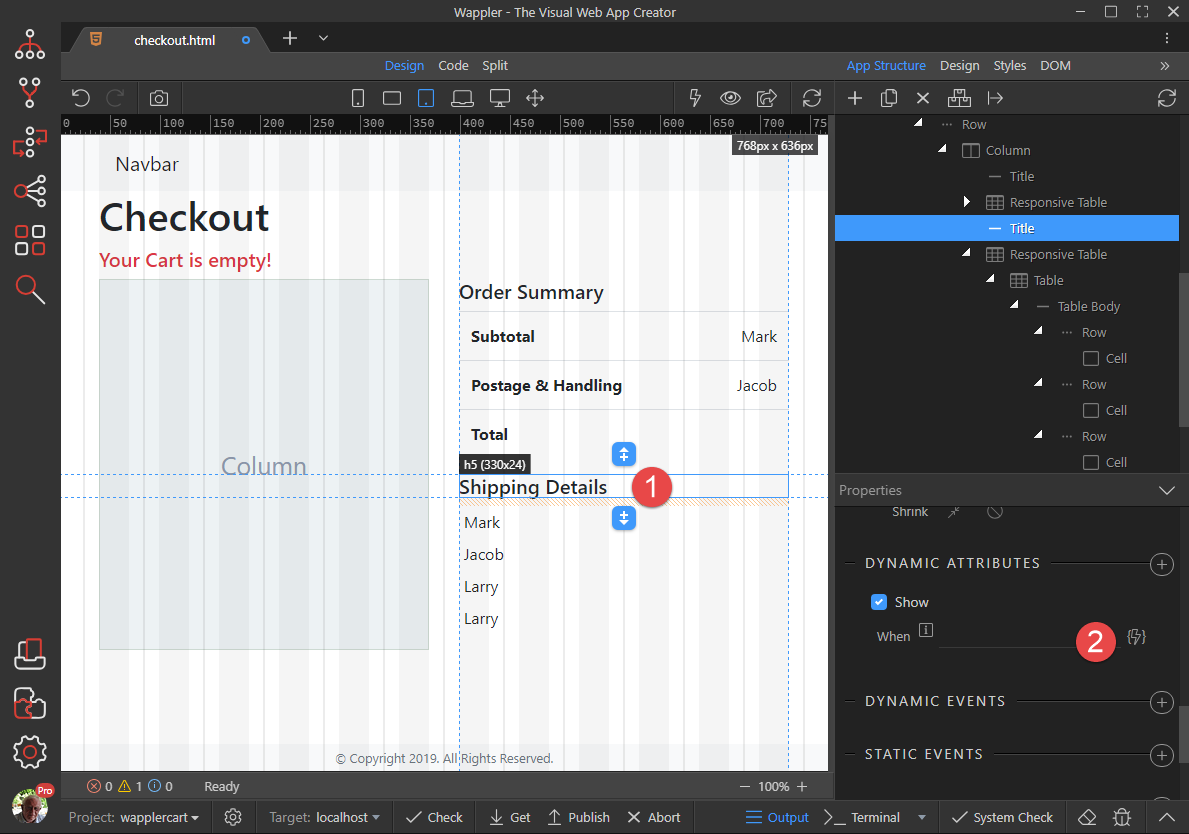
Choose the Shipping Details Title (1) and click the Dynamic Attributes button (2)
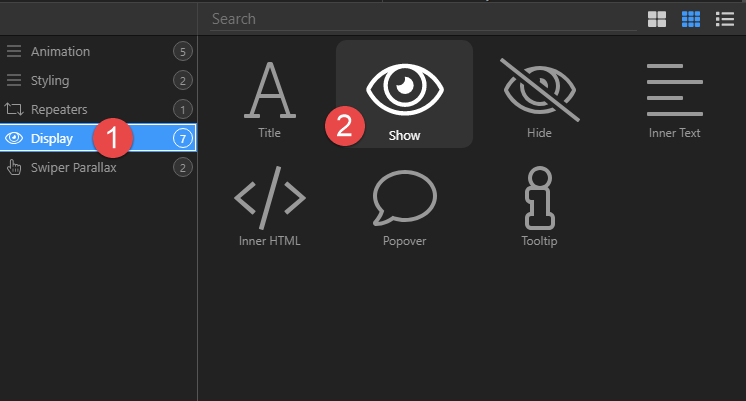
-
In the pop-up, choose Display (1) and click on Show (2)
-
With the Title (1) still selected, click the When button (2)
-
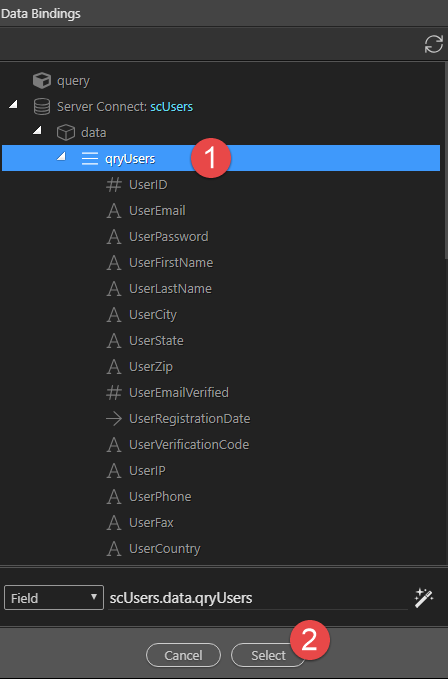
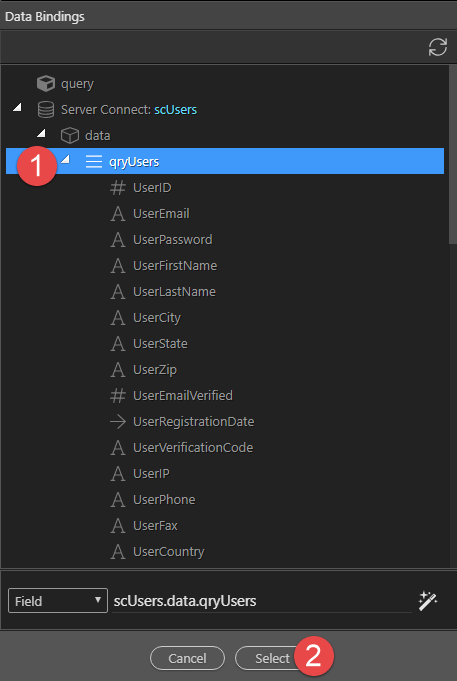
In the pop-up, click qtyUsers (1) and Select (2)
-
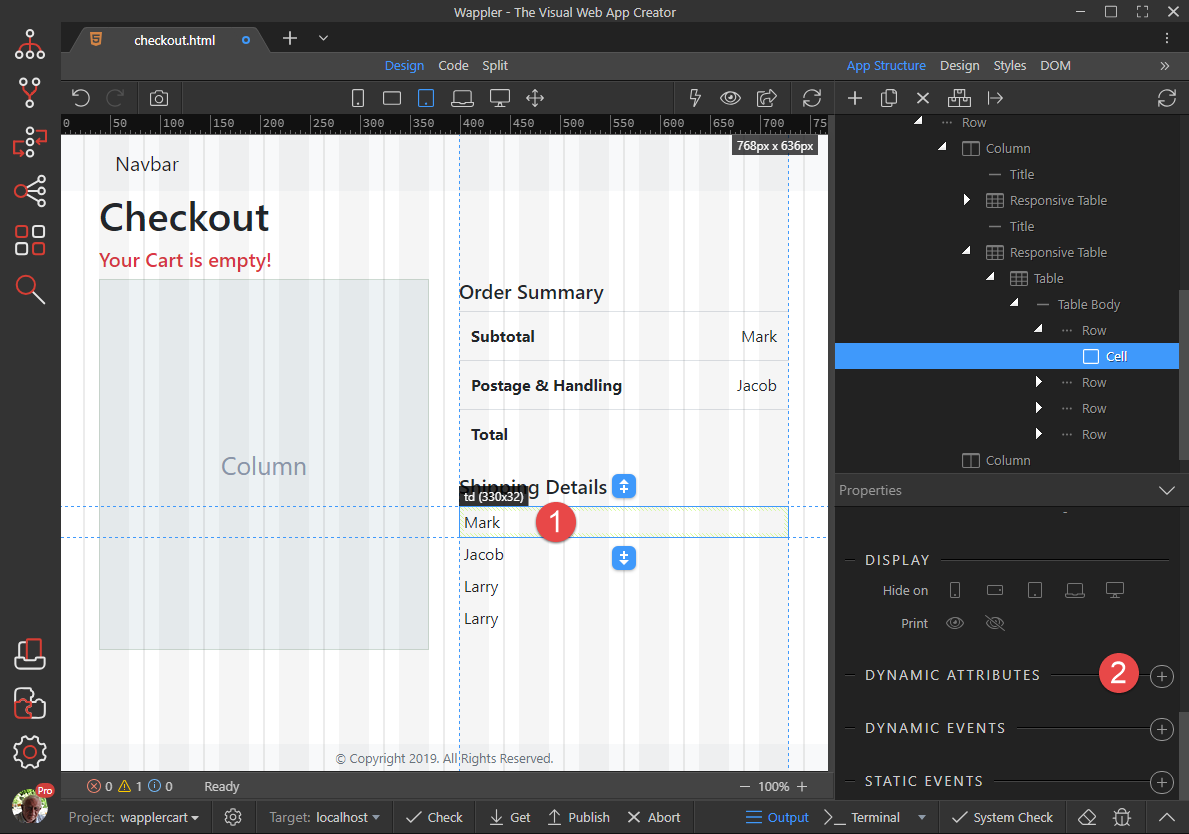
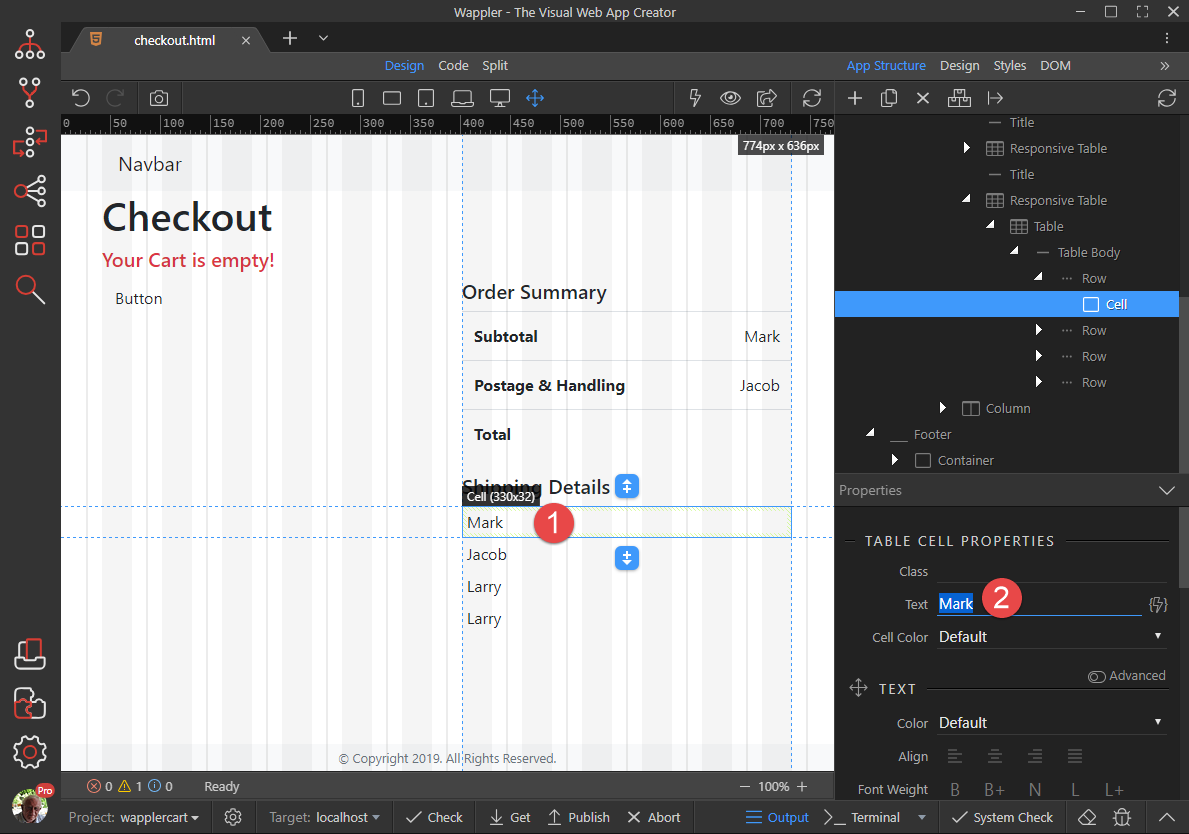
Click the first Cell in Shipping Details (1) and remove the Text (2)
Note: In version 2.3.2 of Wappler, I had to double click the Cell again to completely remove the text.
-
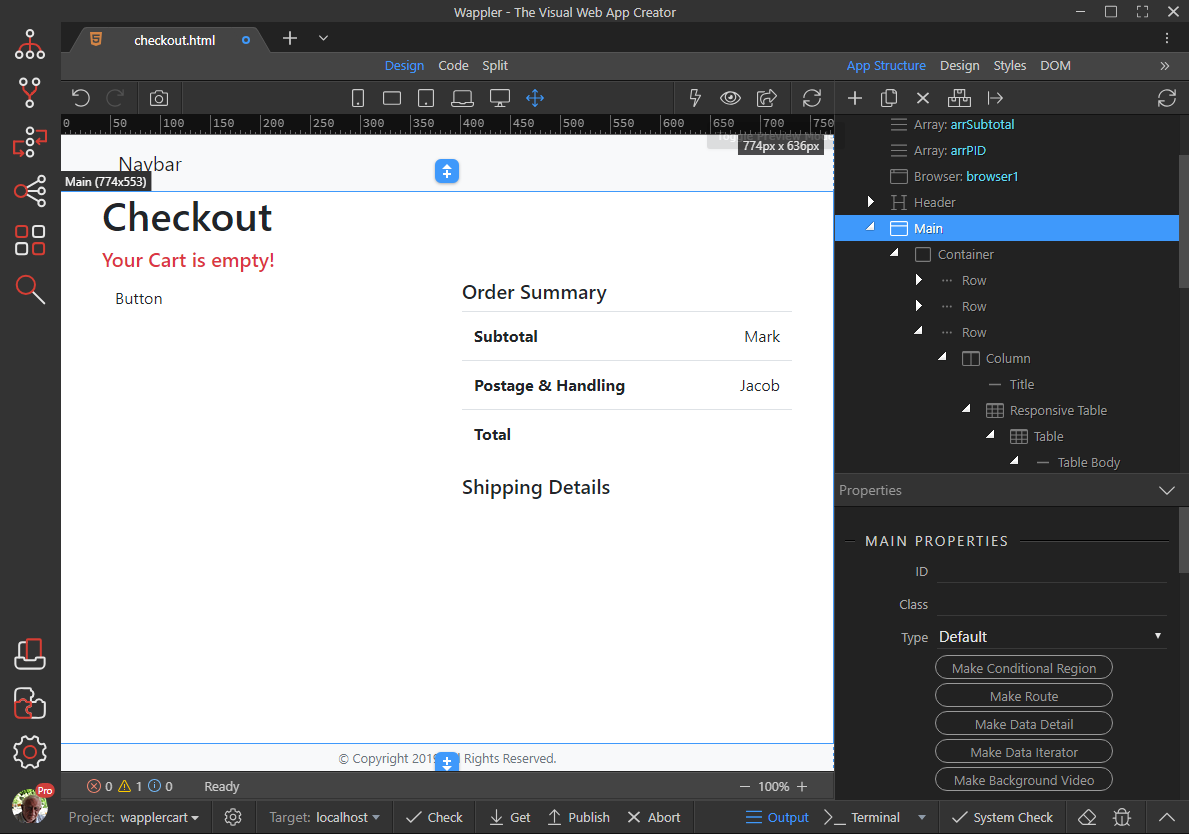
Repeat the process for the other 3 Cells to finish up with
-
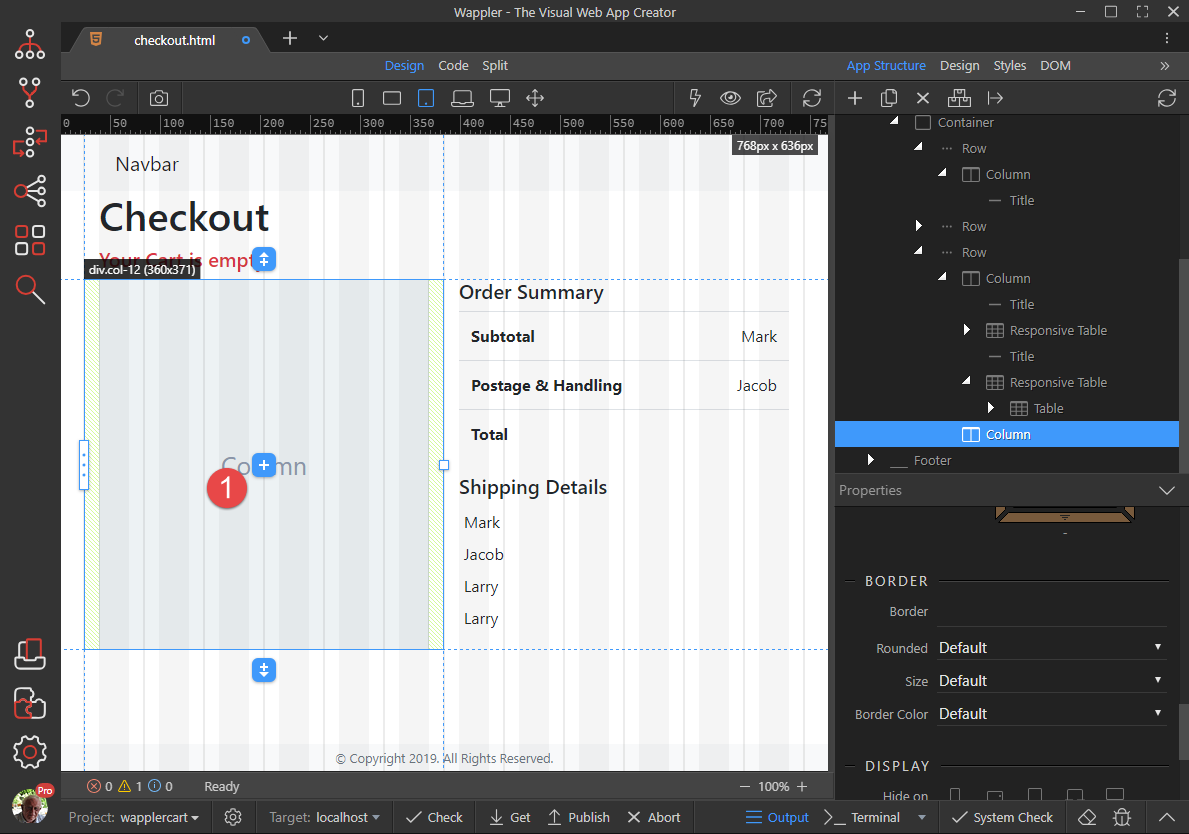
Choose the Insert Child button of the first Column (1)
-
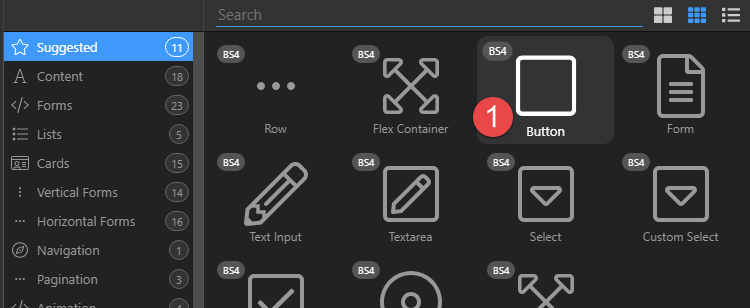
Click Button (1)
-
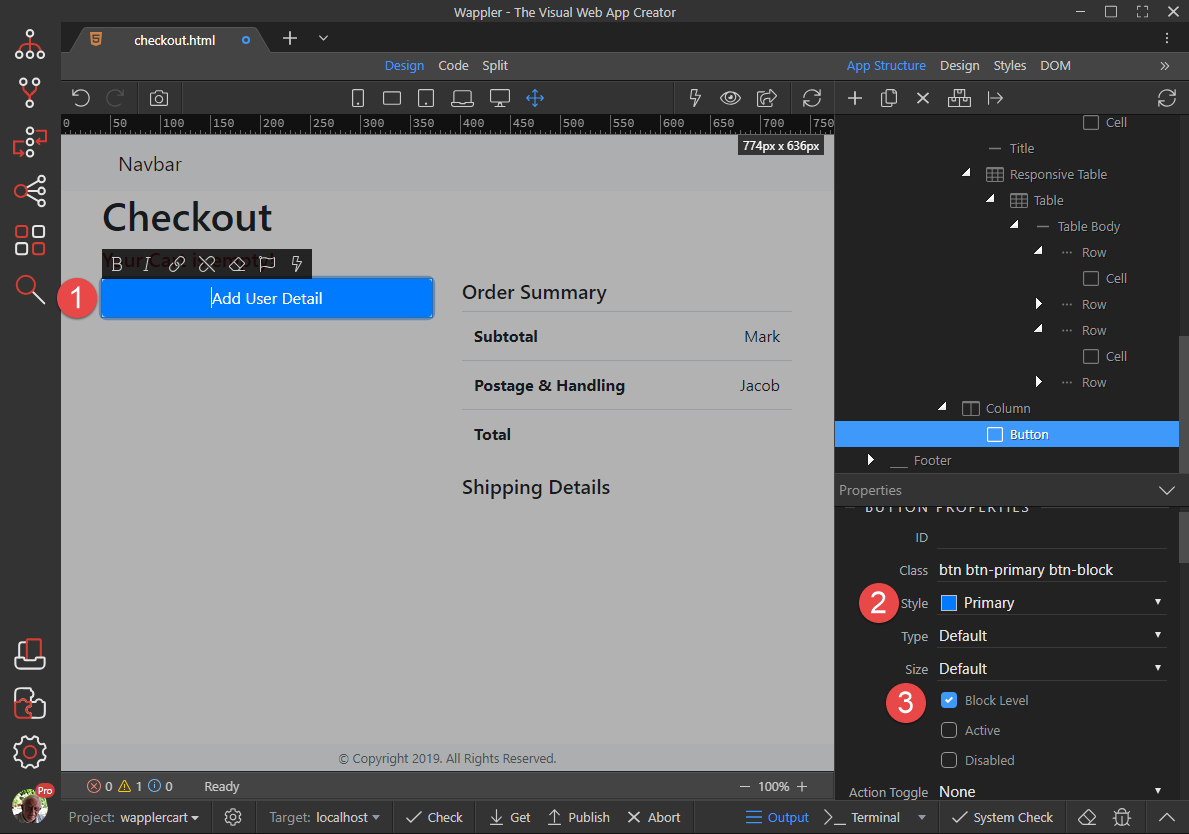
Double click the button (1) and change its text. Change the Style (2) and turn it into Block Level (2)
-
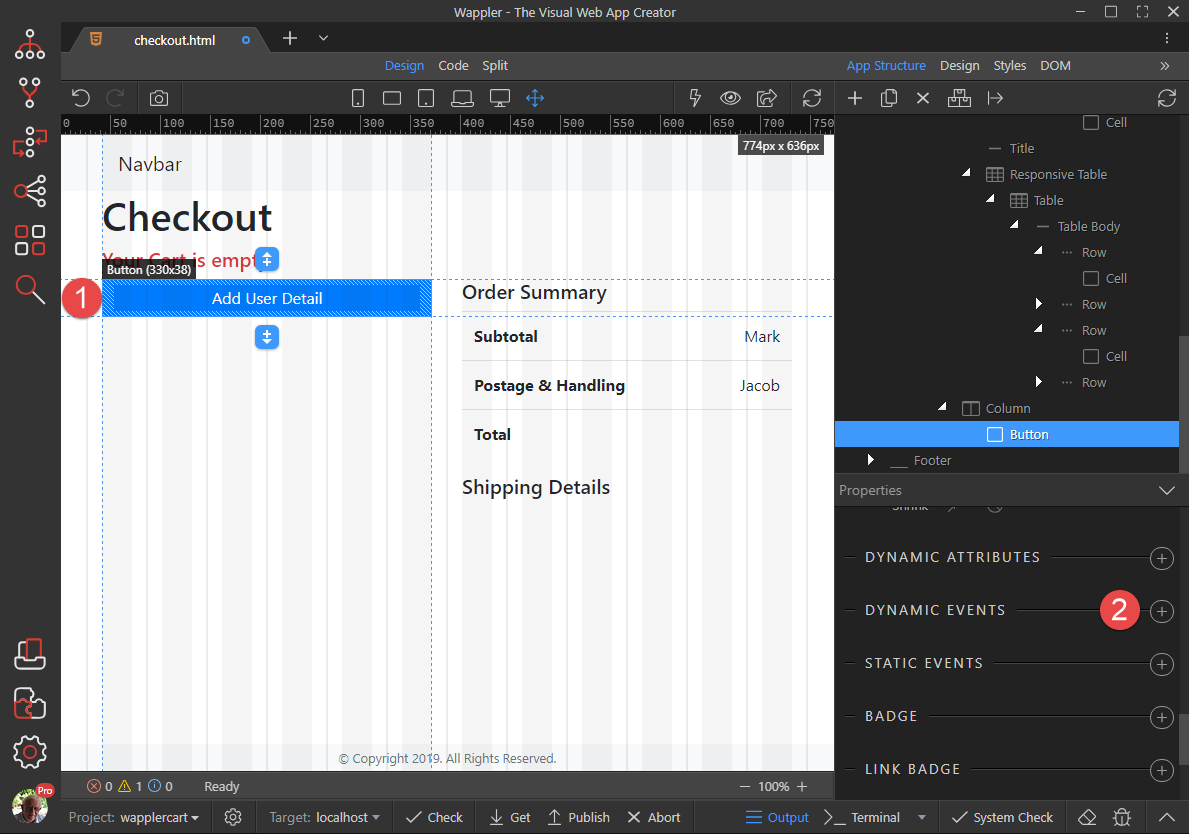
With the Button (1) still selected, click the Dynamic Events button (2)
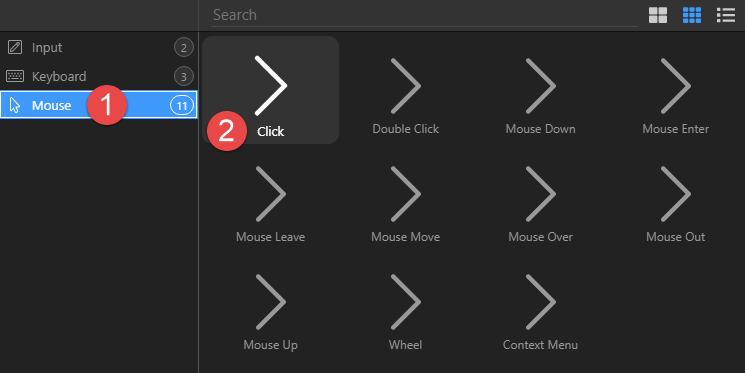
-
In the pop-up, select Mouse (1) and click on Click (2)
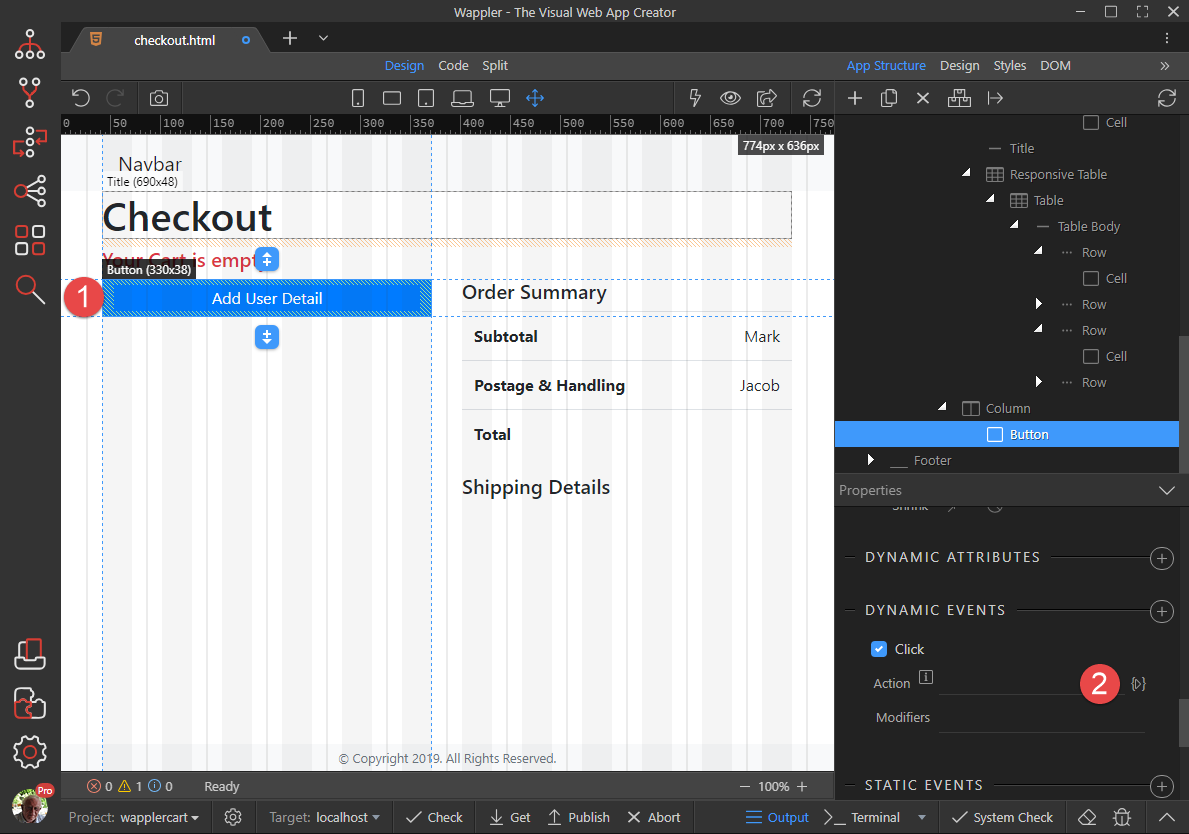
-
With the Button (1) still selected, click the Action button (2)
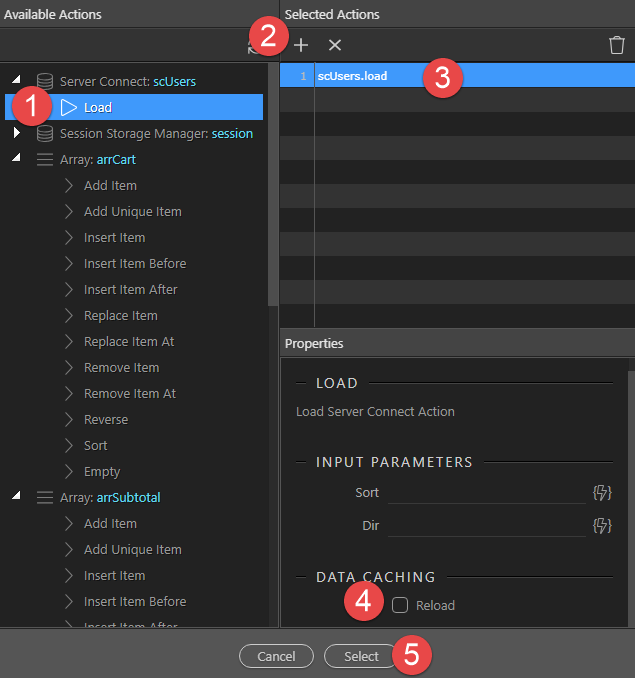
-
In the pop-up, select Server Connect Load (1), click the Add button (2), select scUsers.load (3), ensure the Reload (4) is not active and click Select (5)
-
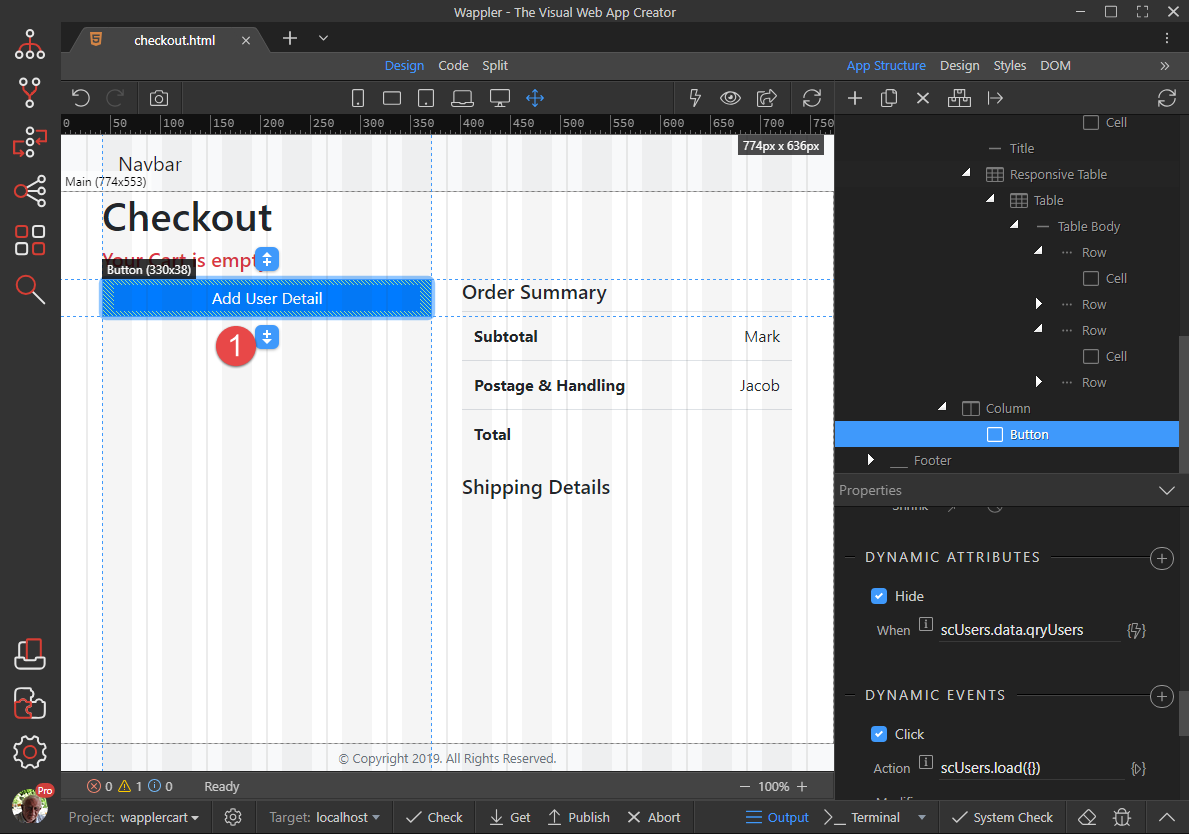
With the Button (1) still selected, click the Dynamic Attributes button (2)
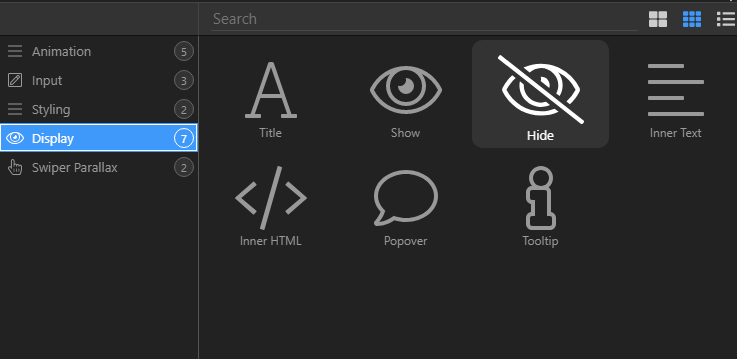
-
In the pop-up, choose Display(1) and click on Hide (2)
-
With the Button (1) still selected, click the When button (2)
-
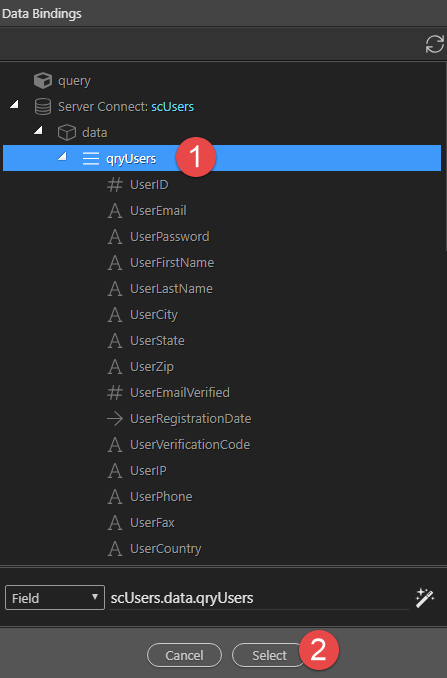
Click qryUsers (1) and Select (2)
-
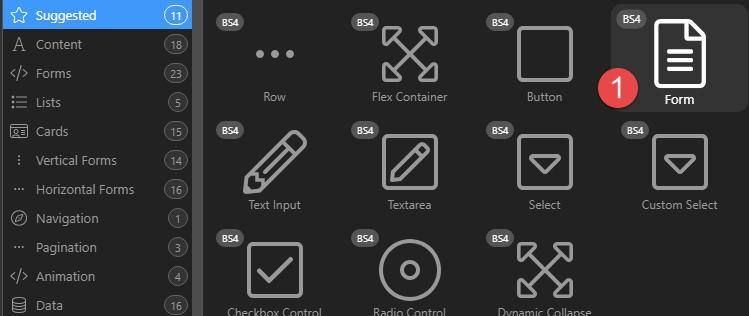
Click the Insert After button (1)
-
Click Form (1)
-
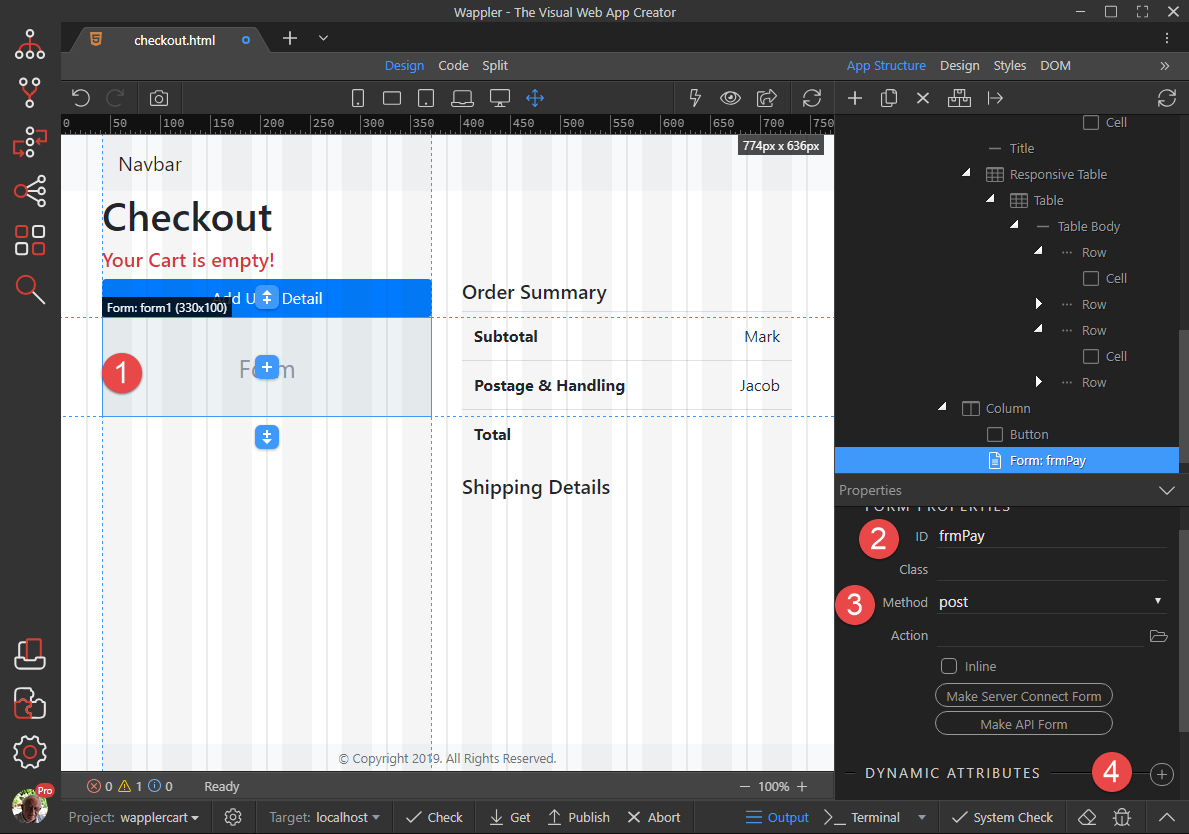
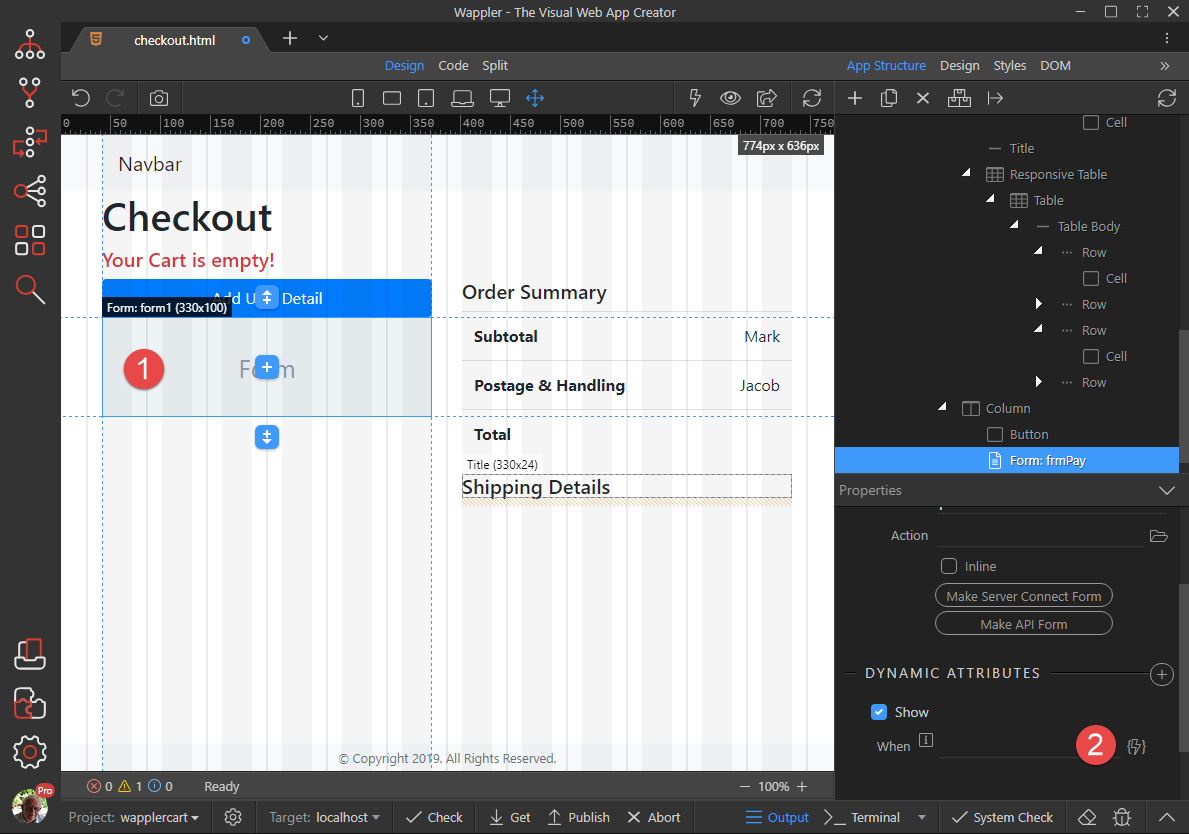
With the Form (1) selected, give it an ID (2), change the Method (3) to post and click the Dynamic Attributes button (4)
-
In the pop-up, select Display (1) and Show (2)
-
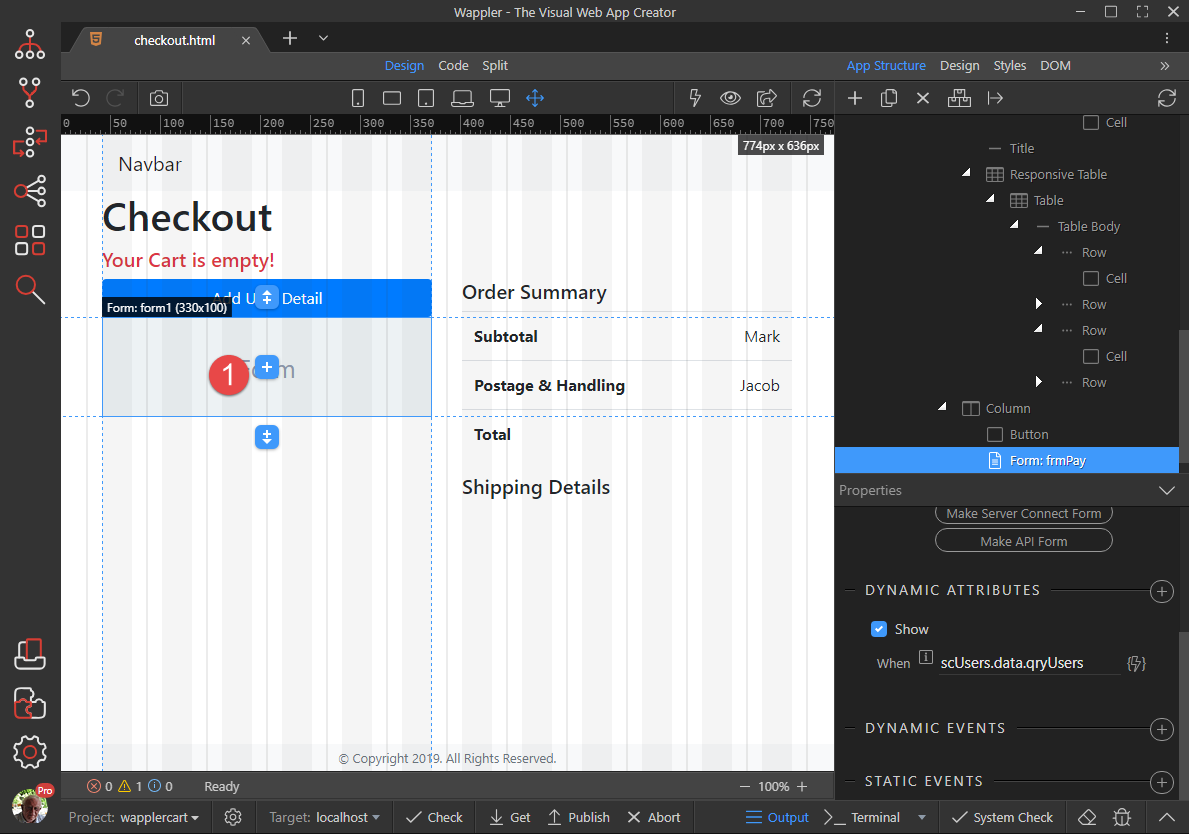
With the Form (1) still selected, lick the When button (2)
-
Click qryUsers (1) and Select (2)
-
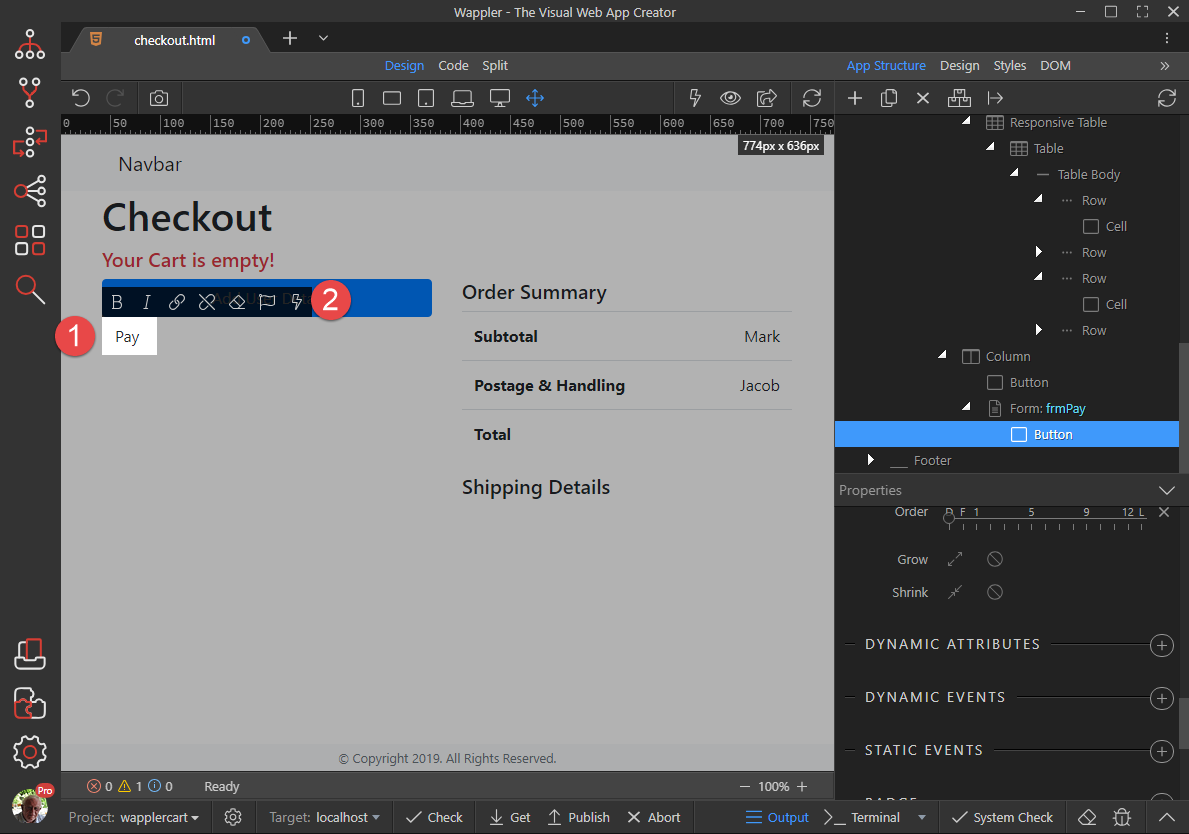
Click the Insert Child button (1)
-
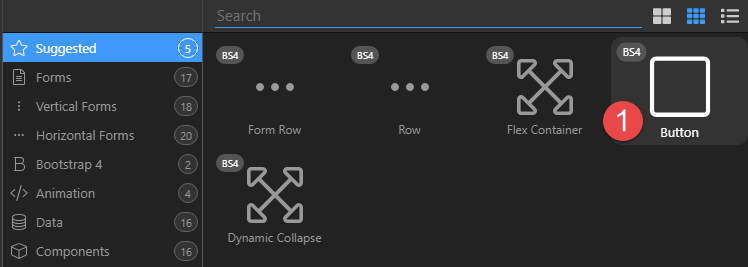
Click Button (1)
-
Double click the new Button and change the text to Pay (1). Make sure there is a space after and click the Dynamic Attributes button (2)
-
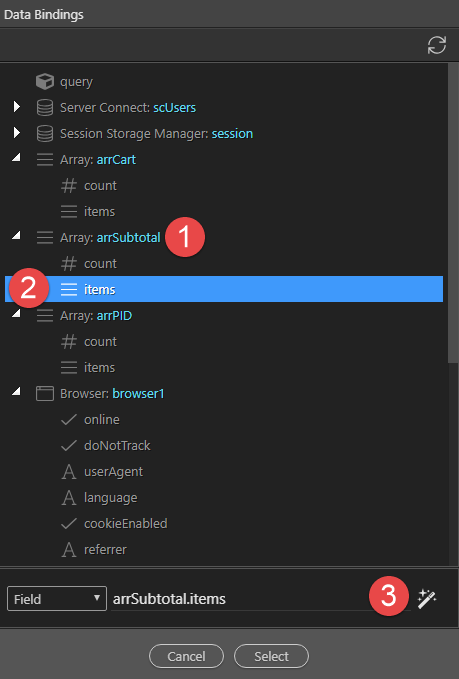
Under arrSubtotal (1), choose items (2) and click the Format button (3)
-
Right click arrSubtotal.items (1), choose Array (2) and click on Sum (3)
-
Right click Sum (1) and click Operation (2)
-
Select the Arrow (1) and enter a Value of 15 (2) for our static value.
-
Right click 15 (1), Numeric (2) and Format Currency (3)
-
Format the currency and click Select (1)
-
Click Select (1)
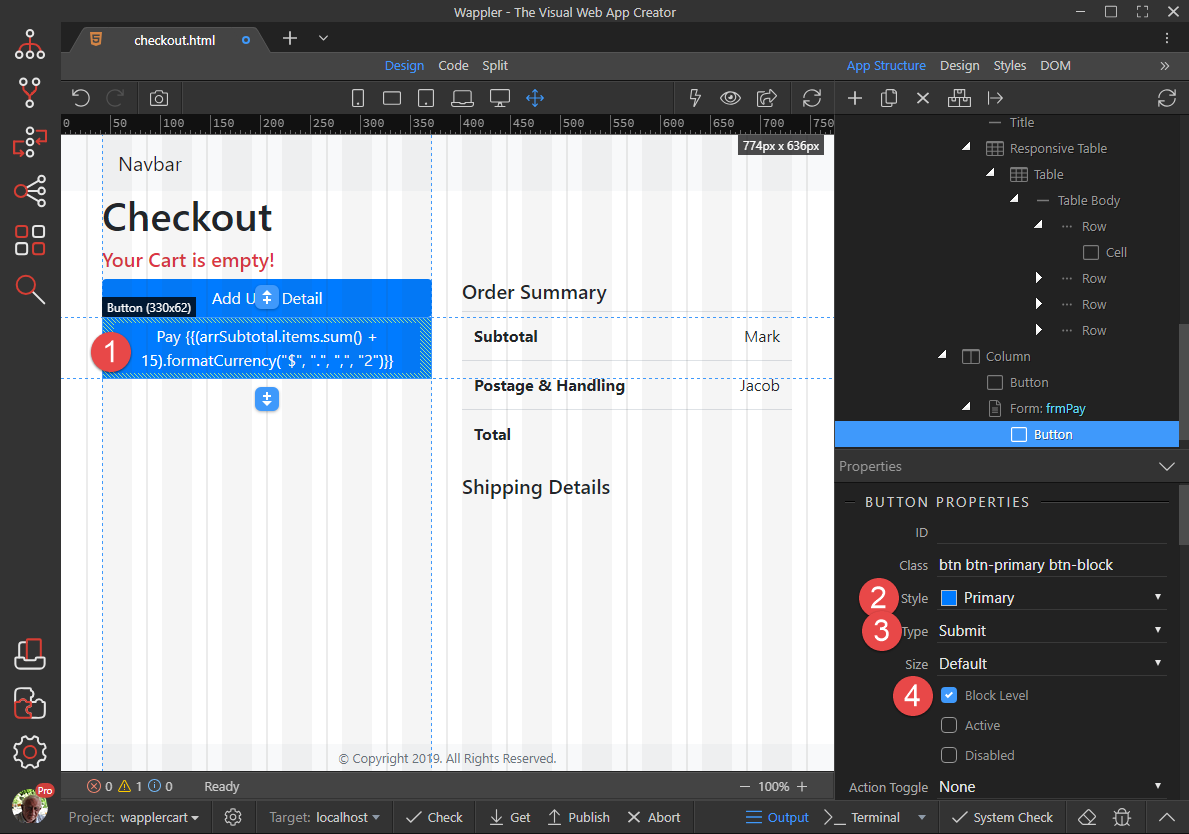
Because I still do not know how to use complicated formating, we need to adjust the code from
Pay {{arrSubtotal.items.sum() + (15.formatCurrency("$", ".", ",", "2"))}}
to
Pay {{(arrSubtotal.items.sum() + 15).formatCurrency("$", ".", ",", "2")}} -
With the Button (1) selected, give the Button a Style (2), change the Type(3) to submit and make it a Block Level (4)
Don’t forget to save your work. In part 11, we’ll apply the Pay button functionality and insert into the database.