Intro
App Connect PDF Creator allows you turn any area of your page into PDF. It includes different customization options such as headers, footers, watermark, page margins and other styling options.
The PDF Creator works on the client-side and can be used with static and dynamically rendered data on your page.
Note: due to the nature of PDF files, this module has some limitations in what HTML and CSS code can be converted to PDF. Basic Bootstrap columns for text align, headings, images and tables are supported. We advice you to keep your PDF content layout as simple as possible.
Basic PDF Export
In this section we will show you how to export a section of your page and the basics options of App Connect PDF Creator.
We created a simple page, which lists customers from our database into a dynamic table:

PDF Content
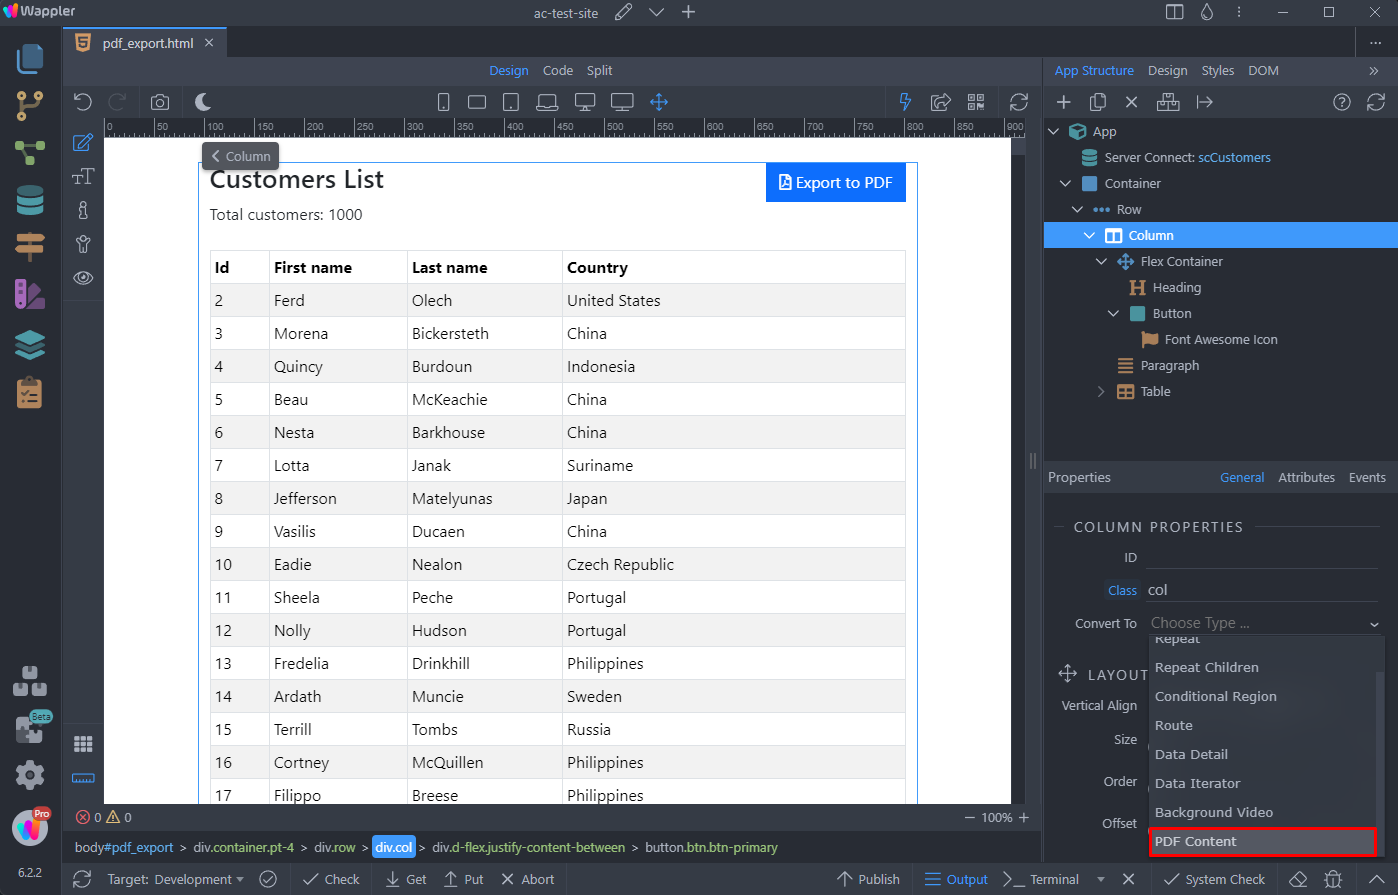
The first step is to define which part of our page should be the content of the PDF. We select the column containing our heading, text and table. Then open the Convert To menu:

Select PDF Content:
You can see the PDF Content Properties:

Remove Extra Blanks: In some cases, you may see some extra blank spaces in the PDF. Select this option to remove them.
Show Hidden: By default the display:none elements won’t be added to the PDF. Enable this option to to display the hidden elements in the PDF.
Remove Tag Classes: By default a class html-TAG is added for each node. It’s possible to remove these CSS classes by enabling this option.
Table Auto Size: Enable this option in order for the component to define widths and heights for the tables, based on CSS properties width and height that have been provided to TH or TD.
PDF Creator Component
Now after we set up our PDF content, we need to add the PDF Creator component on the page. Right click App in the App Structure:

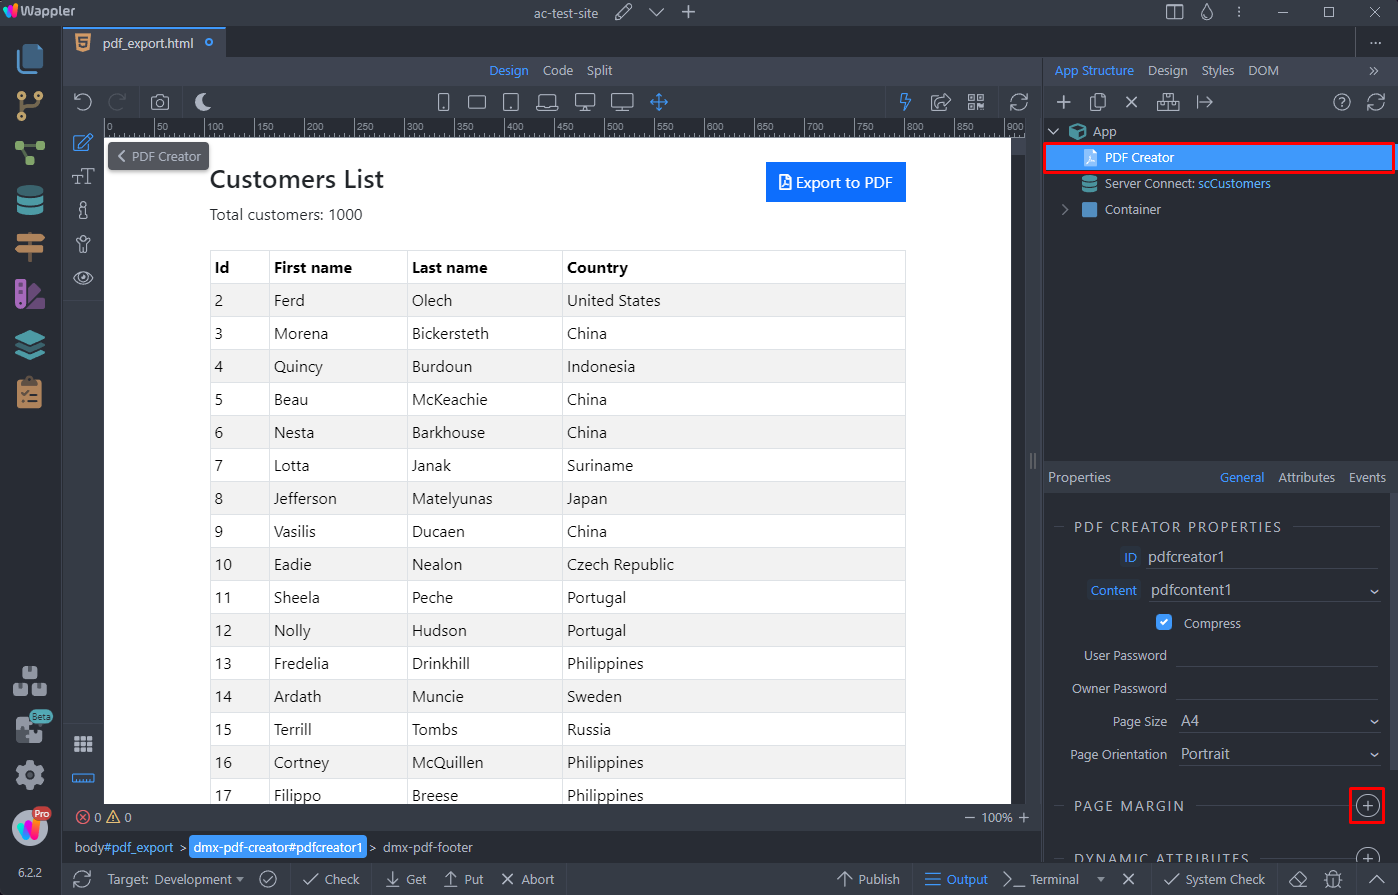
Select PDF Creator:

Then select which PDF content area would you like to export:

We select the content area which we just created:

You can define the basic PDF properties such as User Password, Owner Password, Page Size and Page Orientation here. We leave these to their defaults:

Exporting PDF
We added a button that will be used to export our content area to PDF. Select the button and add new dynamic event:

Select Mouse > Click:

And click the dynamic action picker icon:

You can find the available events under the PDF Creator component - Download, Open, Print and Preview:

In this example we want to open the PDF, so we select and add the Open action. Click Select when you are done:

Hiding Elements in PDF
You can easily hide elements from your page on the exported PDF. In our example we don’t need to show the Export to PDF button on the PDF, so we need to hide it.
Select the button, scroll down to the Display properties and select hide for print:

Elements marked as hidden for print will not be displayed in the PDF.
That’s all, let’s preview the results:

Another good example for PDF content is generating an invoice.
We have a table structure for our invoice:

We can customize it - setting the product column to 100 width, this will make the column as wide as possible, pushing the rest to the right:

Then we export this invoice as a PDF:
Page Margins
You can customize the margins for your PDF pages. Select the PDF Creator component and click the add button next to Page Margin:
The default page margins are 40pt for left, right, top and bottom:
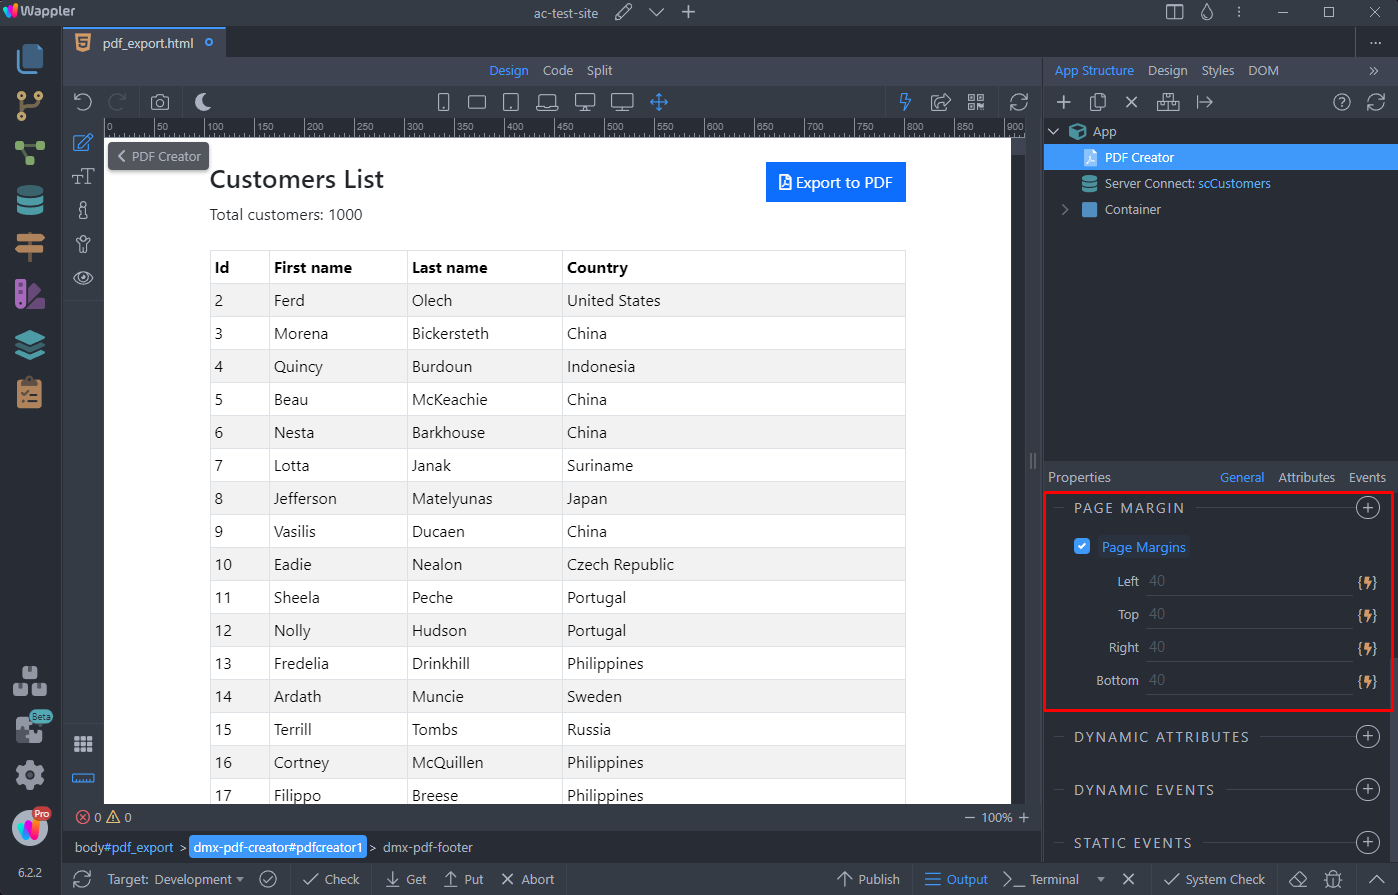
Just enter the new values you need and save your page:

Here’s the result:

Using Headers and Footers
You can easily add headers and footers to your PDFs. They can both contain text and/or images.
Adding Header
To add a header, right click the PDF Creator component:

Select Header:

You can add content inside the header by right clicking it:

Select whether to add text or image, or both. In our case we select text:

You can see the text properties in the properties panel below:

Enter the text, select the font size and adjust the alignment:

Adding Footer
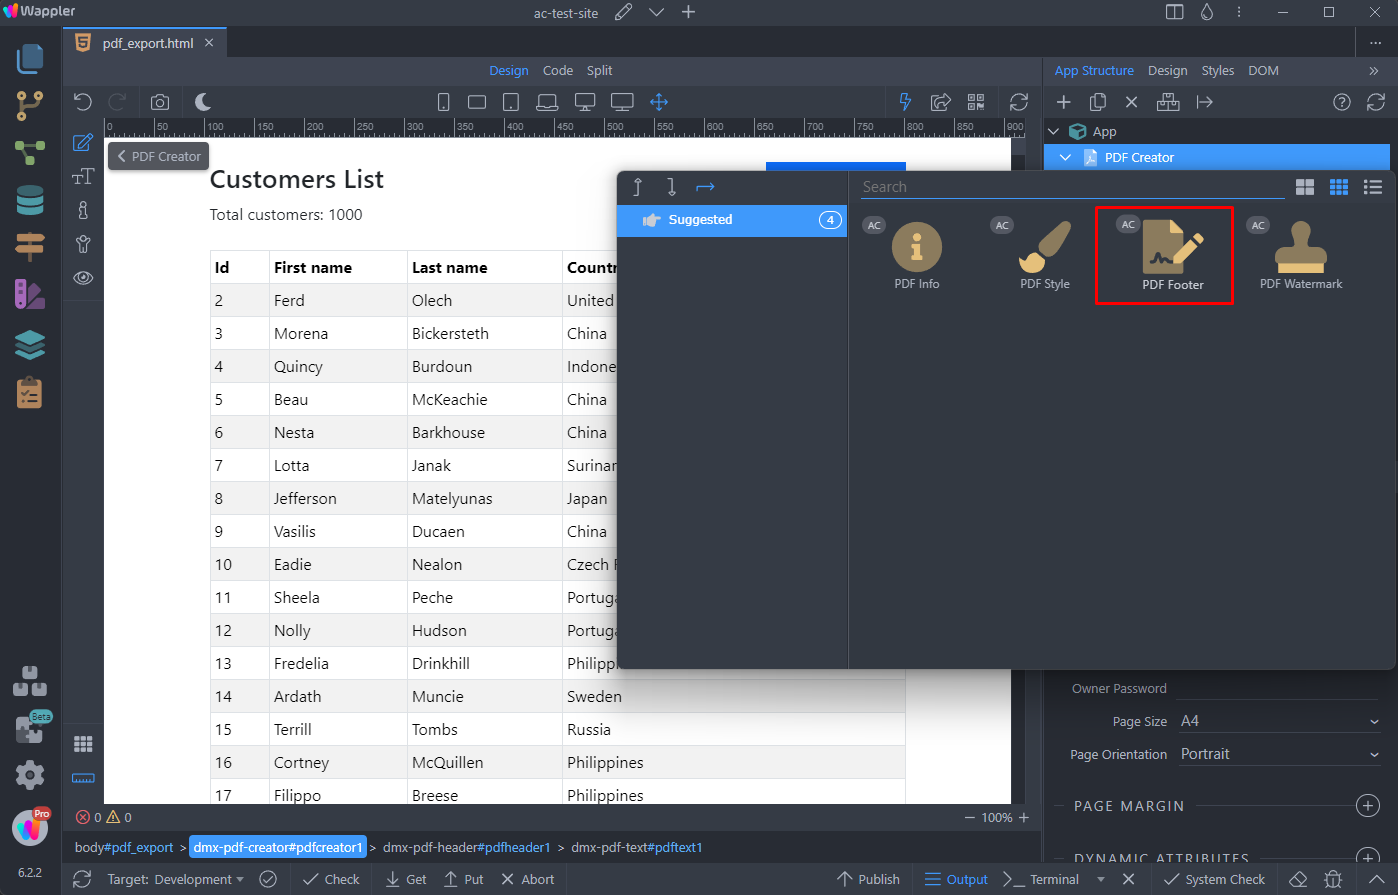
You can add a footer to your PDF the same way. Right click the PDF Creator component and select Footer:
By default the footer comes with useful text inside:

The text content is ##page## / ##total##. This template will return the current page and total pages.
You can change that to whatever content you need:

And we are done, let’s preview the header and footer we just added:

Adding a Watermark
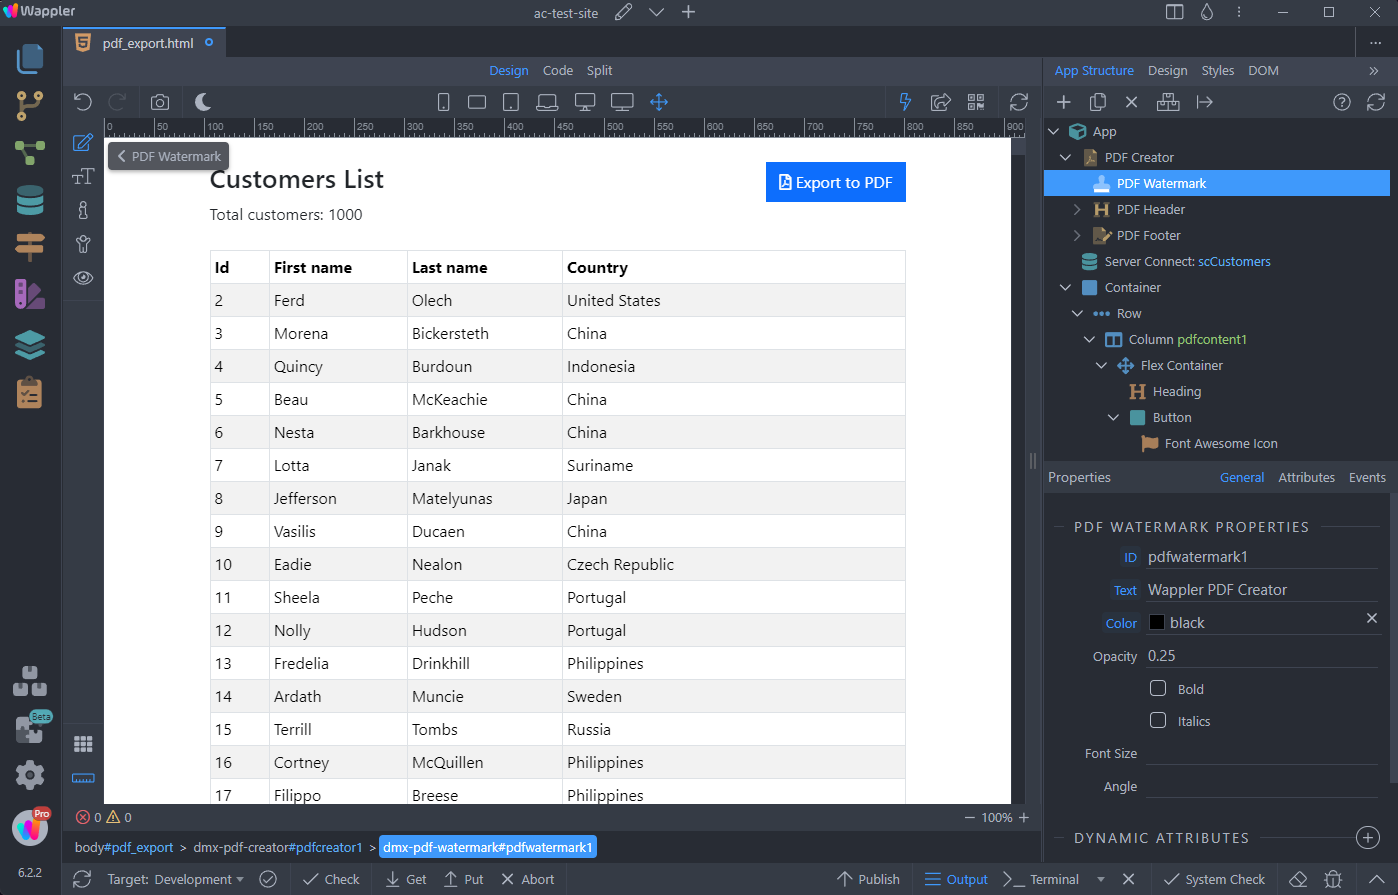
Adding a watermark to your PDF is also very easy. Right click the PDF Creator component and select Watermark:

You can find the Watermark Properties in the Properties panel below:

Enter the watermark text and style it as you need. The watermark will be added on all the pages in the PDF:
And we are done, let’s preview the results:


