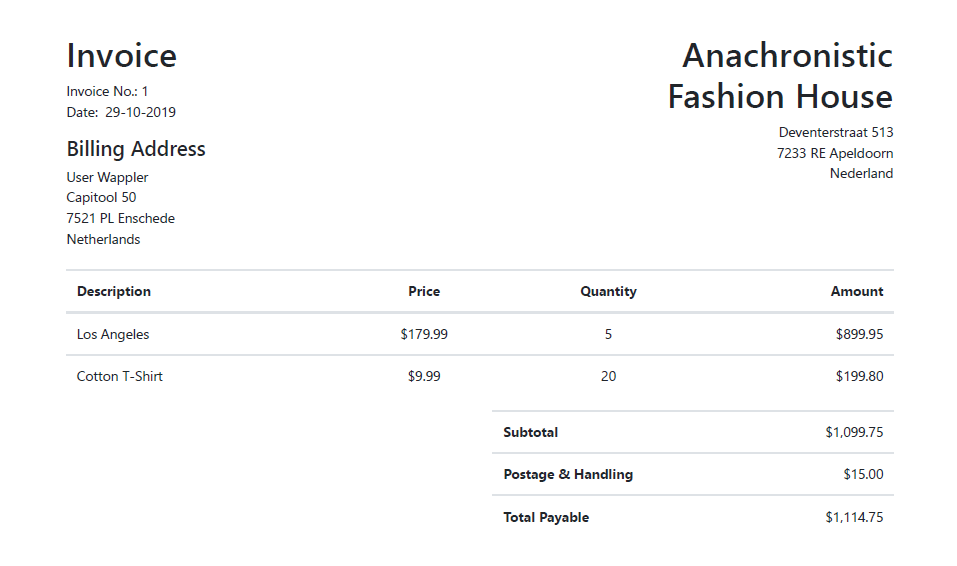
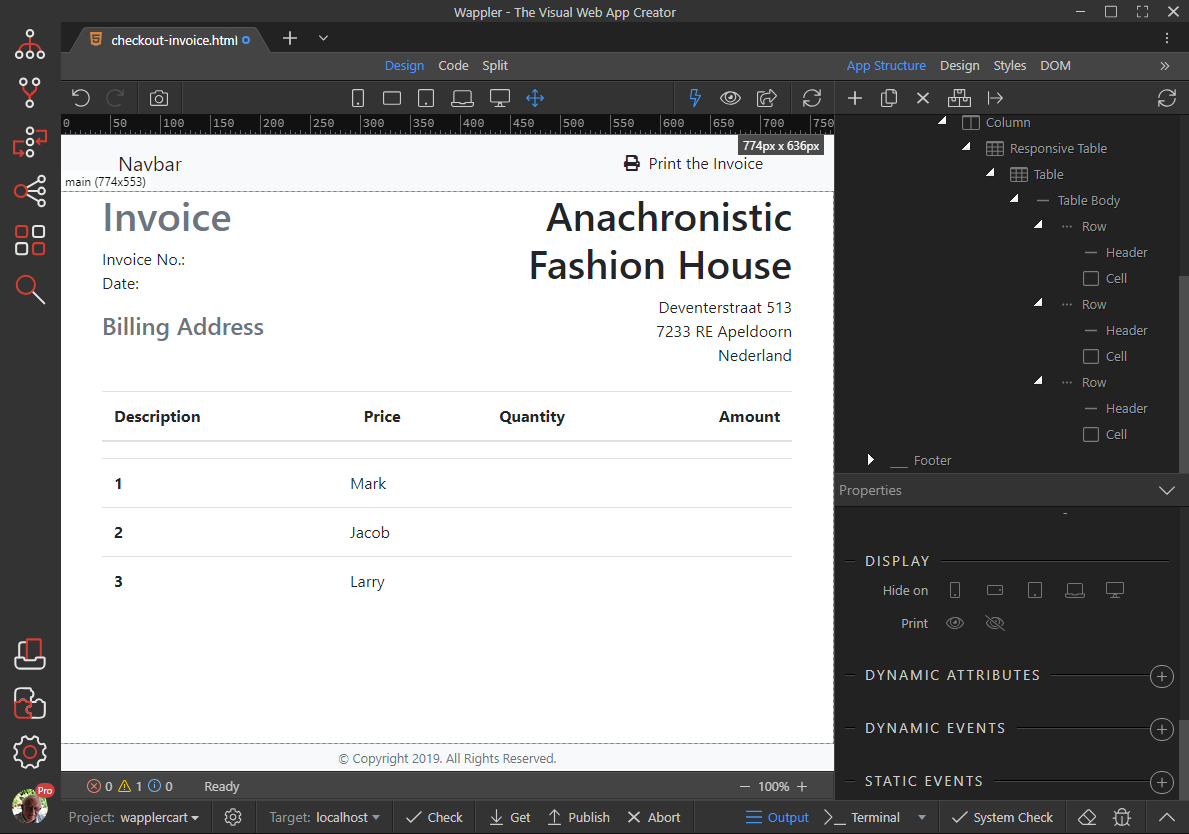
The aim of this part of the wCart Tutorial is to finish up with a PDF/printable invoice such as
-
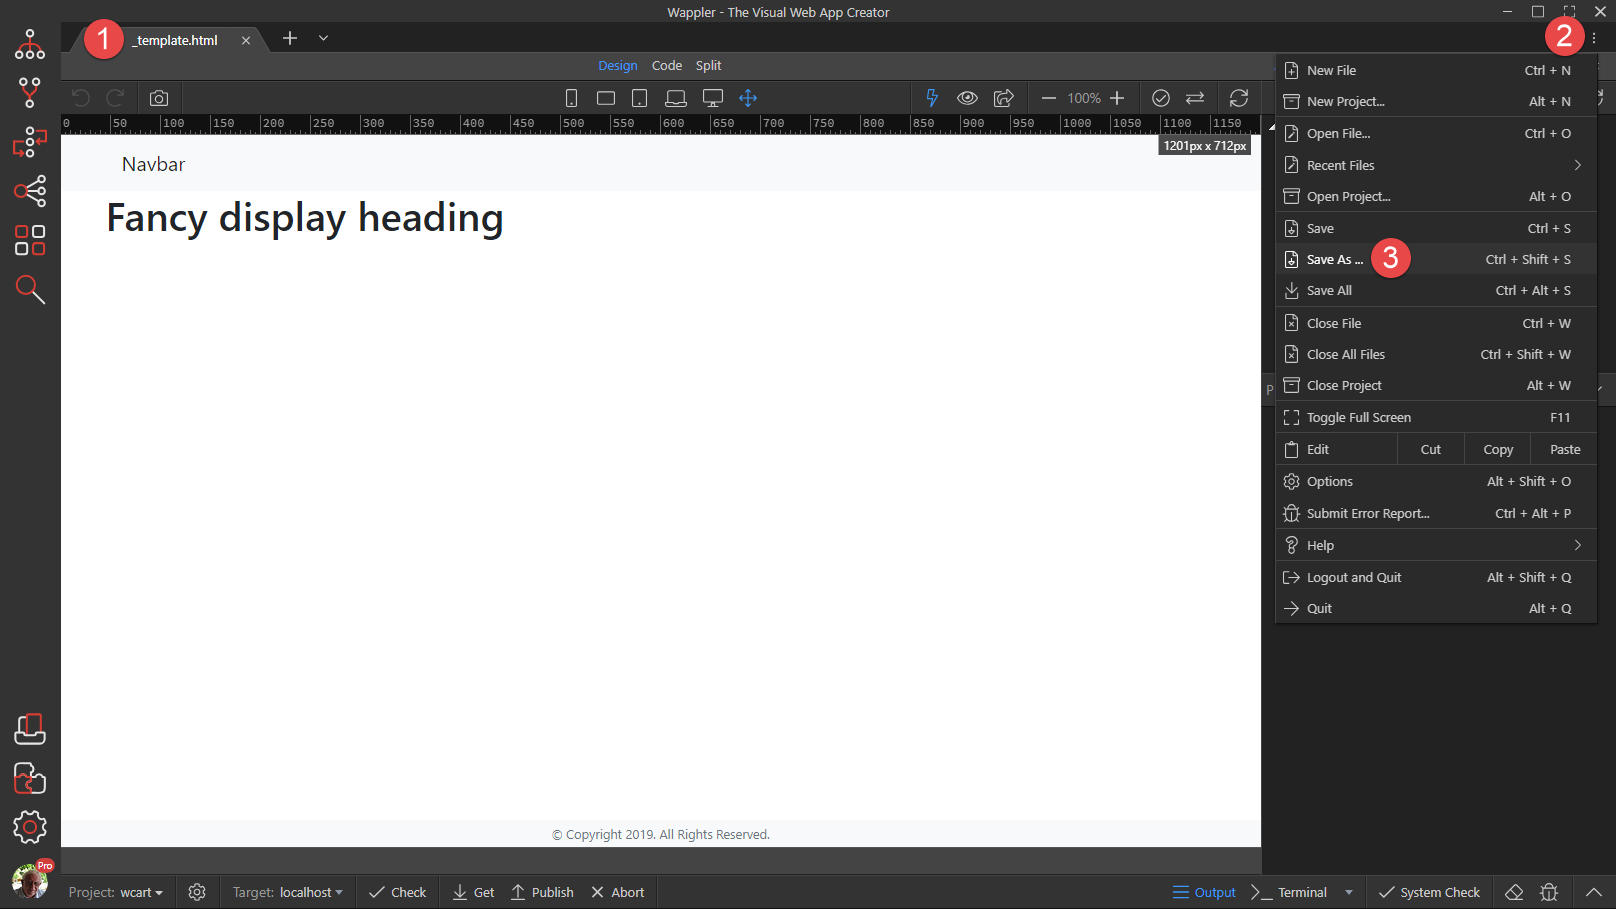
Load the _template.html page (1), click the Menu button (2) and select Save As (3)
-
In the pop-up, give the new file a name (1), we have called it invoice.html, and click Save (2)
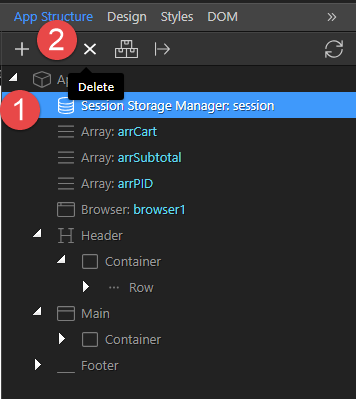
We no longer need our Session and Arrays since these were cleared in when we successfully paid for our goods.
-
Choose Session Storage (1) and click the Delete button (2).
-
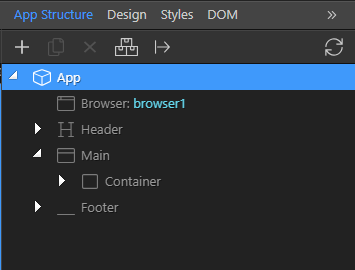
Do the same for the Arrays. so that we finish up with
-
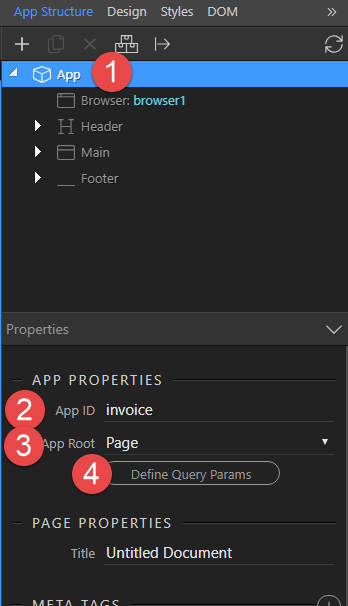
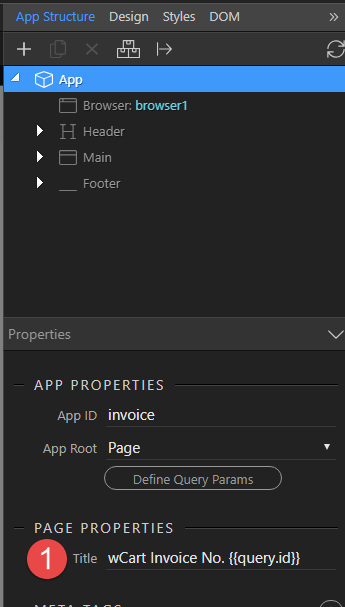
With App selected (1), change the App ID (2), apply the App Root to the Page (3) and click Define Query Params (4).
-
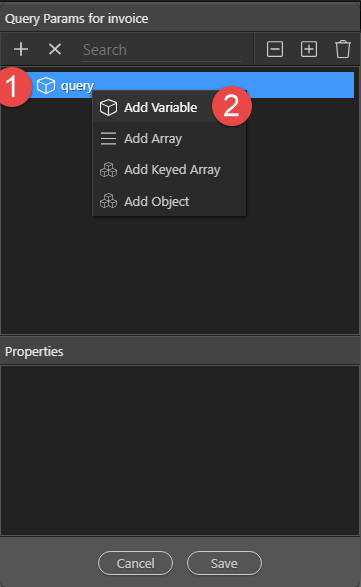
Right click query (1) and select Add Variable (2)
-
Name the variable id (1), change the Type to Number (2) and click Save (3)
-
Change the Page Title to wCart Invoice No. {{query.id}} (1)
-
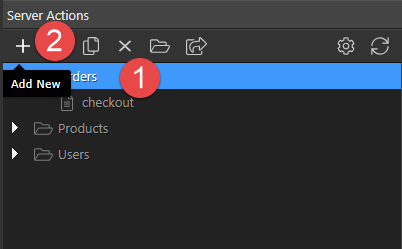
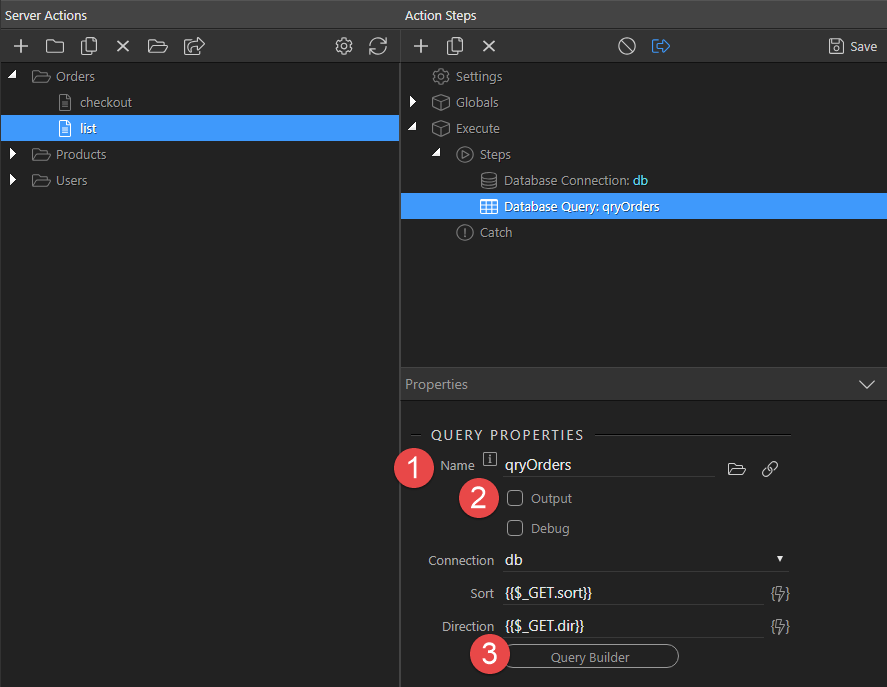
Go to Server Actions, select Orders (1) and click the Add New button (2)
-
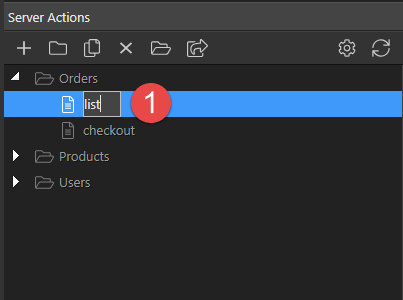
Change the name to list (1)
-
Right click Steps (1), choose Database Actions (2) and click on Database Connection (3)
-
Select your database connection (1).
-
Right click Database Connection (1), choose Database Actions (2) and click Database Query (3)
-
Give the query a Name (1), deselect Output (2 and click Query Builder (3)
-
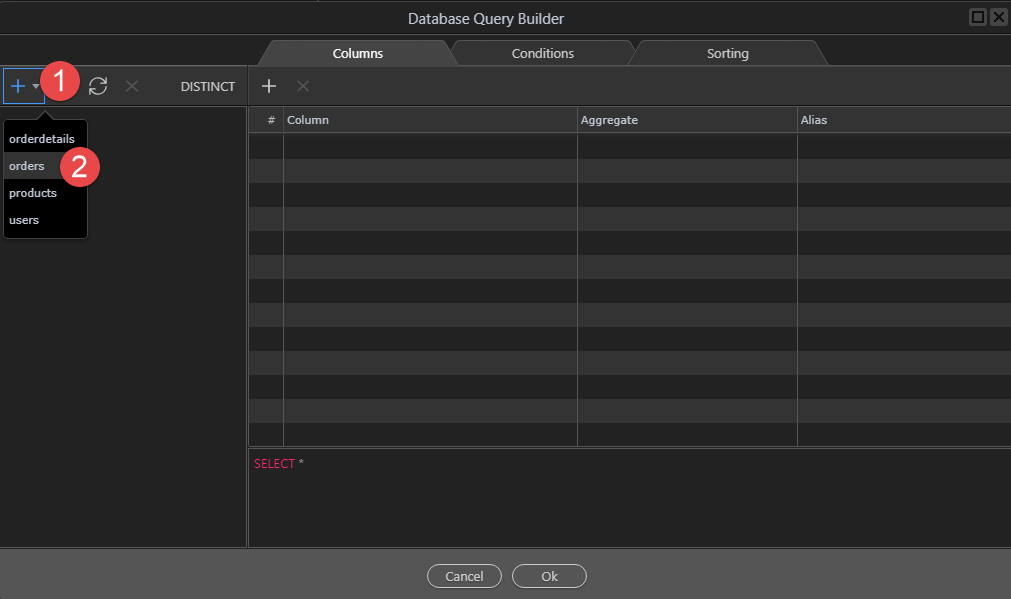
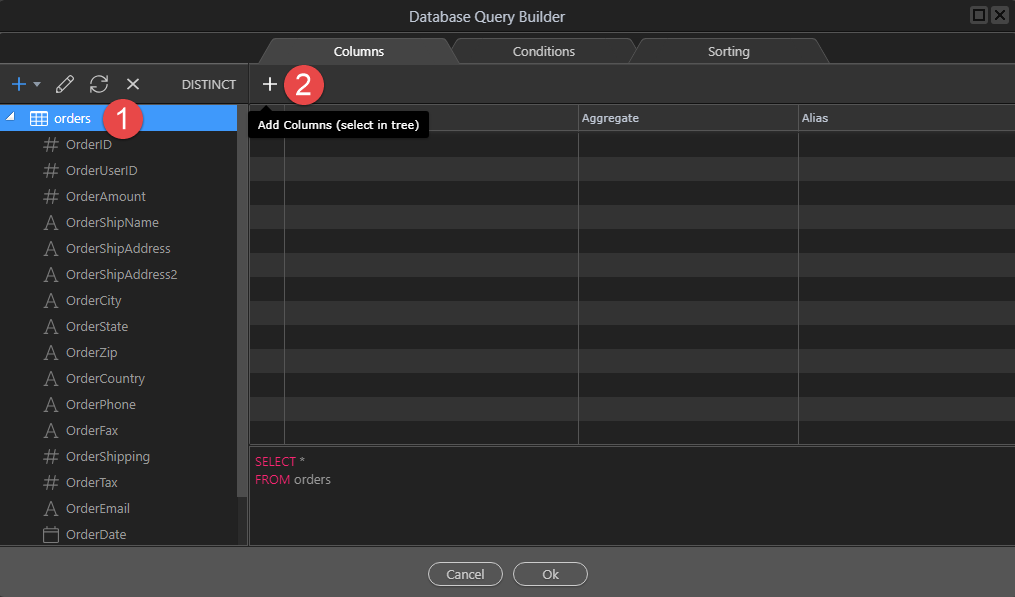
Click the Add Table button (1) and select orders (2)
-
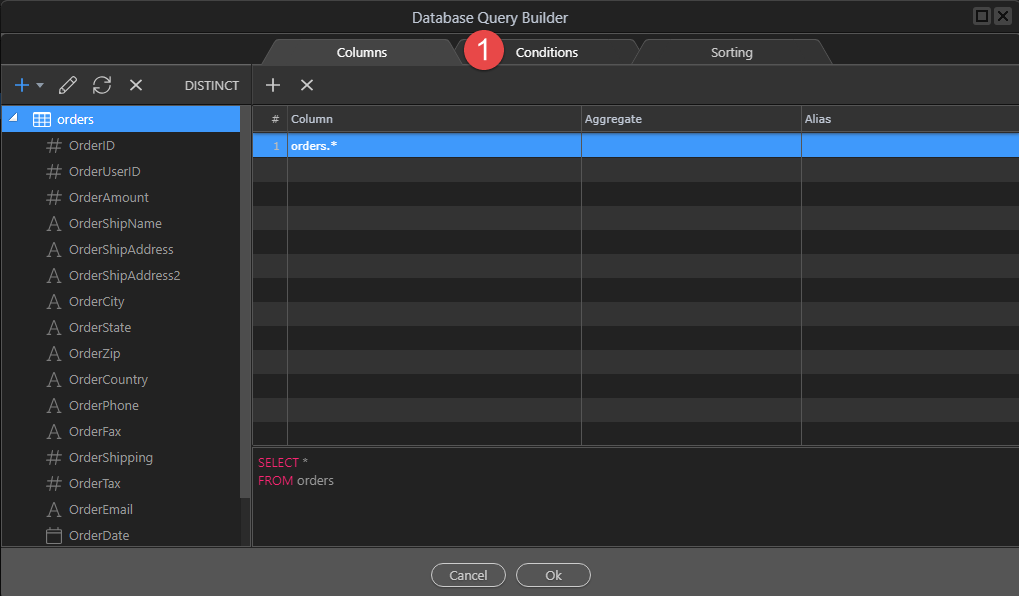
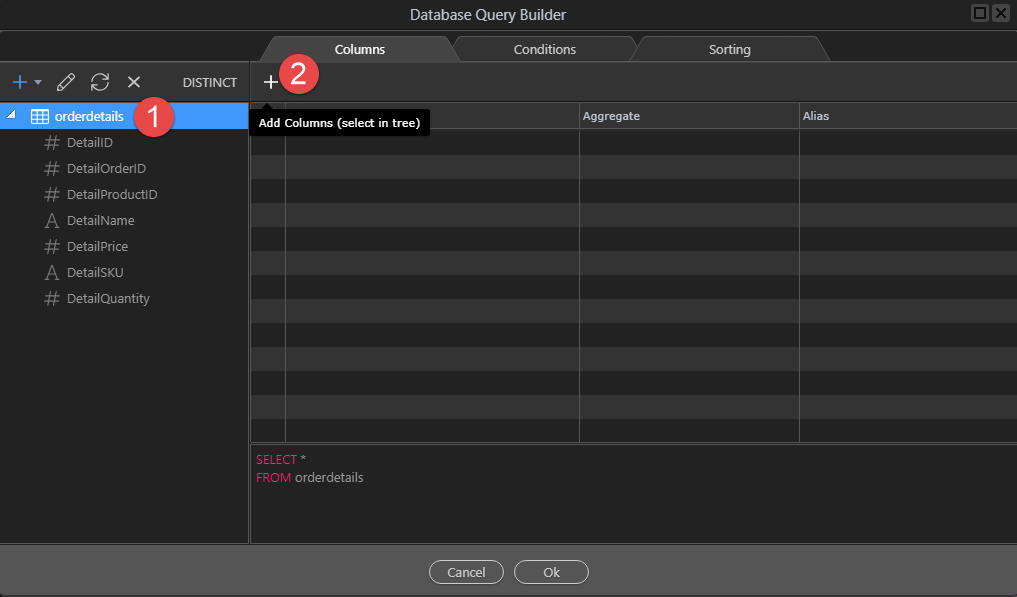
We’ll select all of the fields to keep it simple. Select orders (1) and click Add Columns button (2)
-
Click the Conditions tab (1)
-
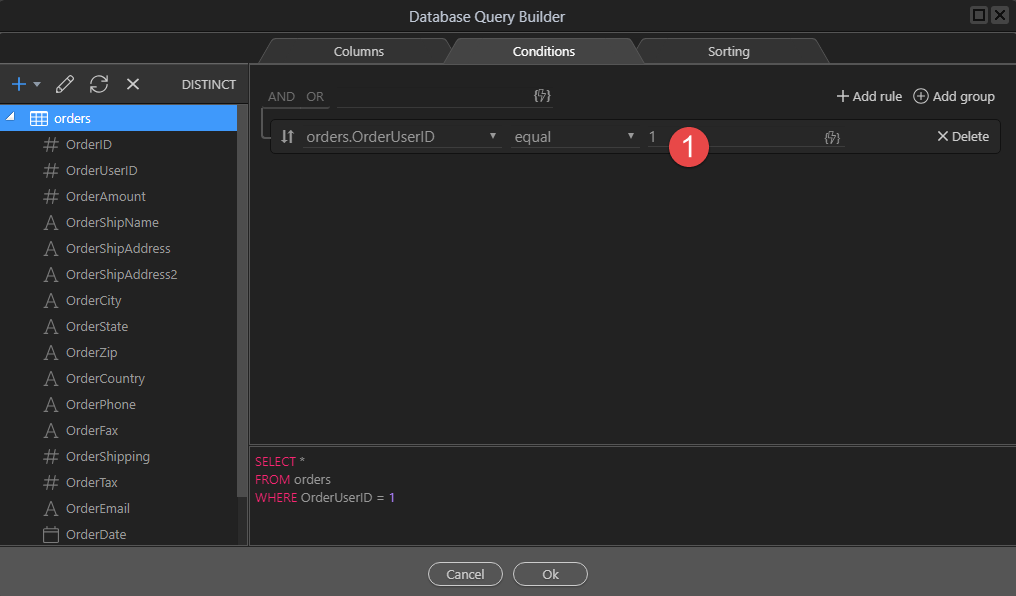
Click Select a Column (1) and choose orders OrderUserID (2)
-
We only have one user for our project. If you have multiple users, you would need the logic to select that user, but that is another topic. For now, our user has an ID of 1 thus we shall put a 1 for the condition (1) and click Ok (2)
-
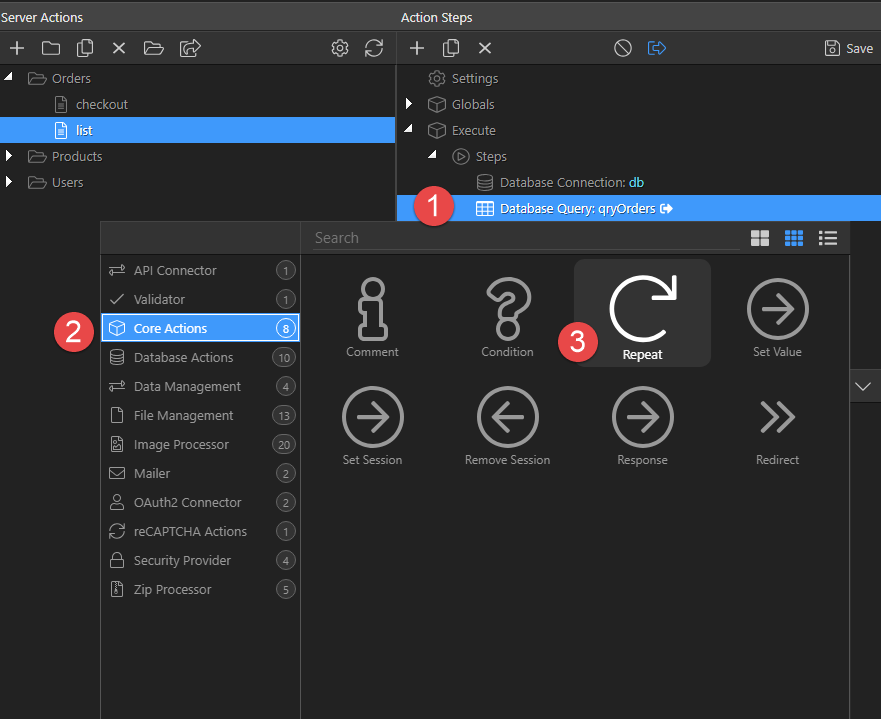
Now we need to include the items contained in the order. Right click Database Query (1), select Core Actions (2) and click Repeat (3)
-
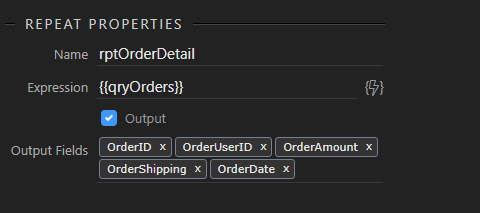
Give the repeat a Name (1) and click the Expression button (2)
-
Click Database Query (1) and Select (2)
-
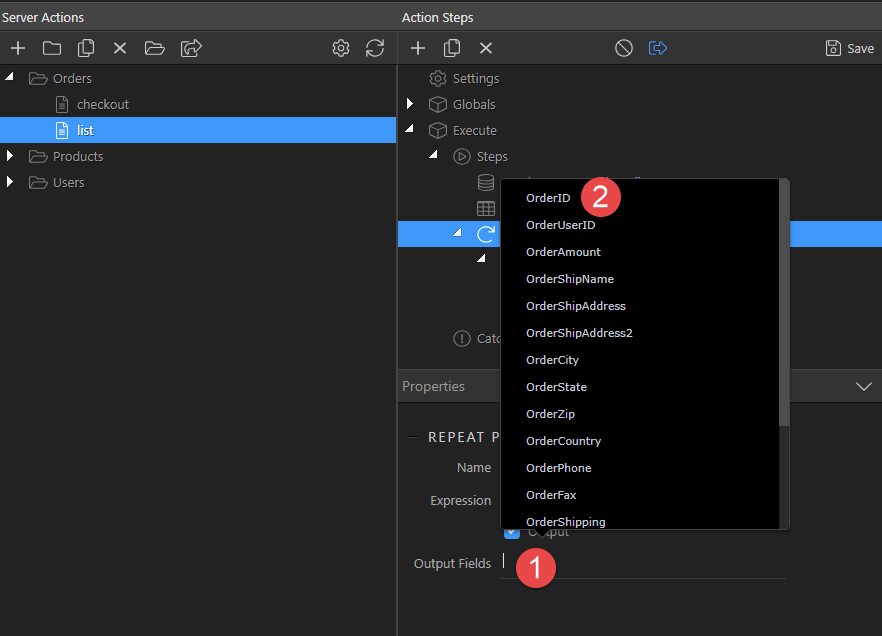
Click Output Fields (1). We need OrderID (2), Order User ID, OrderAmount, OrderShipping and OrderDate
the result looks like
-
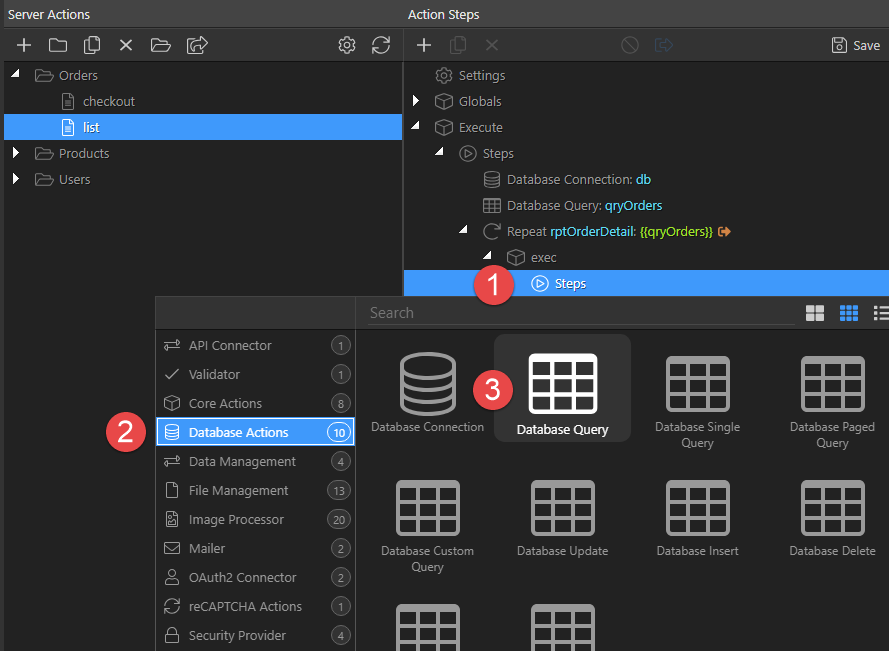
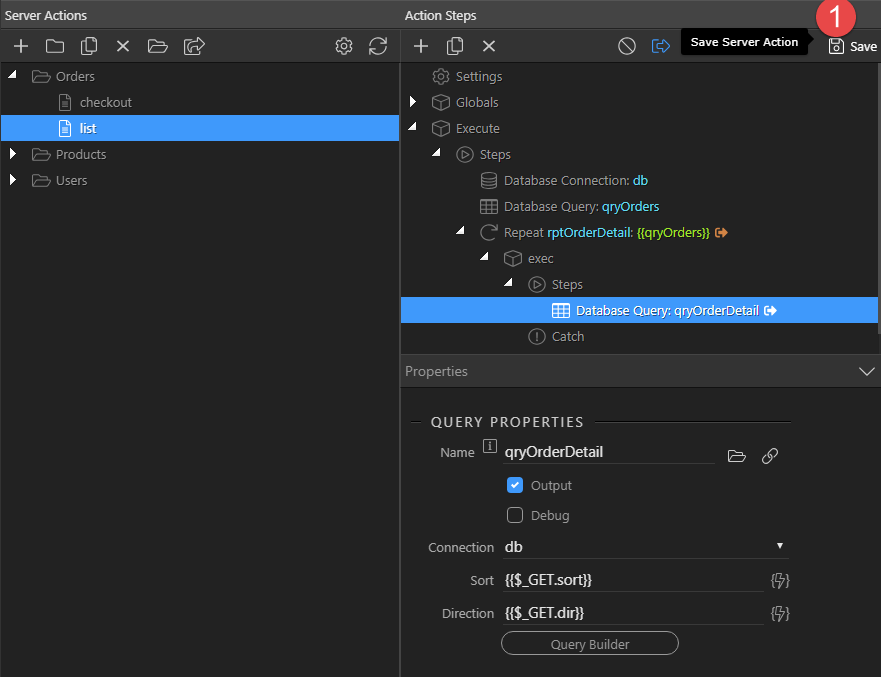
Right click Steps (1), choose Database Actions (2) and click Database Query (3)
-
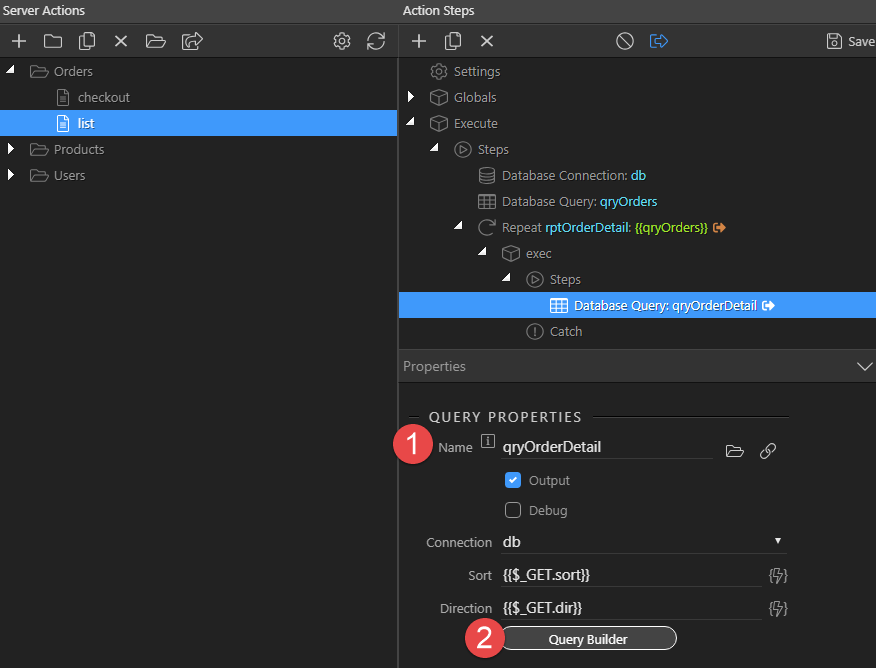
Give the query an Name (1) and click Query Builder (2)
-
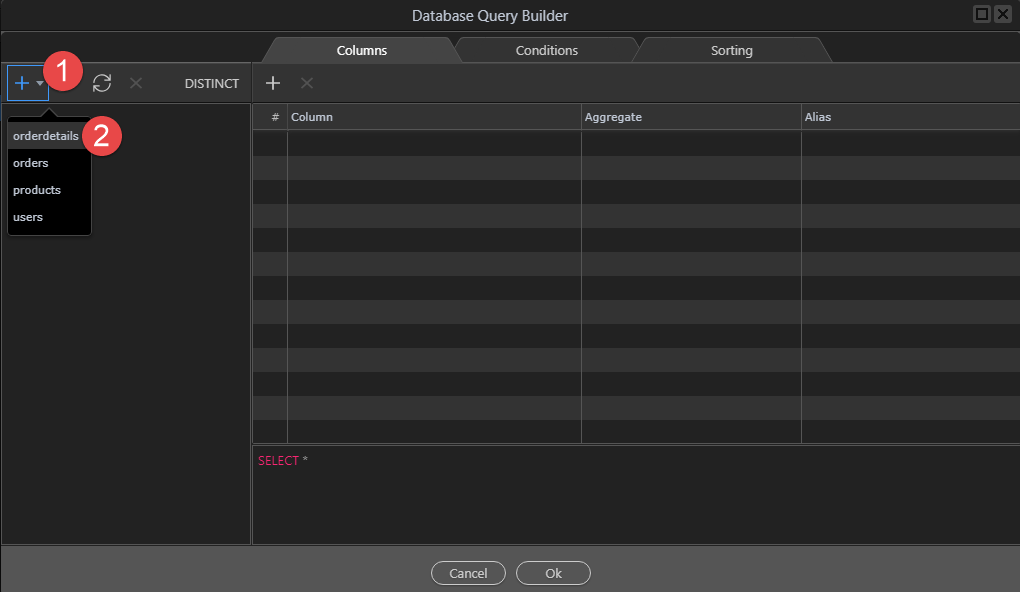
Click the Add Table button (1) and choose oderdetails (2)
-
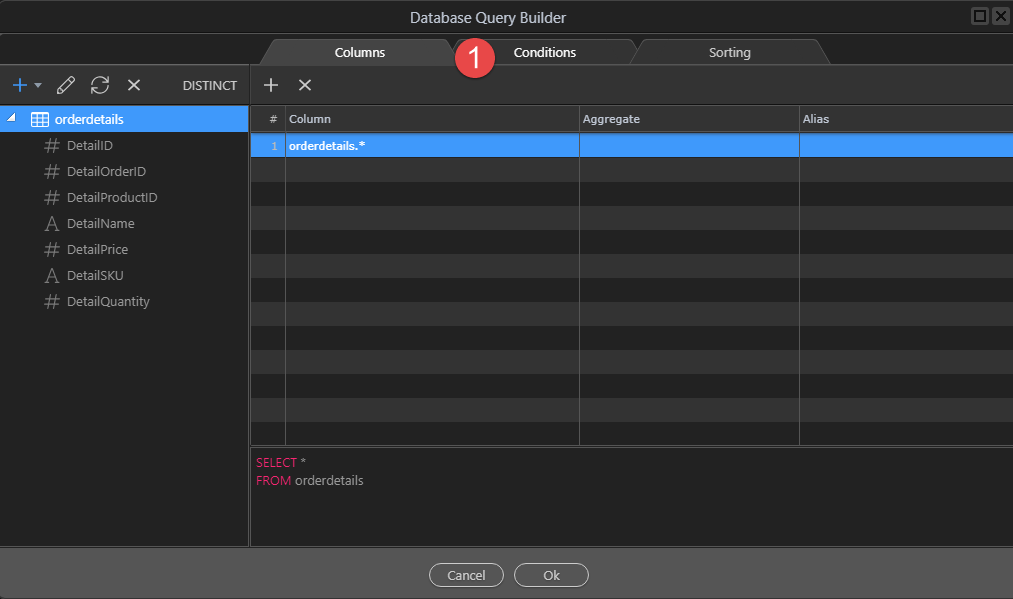
Select oderdetails (1) and click the Add Columns button (2)
-
Click the Conditions tab (1)
-
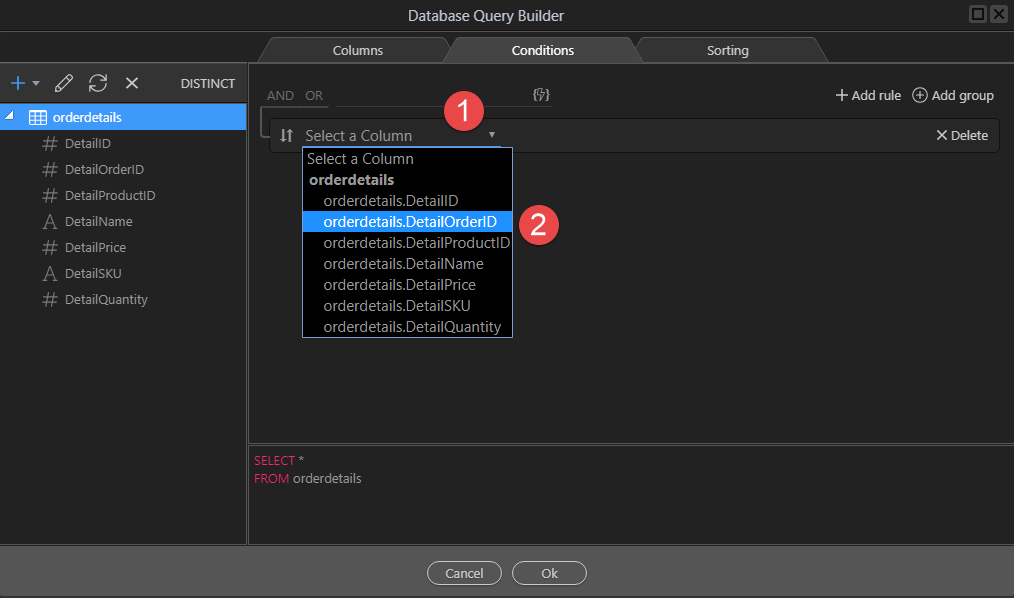
Click the Select a Column button (1) and select orderdetails.DetailOrderID (2)
-
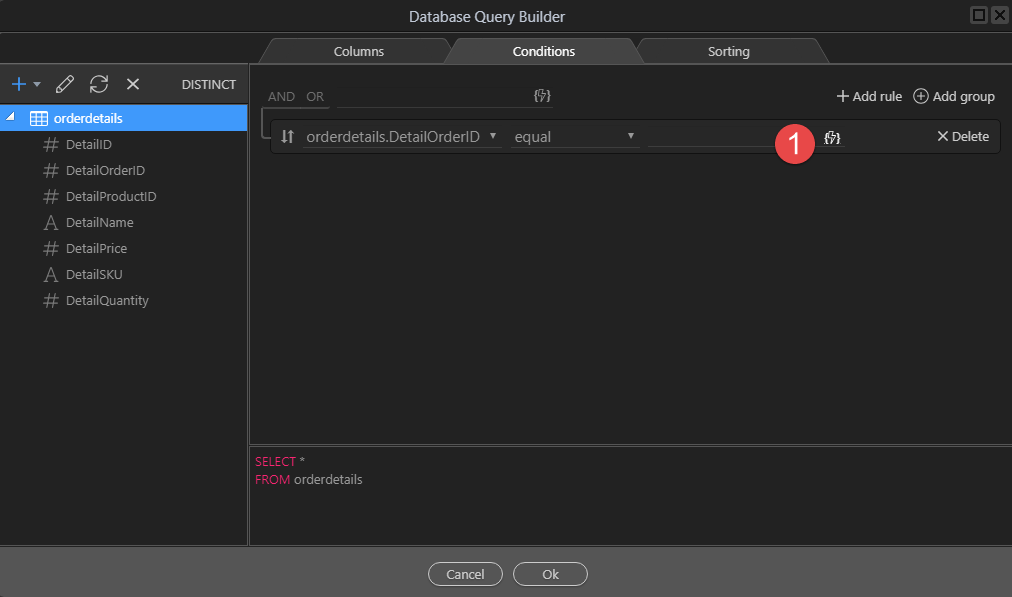
Click the lightningbolt (1)
-
Select OrderID (1) and click Select (2)
-
Click Ok (1)
-
Save (1) our actions.
-
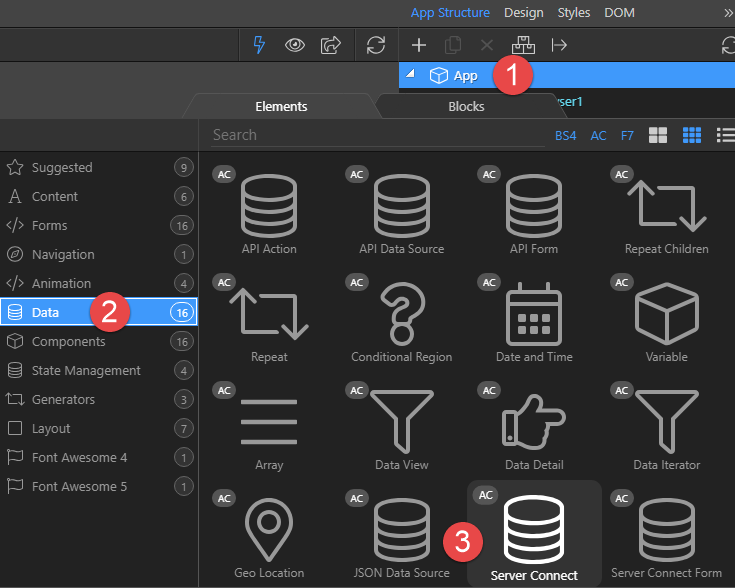
Back to our page. Right click App (1), choose Data (2) and click Server Connect (3)
-
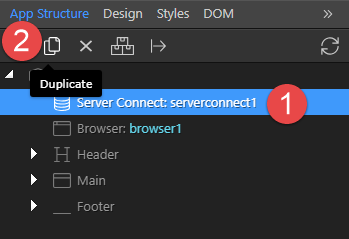
We need 2 Server Connects, one for Users and one for Orders. With Server Connect selected (1), click Duplicate (2)
-
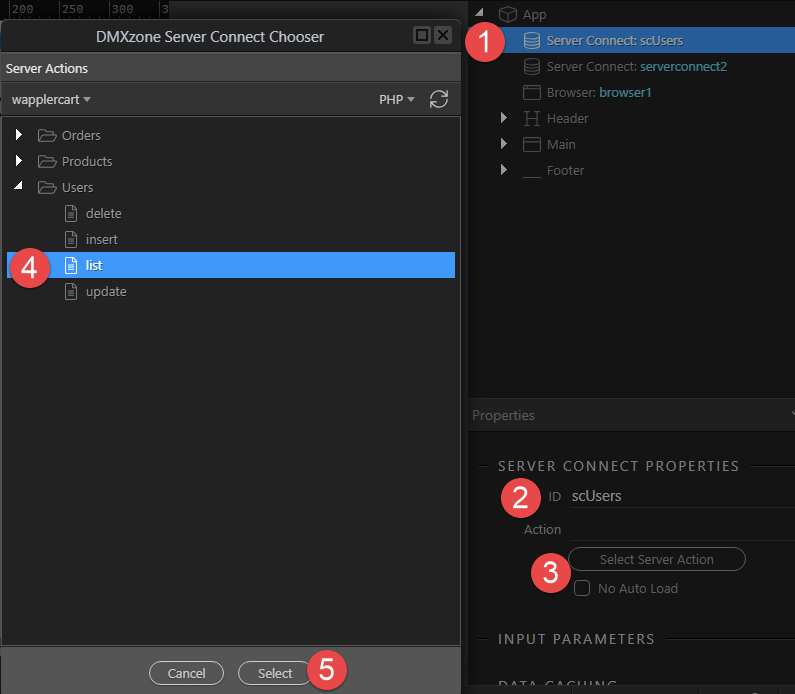
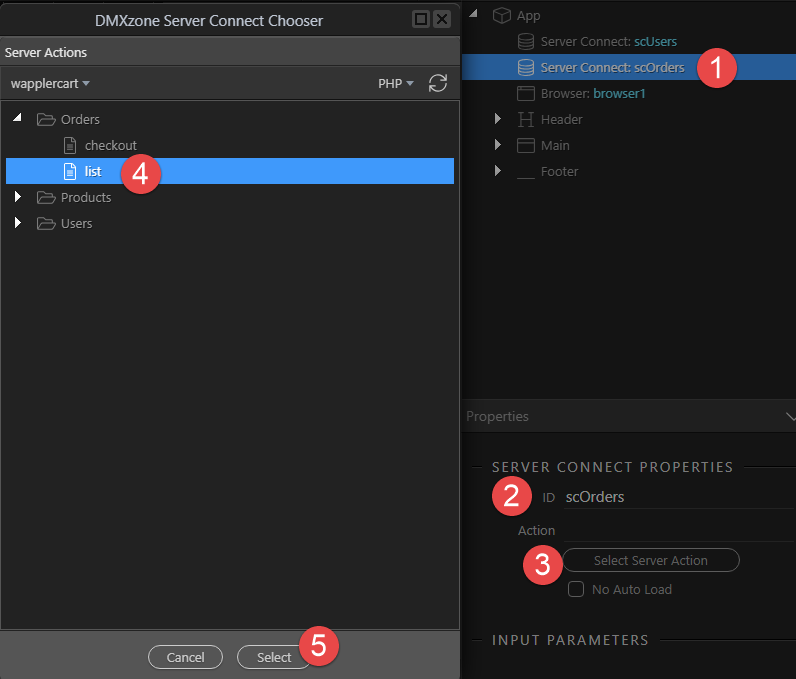
Select the first Server Connect (1), give it a Name (2), click Select Server Action (3), choose Users list (4) and click Select (5)
-
Select the second Server Connect (1), give it a Name (2), click Select Server Action (3), choose Users list (4) and click Select (5)
-
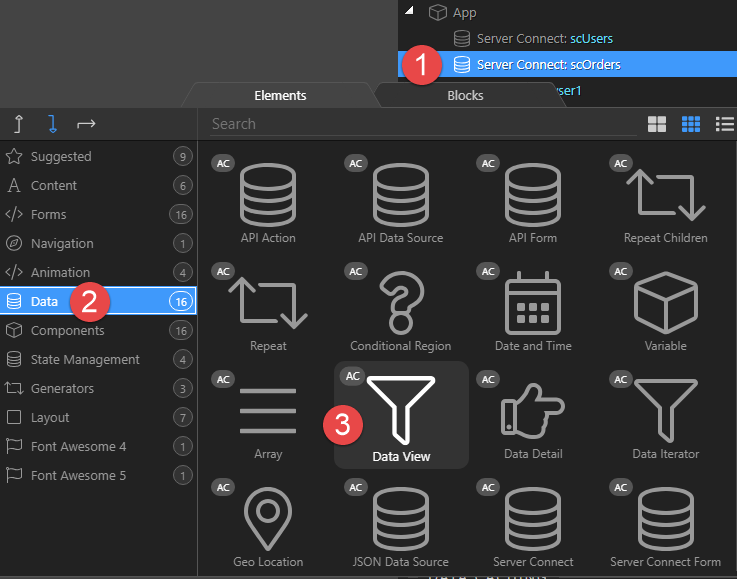
We will now filter our data source to show our invoice. Right click scOrders (1), choose Data (2) and click Data View (3)
-
With Data View still selected, assign and ID (2) and click the Data Source (3)
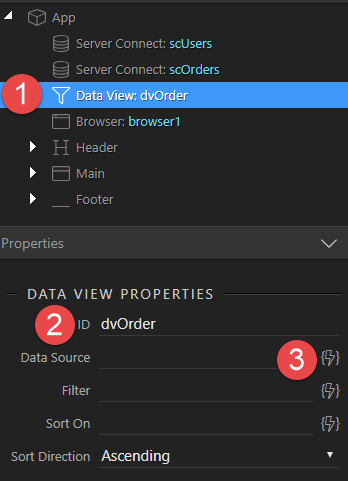
-
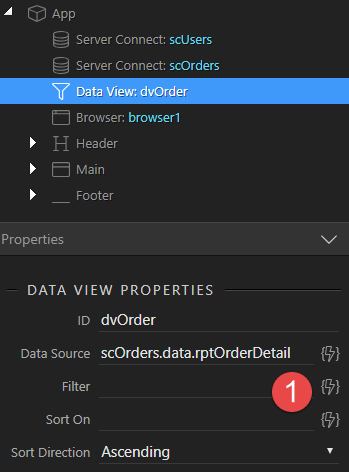
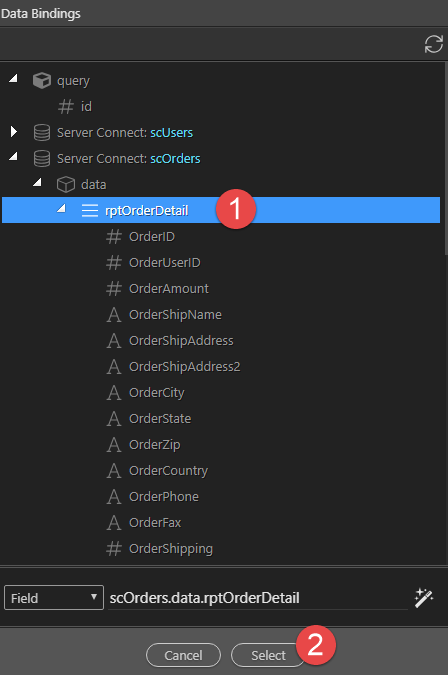
Click rptOrderDetail (1) and Select (2)
-
Click the Filter button (2)
-
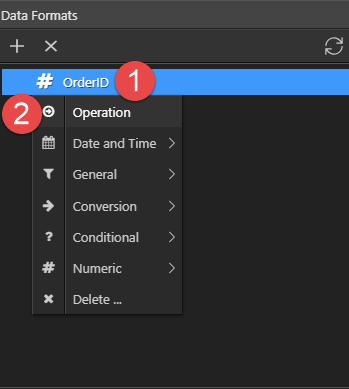
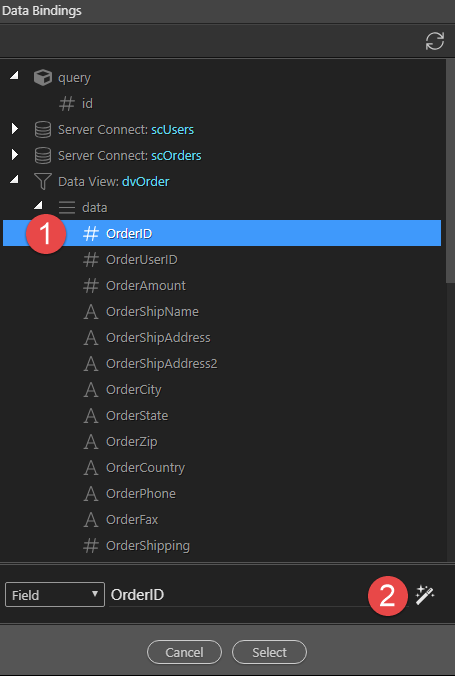
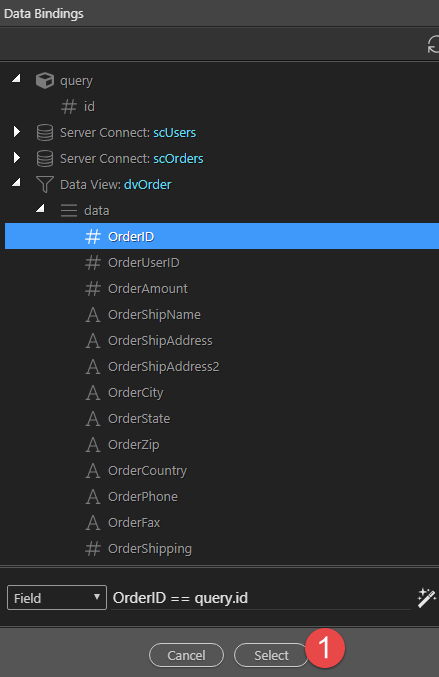
Click OrderID (1) and the Format button (2)
-
Right click OrderID (1) and click Operation (2)
-
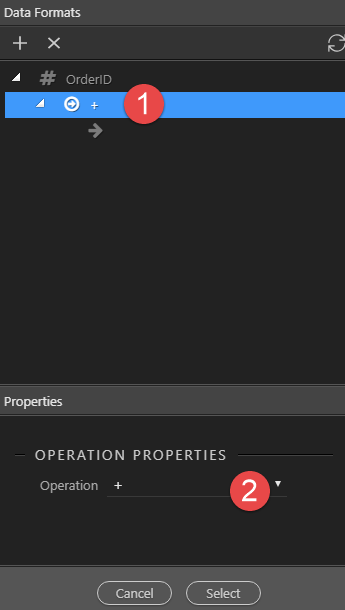
With the plus sign (1) selected, click the Operation button (2)
-
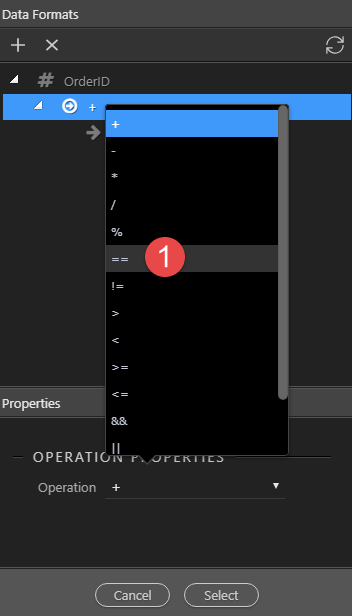
Select the equal symbol (1)
-
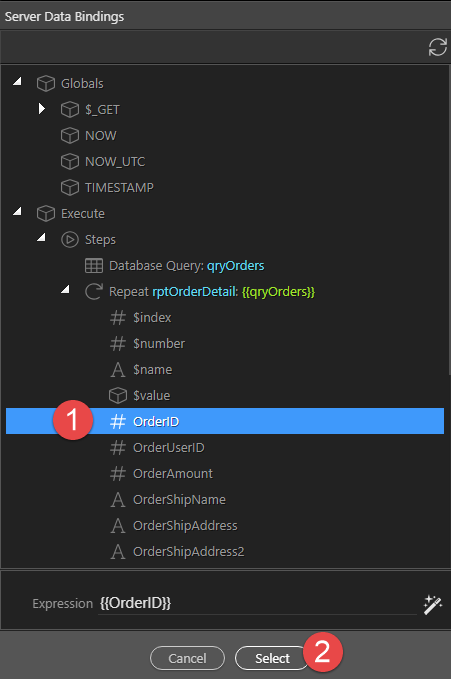
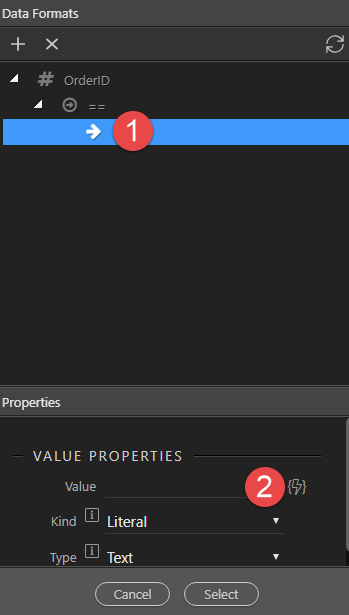
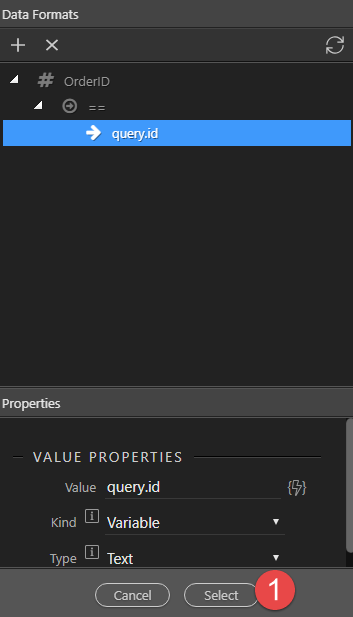
Select the arrow (1) and click the Value button (2)
-
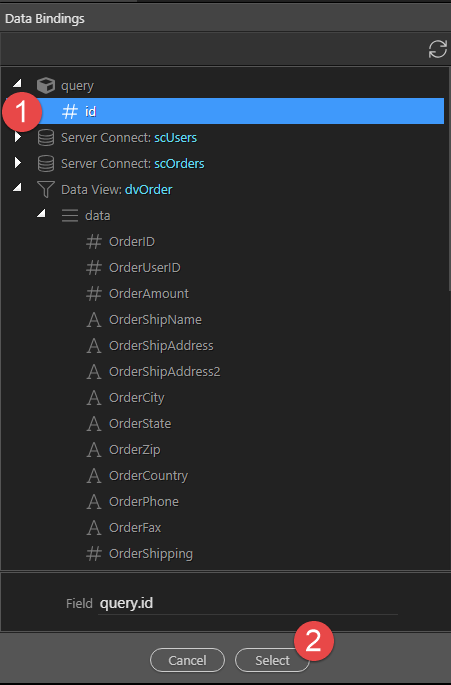
Select the query variable (1) and click Select (2)
-
Click Select (1)
-
Click Select (1) again
-
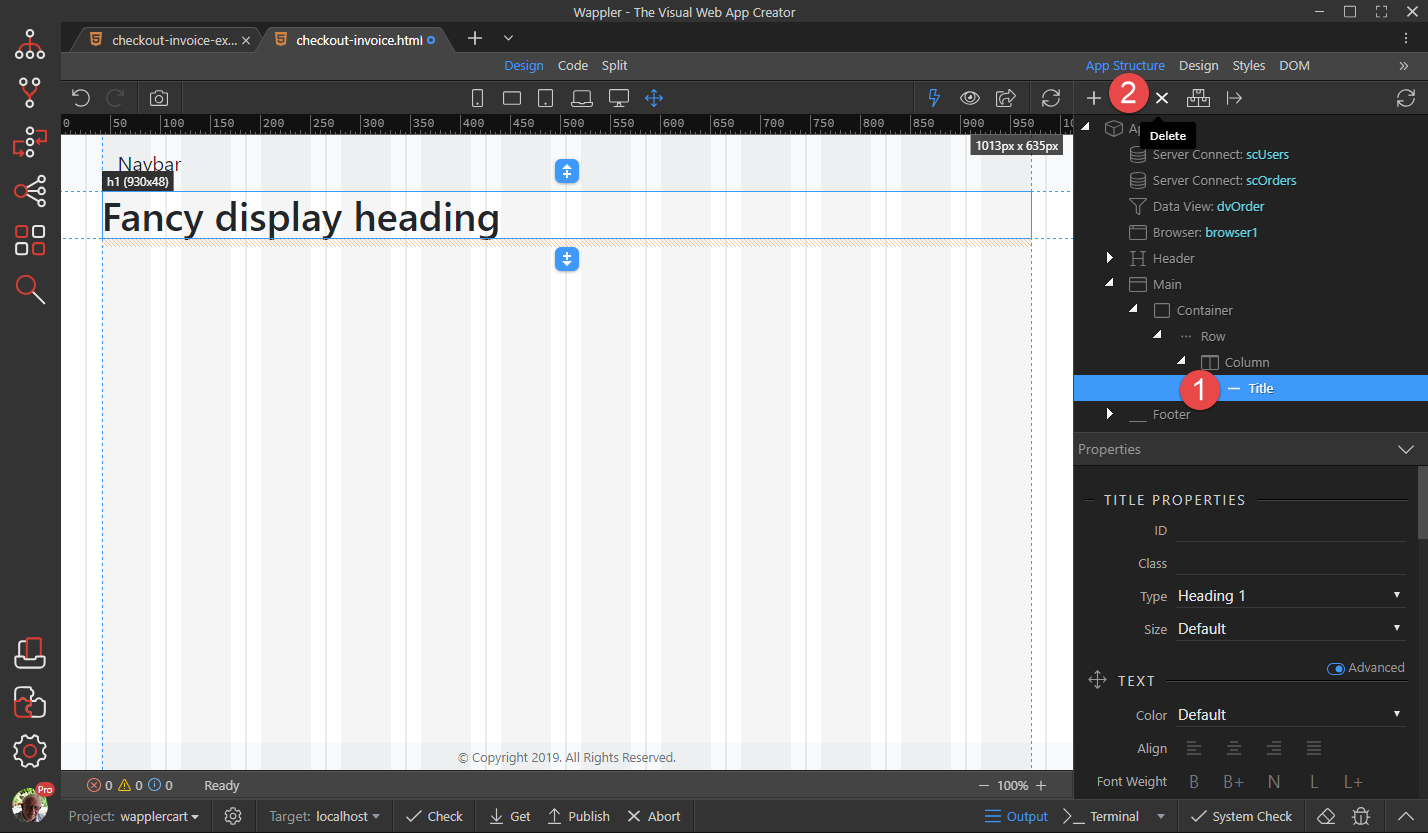
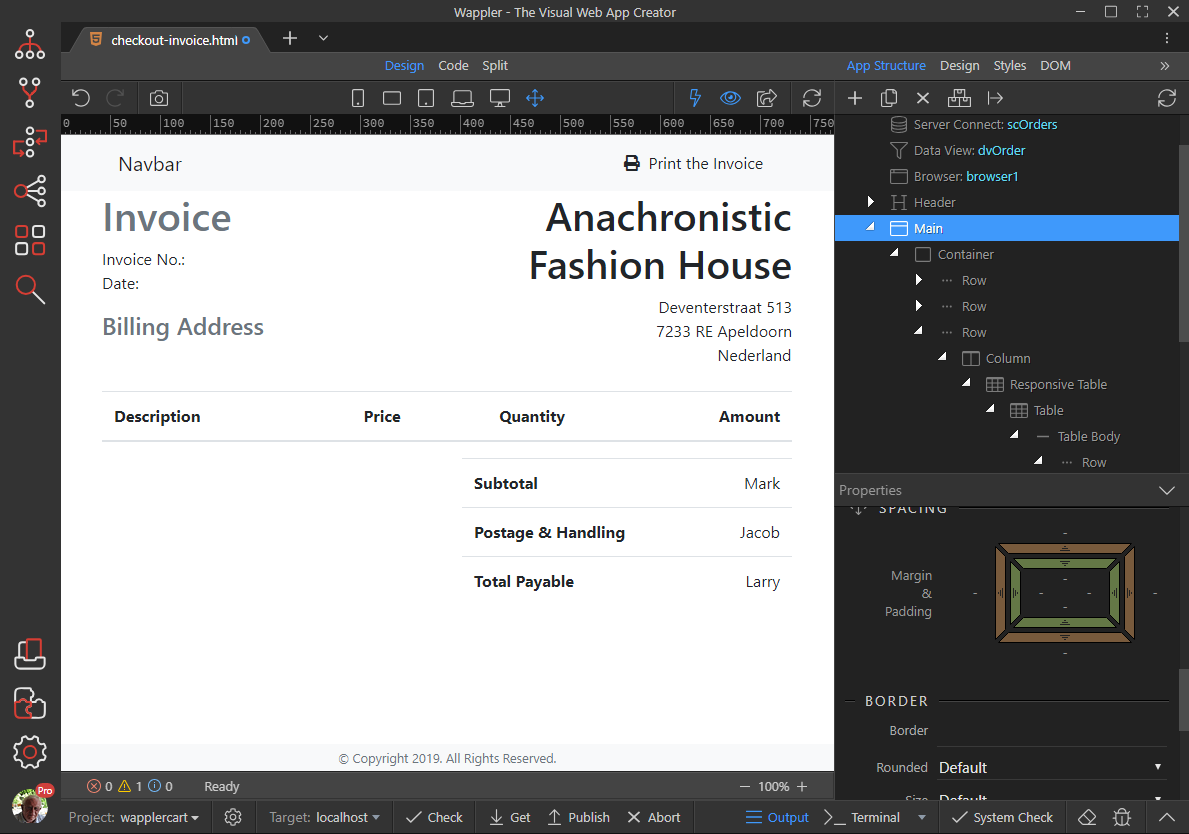
Let’s get rid of the heading. Select Title (1) and click the Delete button (2)
-
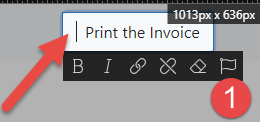
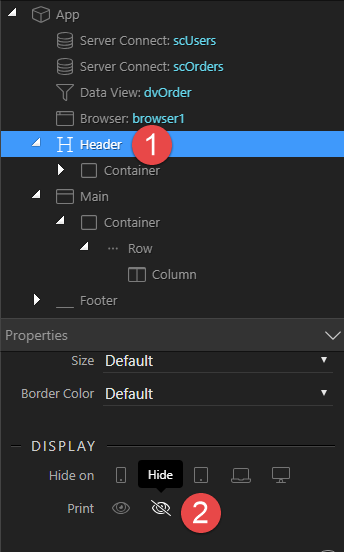
Select Header (1) and click the Print Hide button (2)
-
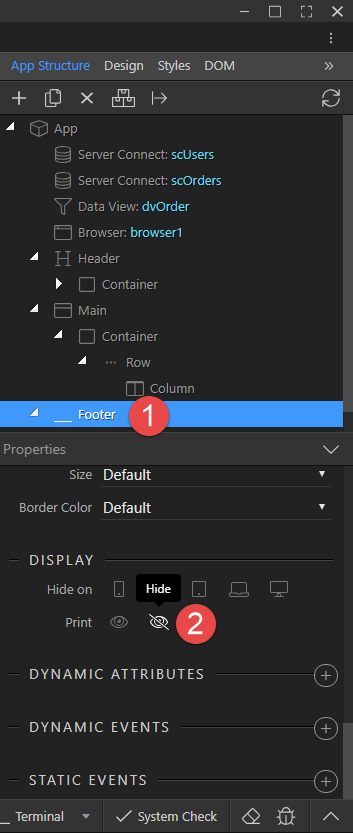
Select the Footer (1) and click the Print Hide button (2)
-
Right click Navbar Brand (1), select Add After (2), select Forms (3) and click the Button (4)
-
In Design view double click the button and change the text (1)
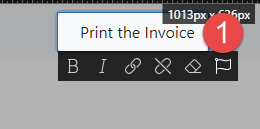
-
Make sure that there are a couple of spaces preceding the text and click the Font Awesome Flag (1)
-
In the search box enter print (1) and click the print button (2)

-
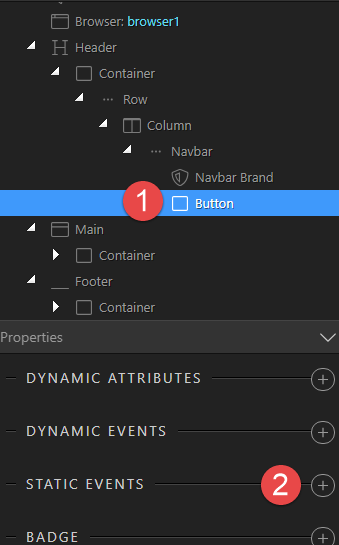
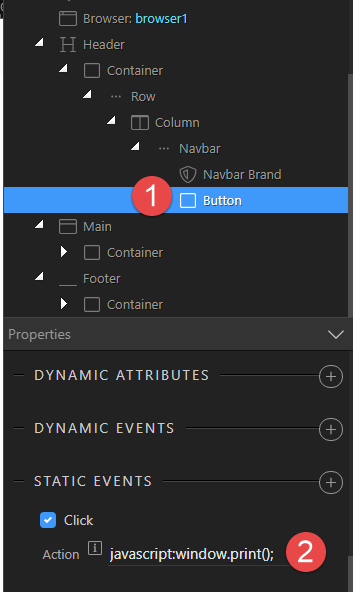
With the Button (1) still selected, click the Static Events button (2)
-
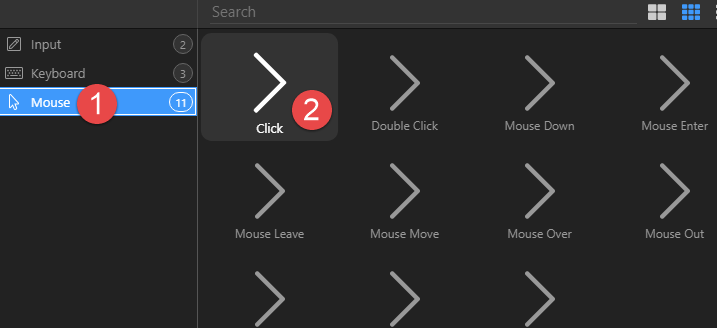
Choose Mouse (1) Click (2)
-
For the Action (2) enter javascript:window.print();
-
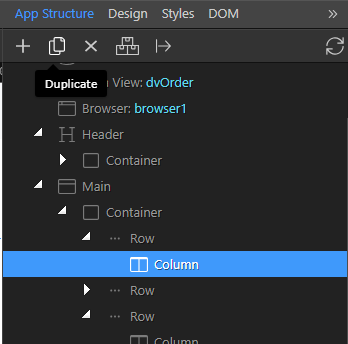
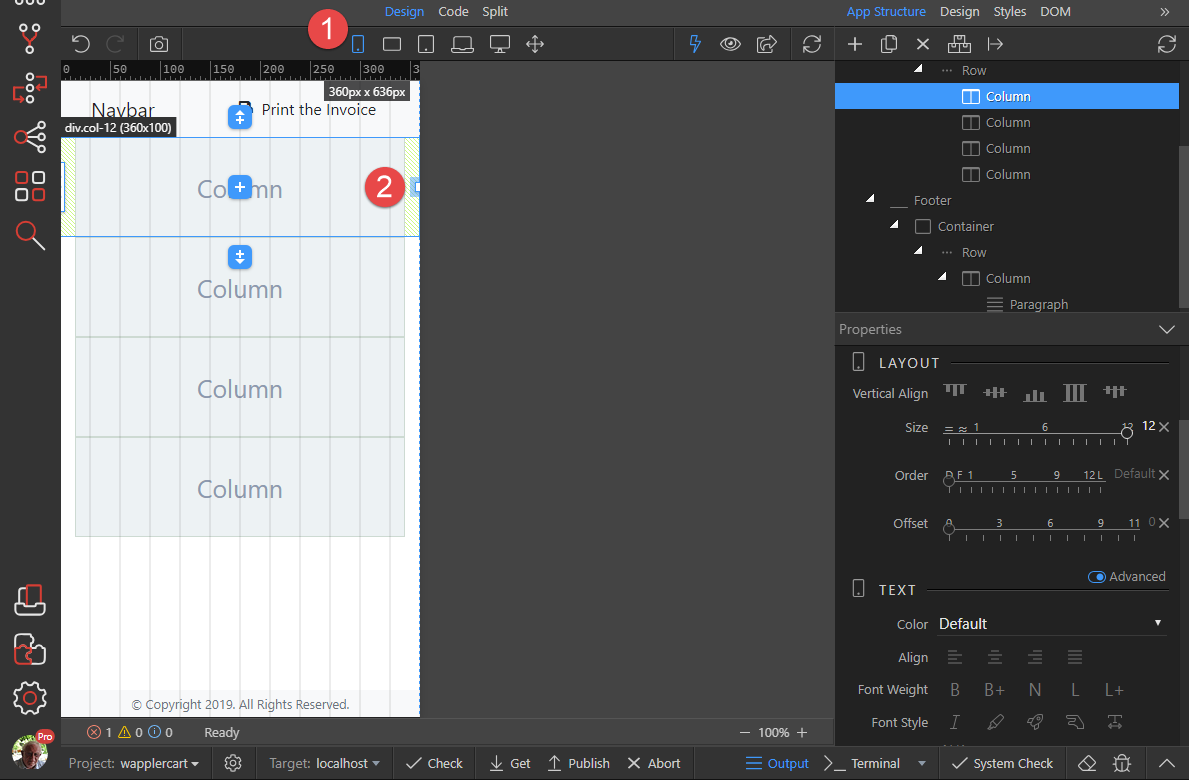
We need three sections for our Invoice, namely header, body and footer. Select the Row (1) and Duplicate 2 more times (2)

-
Select the Column in the first Row (1) and duplicate it (2)
-
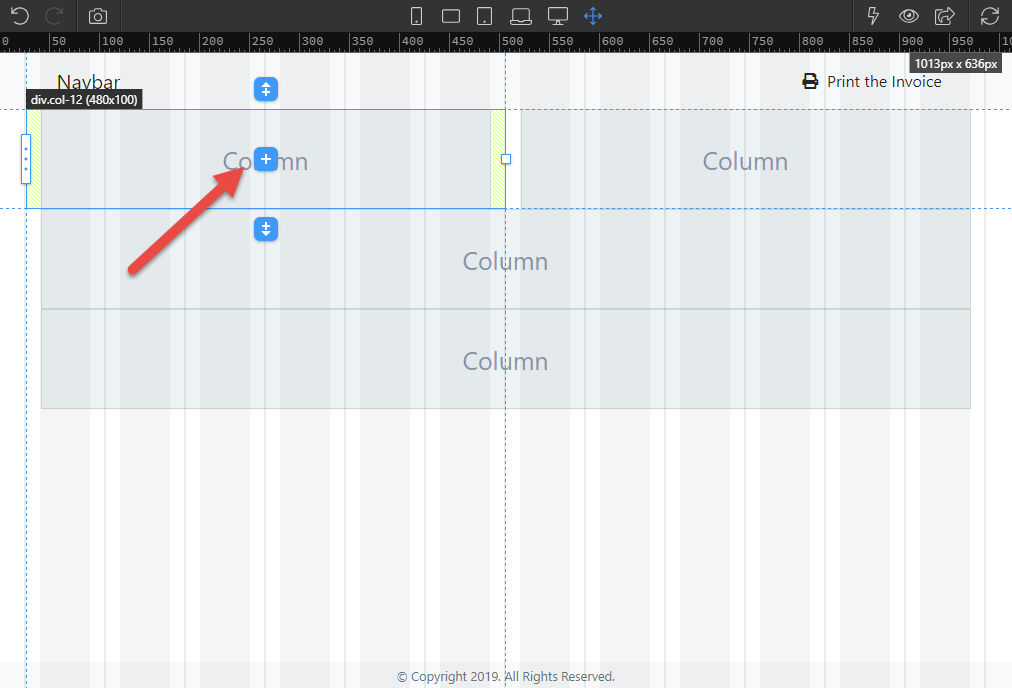
In Design view, make sure that you have selected Mobile view (mobile first) and grab the handle of the first column and drag it to the centre. Do the same with the second column.
-
Do the same with the second Column
-
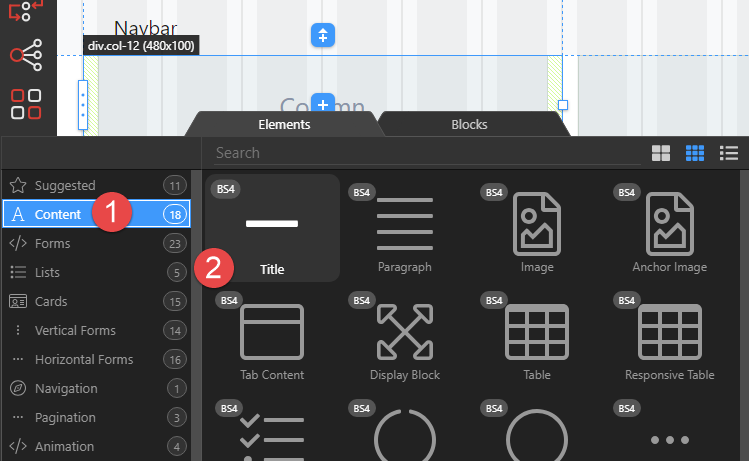
Click the Insert Child button
-
Choose Content (1) and Title (2)
-
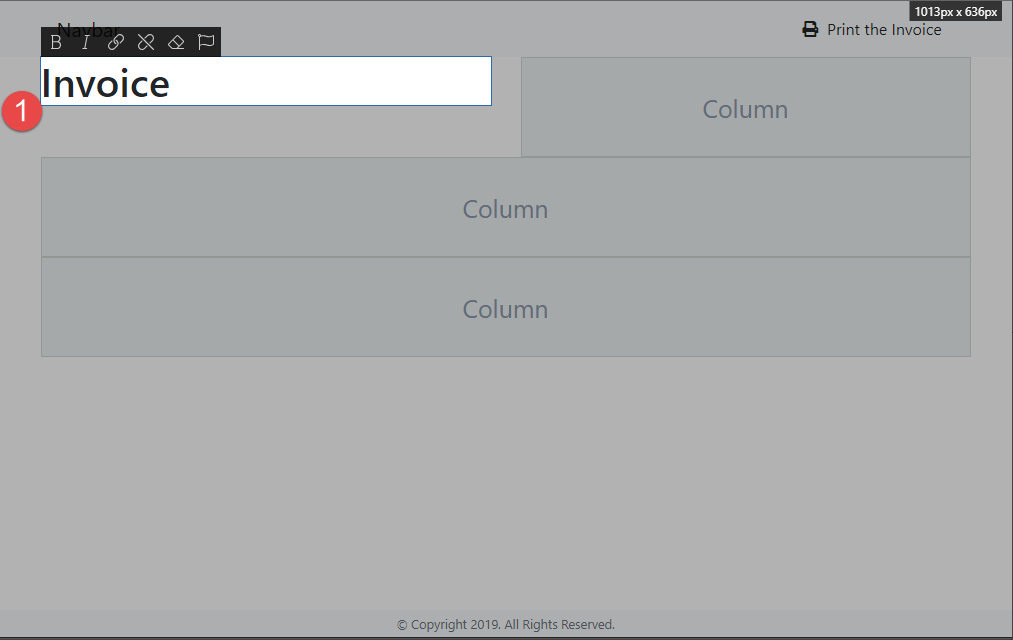
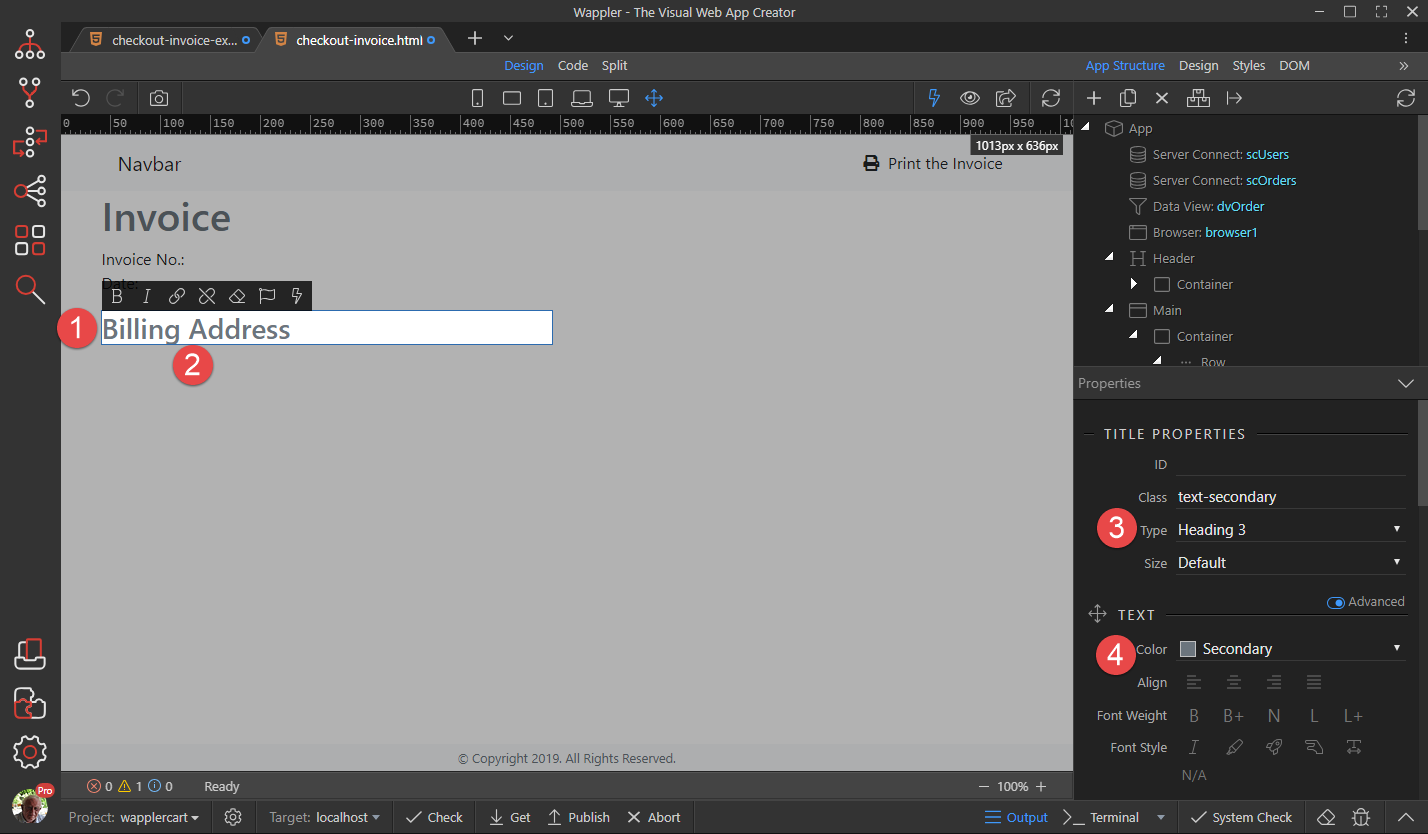
Double click the Title and change the text
-
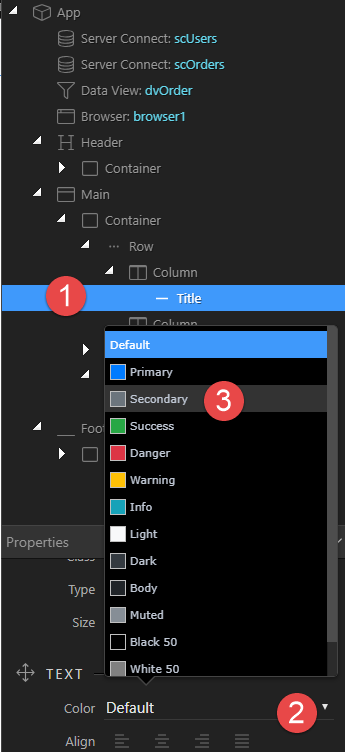
With the Title (1) still selected, click the Color button (2) and change it to suit (3)
-
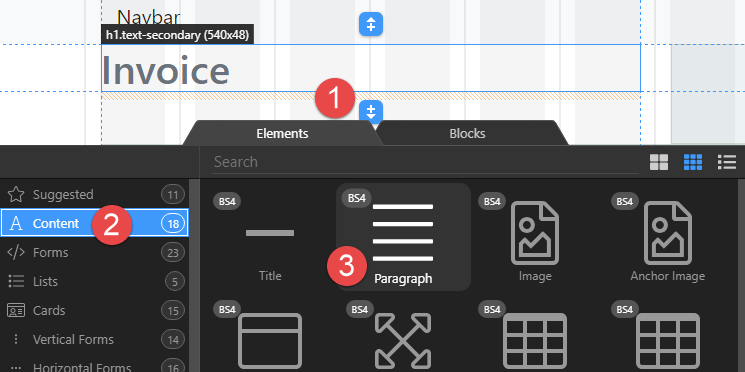
Click the Add After button (1), choose Content (2) and click Paragraph (3)
-
Double click the Paragraph (1), change the wording (2), click the dynamic button (3), click OrderID (4)and Select (5)
-
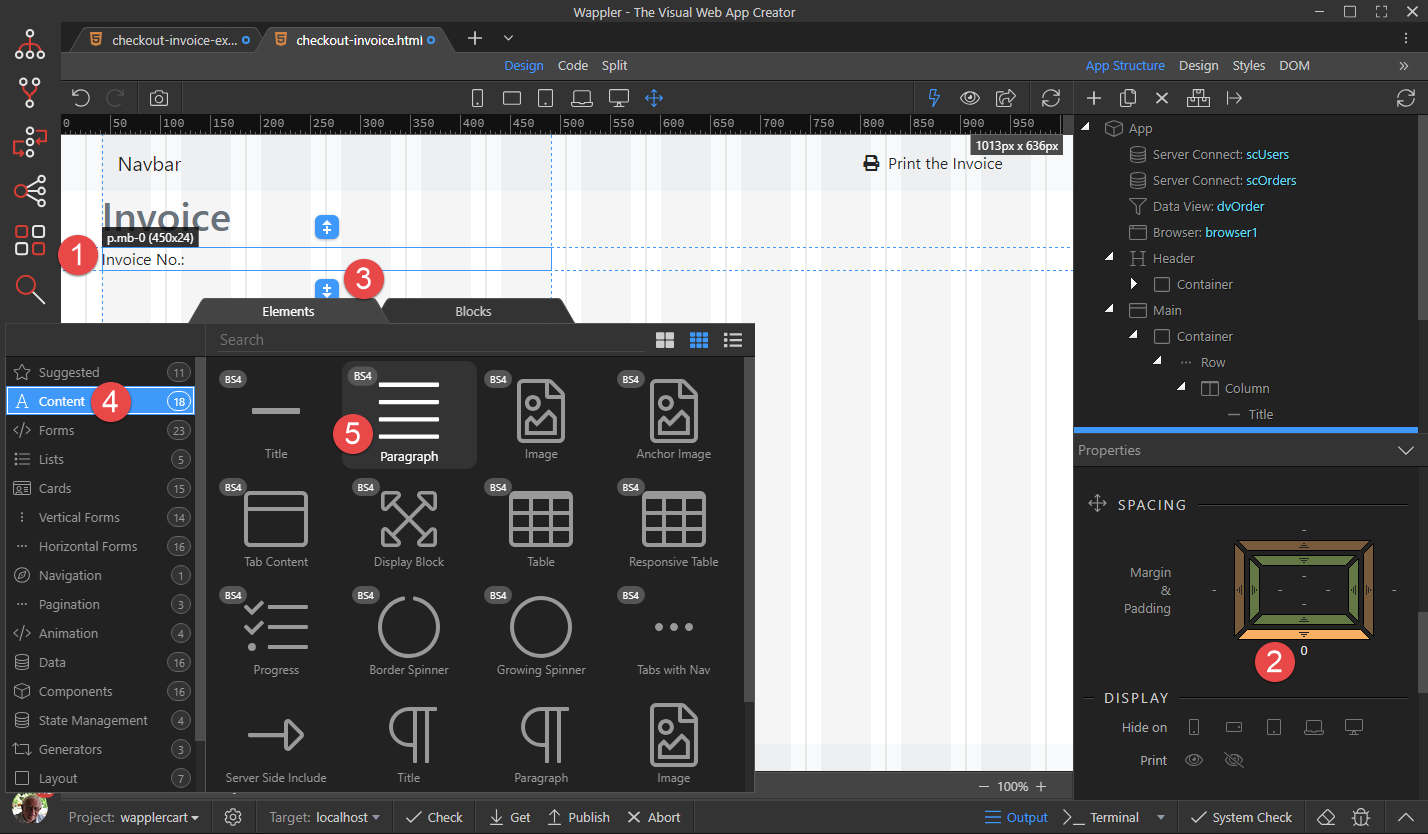
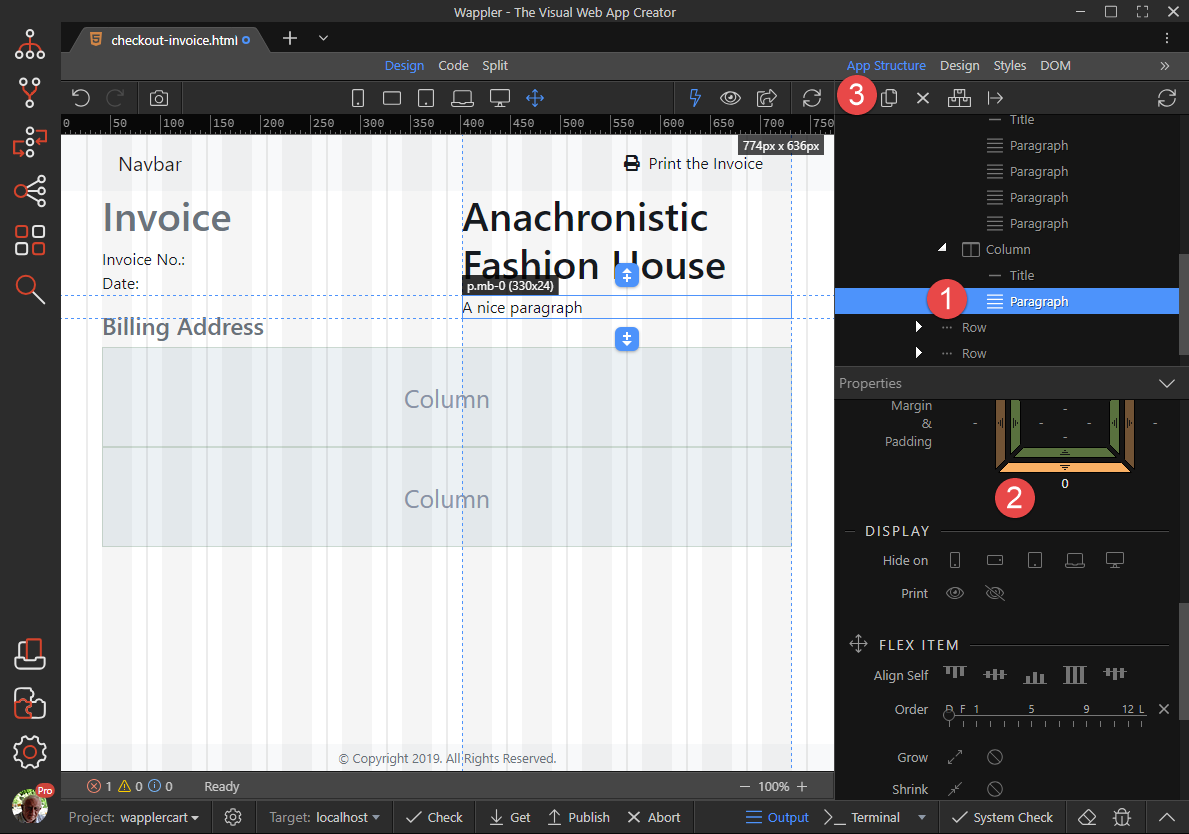
With the Paragraph selected (1), change the bottom margin (2) to 0, click the Add After button (3), choose Content (4) and click Paragraph (5)
-
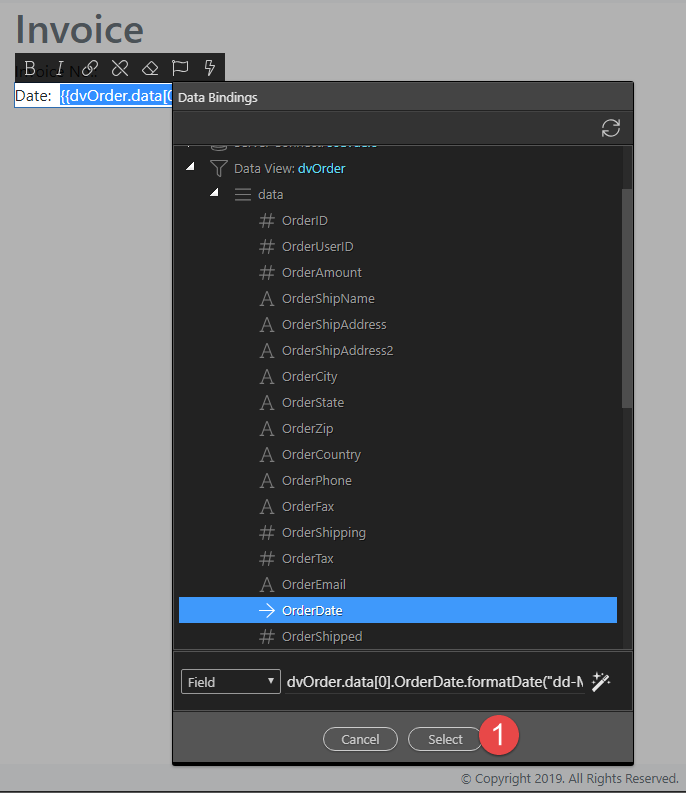
Double click the Paragraph (1), change the wording (2), click the dynamic button (3), click OrderDate (4), right click OrderDate (6) and click Format Date (7)
-
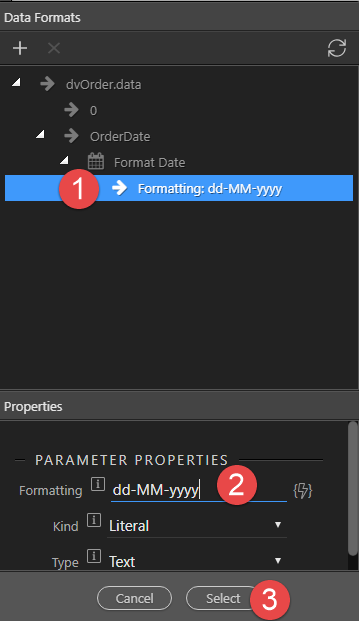
Select Formatting (1), enter the format (2) and click Select (3)
-
Click Select (1)
-
Click the Add After button (1), choose Content (2) and click Title (3)
-
Double click the heading (1) and change the wording (2), change the heading Type (3) and the Color (4)
-
Click the Add After button (1) choose Content (2) and click Paragraph (2)
-
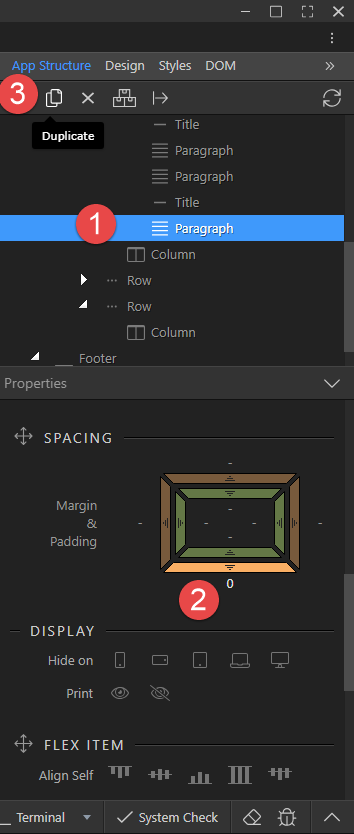
With the Paragraph still selected (1), remove the bottom margin (2) and duplicate 3 more times (3)
-
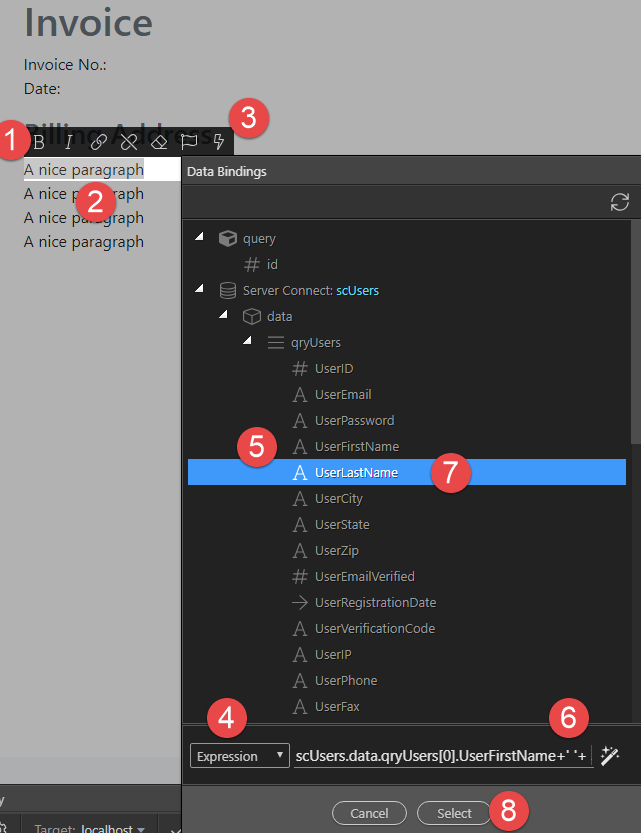
Double click the first Paragraph (1), select all of the text (2), click the dynamic button (3), Change the field to Expression (4), click UserFirstName (5), add +’ '+ (6), click UserLastName (7) and Select (8)
-
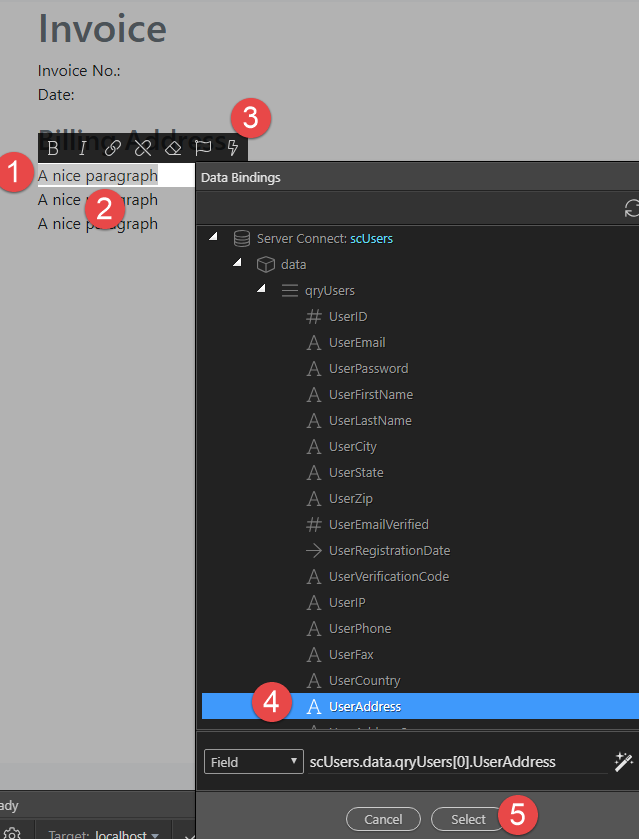
Double click the next Paragraph (1), select all of the text (2), click the dynamic button (3),click UserAddress (4) and Select (5)
-
We’ll format the address as is normal in the Netherlands. You will most likely have to adjust for your region. Double click the next Paragraph (1), select all of the text (2), click the dynamic button (3), Change the field to Expression (4), click UserZip (5), add +’ '+ (6), click UserCity (7) and Select (8)
-
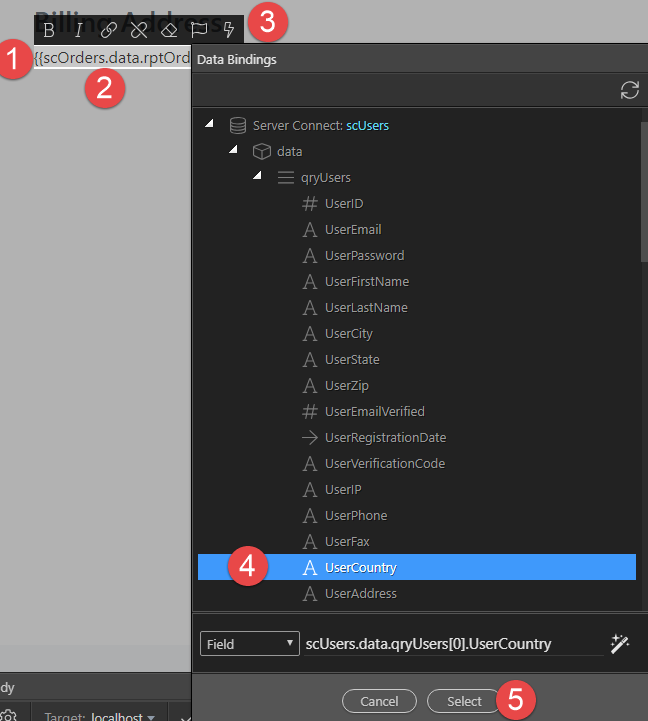
Double click the last Paragraph (1), select all of the text (2), click the dynamic button (3),click UserCountry (4) and Select (5)
-
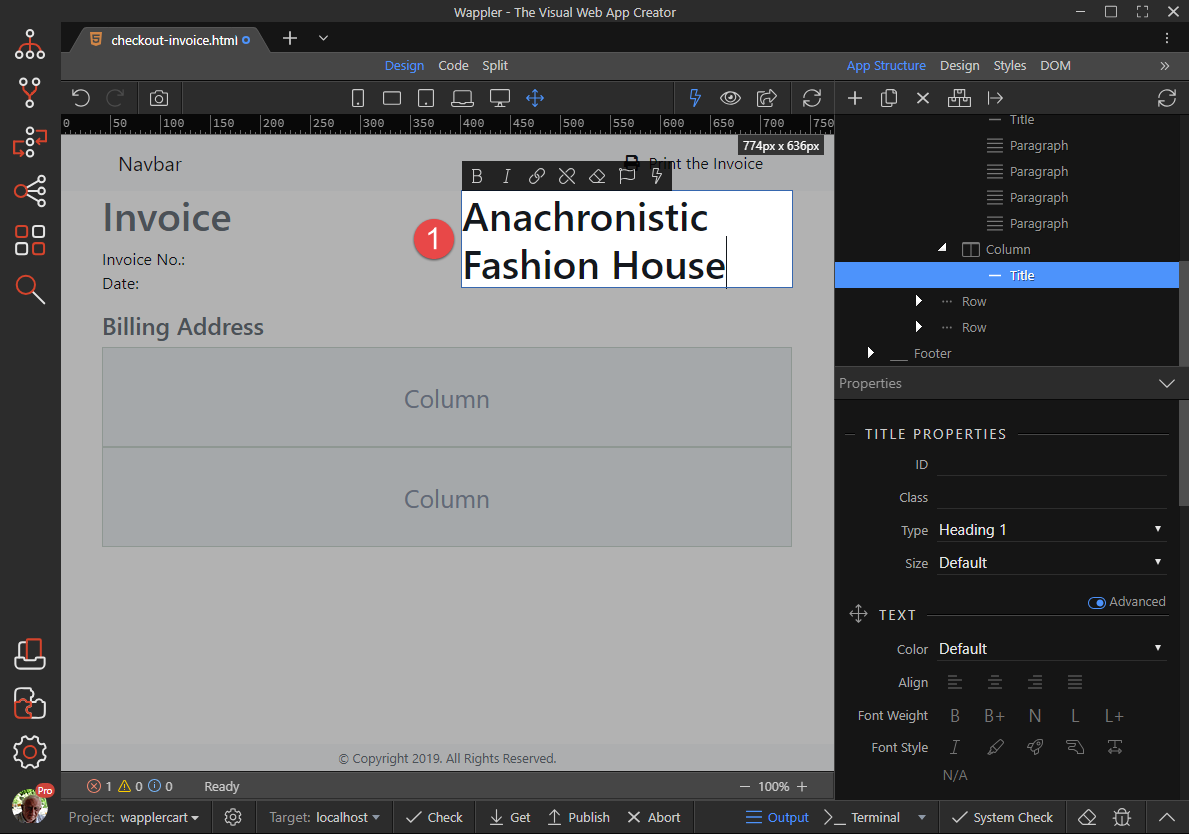
We’ll use the second Column to show the Vendor’s details. Click the Insert Child button (1), select Content(2) and click Title (3)
-
Double click the Title and enter the Company Name (10)
-
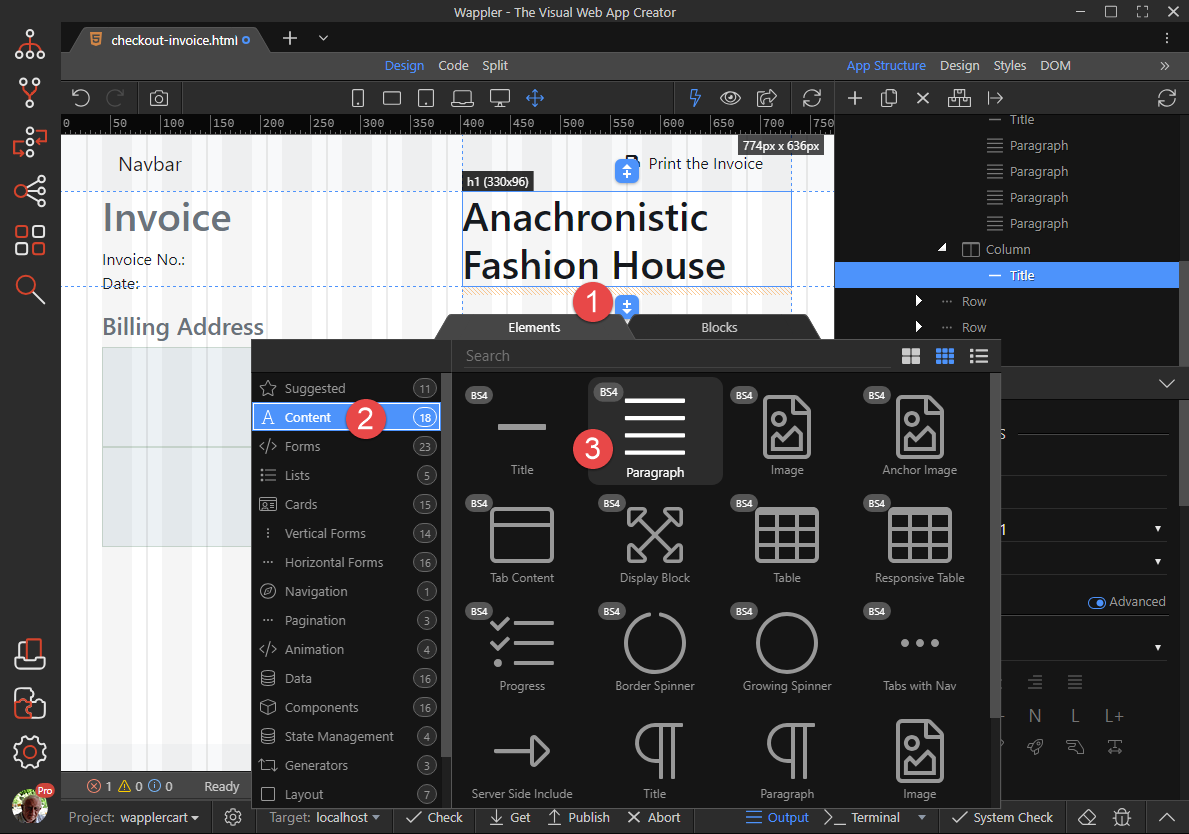
Click the Insert After button (1), choose Content (2) and click Paragraph (3)
-
With the Paragraph selected (1), remove the bottom Margin (2) and Duplicate 2 more times (3)
-
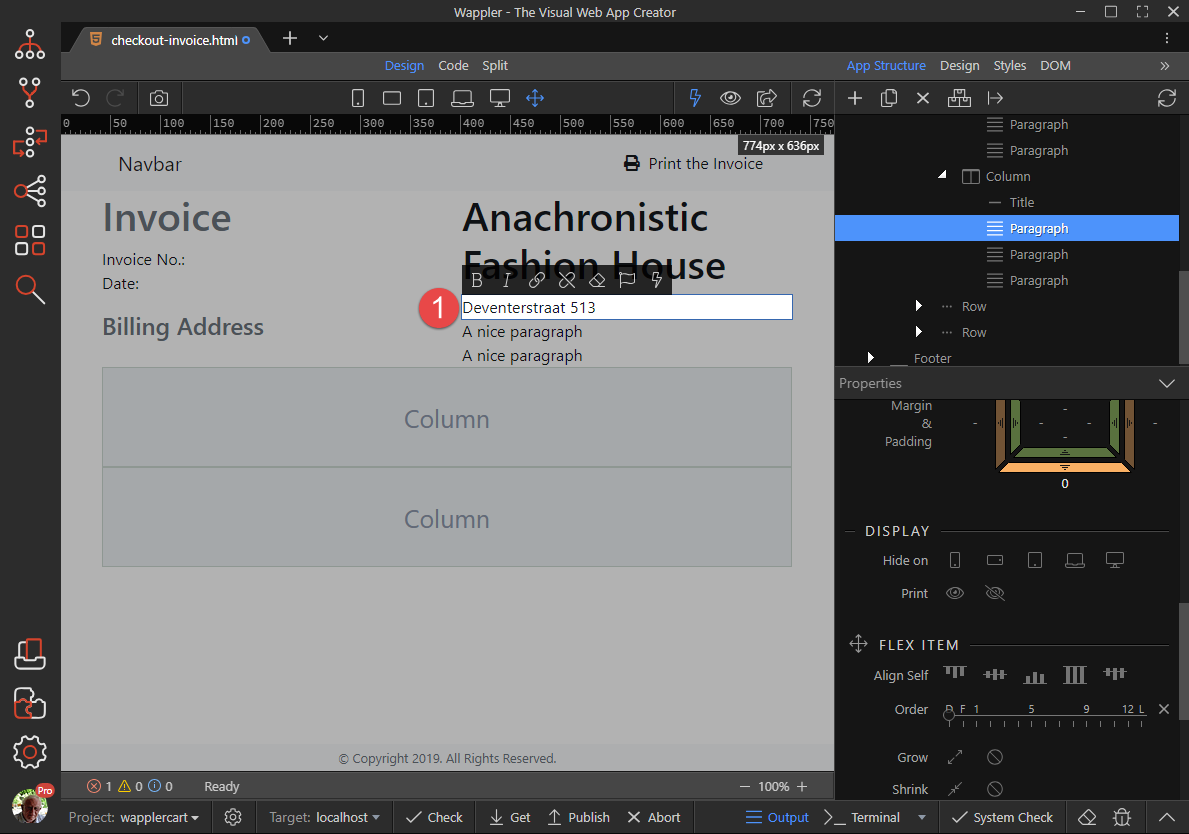
Double click the first Paragraph (1) and enter the street name
-
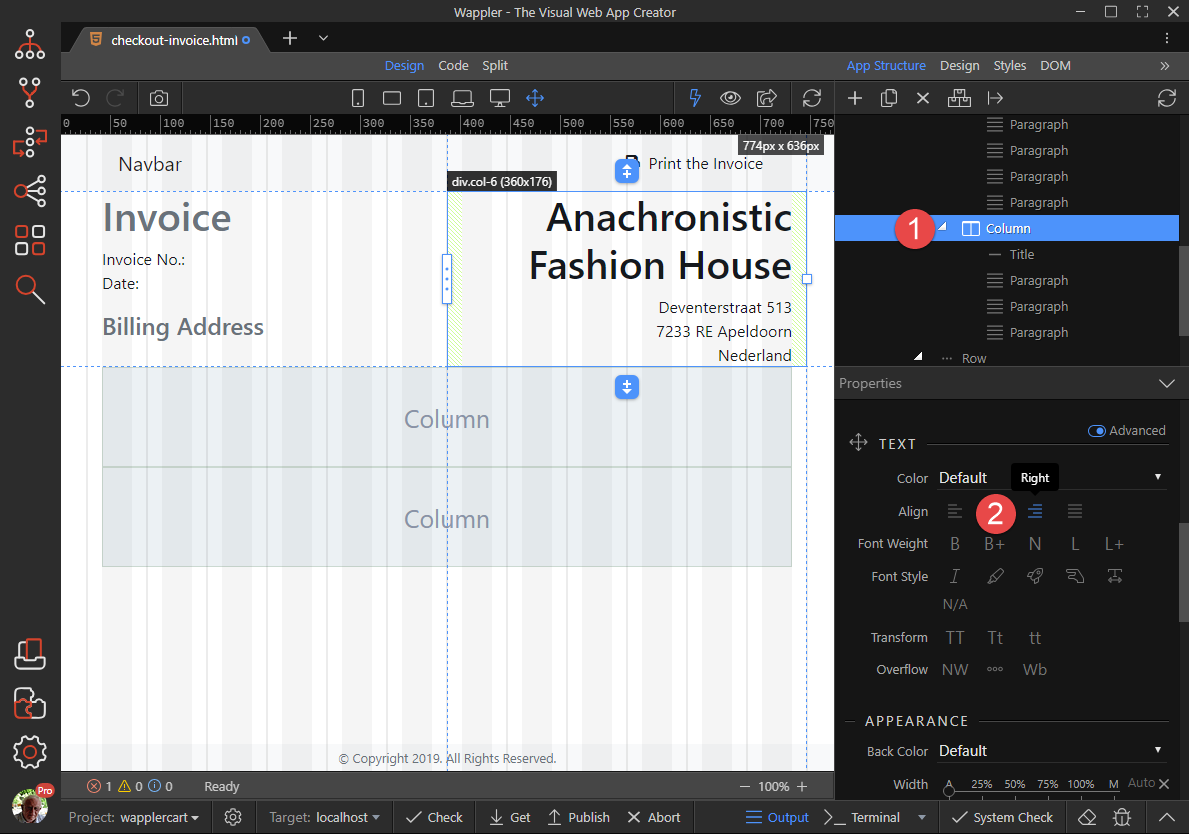
Do the same for the remaining Paragraphs and select the Column (1). Click Align Right (2)
-
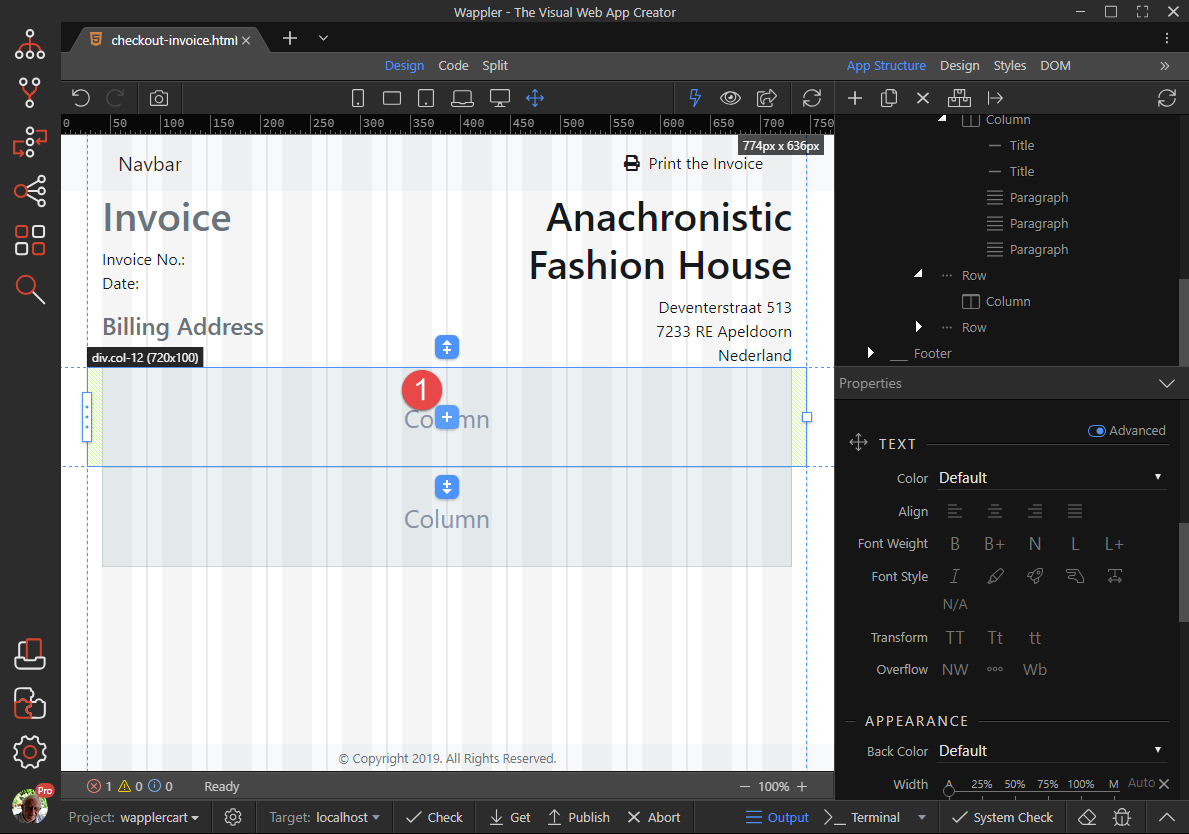
Click the Insert Child button of the next Column (1)
-
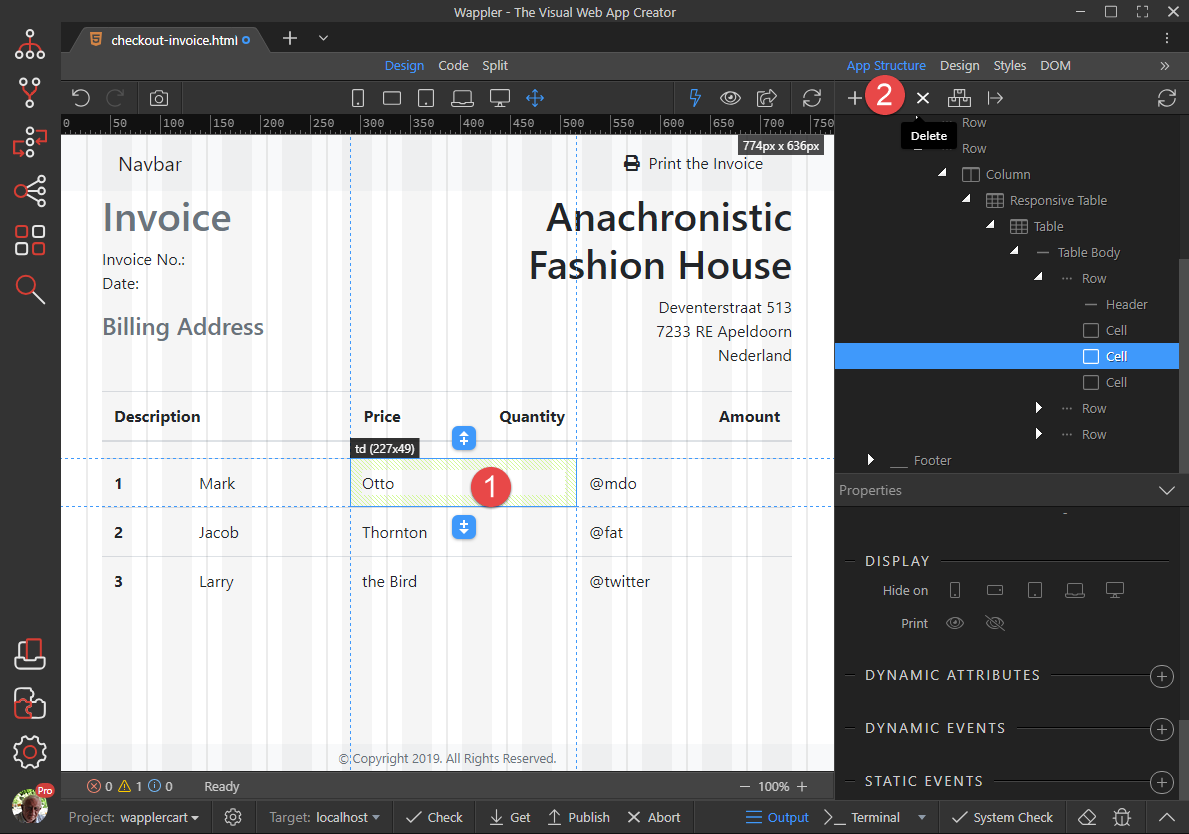
Choose Generators (1) and Table Generator (2)
-
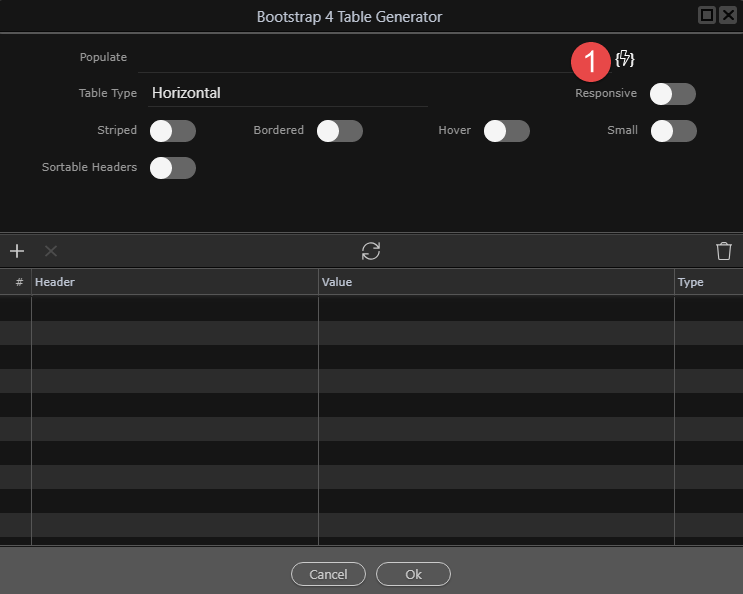
You may get a Notification which relates to our App Connect being directed at the Page rather than the Body tag. Click OK. Click the Dynamic button (1)
-
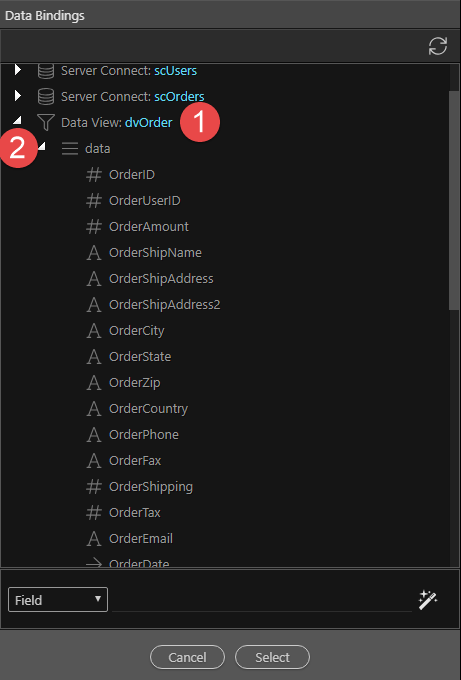
Scroll down after choosing dvOrder (1) and data (2)
-
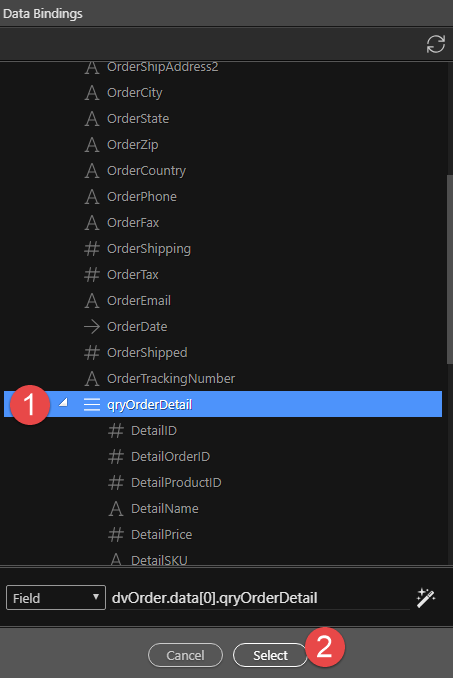
Click qryOrderDetail (1) and Select (2)
-
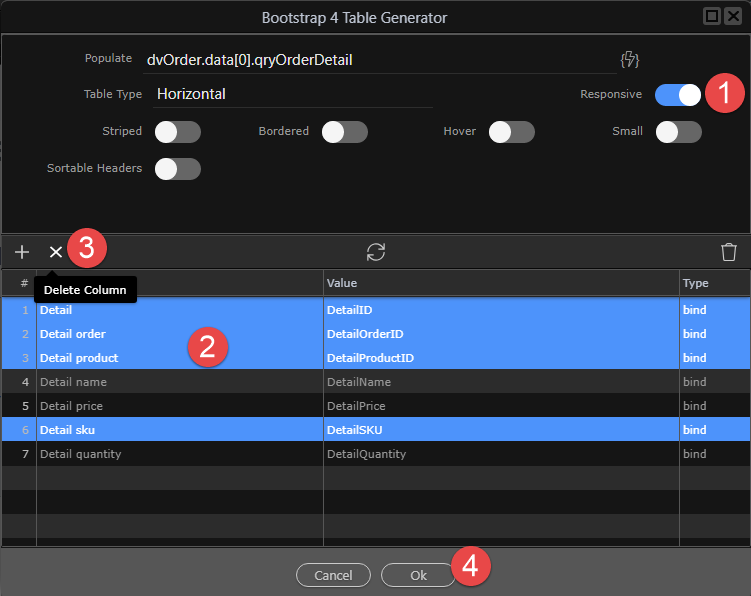
Choose Responsive (1), select the unwated Columns (2) click the Delete Column button (3) and Ok (4)
-
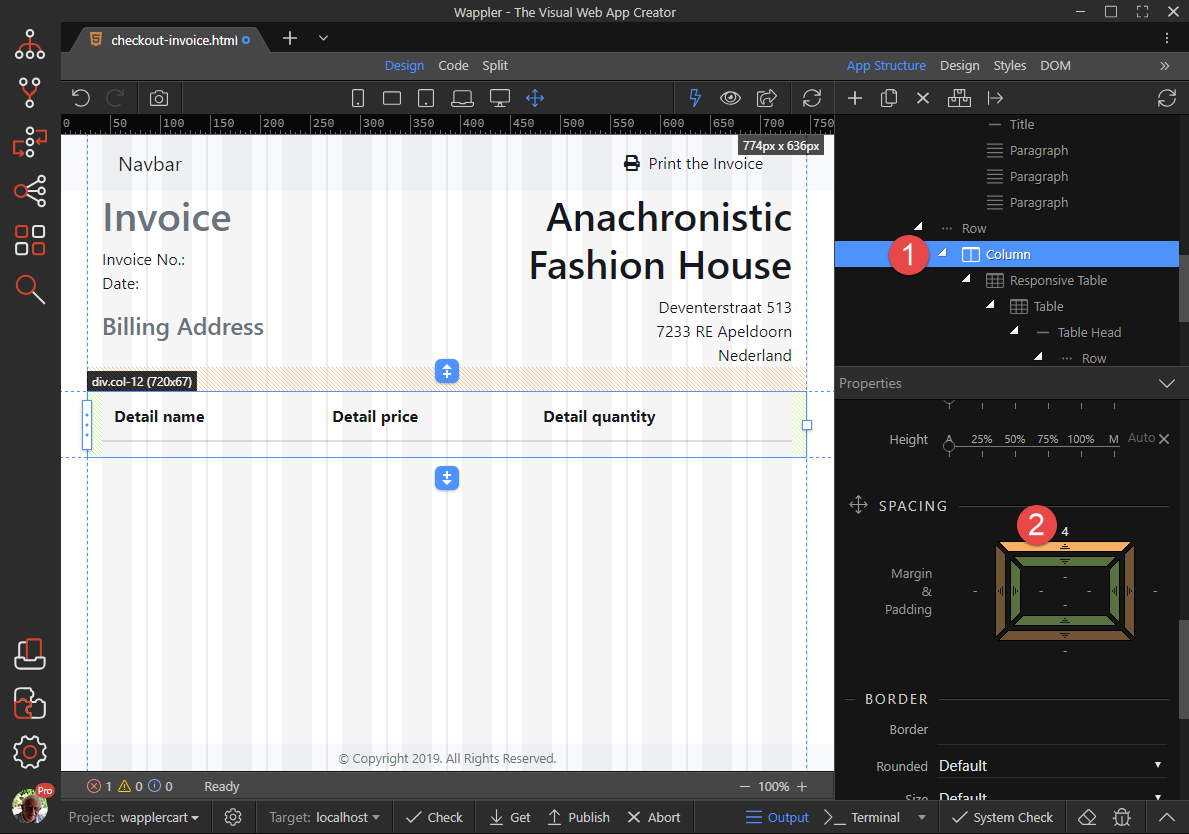
Select the Column (1) and give it some breathing space (2)
-
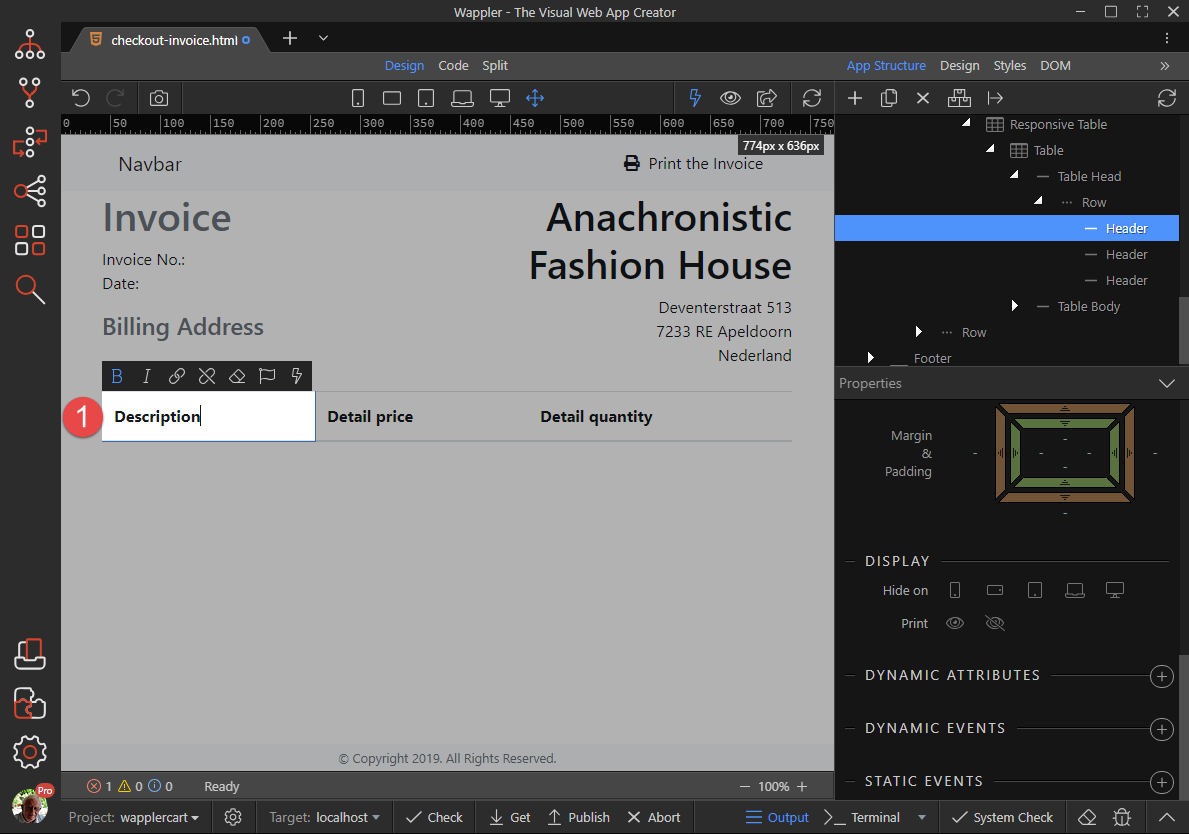
Double click the Table Header (1) and change the wording
-
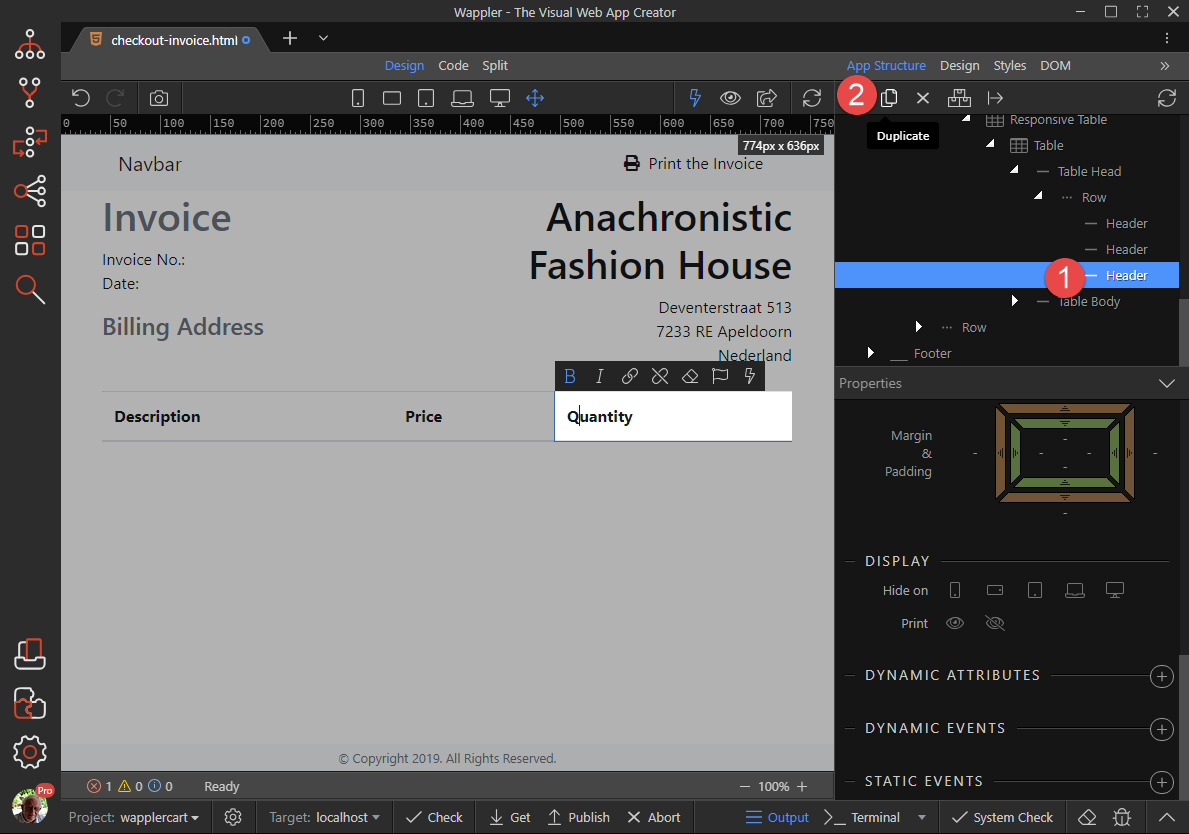
Do the same for the other headings. With the last Header still selected (1), click Duplicate once (2)
-
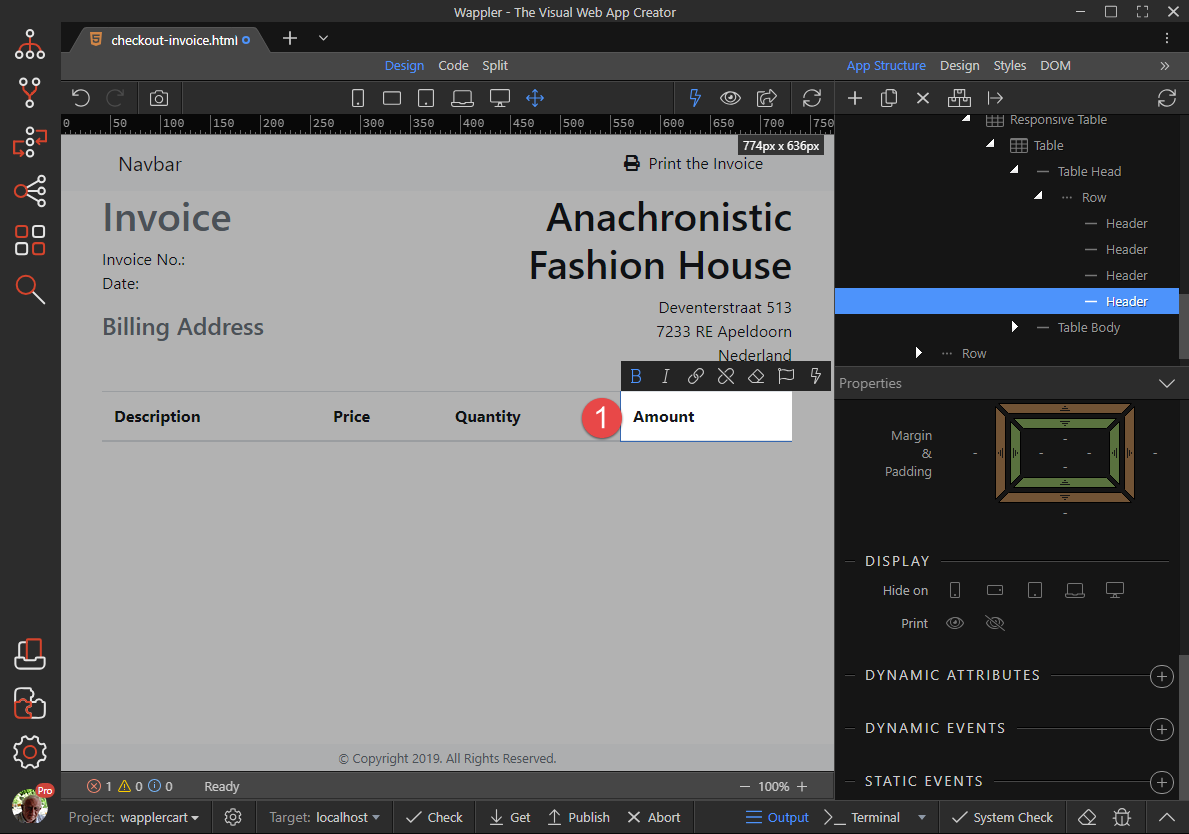
Change the wording of the last Heading (1)
-
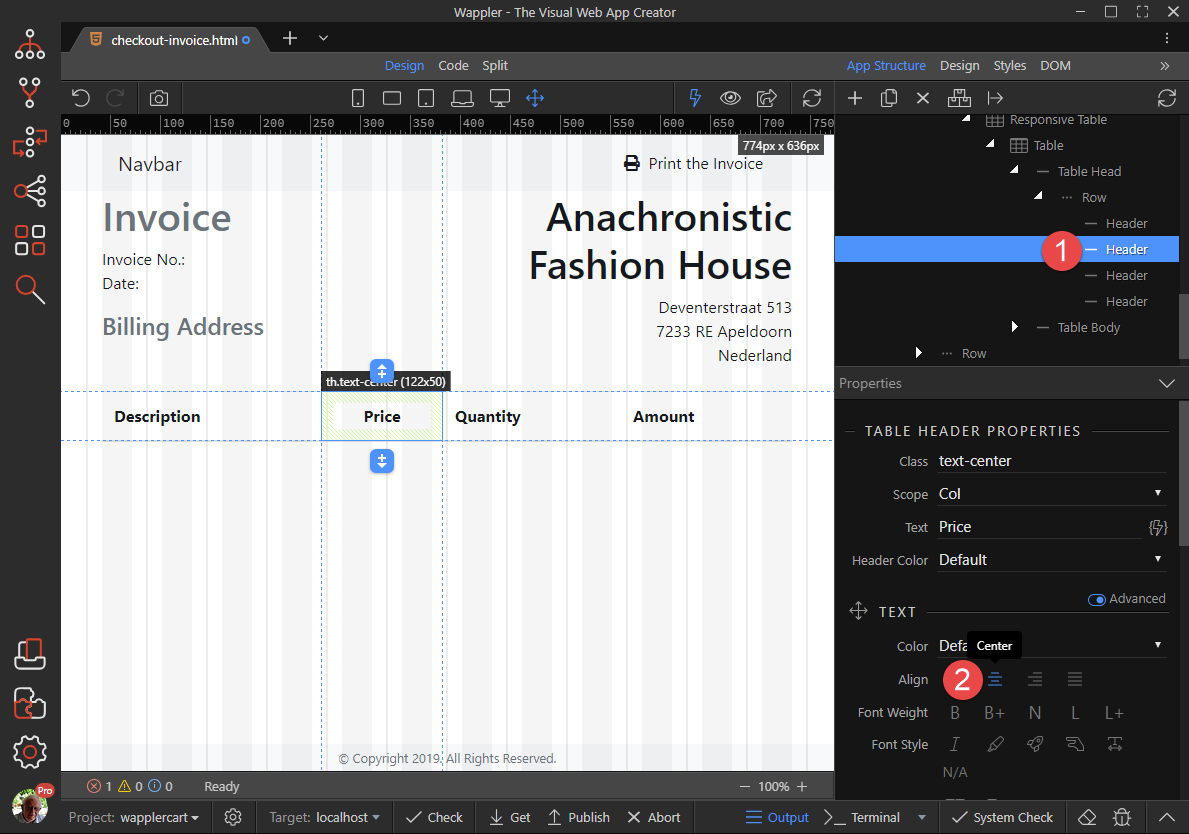
Change the Alignment of the middle two Heading (1) to Center (2) and the last Heading to Right
-
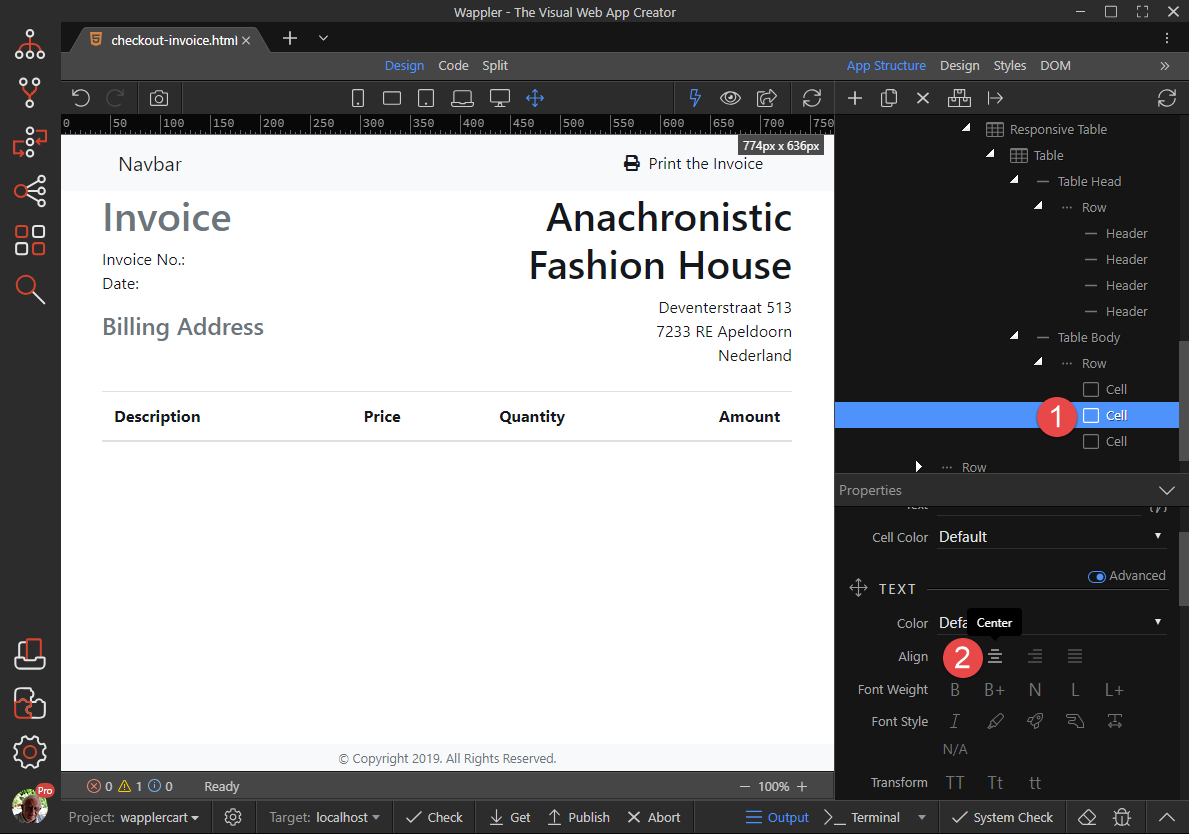
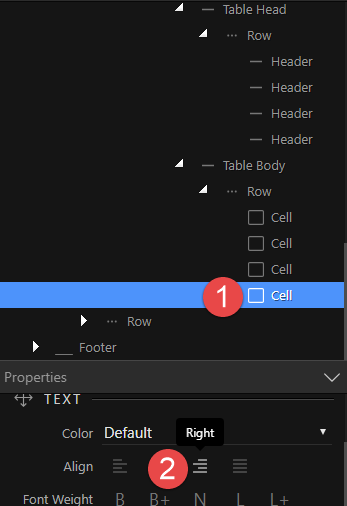
We also need to align the data. Select the second Cell (1) and Align Center (2). Repeat for the second Cell
-
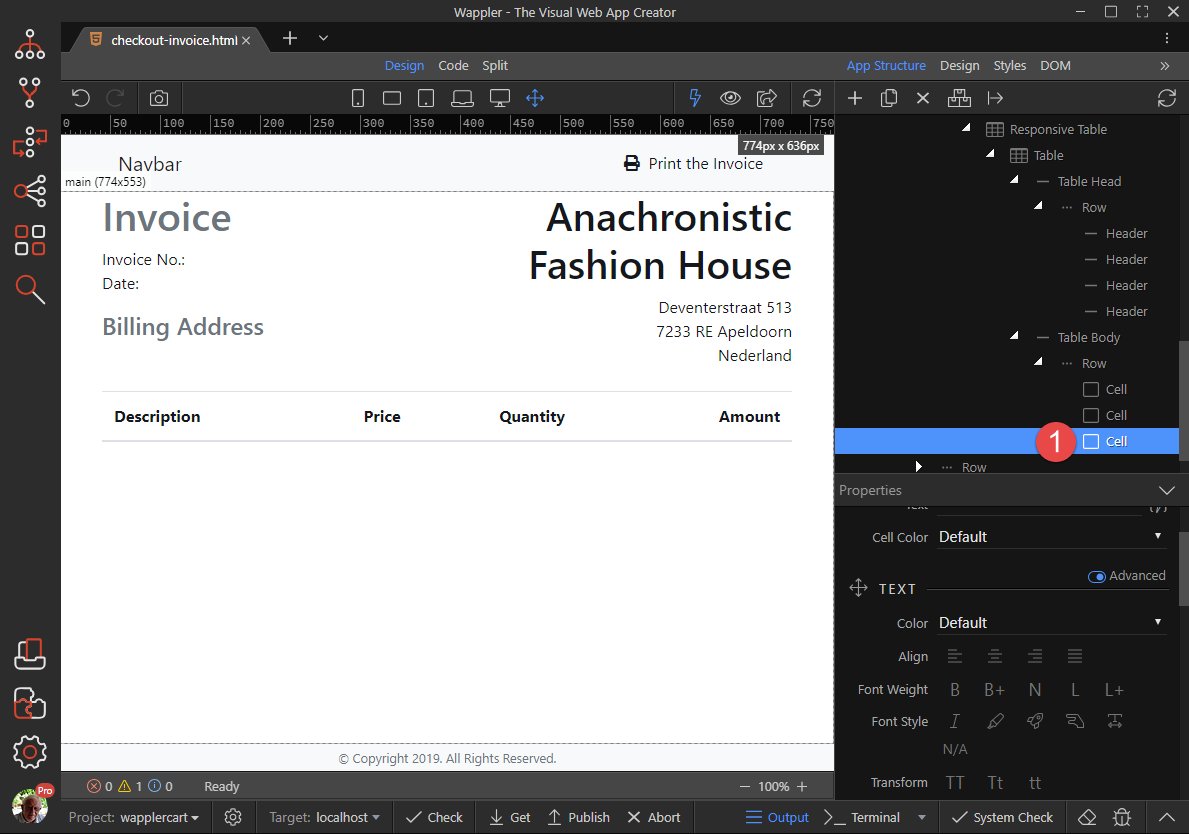
Right click the third Cell (1)
-
Click Insert After (1) and Cell (2)
-
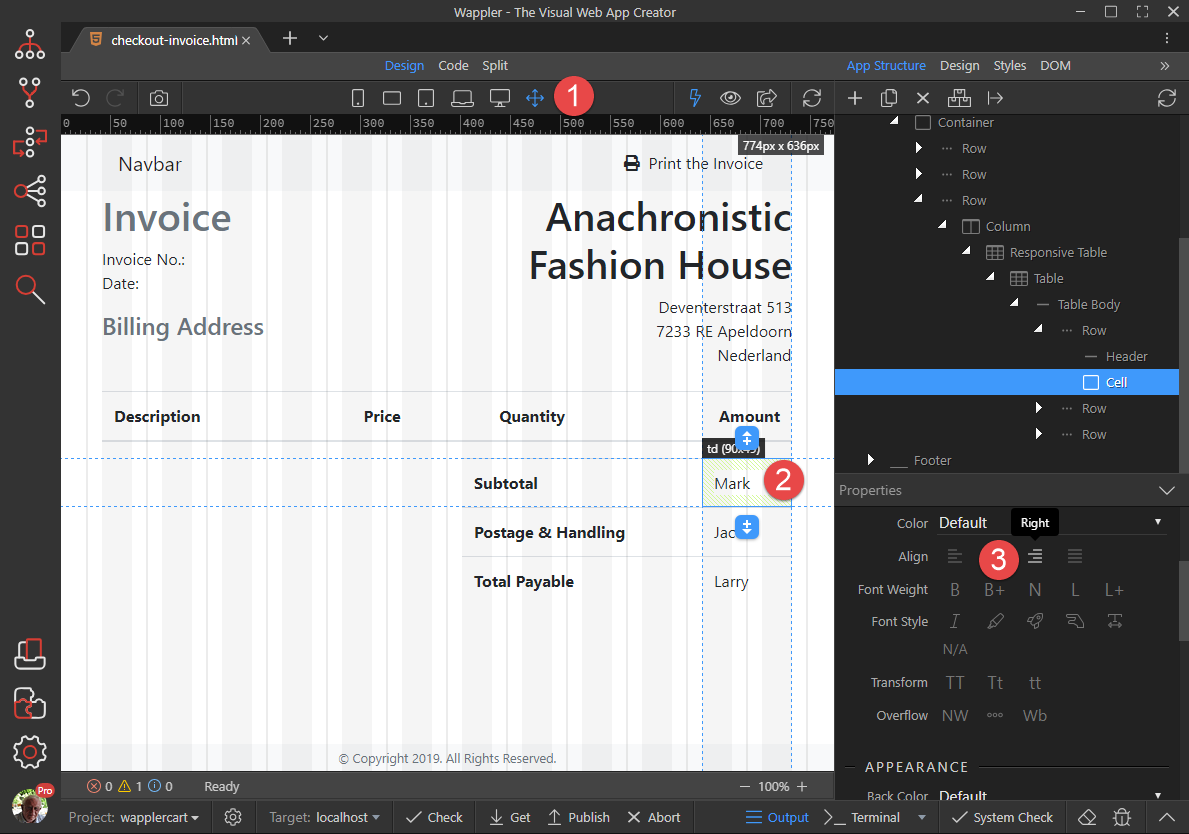
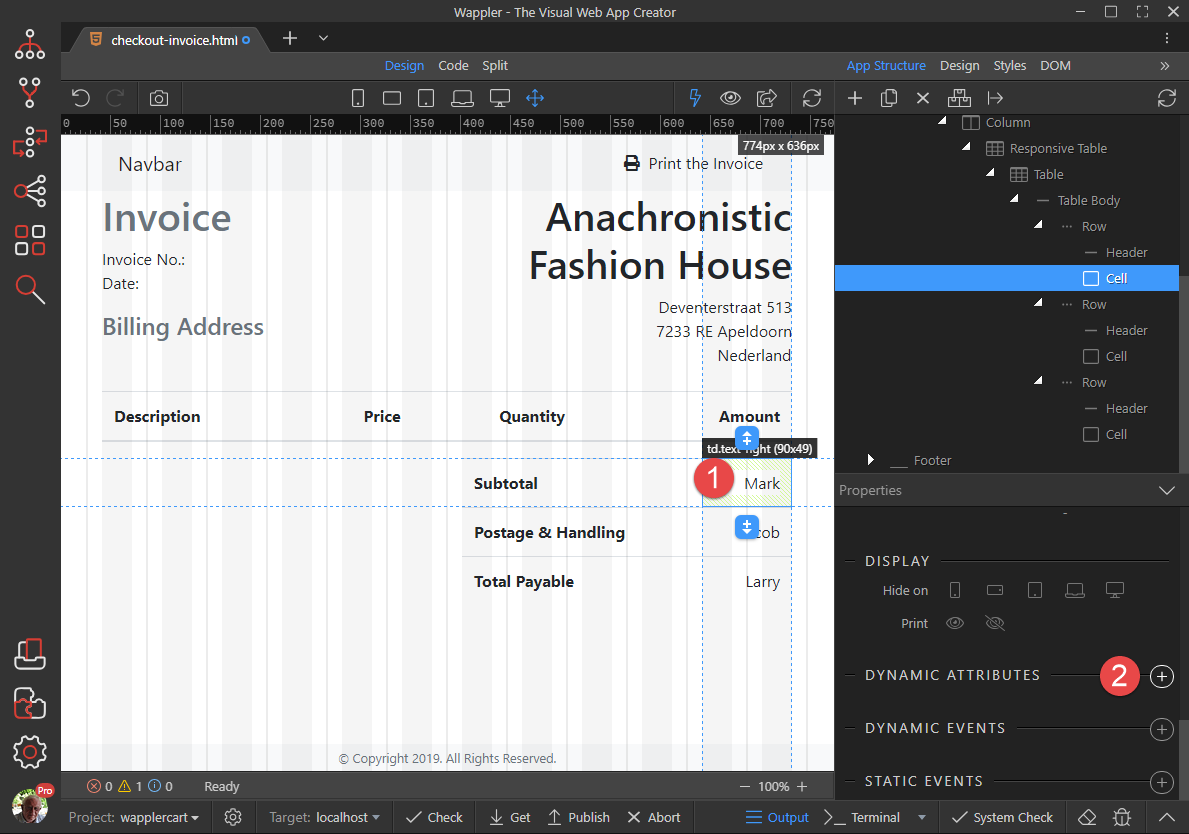
With the new Cell selected (1), click Align Right (2)
-
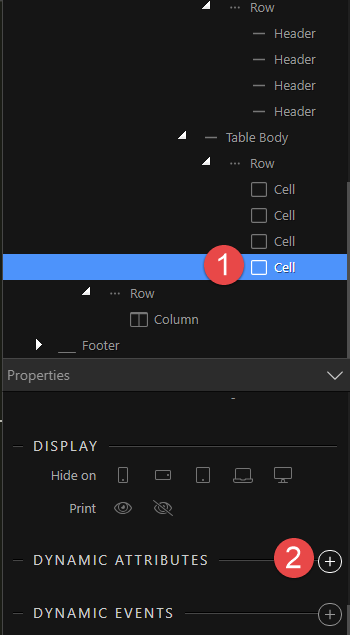
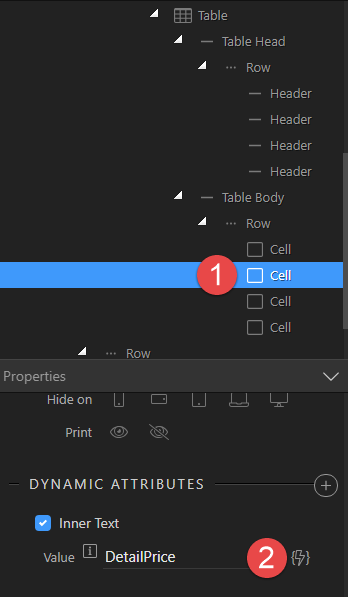
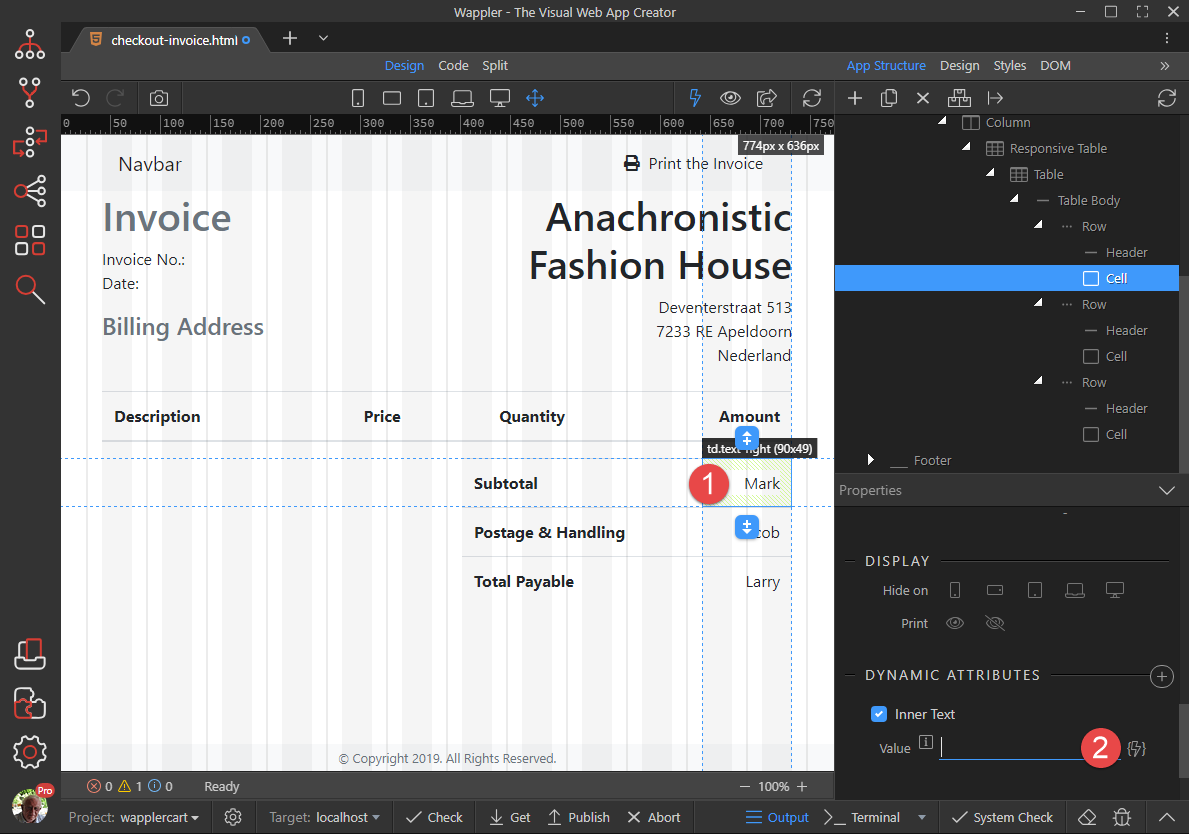
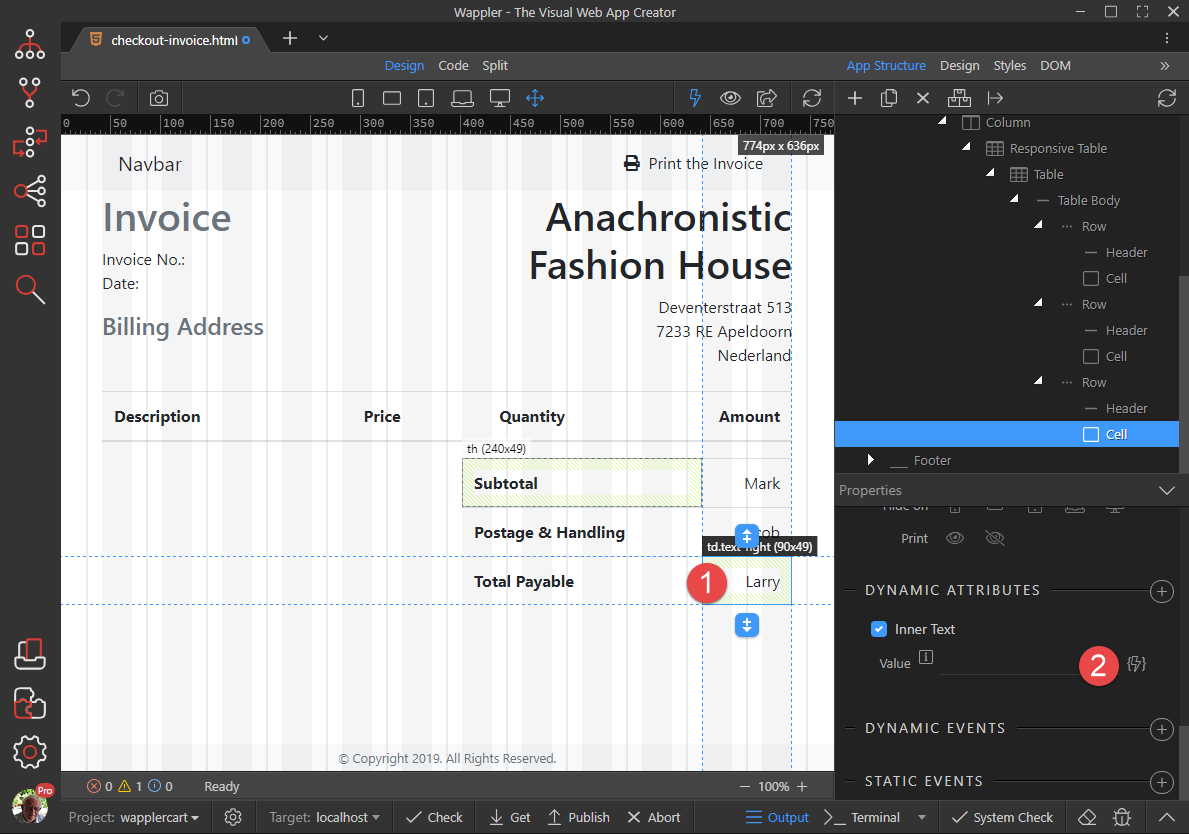
With the new Cell still selected (1) click Dynamic Attributes (2)
-
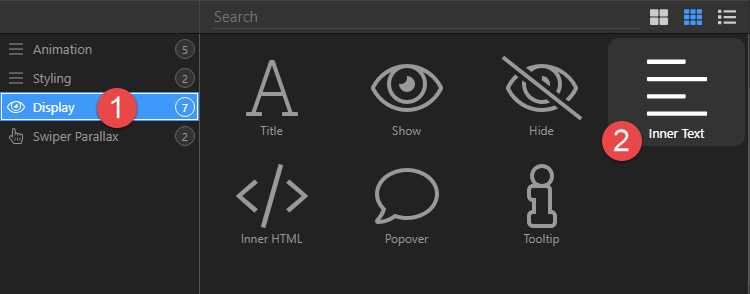
Choose Display (1) and click Inner Text (2)
-
With the Cell still selected (1), click the Dynamic Attributes button (2)
-
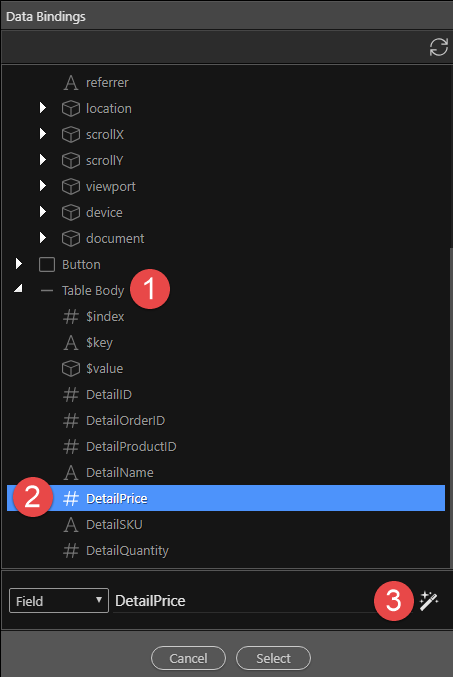
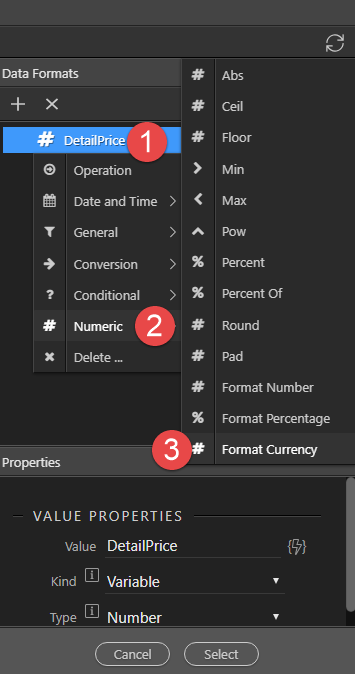
Under Table Body (1), click DetailPrice (2) and the Format button (3)
-
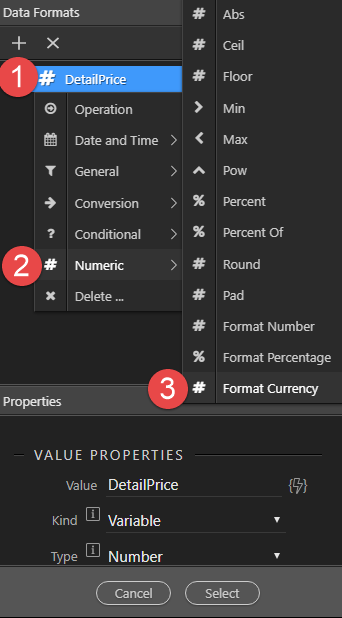
Right click DetailPrice (1), choose Numeric (2) and click Format Currency (3)
-
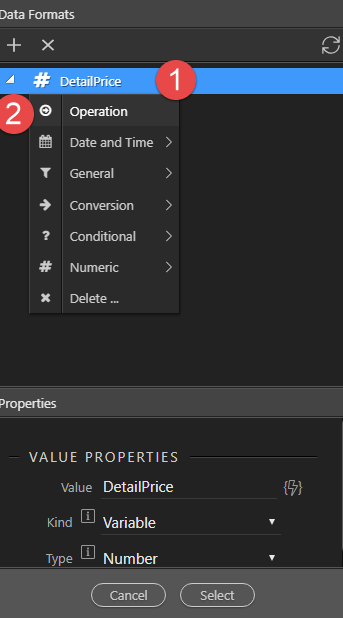
Right click Detail Price again (1) and click Operation (2)
-
Select the Operation button (1) and click multiplication (2)
-
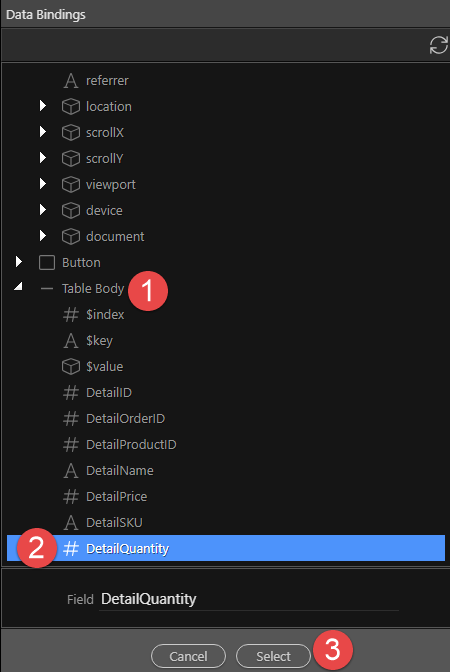
Click the arrow (1) and the Value button (2)
-
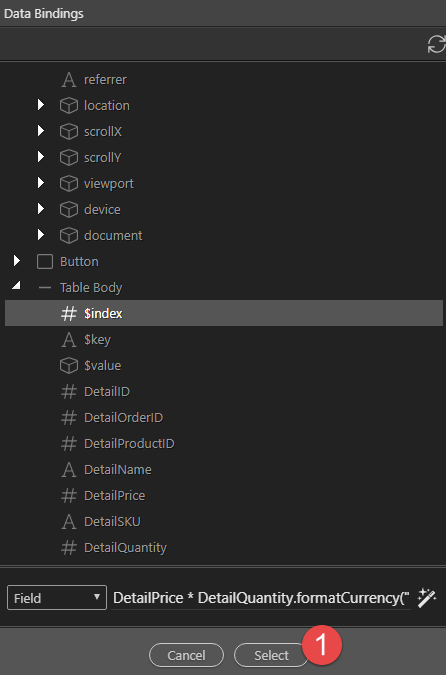
Under Table Body (1), click DetailQuantity (2) and Select (3)
-
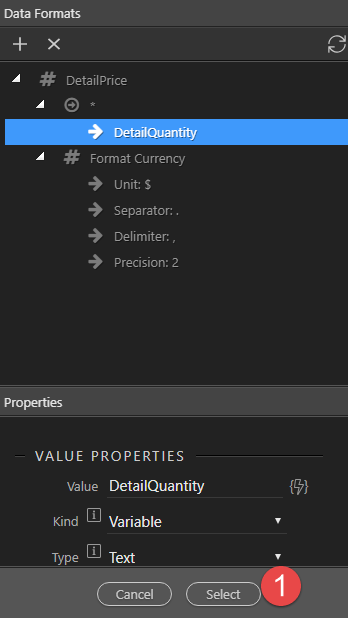
Click Select (1)
-
Click Select (1) again
Because I still do not understand complex formatting in Wappler, we need to go into Code view and change
DetailPrice * DetailQuantity.formatCurrency("$", ".", ",", "2")
to
(DetailPrice * DetailQuantity).formatCurrency("$", ".", ",", "2") -
While we are at it, let’s format the Price field. Select the second Cell (1) and click the Value button (2)
-
Click the Format button (1)
-
Right click DetailPrice (1), choose Numeric (2) and click Format Currency (3)
-
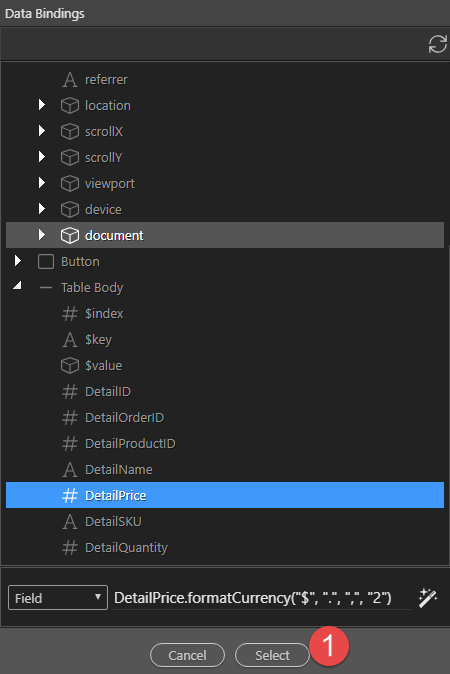
Format the currency and click Select (1)
-
Click Select (1) again
-
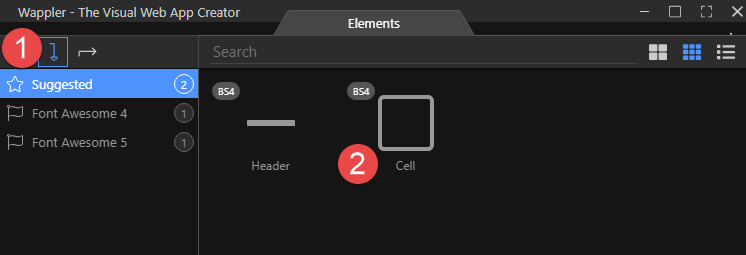
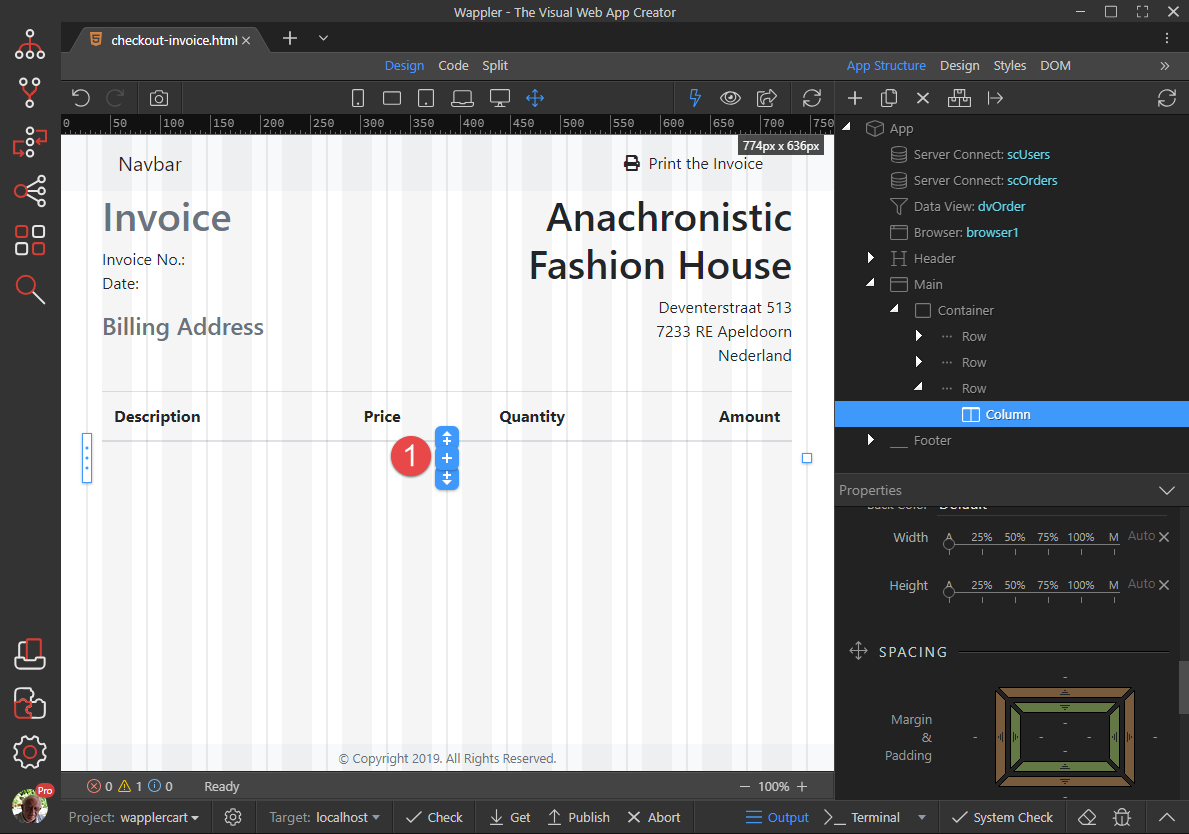
Now the home run. Select the Insert Child button (1) of the Column in the third Row
-
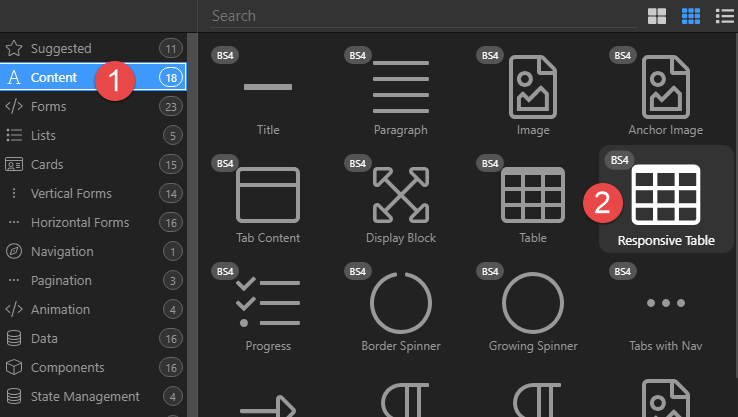
Choose Content (1) and click Responsive Table (2)
-
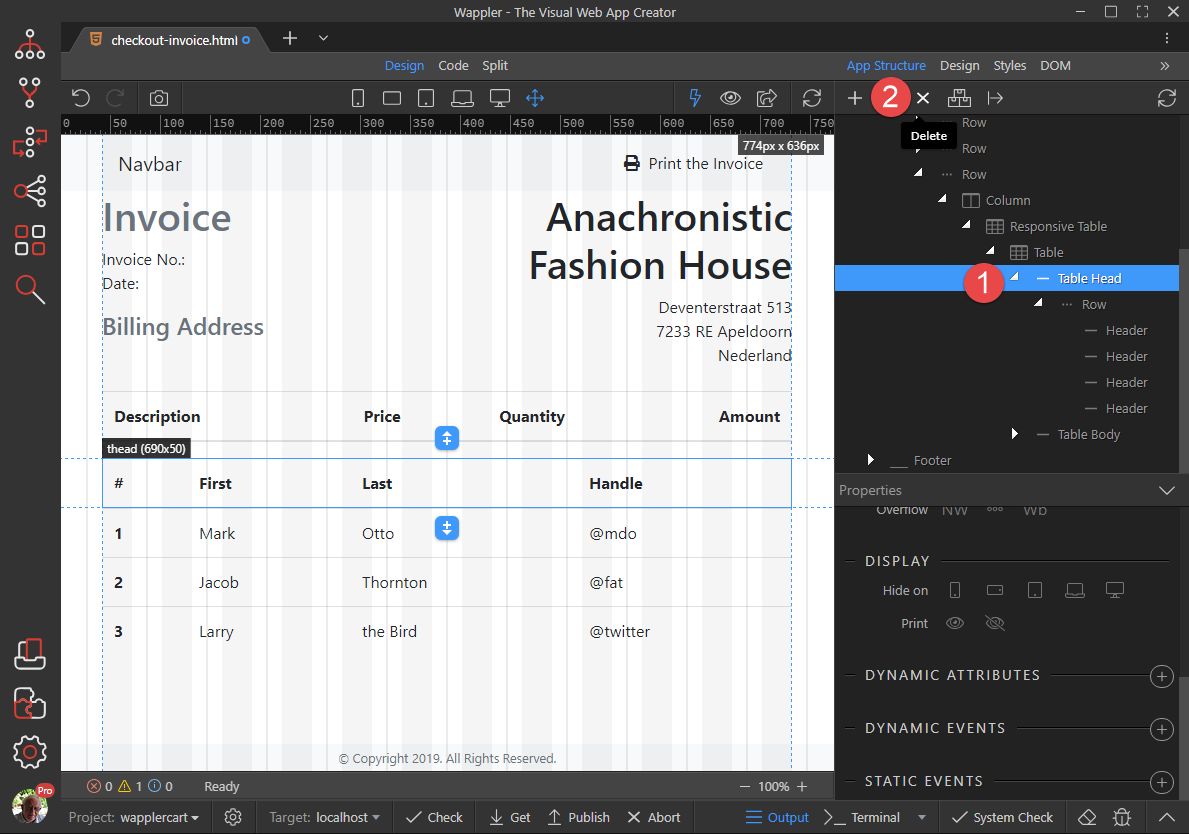
Choose Table Head (1) and click the Delete button (2)
-
Delete the unwanted Cells. Choose the Cell to be deleted (1) and click the Delete button (2)
-
Continue Deleting the unwanted Cells so that we finish up with
-
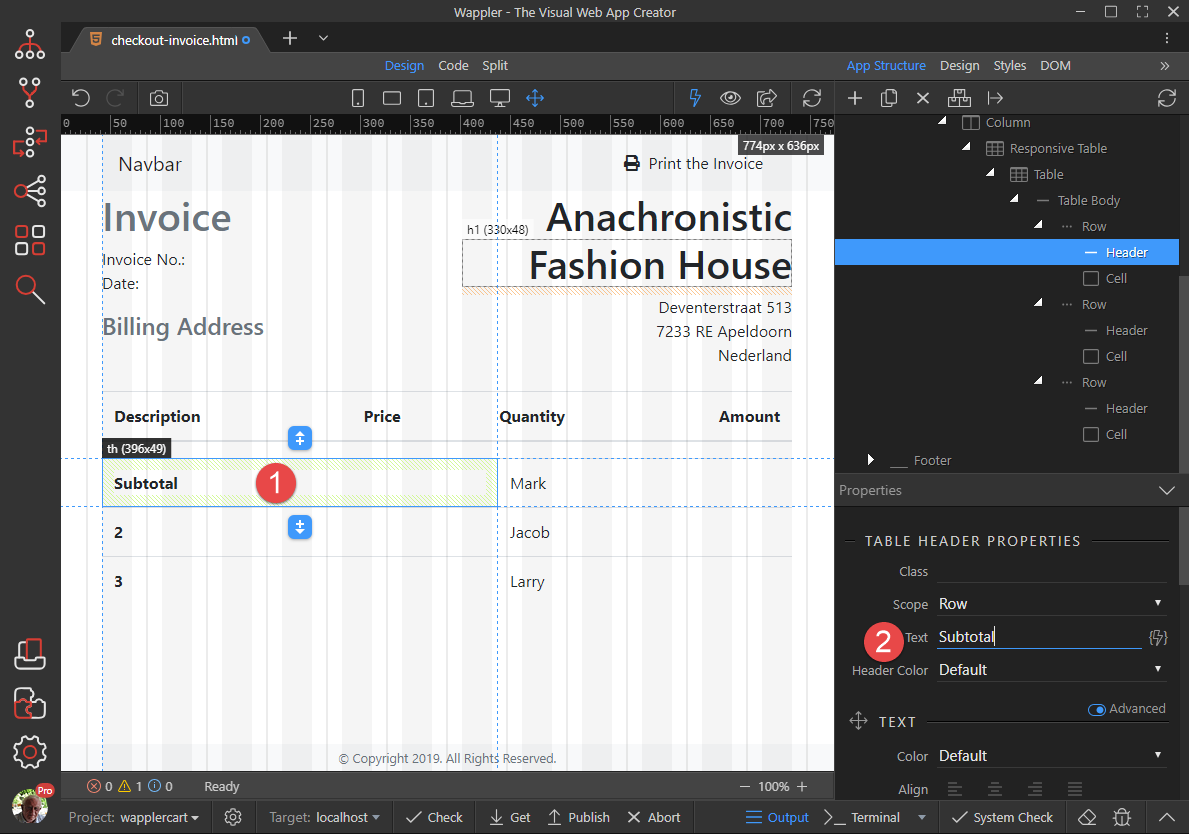
Select the Header of the first Row (1) and change the wording (2)
-
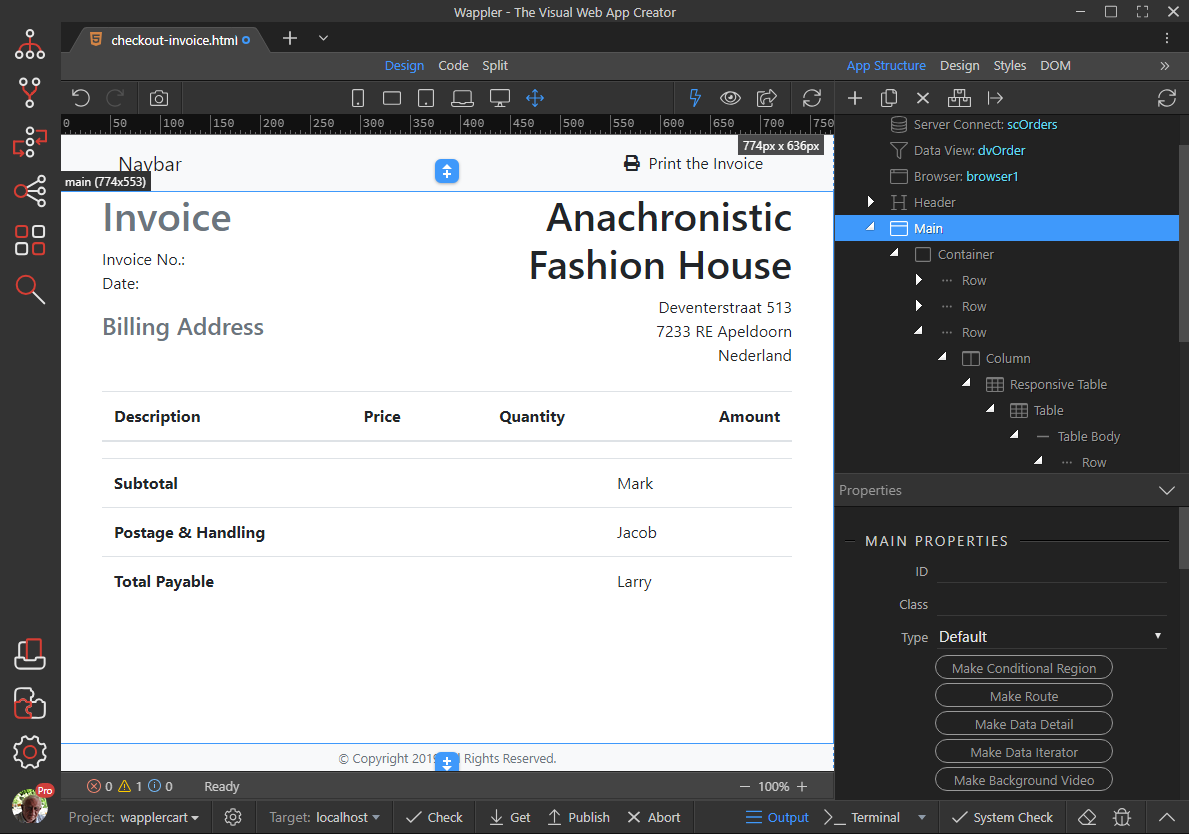
Do the same for the other two headings so that we finish up with
-
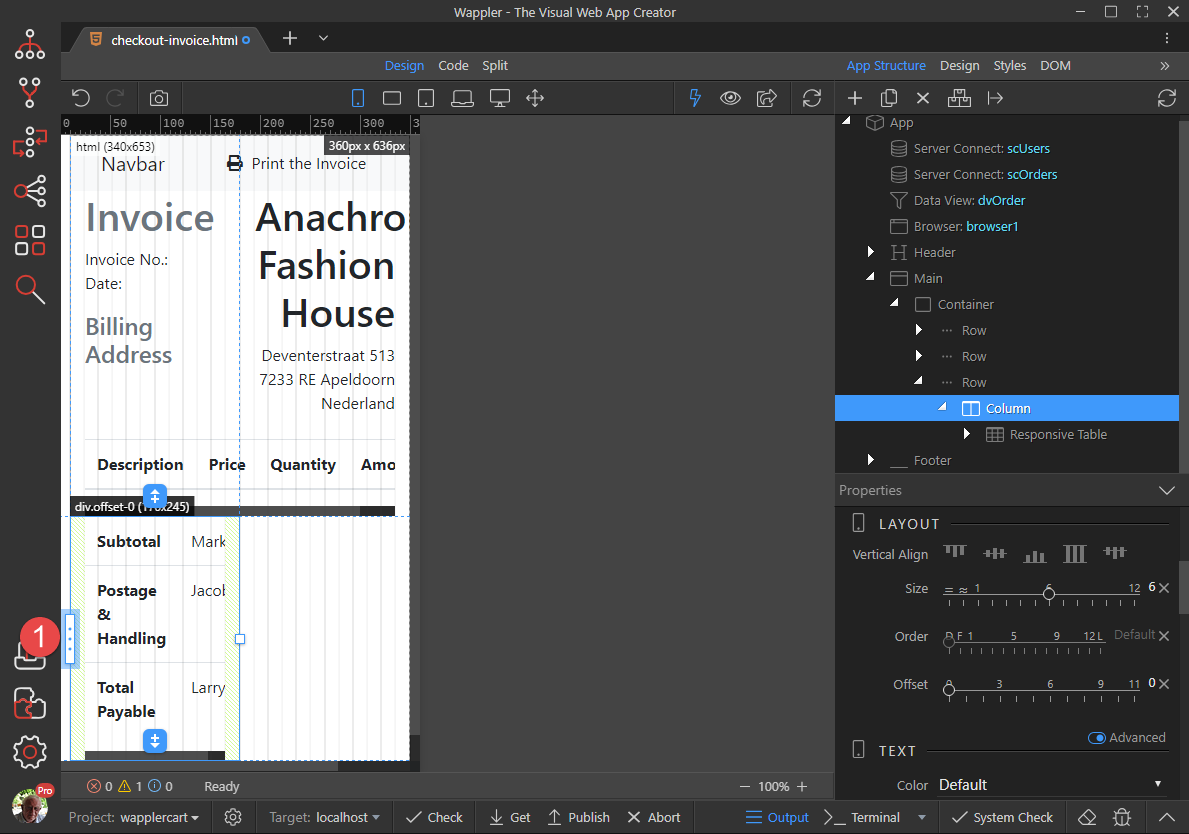
For this, we need to change the view to Mobile (1). Select the Column handle and drag to the horizontal centre (2)
-
Now grab the Move handle (1) and drag it to the centre
-
We can now revert back to the All Screen button (1). Select the first Cell (2) and click Align Right (3)
-
Repeat for the other two Cells so that you finish up with
-
Select the first Cell again (1) and click Dynamic Attributes (2)
-
Choose Display (1) and Inner Text (2)
-
With the Cell still selected (1), click the Value button (2)
-
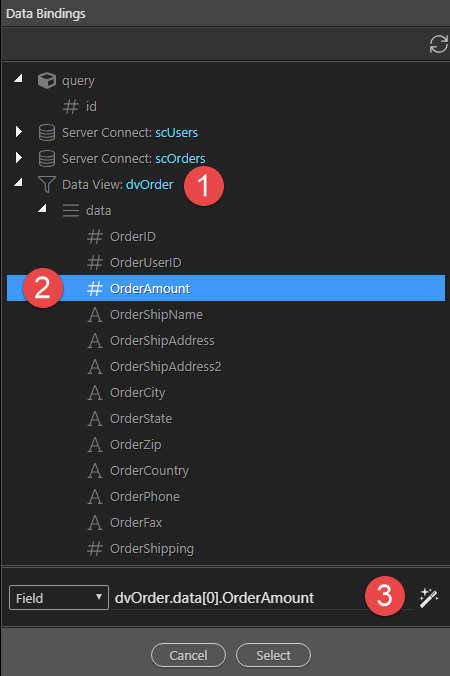
Under dvOrder (1), click OrderAmount (2) and the Format button (3)
-
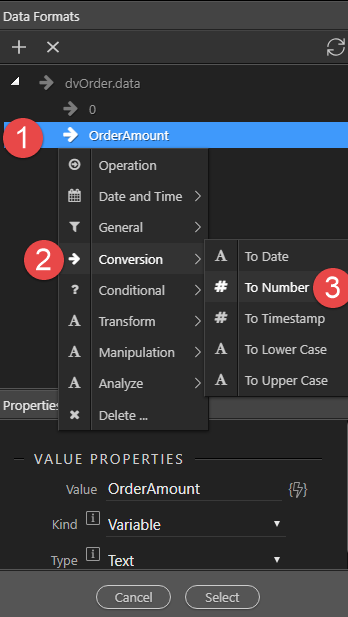
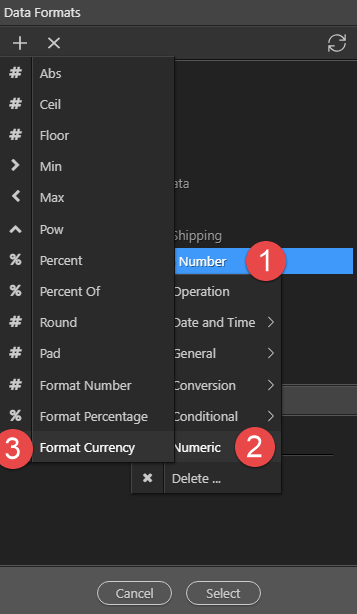
Right click OrderAmount (1), choose Conversion (2) and click To Number (3)
-
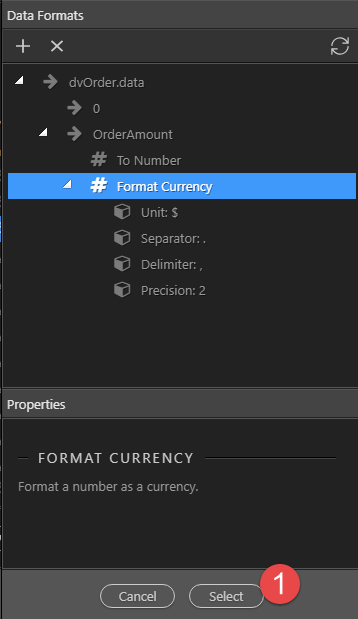
Right click To Number (1), select Numeric (2) and click Format Currency (3)
-
Format the Currency and click Select (1)
-
Due to a problem with the formatter (should be fixed soon), remove .toNumber() (1) and click Select (2)
-
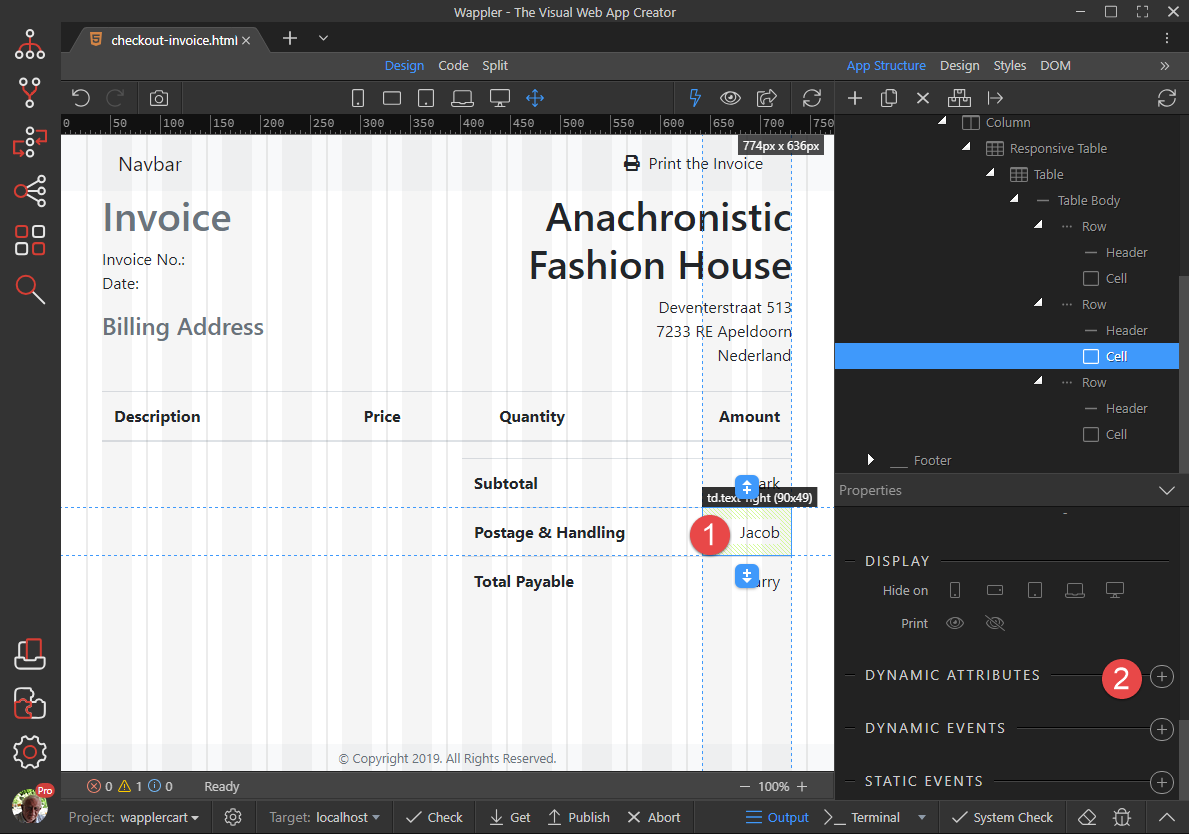
Select the second Cell (1) and click Dynamic Attributes (2)
-
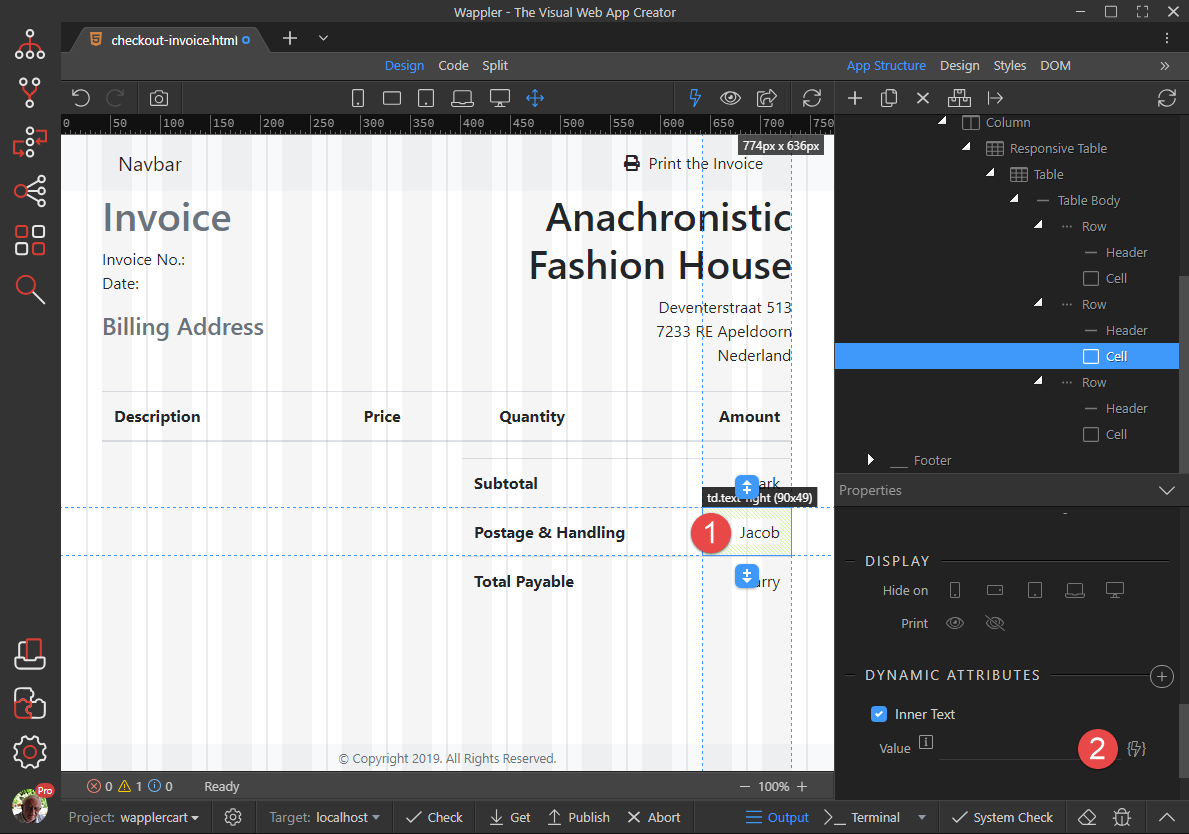
Select Display (1) and click Inner Text (2)
-
With the Cell still selected (1), click the Value button (2)
-
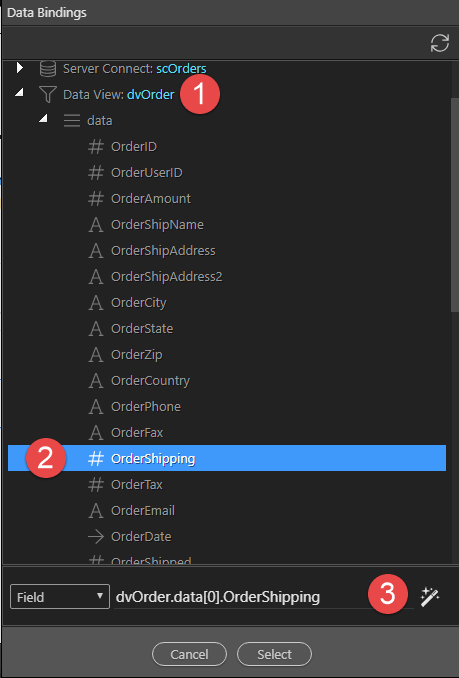
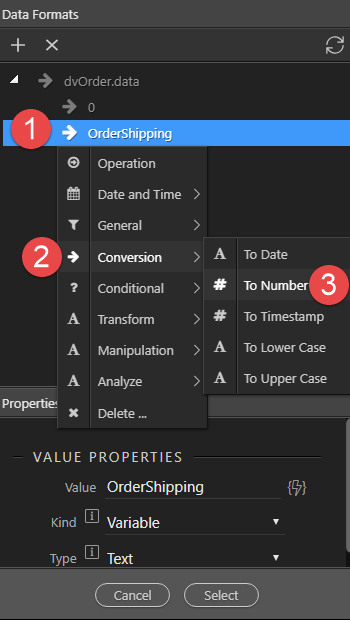
Under dvOrder (1), click OrderShipping (2) and the Format button (3)
-
Right click OrderShipping (1), choose Conversion (2) and click To Number (3)
-
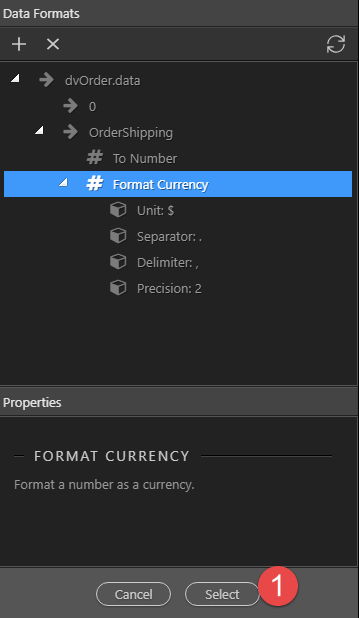
Right click To Number (1), choose Numeric (2) and click Format Currency (3)
-
Format the currency and click Select (1)
-
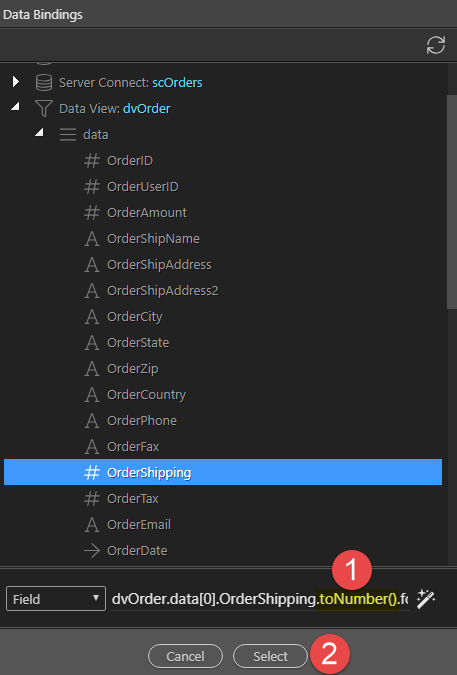
Remove .toNumber() (1) and click Select (2)
-
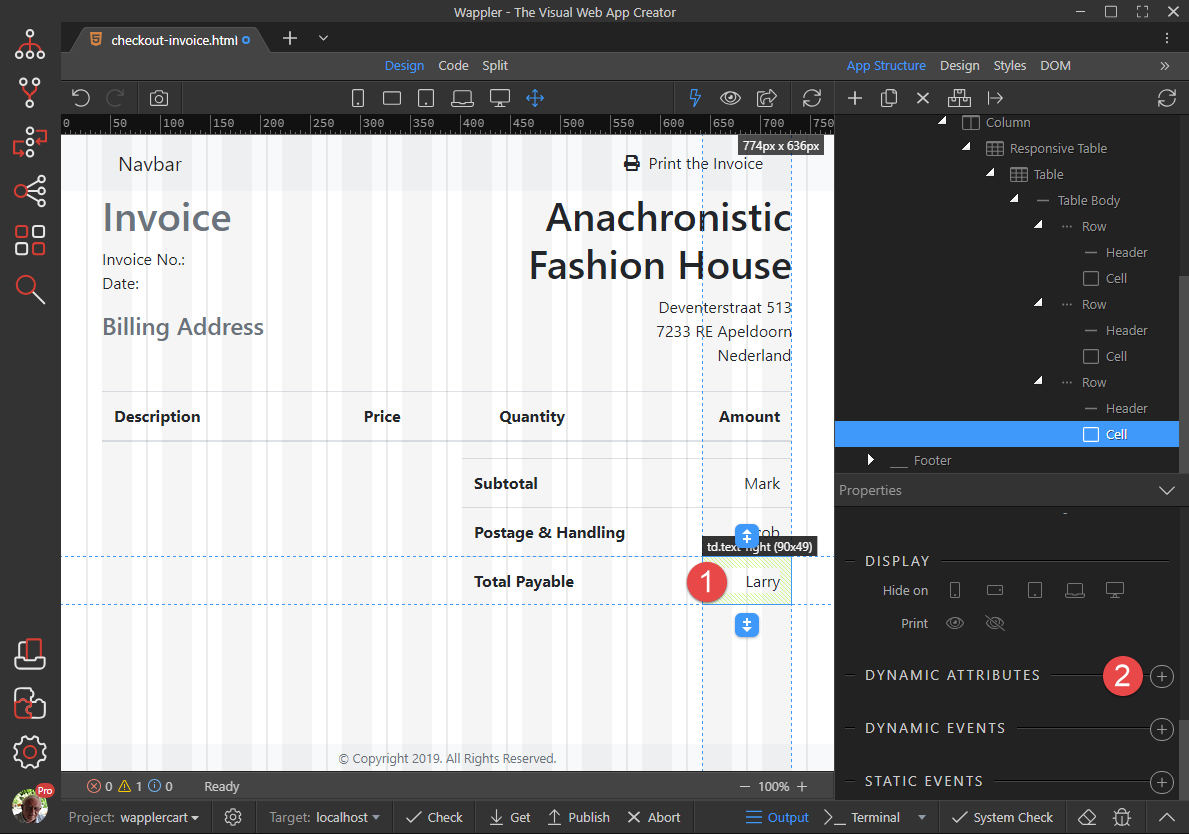
Select the last Cell (1) and click Dynamic Attributes (2)
-
Choose Display (1) and click Inner Text (2)
-
With the Cell (1) still selected, click the Value button (2)
-
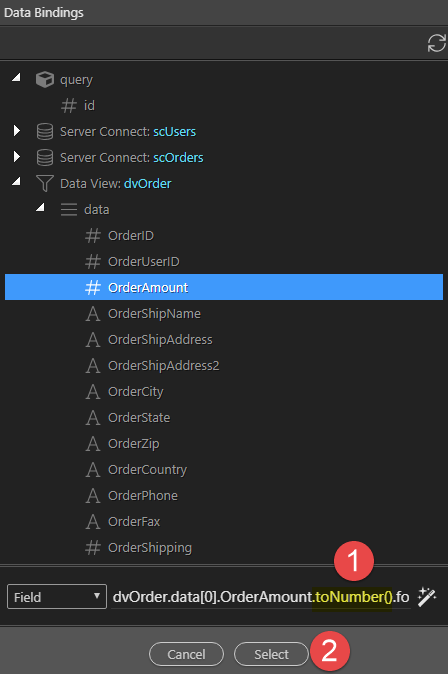
Under dvOrder (1) select OrderAmount (2) and click the Format button (3)
-
Right click OrderAmount (1) and click Operation (2)
-
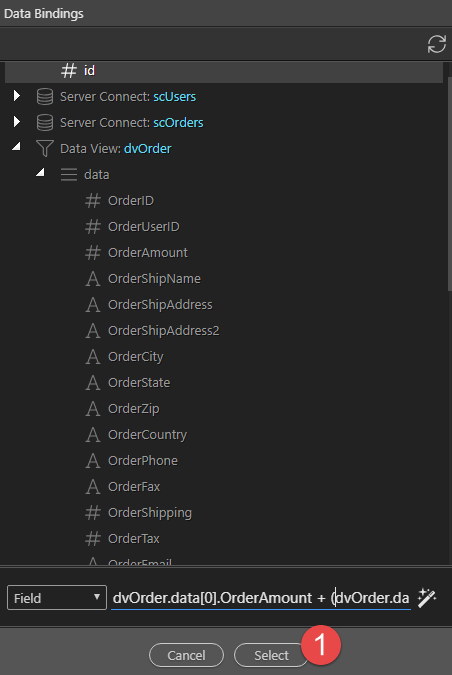
Select the arrow (1) and click the Value button (2)
-
Under dvOrder (1), click OrderShipping (2) and Select (3)
-
Right click OrderShipping (1), choose Conversion (2) and click To Number (3)
-
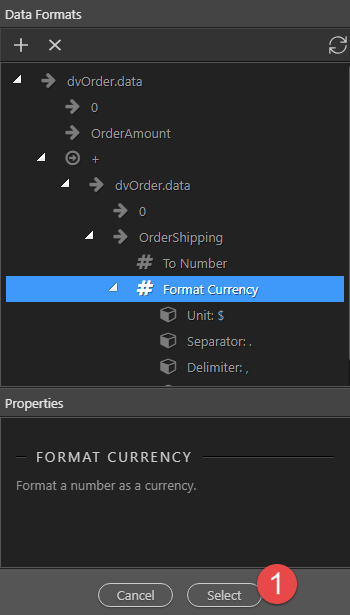
Right click To Number (1), select Numeric (2) and click Format Currency (3)
-
Format the currency and click Select (1)
-
Click Select (1)
Again having a wrestling match with formatting. Go into Code view and change
dvOrder.data[0].OrderAmount + (dvOrder.data[0].OrderShipping.toNumber().formatCurrency("$", ".", ",", "2"))
to
(dvOrder.data[0].OrderAmount + dvOrder.data[0].OrderShipping).formatCurrency("$", ".", ",", "2")


We need to adjust the browser.goto URLto take us to the Invoice. To do this, we’ll first create a variable for our invoice number.
-
Go to Server Actions (1) and right click insOrder (2)
-
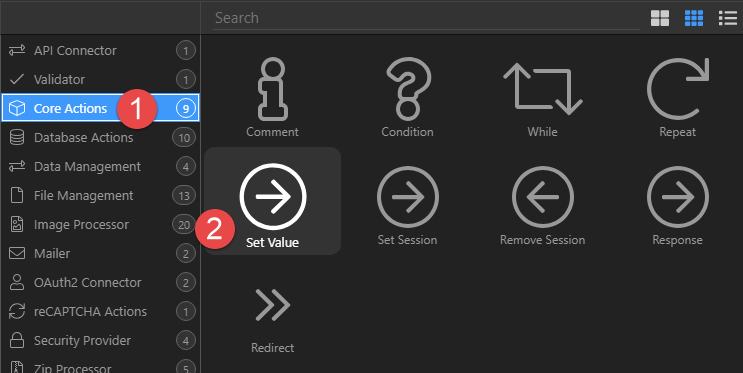
Choose Core Actions (1) and click Set Value (2)
-
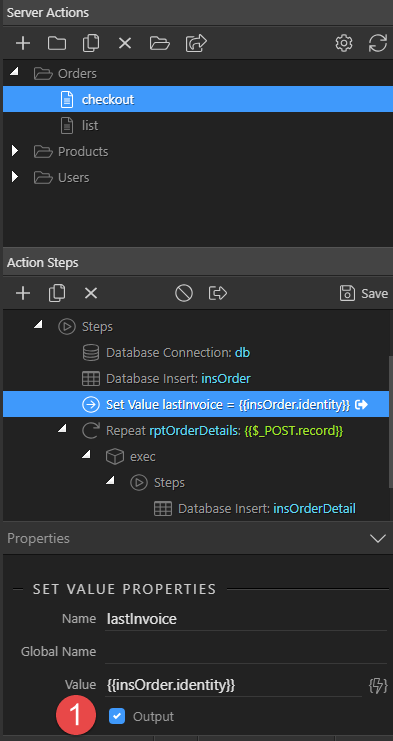
With the Set Value selected (1), give the Value a Name (2) and click the Value button (3)
-
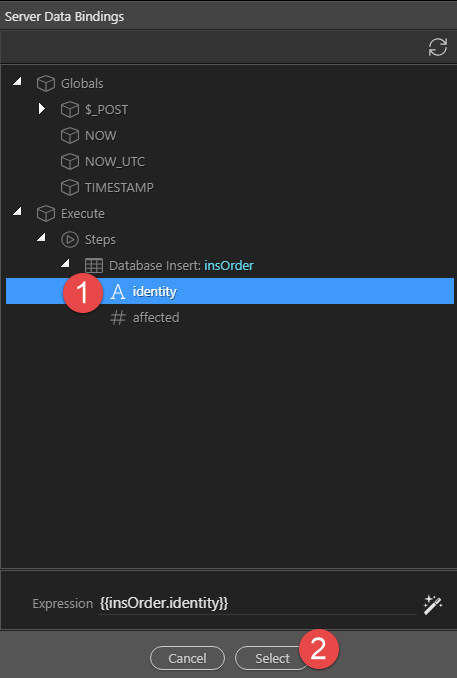
Click identity (1) and Select (2)
-
Make sure that Output is selected (1)
-
Save the Server Steps
-
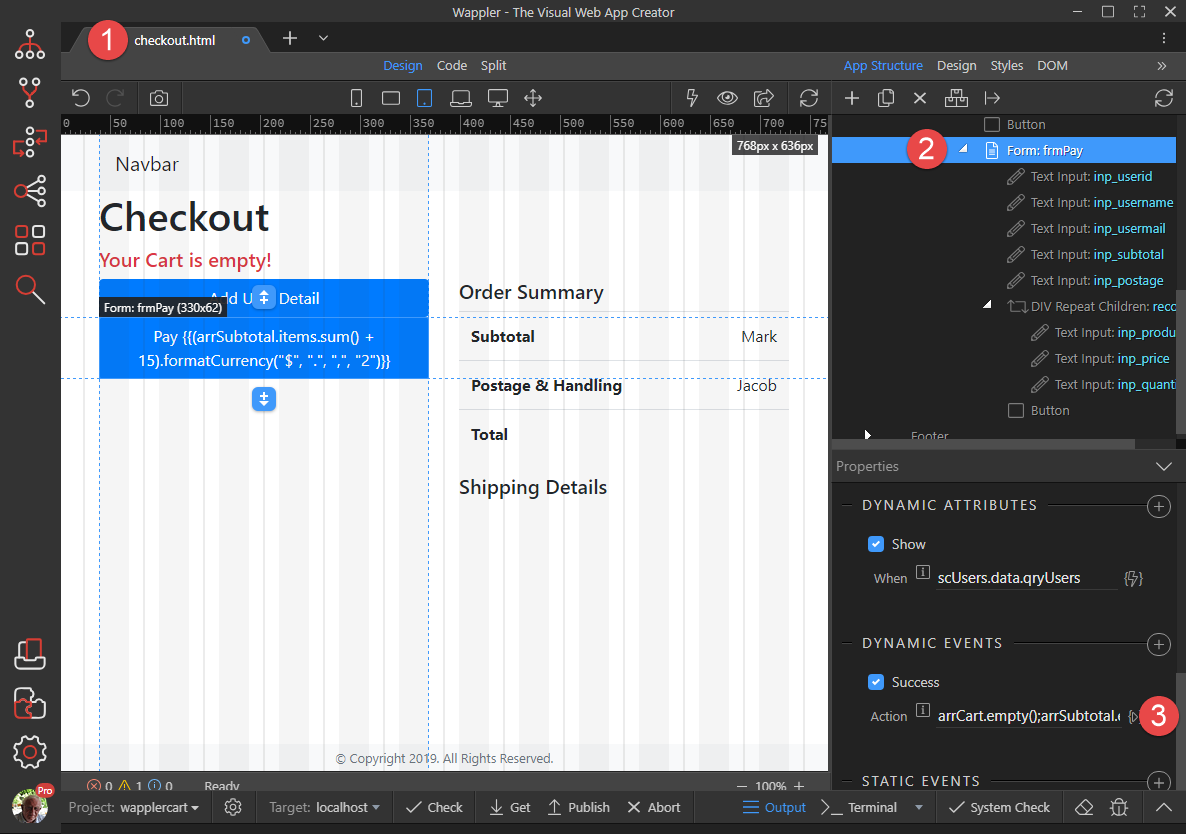
Open checkout.html (1), select frmPay (2) and click the Success Action button (3)
-
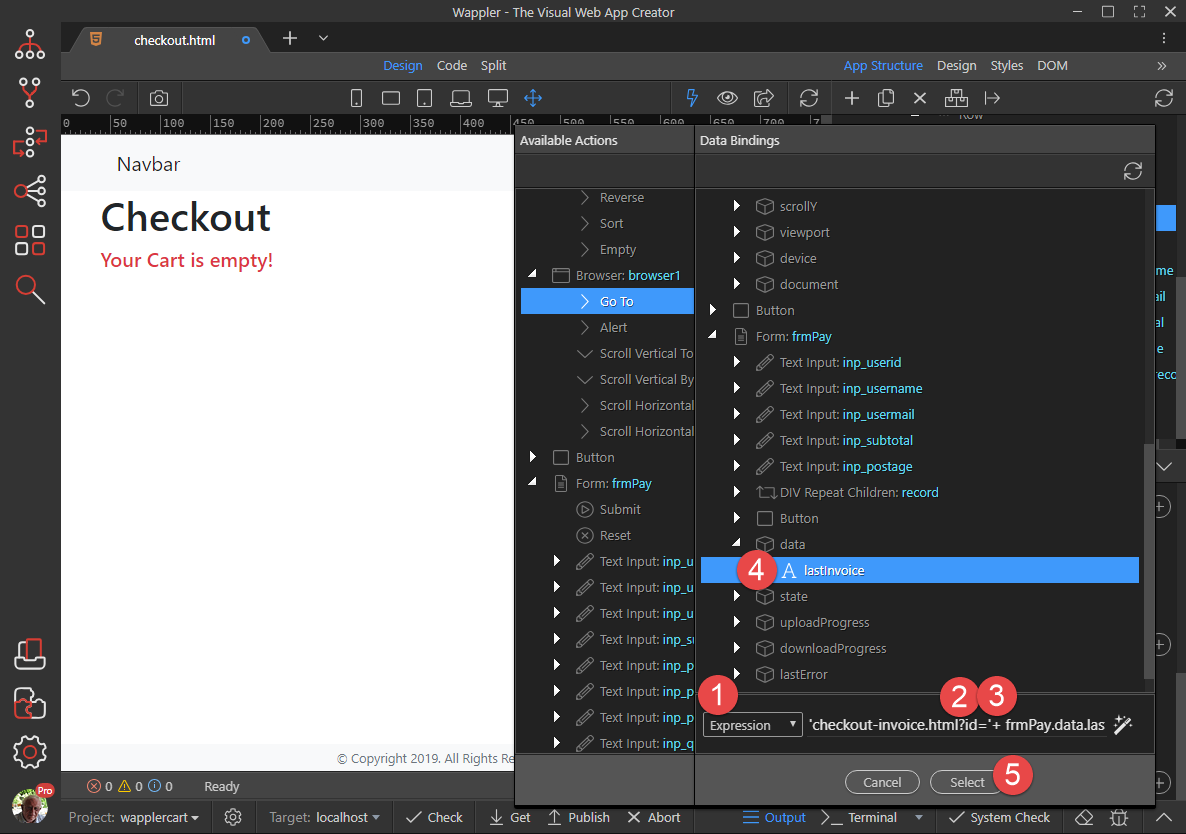
Choose browser1.goto (1) and click the URL button (2)
-
Change the Field to Expression (1), add after html and inside the quotes ?id= (2). Outside the quotes add + (3) and click on lastinvoice (4). Click Select (5)
-
Click Select (1) again.
-
Save your work