Using App Connect S3 Upload

Intro

App Connect S3 Upload component allows you to do client side uploads to S3 cloud storage. Unlike the Server Connect S3 Upload workflow, where it’s required to first upload the files on your server, with App Connect S3 Upload you upload your files directly to the S3 cloud storage.

Make sure to properly setup S3 Full Access on AWS before following this tutorial:

Set up CORS

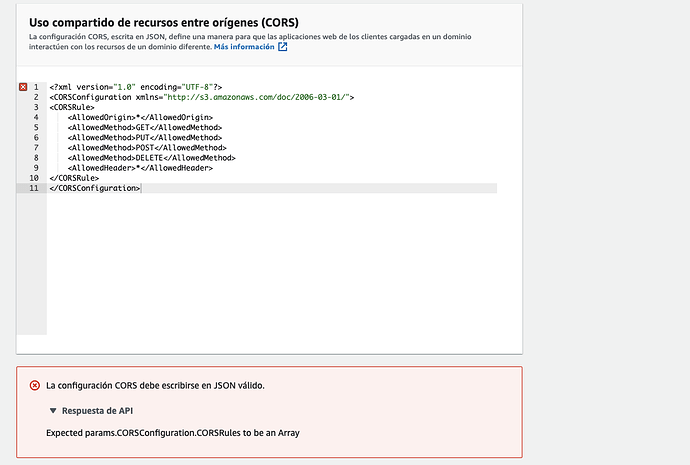
In order to be able to upload files from your site, you need to setup the CORS configuration for your S3
cloud storage.

CORS Configuration on AWS S3

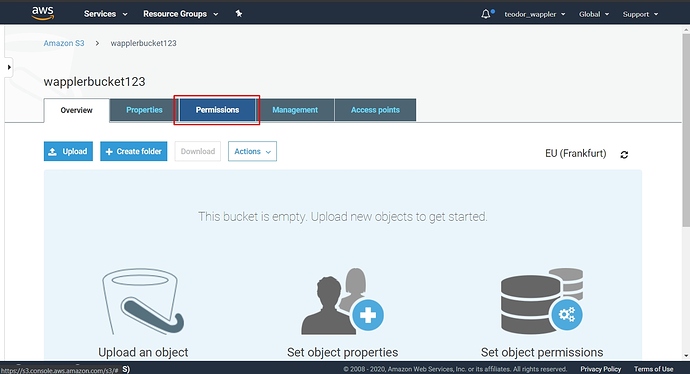
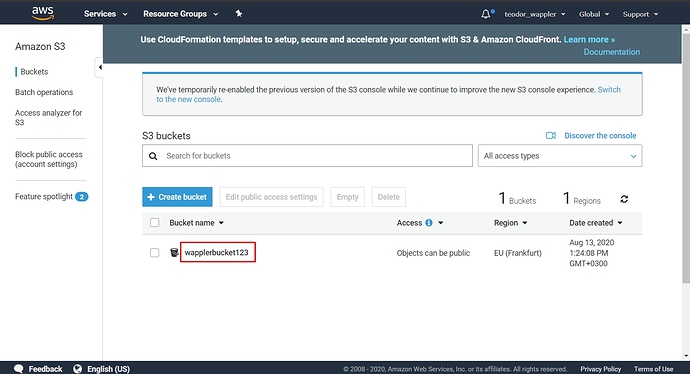
Log into your AWS Management Console, then navigate to S3 and you will see your bucket(s) listed. Click your bucket name:

Then select Permissions:

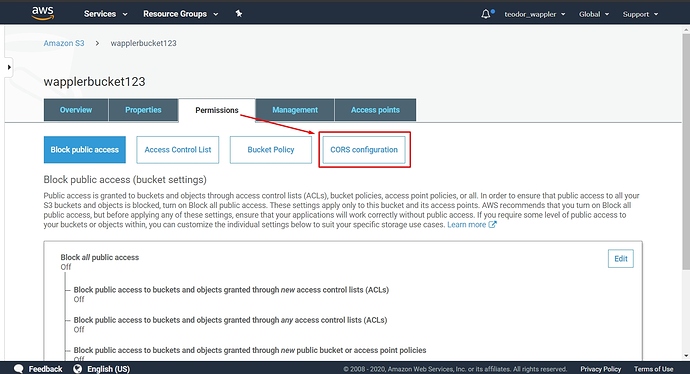
And then CORS configuration:

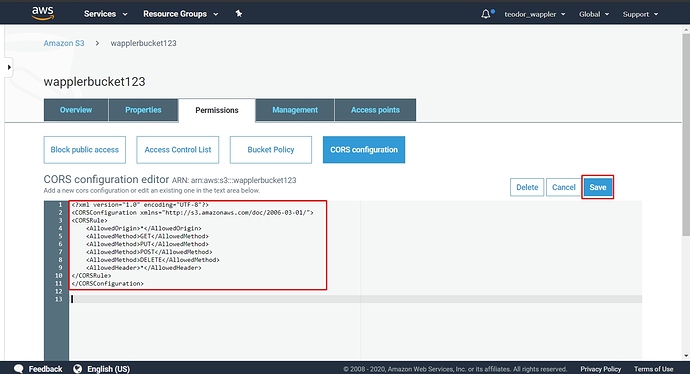
Paste the following xml code in the CORS configuration Editor, replacing http://www.example1.com with your actual website domain:

<?xml version="1.0" encoding="UTF-8"?>
<CORSConfiguration xmlns="http://s3.amazonaws.com/doc/2006-03-01/">
<CORSRule>
    <AllowedOrigin>https://www.example1.com</AllowedOrigin>
    <AllowedMethod>GET</AllowedMethod>
    <AllowedMethod>PUT</AllowedMethod>
    <AllowedMethod>POST</AllowedMethod>
    <AllowedMethod>DELETE</AllowedMethod>
    <AllowedHeader>*</AllowedHeader>
</CORSRule>
</CORSConfiguration>

Then click save:

And you are done.

CORS Configuration on Digital Ocean Spaces

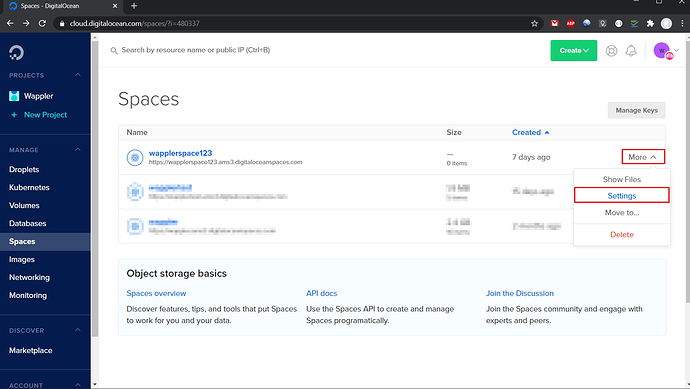
Log into Digital Ocean Spaces control panel. You will see your spaces listed there.

Open the More menu and click Settings:

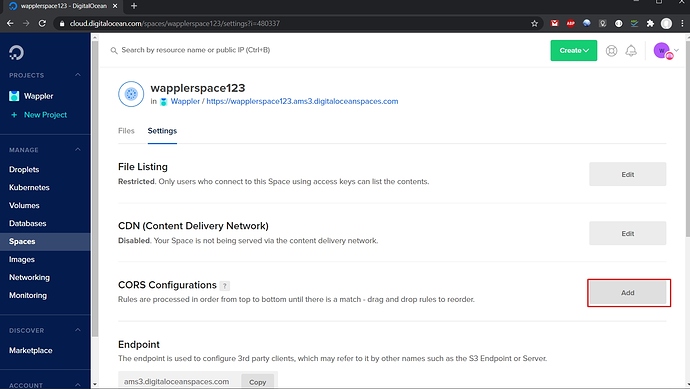
Scroll down to CORS Configuration and click Add:

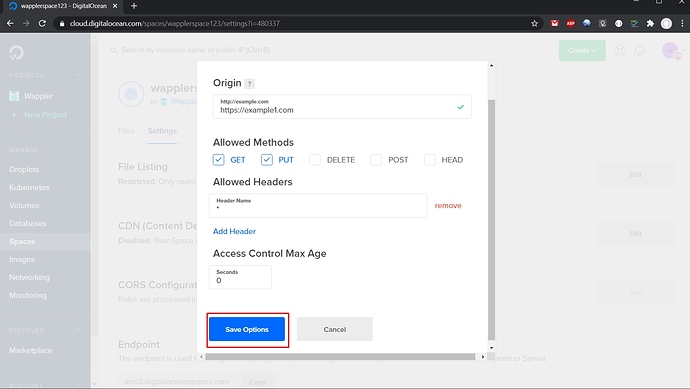
Here you need to add the following:
Origin: https://example1.com - replace this with your site domain.
Allowed Methods: GET is enabled by default, you need to select PUT as well.
Allowed Headers: Create a new header *

And click the Save Options button:

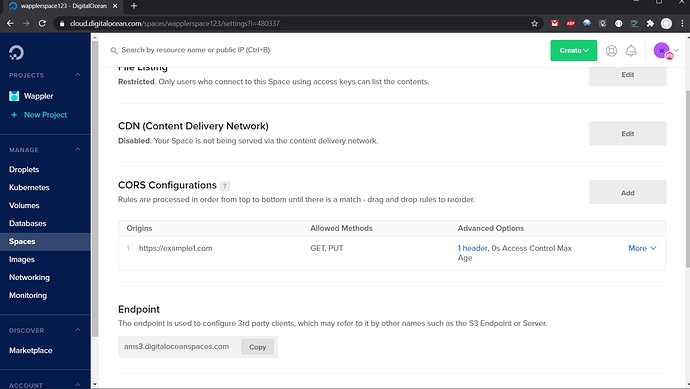
You can see your CORS options have been set:

And you are done!

Creating a S3 Upload Sign Server Action

To be able to upload to S3 you need to sign your upload link to verify your identity. This is done by creating a S3 Upload Sign Server Action.

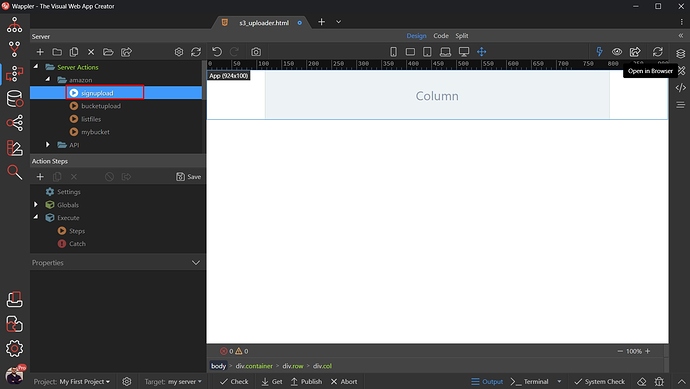
Open the Server Connect panel and create a new server action:

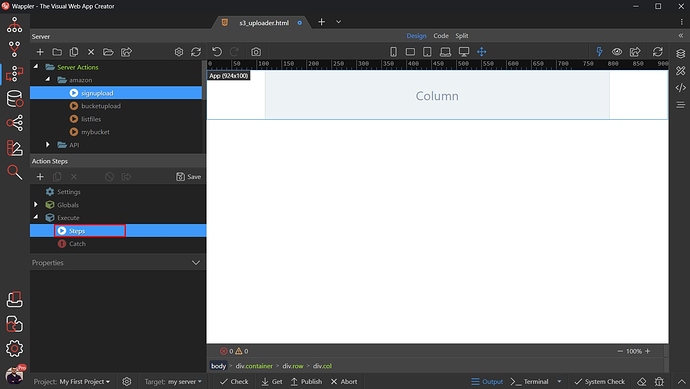
Right click steps:

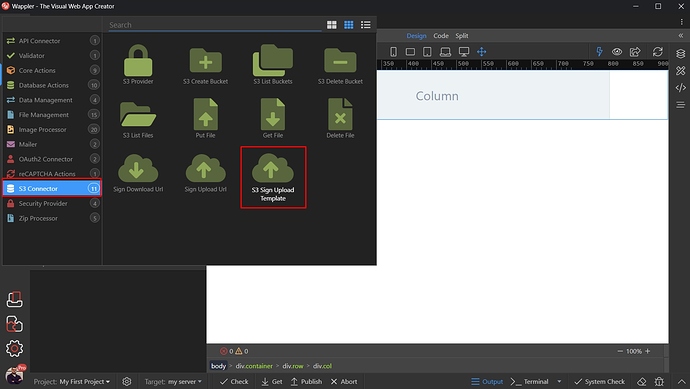
Open S3 Connector and select S3 Sign Upload Template:

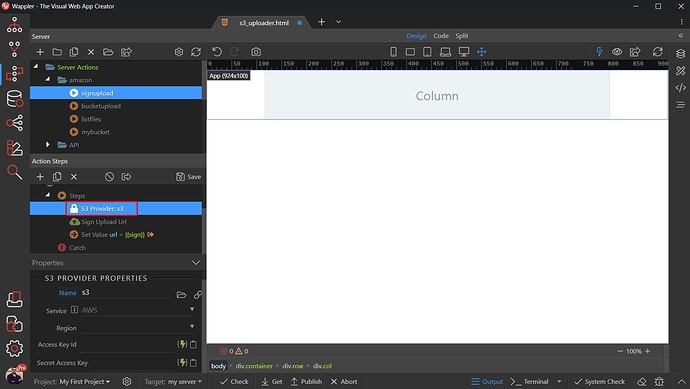
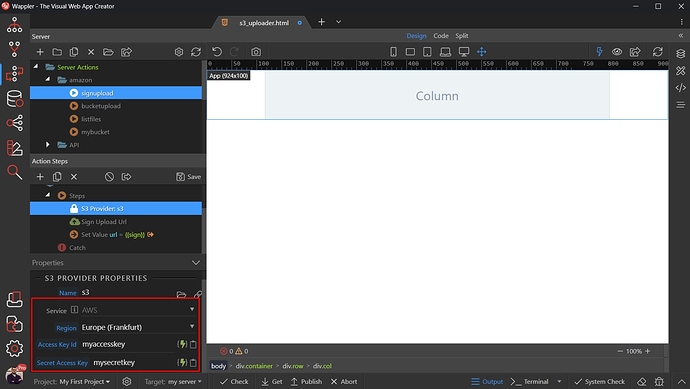
Select the S3 Provider step:

And setup its settings such as Provider (AWS or Digital Ocean), Region and your Access and Secret Keys:

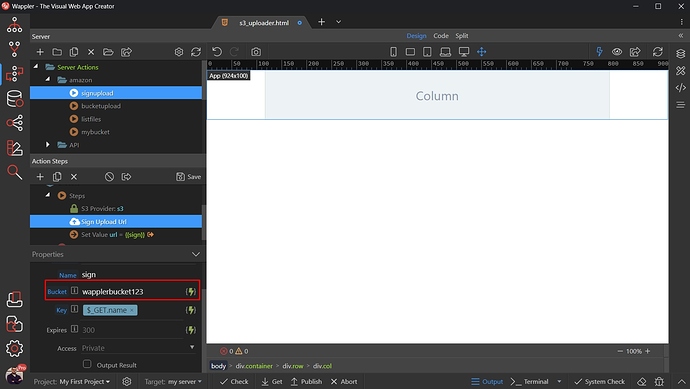
Then click the Sign Upload Step and enter your Bucket name:

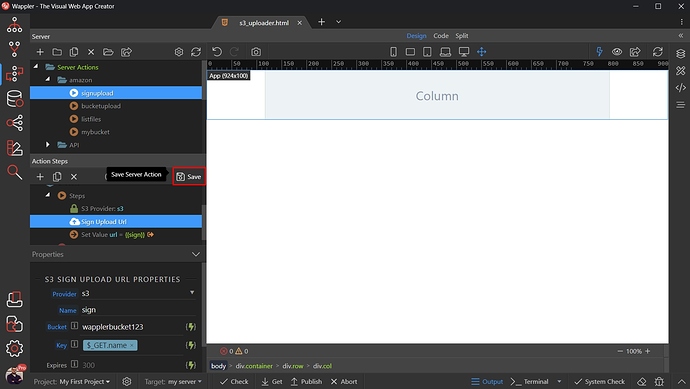
And you are done! Save your server action and close the Server Connect Panel:

Add App Connect S3 Upload on your page

Uploading Single File

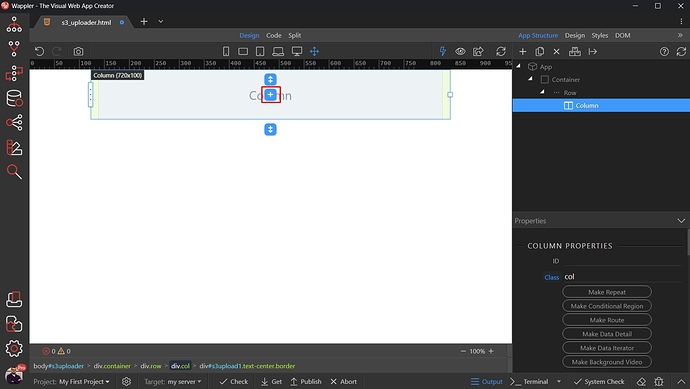
You can add the S3 Upload component, anywhere on your page. It does not require a form, so just
click the Add Element button:

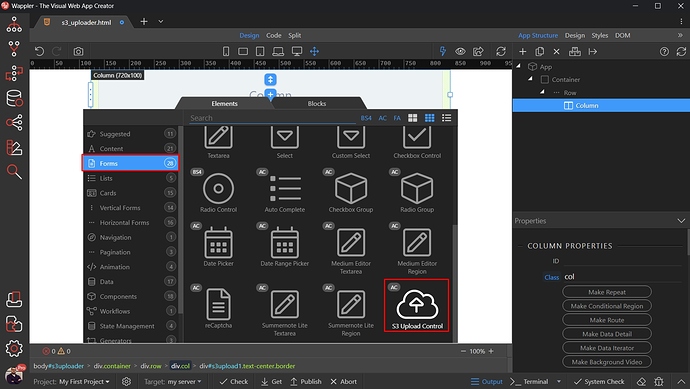
Open Forms and select S3 Upload Control:

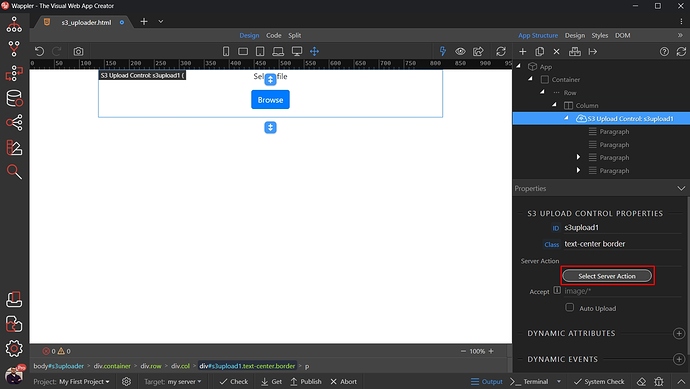
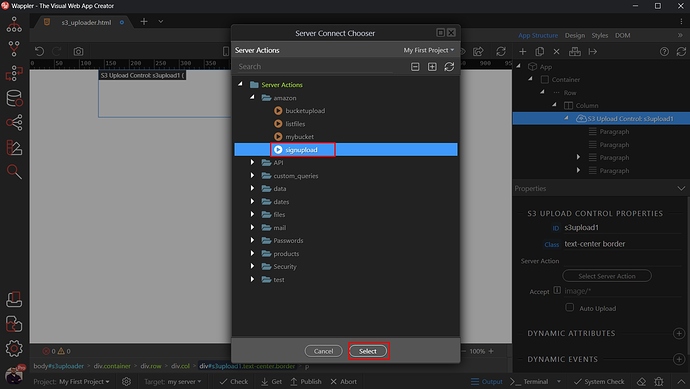
You need to select the Sign Upload Server Action, which we created:

Select it and click the select button:

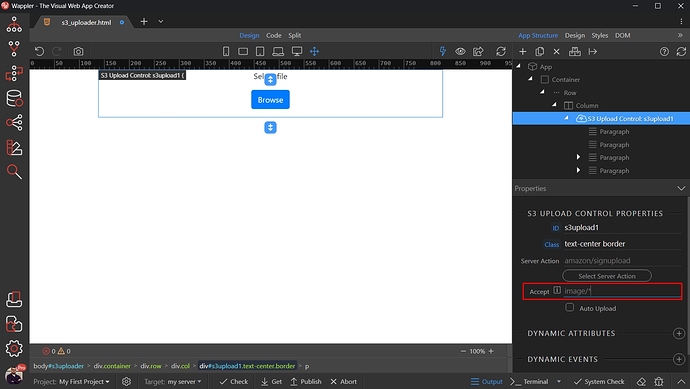
You can add a comma separated list of allowed file extensions, or file types:

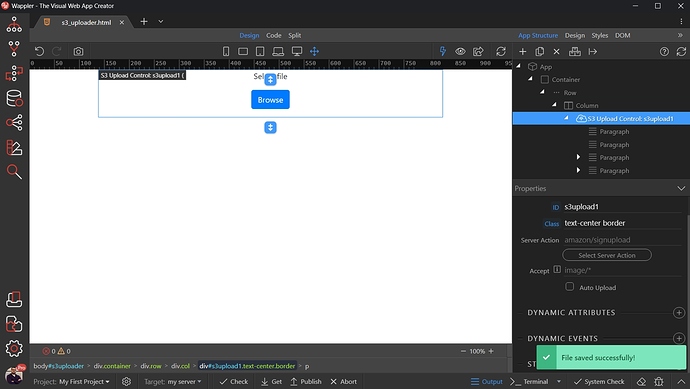
Save your page and you are done:

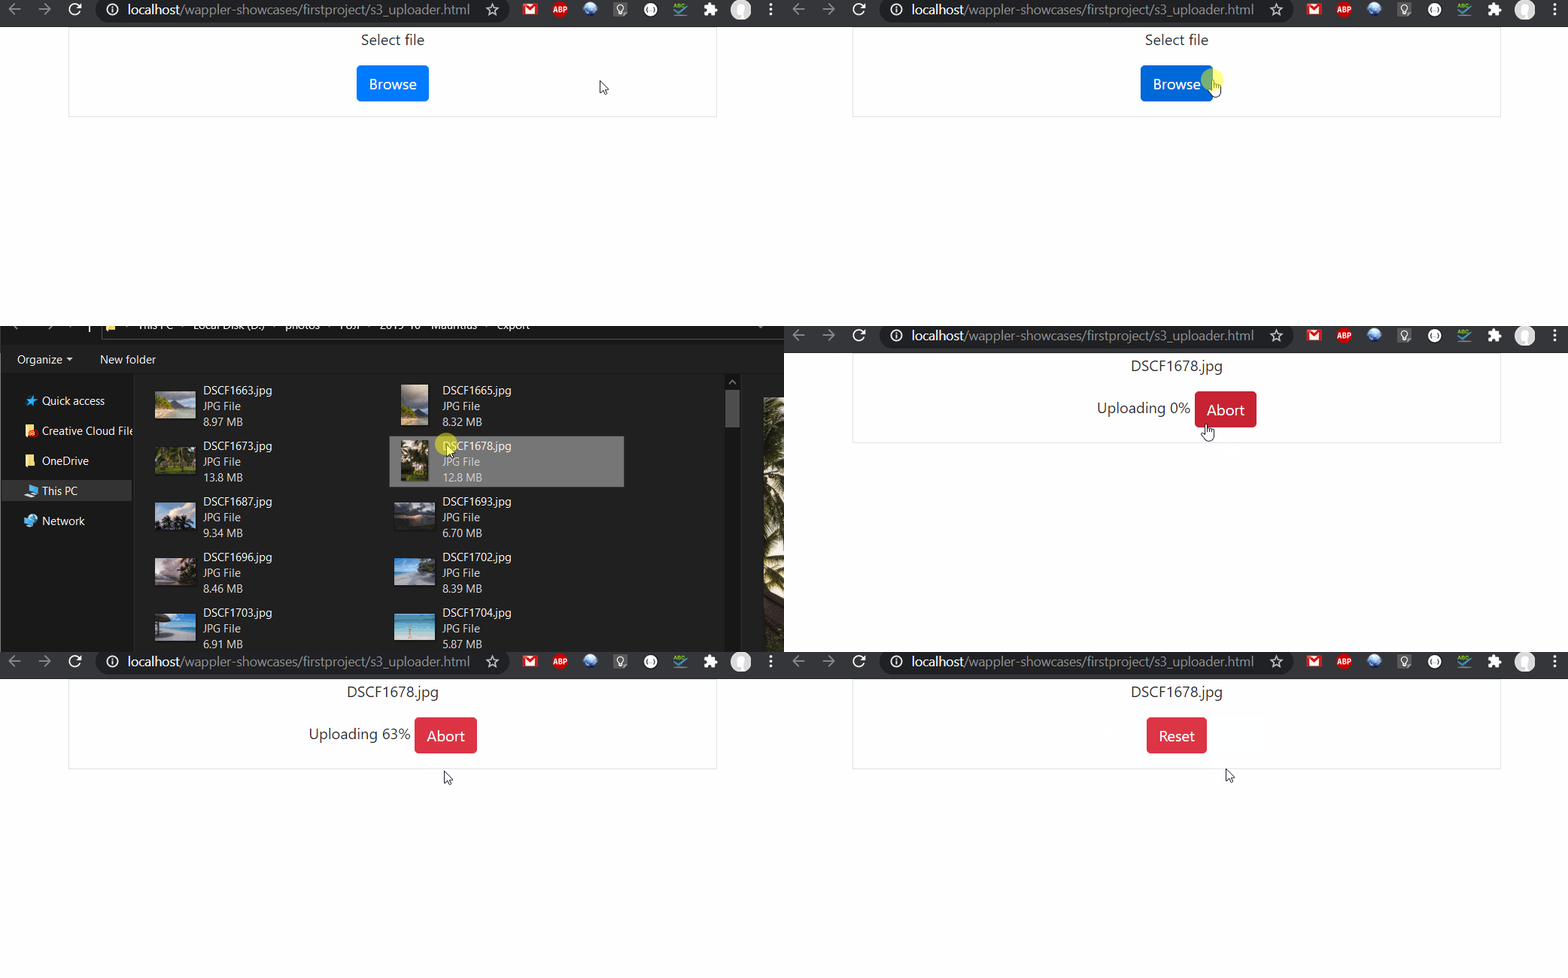
Here’s the result:

Your file has been uploaded to the selected Bucket!

Uploading Multiple Files

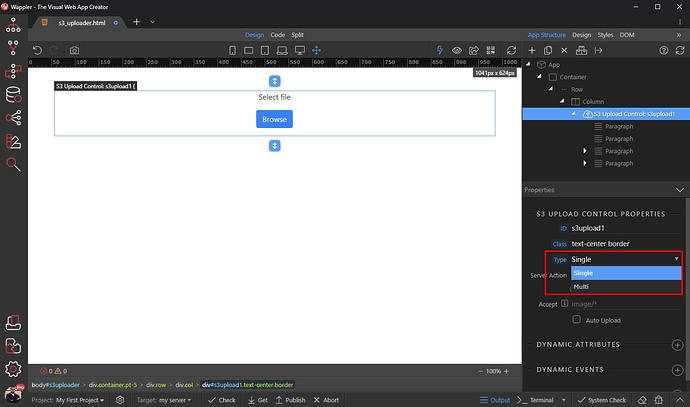
Uploading multiple files to your S3 storage is as easy as uploading a single file. You can either change the S3 Upload Component type from single to multi:

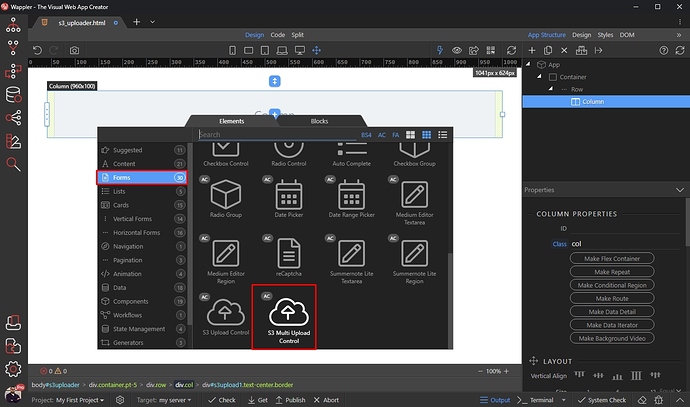
Or insert the S3 Multi Upload Component on the page directly:

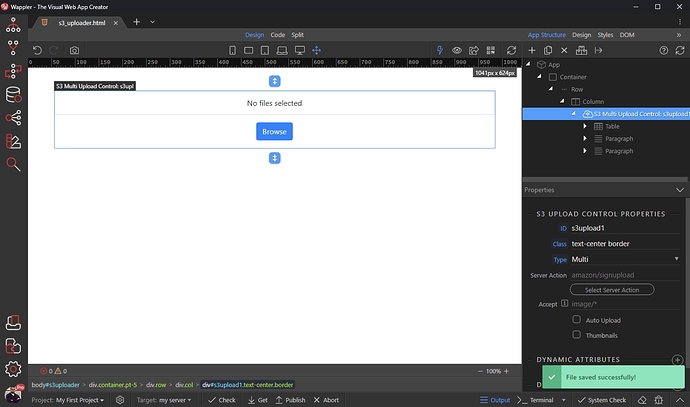
Select your server action, save your page and you are done:
5 Likes

I haven’t tried this yet but can multiple files be selected and uploaded?

Currently it is for single file upload. We will be adding multiple file support later @patrick

2 Likes

Thanks. That’s good to hear. The feature would be of very limited use if it only allowed individual files to be uploaded.

Looks amazing.
Can’t wait to try it out!

This is great!

A few things that would add to this (feel free to move this comment into its correct thread).

Add the following:

  1. Upload multiple files
  2. Create an s3 folder
  3. Add files to selected s3 folder (to facilitate the creation of folders in a s3 bucket)
  4. Zip, download folder / content

A few assumptions - yes I have not had a chance to try it yet.

  • s3 file path can be saved to the database.
  • Can access the files such as images to display using the saved file path.
  • Can download the file using the file path.

Cheers!

Nice work.

are we going to have multiple uploads to S3 in the next update? :thinking:

So many new things coming up, it’s hard to keep everybody happy, but we do our best :slight_smile: @patrick is working on it.

3 Likes

I am always happy. If that counts :slight_smile:

3 Likes

Many thanks, George! I’m sure you do your best! I think you don’t even sleep! LOL

1 Like

Uploading multiple files to S3 is now available in Wappler 3.3.6

4 Likes

Great News !!!

Does it will work also with signed upload or it must pass from the server before ?

Please check the tutorial above :slight_smile: we’ve updated it. It works the same way as single uploads.

1 Like

Sorry… was too happy I didn t see the tutorial you added Teodor…

many thanks… perfect timing with my project :wink:

1 Like

@Teodor,

sorry to disturb…

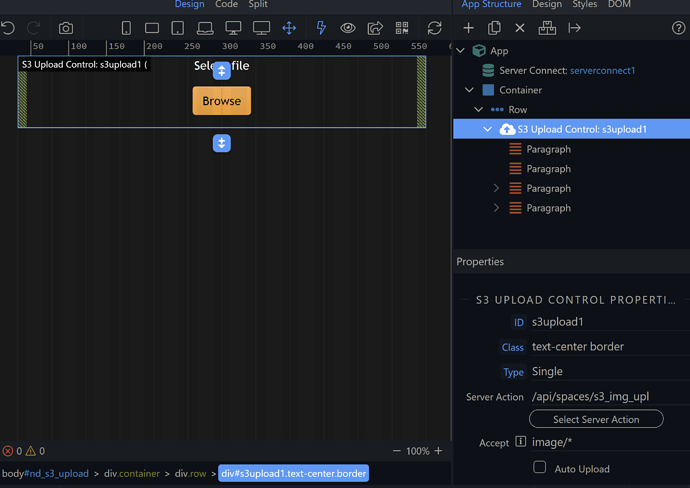
When I add S3 Multi Upload, if SINGLE is selected, it shows the Browse button. If I select MULTI, I got this:

and not buttons

Are you sure you uploaded ALL the files to your server and that you also cleared browser cache?

the cache …

Byt how if I would put the name in a db as I do for single upload ?
Because I saw that data in the table disappears as files are uploaded…

HI!

CORS configuration is not working

I skipped that configuration and tried to upload the file, but when I refresh the bucket the uploaded file doesn’t appear though the upload API seems to work:

signUpload: “https://liquidadorbts.s3.sa-east-1.amazonaws.com/PDFsam_MILAS-%20BTS%20FACT%20Nº%20316.pdf?Content-Type=application%2Fpdf&X-Amz-Algorithm=AWS4-HMAC-SHA256&X-Amz-Credential=AKIA3XJBHWVUFJ6SWKQ6%2F20210401%2Fsa-east-1%2Fs3%2Faws4_request&X-Amz-Date=20210401T132913Z&X-Amz-Expires=300&X-Amz-Signature=d48741e35f6a6aef8324f7bde6cb1e8b80c765808ea5f41d55d1490a5c0144ca&X-Amz-SignedHeaders=host%3Bx-amz-acl&x-amz-acl=public-read

`

@Teodor - I’d like to insert the filename and file date into table after it’s successfully uploaded. I created a database insert API which works by itself. I’ve added the API into my file.

I anticipated attaching this API to the success event on the S3 Upload Control. Just adding the server connect and defined server action into the file there is a record created in the database. I thought that this server connect would need to be called by an event. I’m a bit confused and would appreciated some clarification.

Also please share if there is a better way to do this and where field can I use to get the field name from the posting process?

Thanks in advance,

Hello everyone!

Does the S3 Multi File Upload has a delete button as we have with Dropzone?