Intro
Rate limiting is essential for managing incoming requests to a server, preventing abuse, and ensuring stability. It controls the rate at which users can make requests, typically by setting limits per session or IP address within a set time frame.
Our flexible rate limiting for Server Connect API actions allows you to enable this feature globally, specify duration and points per user/IP, and customize points for logged-in users. You can also adjust points for specific routes and actions, such as consuming more points for failed login attempts to prevent abuse.
NOTE: Rate Limiting is only available for NodeJS
Global Rate Limiting
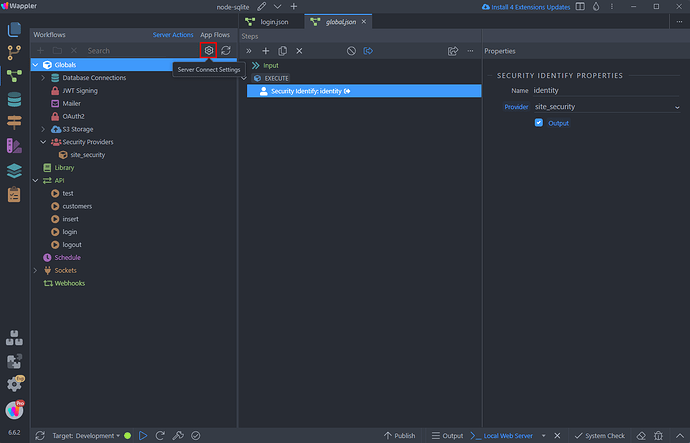
To enable rate limiting open the Server Connect settings:
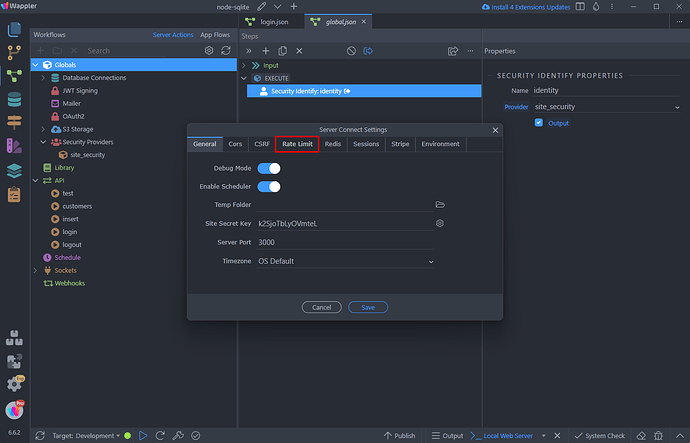
Click Rate Limit:
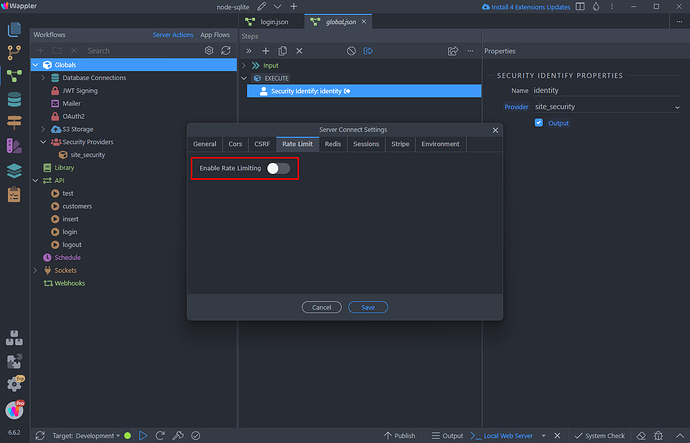
And Enable Rate Limiting:
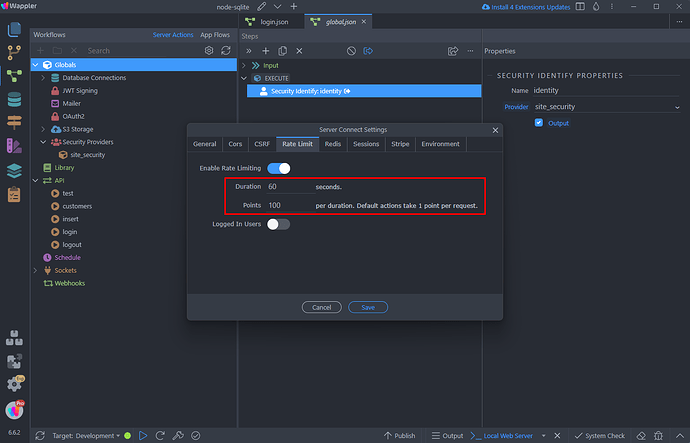
You can see two options here - duration and points. By default one request equals one point, so the user can have as many requests as defined for the specific duration:
Be careful with the limits you set, especially for public facing pages with many server actions on them. For example - If you have 5 server actions that execute on page load, this means each time you request the page, 5 points will be consumed by the user, so set these wisely.
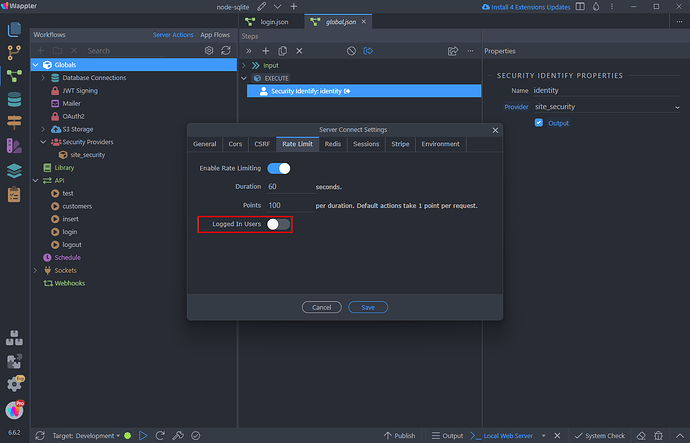
You can se different (more generous) limits for the logged in users on your site. If you choose to set rate limits for them enable the Logged In Users option:
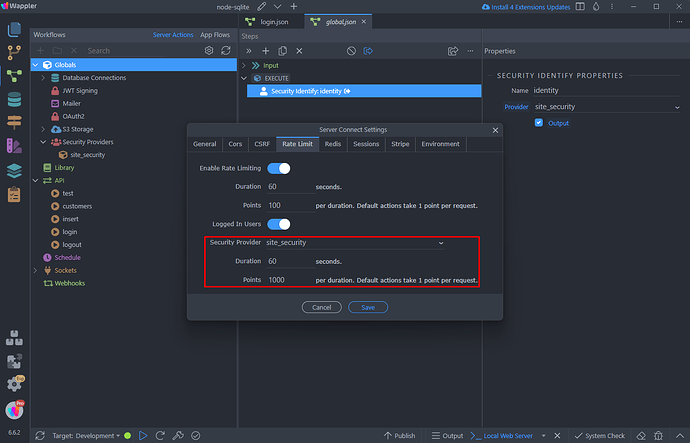
Select the Security Provider used for logging users in and set the duration and limits for them:
Custom Rate Limiters
You can also define custom rate limiters in Server Connect and use them instead of the global one. That's useful when you need to have different rate limits for different actions.
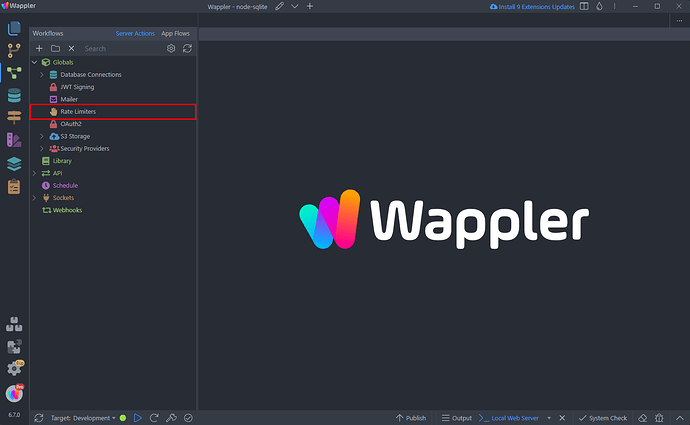
Open Globals in the Server Connect panel and you will see the Rate Limiters:
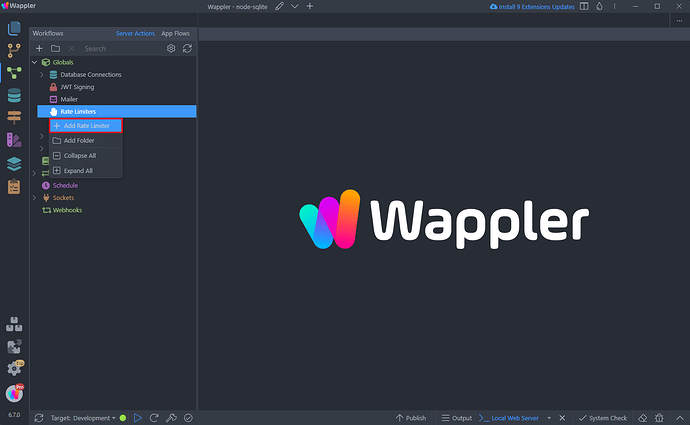
Right click the Rate Limiters and add a new one:
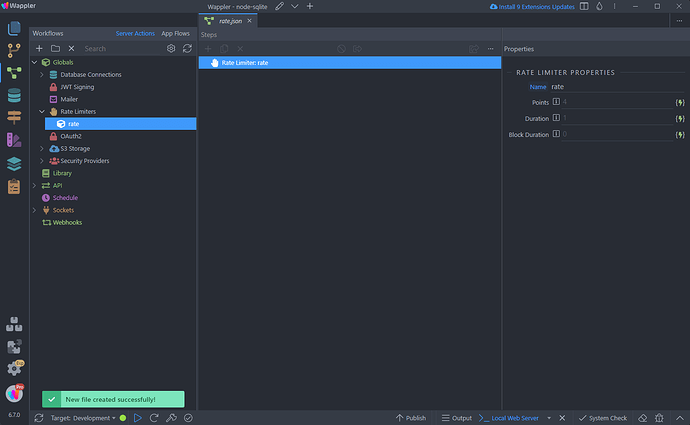
Give the rate limiter a name:
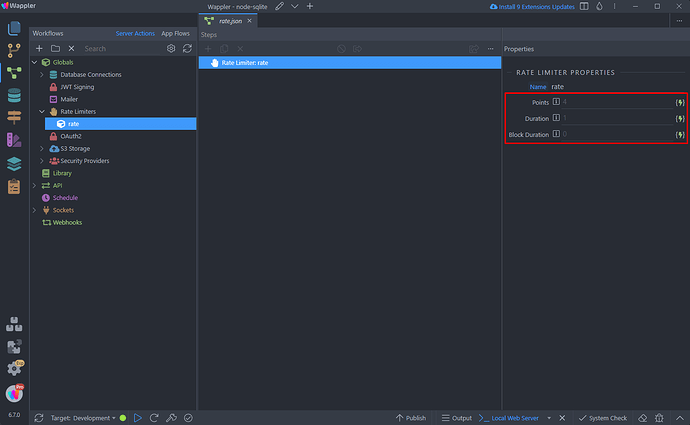
And you can find its properties in the Properties panel. By default one request equals one point, so the user can have as many requests as defined for the specific duration. Here you can also set the block duration (in seconds) - this is the duration that user should be blocked after reaching the limit:
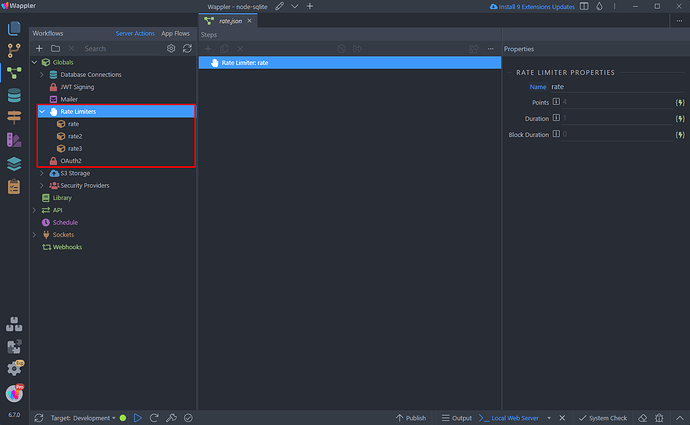
You can define as many custom rate limiters as you need:
Consume Action
You can use the Consume step in your Server Actions to set custom Consume points after specific steps/actions.
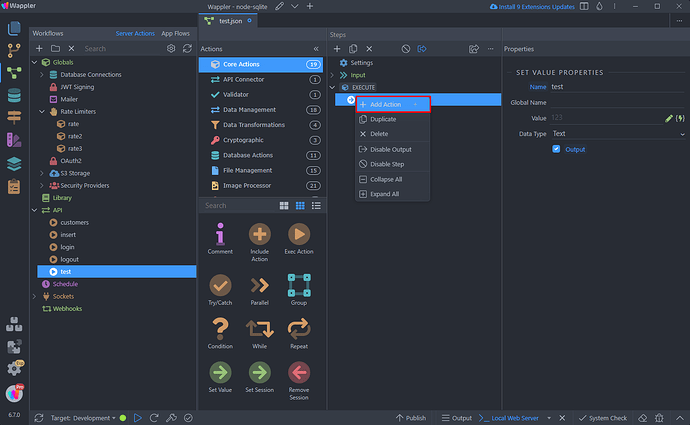
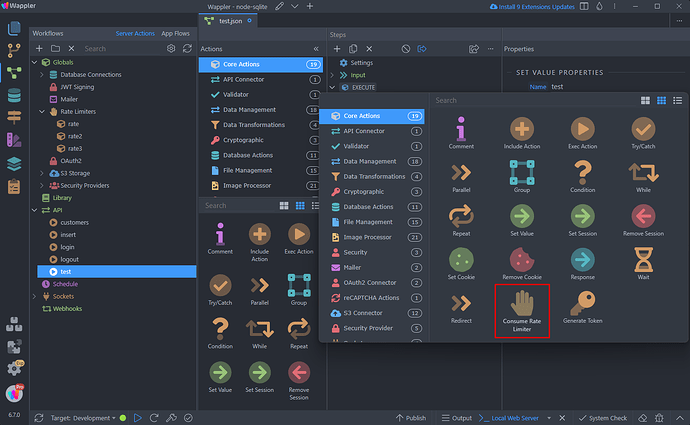
In your server action add a new step, after the step you want to set the custom consume points:
Select Consume Rate Limiter:
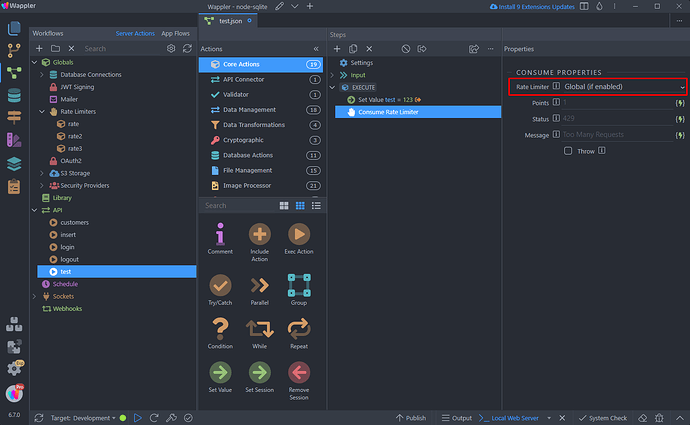
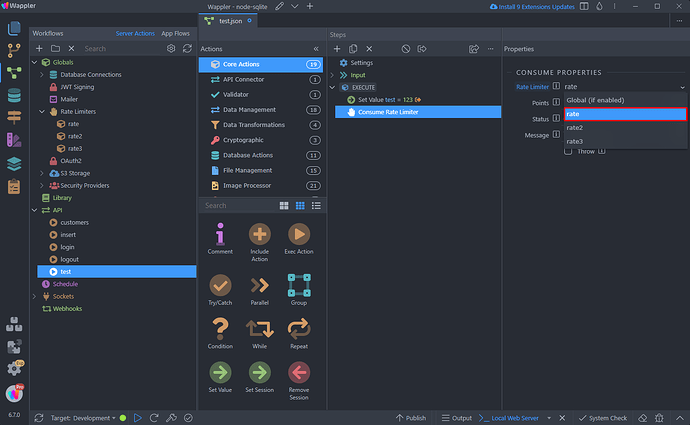
Then select the Rate Limiter which points this step should consume:
This can be the Global one, defined in Server Connect Global Settings or any of the Custom Rate Limiters you create in Server Connect panel:
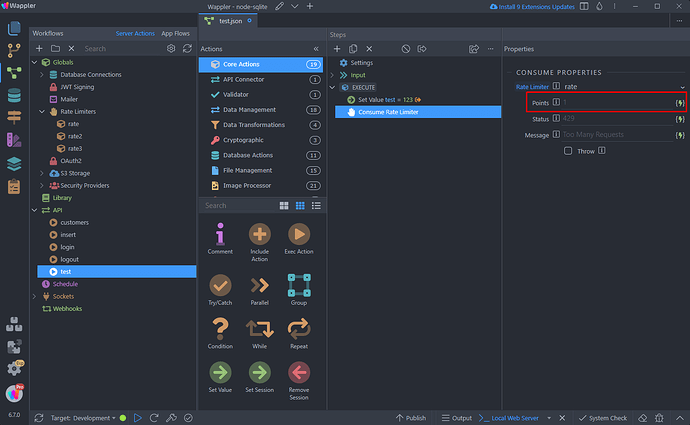
Enter the amount of points this action should consume:
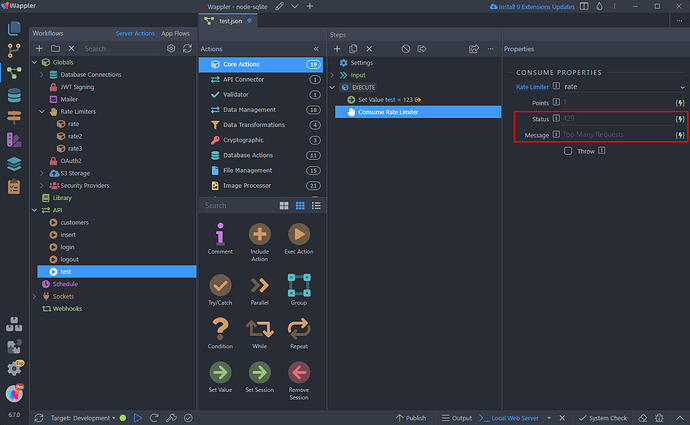
You can enter a status and custom message to be returned, when the rate is exceeded:
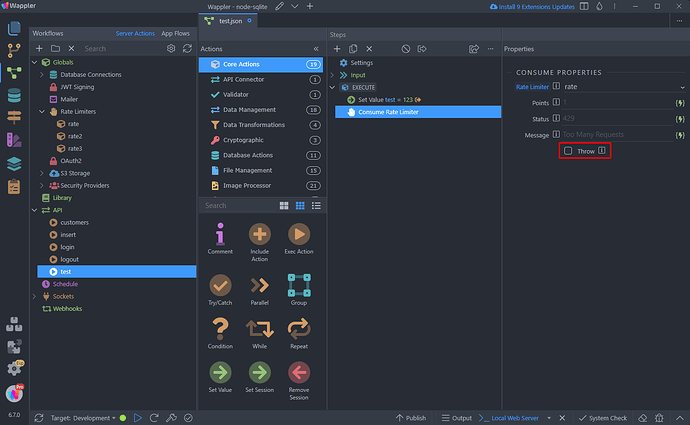
Enable the Throw option to throw an error when the rate limit is exceeded:
Overriding Limits per Route
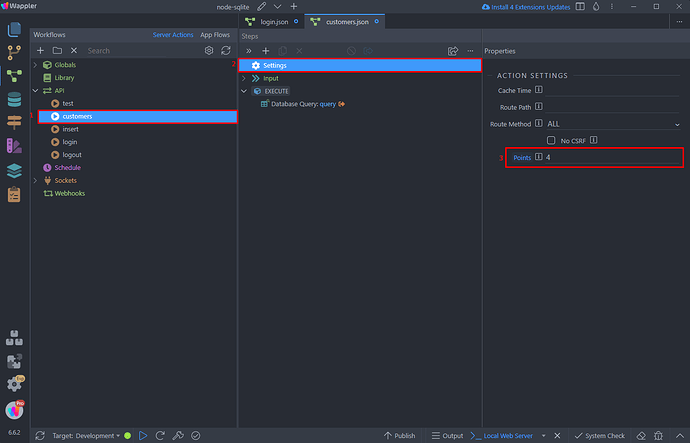
You can override the default Rate Limits per route. All you need to do is to select your Server Action, click Settings and set the amount of points it should consume. Set 0 if you want to disable rate limiting for this server action:
These are the basics of Rate Limiting in Wappler.
