Hi @Teodor thanks for the guide, i’m just a little stuck with how to trigger the action (to open the authorization endpoint) from a button for example. Is my set up correct or something else I need to do?
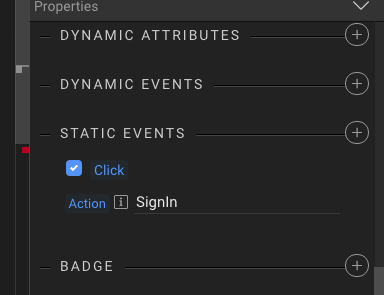
Hi @Teodor thanks for the guide, i’m just a little stuck with how to trigger the action (to open the authorization endpoint) from a button for example. Is my set up correct or something else I need to do?
That’s already been explained in the last few steps of the tutorial, in the “Setting up the login page” part … Please review them.
Oh I see, I was following it in order, you tested the connection with a button click before showing how to do it.
Edit: I realised now you preview the server action not from button.
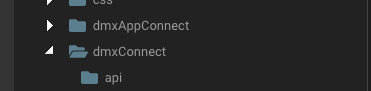
@Teodor in my project folders I don’t have a .php for my server connect action (I am using node.js).
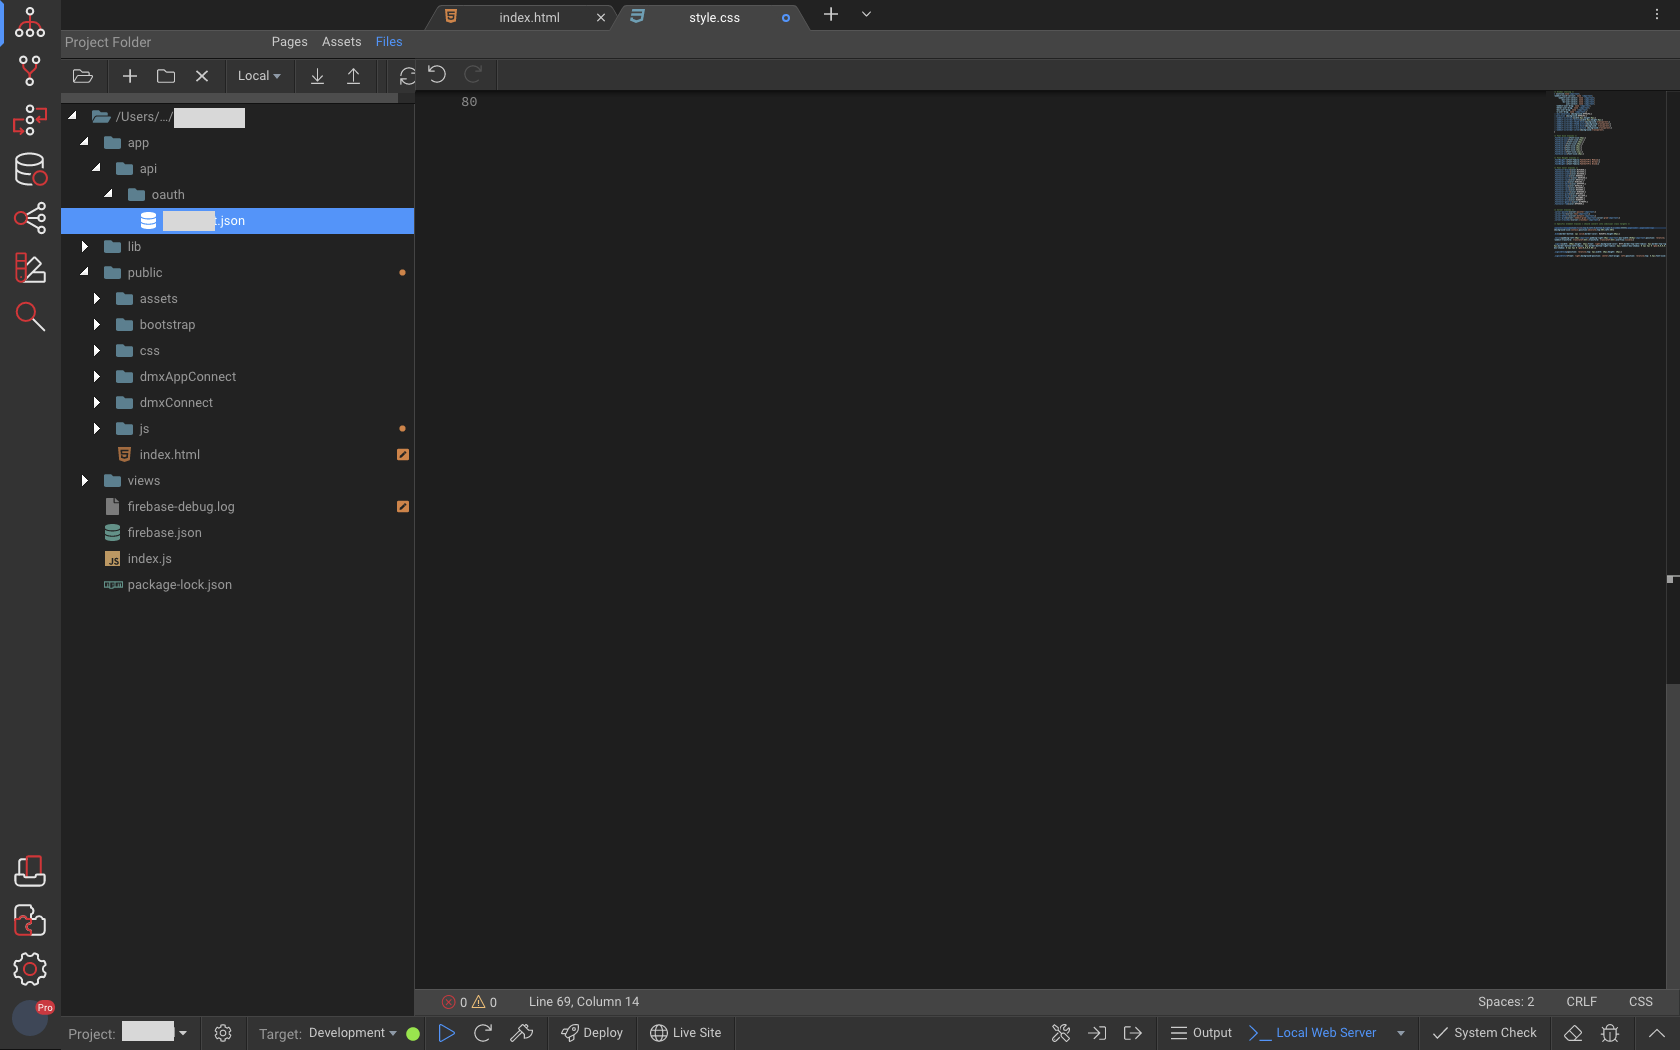
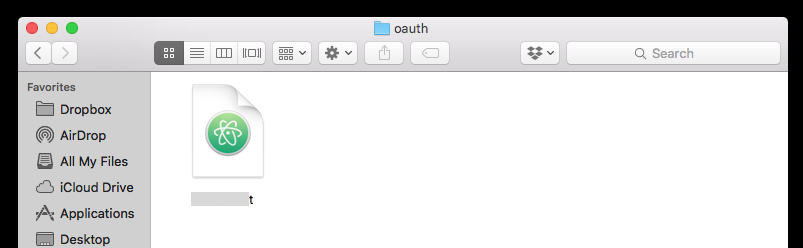
In my project folder/app/api/oauth -> I have the json file serverActionName.json
Then in folder/public/dmxConnect/api/ -> It’s empty.
Should I have a serverActionName.js file in here ^ ?
I want to call the action like this (if it matters):
<div class="signinbtn cursor-pointer" onclick="window.open('dmxConnect/api/?????', '_self');">
This is the path for PHP projects.
For NodeJS projects:
You should be using an anchor button, which links to /api/server_action like:
<a class="btn btn-primary" href="/api/server_action">My Button</a>
where server_action is the name of your server action in order to call it.
What is the path for node.js projects
Please read my last reply - the path is shown there.
But i dont have any action there
What do you mean?
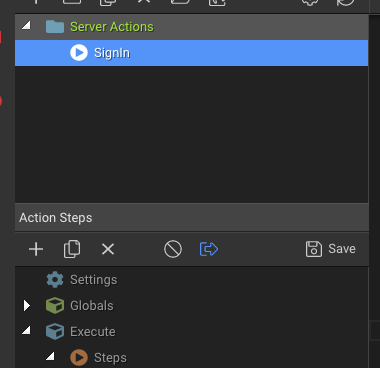
You have created the server action in Server Connect, following the tutorial - right?
It only gives me a json file.
Did you create the server action in Server Connect panel as explained in the Tutorial or no?
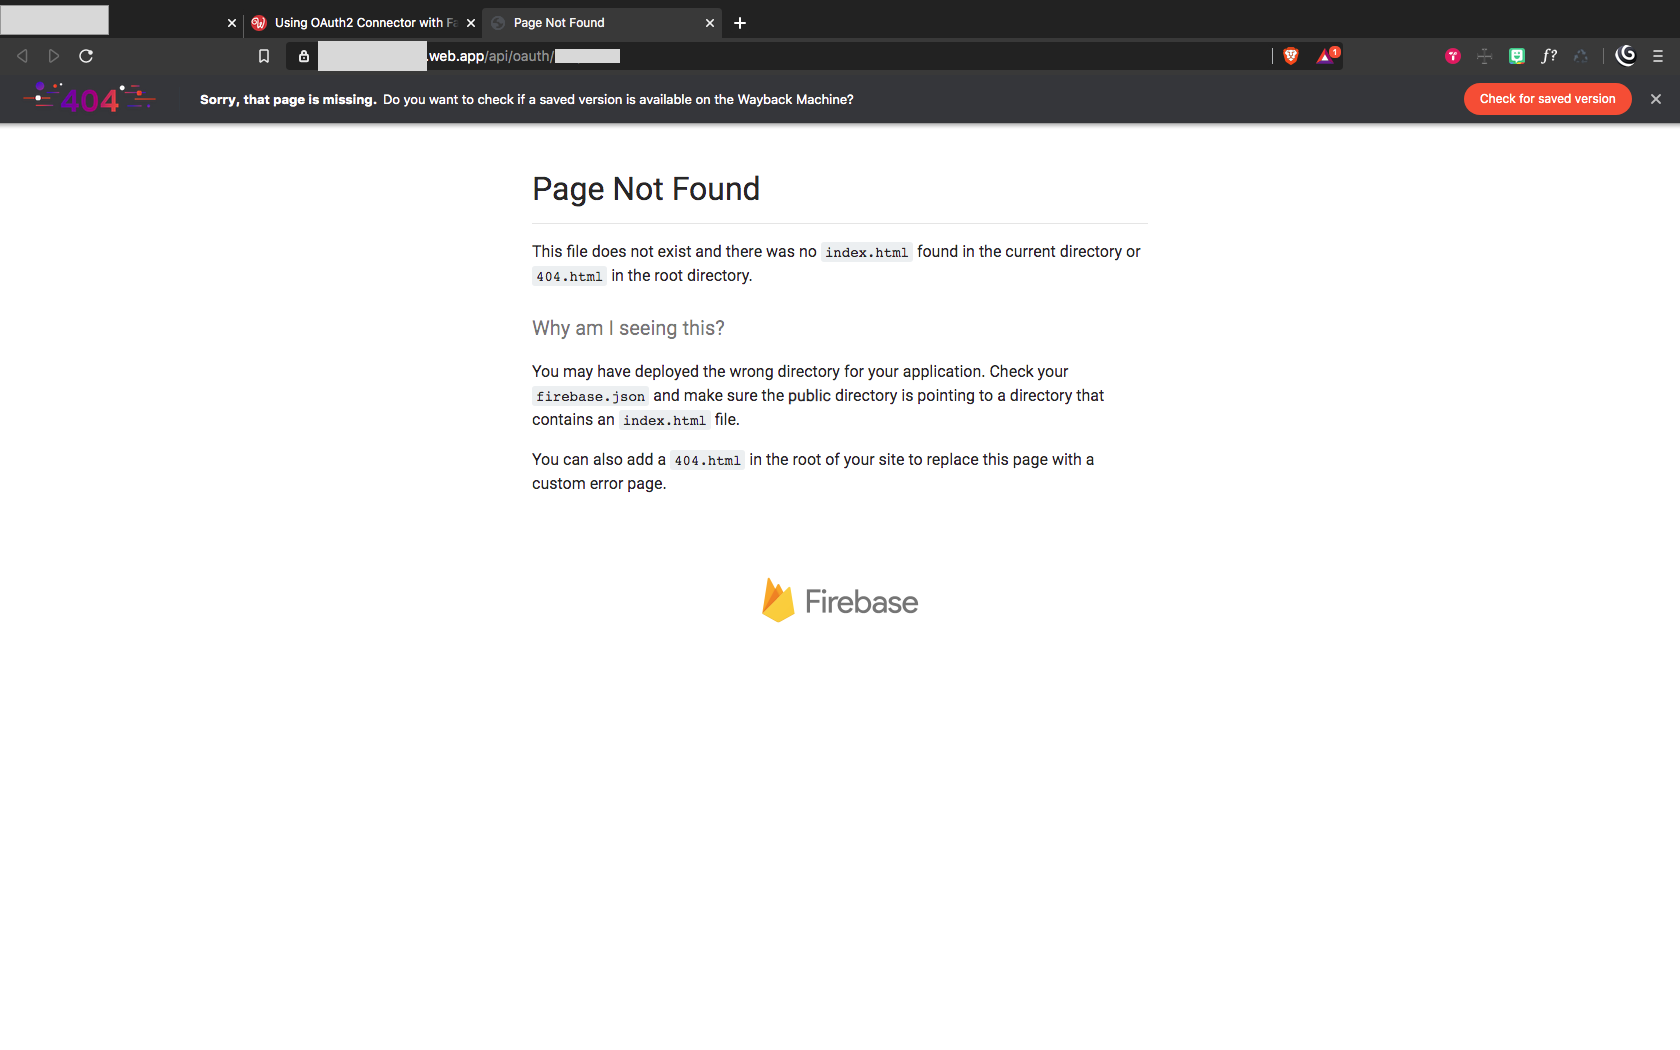
Yes I followed the tutorial exactly many times. The only file output is json, which contains my secret key. The first time I did the tutorial you exposed this file in the /public folder.
So, as you have created the server action as per the tutorial, in order to run it on your page do the following:
Why should I be using an anchor? I don’t like the styling for bootstrap links, onclick js event seems fine to me, does the same task.
app/api/oauth/server_actionName.json
This is all I have ^ is that correct? what should the output file extension be called?
Because it needs to be loaded this way! Please just follow the tutorial exactly as it is explained. If you don't like the anchor styling - modify it using css...
I already explained in previous post what the link should be:
href="api/oauth/server_actionName"
So it has no extension name? like in your PHP demo it has .php
If so I don’t have that it’s just a json file as I already explained in my previous post.
It must be entered exactly as i provided it in my example. No php, no other extension in the href link!
What you don't have exactly? You already said you have the server action created, now you are saying you don;t have it ... sorry but your posts are really confusing.
It's really simple - just do exactly as i explained in my post above, if there are extensions needed to be added i will add them to my example. If extensions are not required i will not add them.
My example is exactly how it should be entered in the href of an anchor, please take a look at it.
Does this help you? I find the guide confusing sorry, since you say its a .php file that I need to point to. It’s not really simple for me, also this guide doesnt cover a custom flow for things like headers and response parameters.
I have a second api folder, should that be deleted?
The tutorial shows this for a PHP project. For a nodejs project the files don't have .php extensions. Also the routes are automatically created so you don't need extension added.
Copying this once again:
In your case:
<a class="btn btn-primary" href="/api/oauth/your_server_action">My Button</a>
replace your_server_action with the server action name. No extensions, just the name as listed in Server Connect panel.
No, don't delete anything generated by Wappler. You should not be dealing with files like that, especially if you don't know what exactly you are doing.