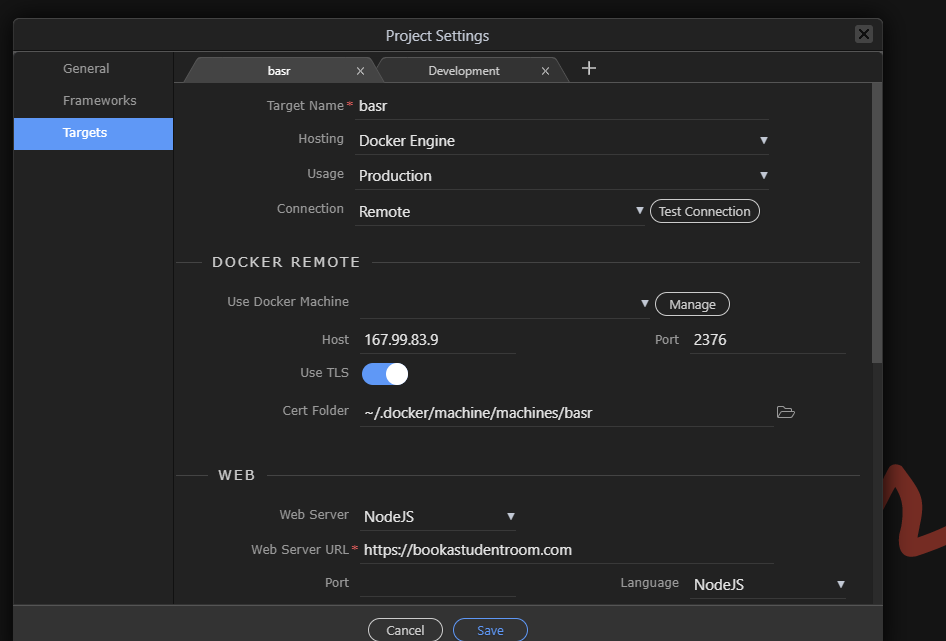
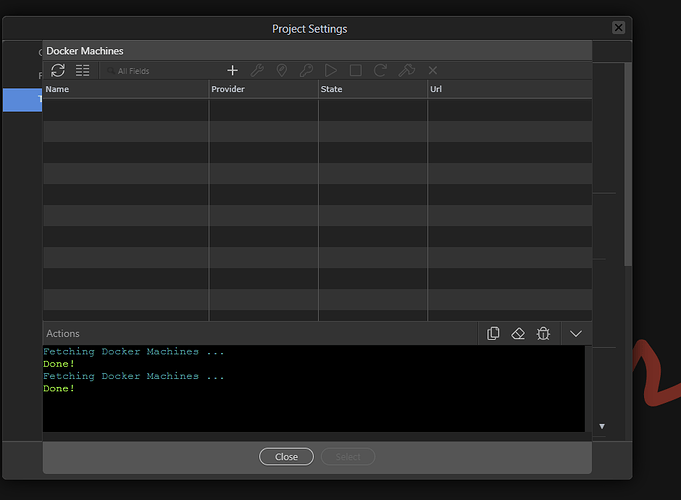
Well the recovery procedure turned out to be not that simple. So use it in extreme cases only.
Here is the docker machine recovery procedure more explained.
Always create a snapshot backup first
Before starting doing dangerous things like this always create a snapshot of your server first, so you can easily just restore it if something bad goes wrong.
You can do that easily in the Digital Ocean admin panel.
Using SSH Keys
Just for the info, login in to remote servers (ie droplets) is currently done with SSH and SSH keys as passwords.
So to fully access your server, you just need it to let it know your SSH key. You usually generate one single SSH key for your self that you use on all your servers.
Your own SSH key
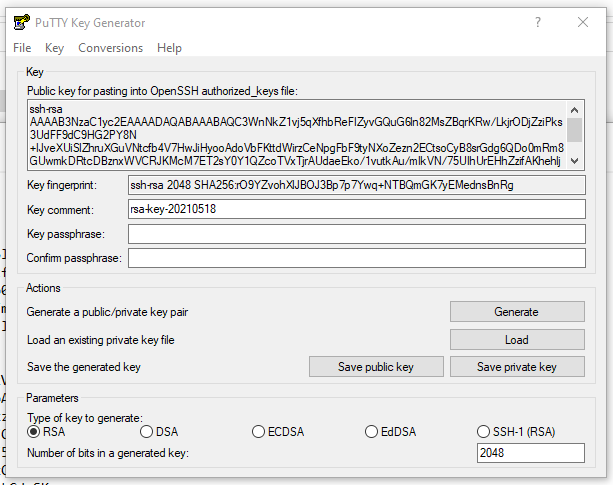
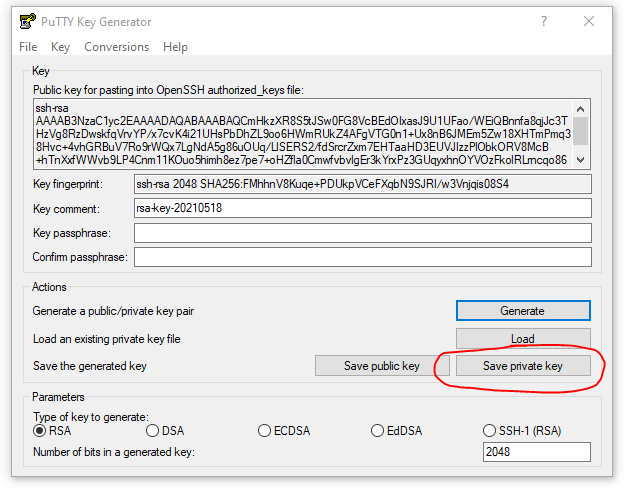
So first step is to create your own SSH key if you don’t already have one. It is usually stored in ~/.ssh/id_rsa (where ~ is your user folder)
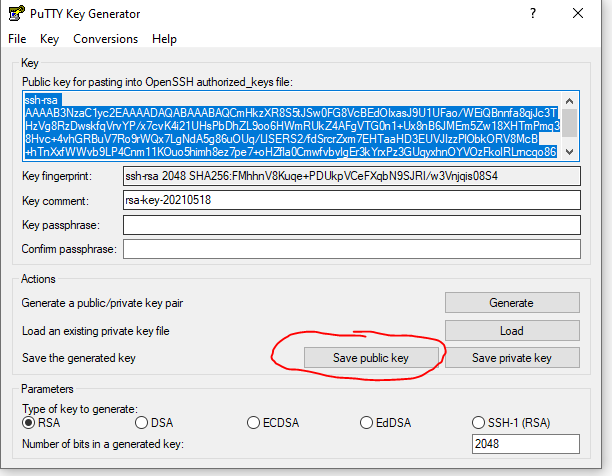
The key consist of two parts, private and public, private is file with just the name: id_rsa and public is the file id_rsa.pub
So the public you need to upload to your server to get it to knows you.
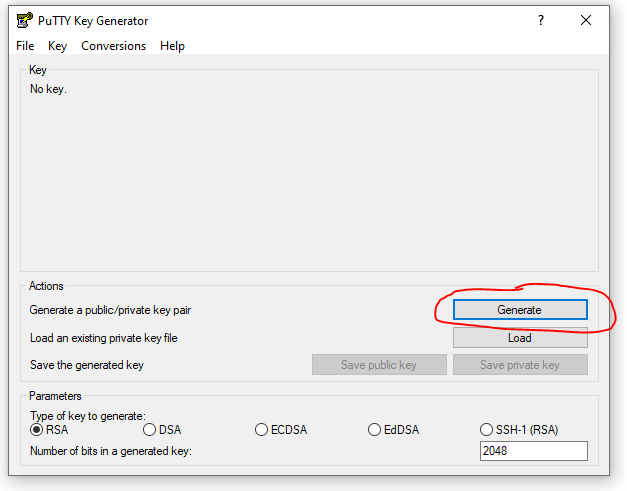
To generate your own key you can:
for Windows:
For Mac:
Accessing your droplet
If you don’t have a root password for this droplet, you need to reset it first - do note this will shortly reboot your droplet.
If you got a new password per email - just use ctrl+v to paste it, it works in the console
Then you can call the console and login in it.
Adding your SSH key
So to let the server knows your self, you need to add your SSH public key to its text file called ~/.ssh/authorized_keys
The easiest way to do this, when you are logged in on a terminal is to copy and paste that.
So just open your own local id_rsa.pub that you might have generated above, in a text editor locally and copy its contents first.
it looks something like:
ssh-rsa AAAAB3NzaC1yc2EAAAADAQxxxxxxxxxxxxxxxxxxxxxxxxxxxxxxxxxxxxxxxx user@yourpc
So then go back to the server console and start with echo " then paste the key with ctrl+v:
and add " >> ~/.ssh/authorized_keys
so the totaly should look like:
echo "ssh-rsa AAAAB3NzaC1yc2EAAAADAQxxxxxxxxxxxxxxxxxxxxxxxxxxxxxxxxxxxxxxxx user@yourpc" >> ~/.ssh/authorized_keys
this will add your key at the end.
To check you can enter:
cat ~/.ssh/authorized_keys
and you should see your key at the end
So now your key is known to the server, so you can login with any ssh terminal to it directly.
But also you can now create the docker-machine import
Creating a new docker machine config based on your server
So now that your server knows about your and you can access it with SSH, we can recreate the docker machin config.
So go to your user folder .ssh and open a terminal (or powershell there.
Check if you have the docker-machine command available by typing it:
docker-machine
We only need the docker-machine command for the recreation of the config, so if you don’t have it, download it from https://github.com/docker/machine/releases/ and place it in the current folder. Make sure it is called docker-machine (with .exe if you are on windows). You can delete it afterwards when done.
Then enter:
docker-machine create --driver generic --generic-ip-address=YOUR_DROPLET_IP --generic-ssh-user root --generic-ssh-key id_rsa YOUR_DOCKER_MACHINE_NAME
where your_DROPLET_IP is the ip adress of your droplet and the YOUR_DOCKER_MACHINE_NAME is how the docker machine used to be called.
\As you are in the .ssh folder, this will use your current id_rsa key that you assigned in the steps above.
Note: your docker machine name should be exactly the same as it used to be.
This will reconnect with docker on your server and reinstall it. Existing data will be kept.
Deploy again.
To get your server fully running again, you need to open your wappler project and redeploy it
Once done - everything should be running as it should and you will have again full control.
Conclusion
You should always make backup of your docker machines settings. Those are the keys to your servers. They are located in ~.docker/machine/machines (where ~is your user folder)
