Intro
You can add images to the Tagify select lists and tags, also you can add secondary text to the results in the select list. You can specify the images size and customize the secondary text.
Custom Content
The custom content can be added to your Tagify to enrich the standard select lists. In our example we will show you how to add avatars and emails to the users list.
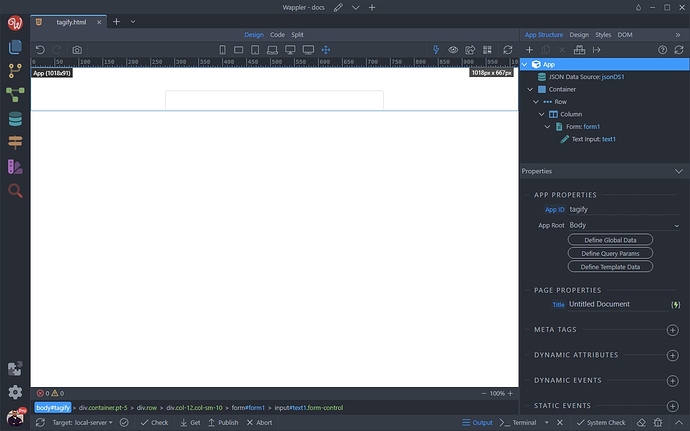
First let’s add Tagify on our page. We added a standard text field on the page:
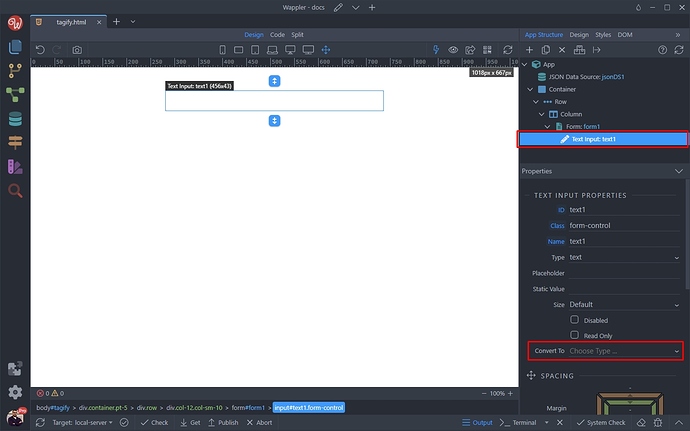
Select the text field and open the Convert To menu:
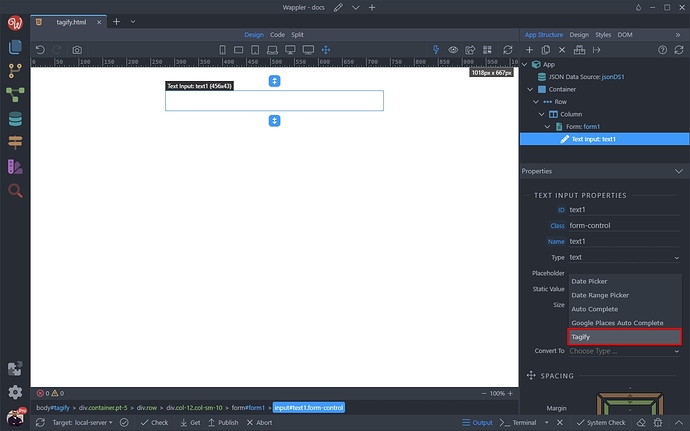
Select Tagify:
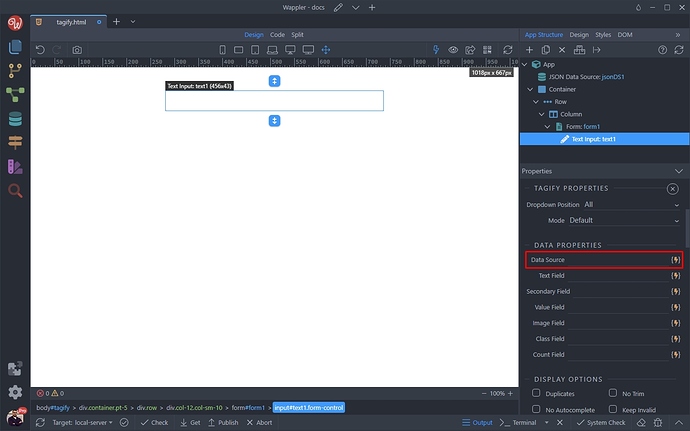
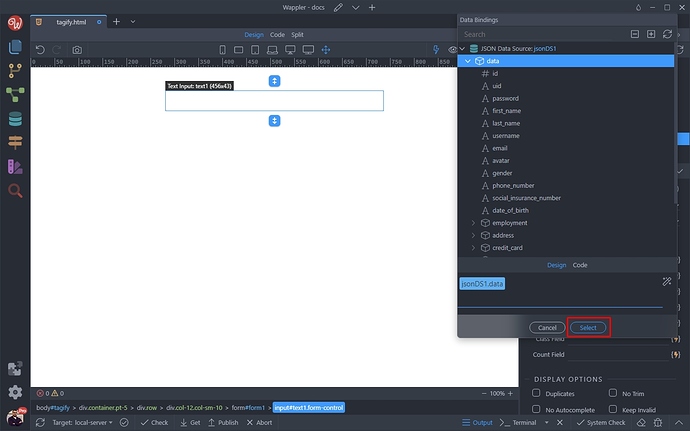
Then select your data source:
In our case we are using a JSON data source, but this can be any data source - for example data from your database:
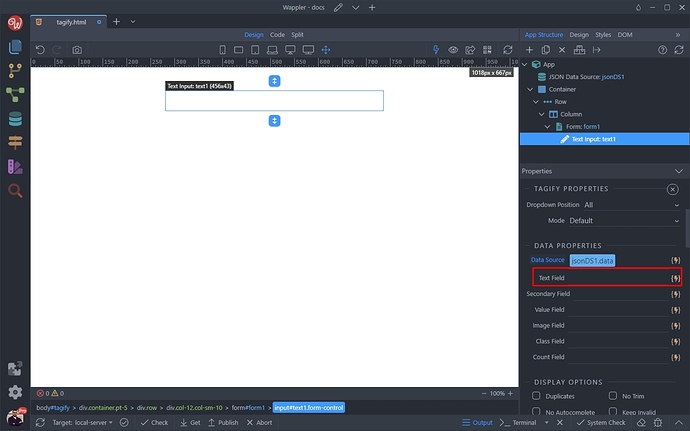
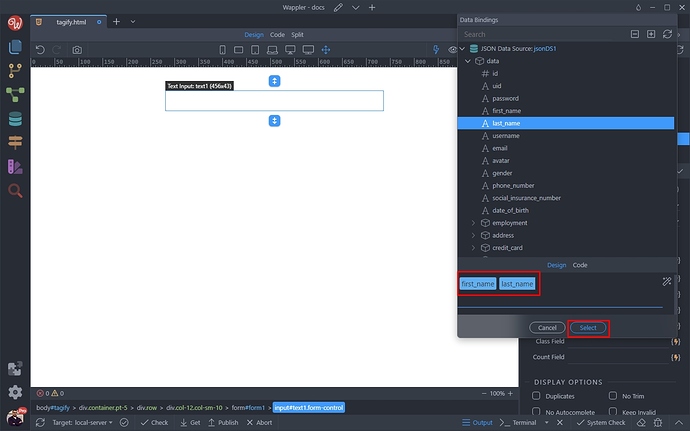
Then select the data for the Text Field - this is the text displayed to the user in the list and in the tag:
We select first name and last name from our data source:
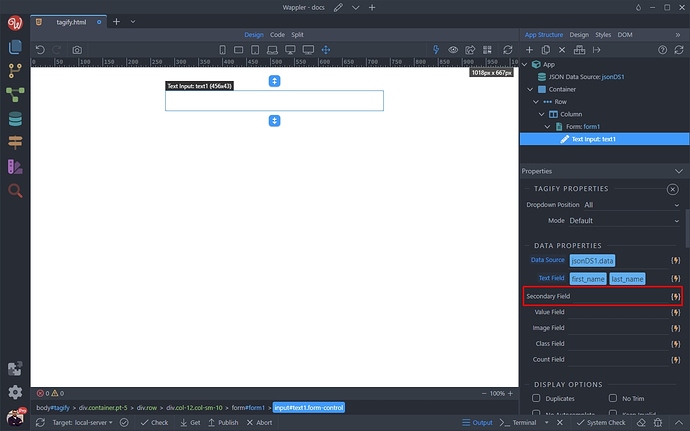
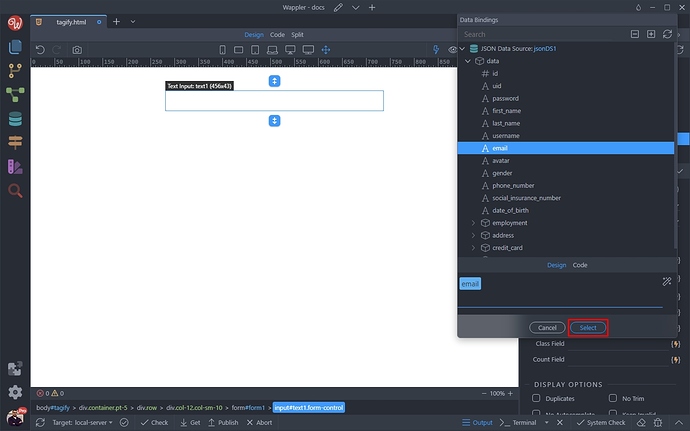
The Secondary text will appear in the Tagify List under the Text we just selected. The secondary text is optional and not mandatory:
We select the user’s email as a secondary text:
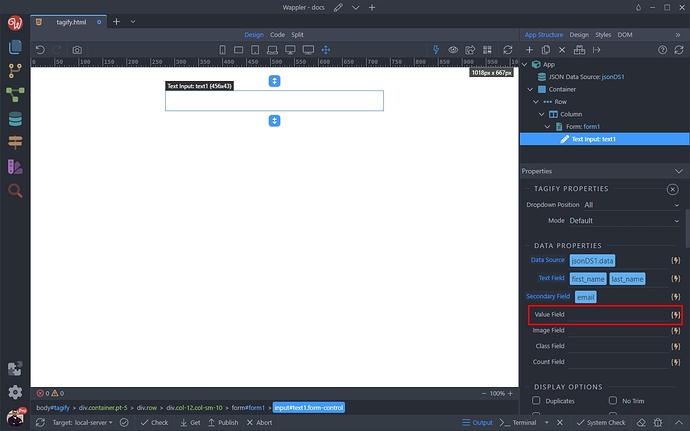
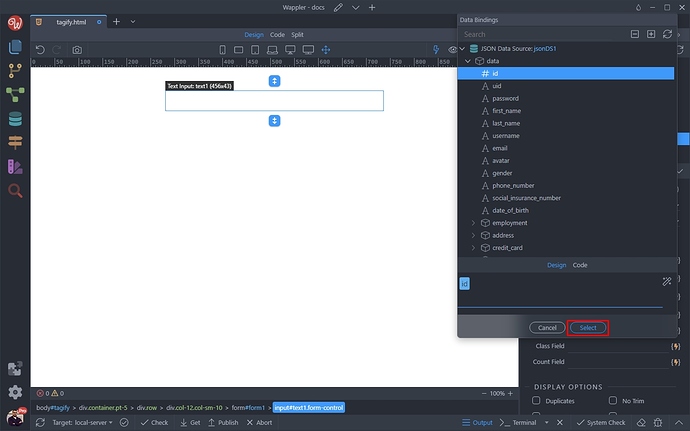
Then select a value. This is the value you want to send when your form is submitted, usually an unique record id:
We select the id returned from our data source:
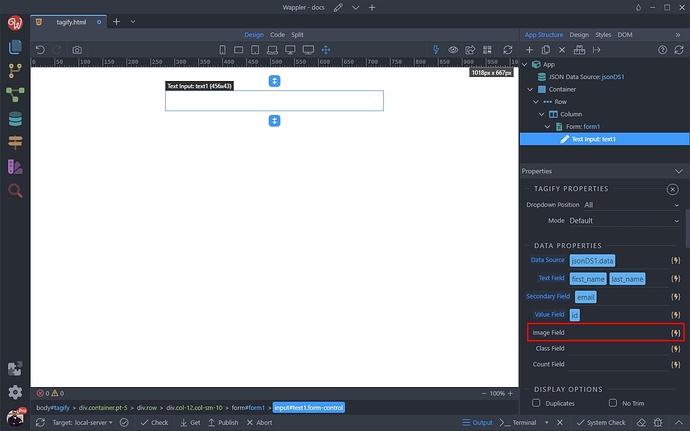
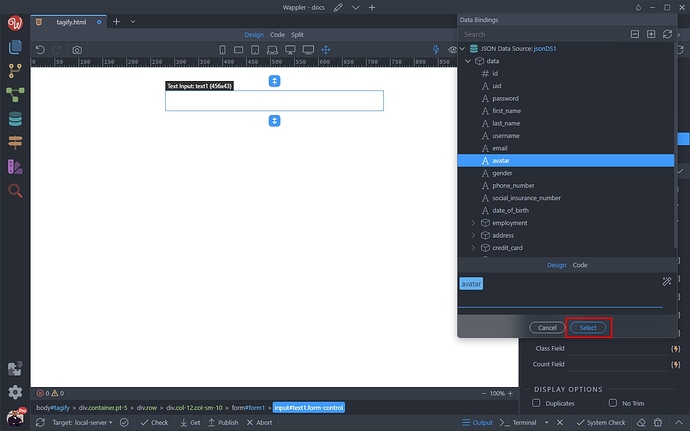
And then we add the image. It will appear on the left side of the record in the list and in the tag inside the Tagify input:
We select the avatar binding, returned by our data source:
Let’s see the results. You can see the avatars and the second text we added:
Customizing Images and Text
You can customize the images and secondary text we just added. There are separate options for tags and dropdown list items.
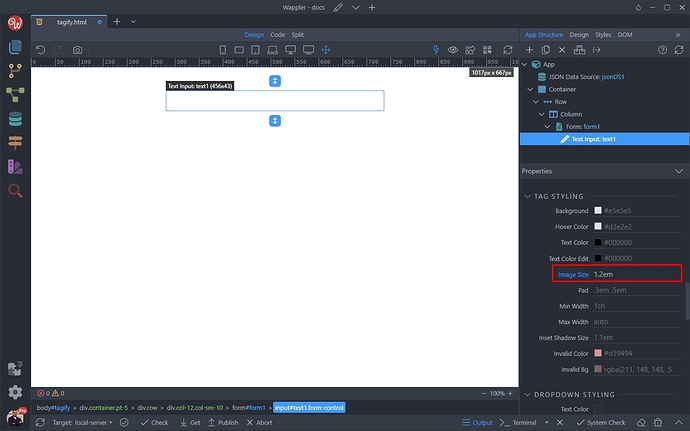
Scroll down the properties inspector until you reach the Tag Styling options.
Here you can change the default Image Size value:
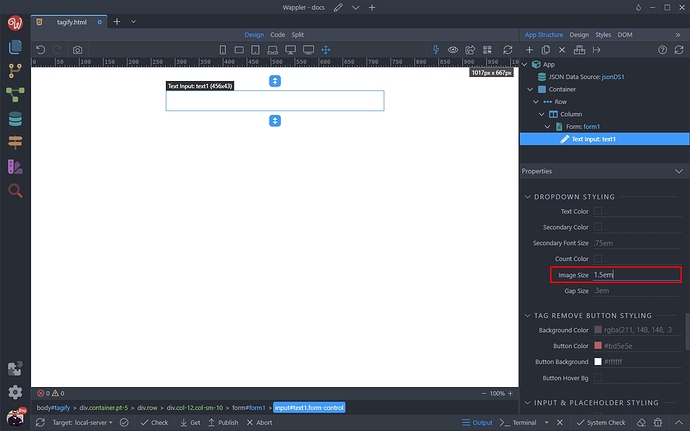
Scrolling further down you will find the Dropdown Styling options. Here you can change the default value for the image inside the dropdown list:
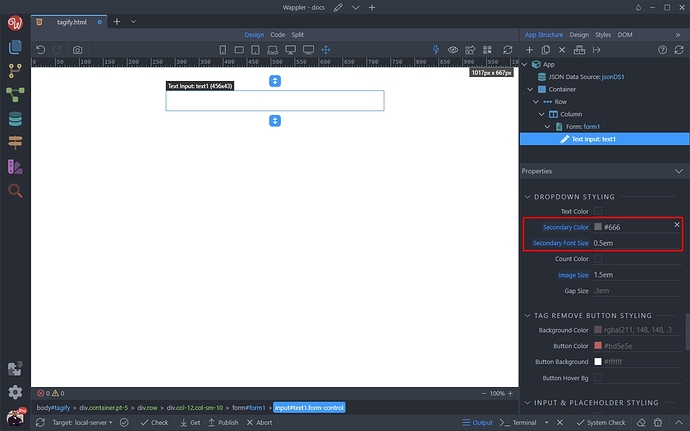
Also, you can change the size and color of the Secondary Text:
You can see the results below. The avatars are bigger and the secondary text is smaller and in different color:
