Intro
Welcome to your first Wappler project!
In this tutorial, you’ll take your very first steps with Wappler by setting up a local NodeJS project with a SQLite database. You’ll create a simple database table, add some sample data, and then display that data on a web page visually, without writing any code.
This guide is designed for absolute beginners. You don’t need any prior experience with databases or back-end development - Wappler handles the heavy lifting, while you focus on building.
What You’ll Build
In this tutorial you’ll create a simple Product List application:
- Setup a local NodeJS project with SQLite as the database.
- Create a
productstable and add some sample data. - Build a server-side API to fetch the data.
- Display the products on a page in a generated Bootstrap table.
By the end, you’ll have a fully working app that shows live data from a database on your page.
Creating a New Project
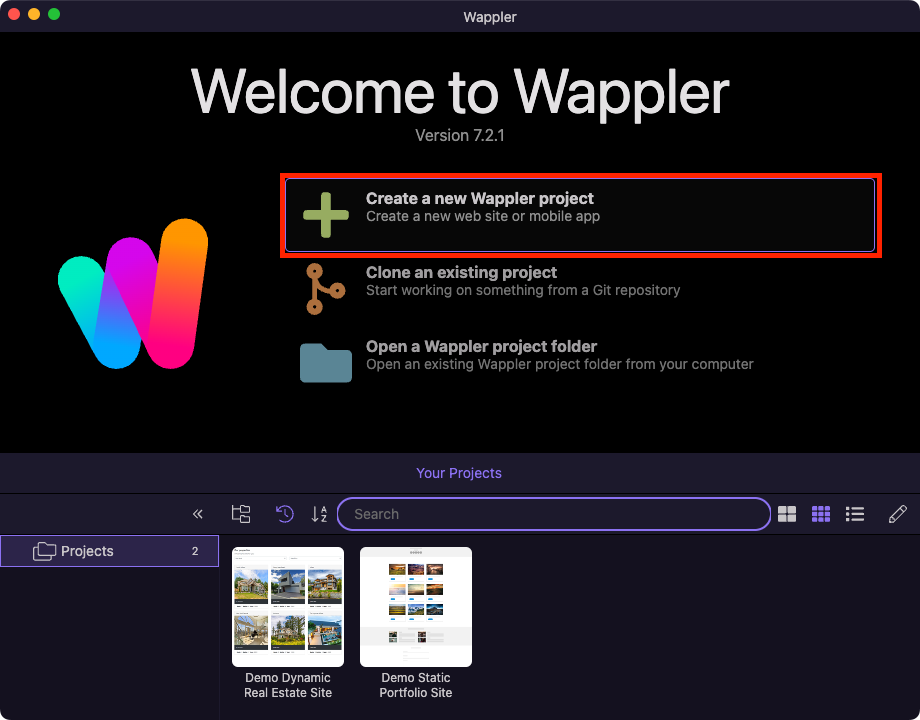
When you open Wappler for the first time, you will see the following window:

Here you can create a new project, clone an existing project from a Git repository, or open an existing Wappler project from a folder on your computer.
Since this is your first project, select Create a New Wappler Project:
Select Web > Blank Project:

Enter a project name:
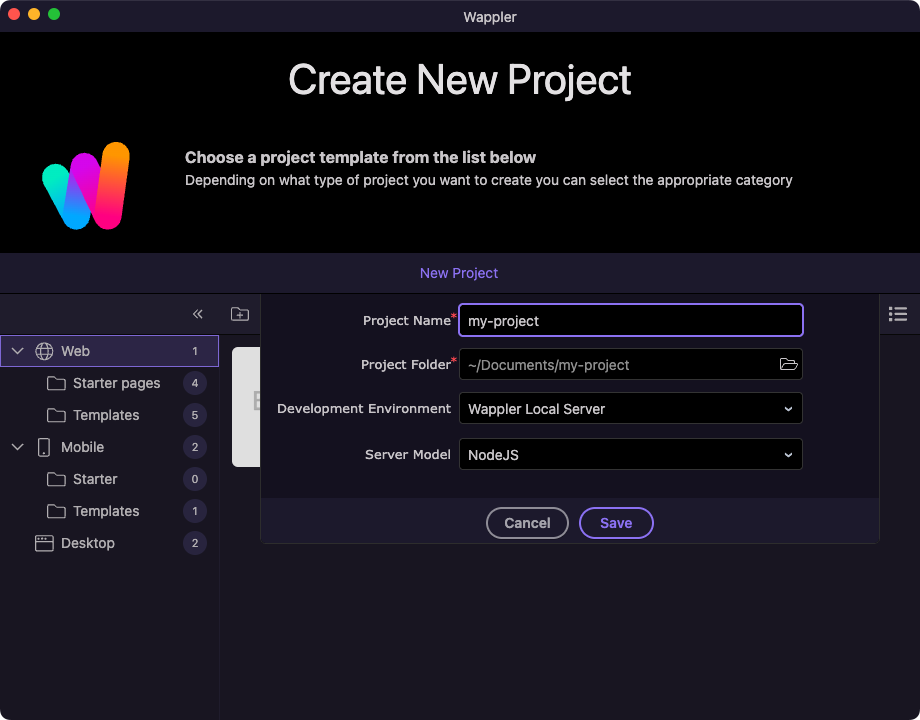
By default, the project folder is set to your Documents folder. You can change this if needed.
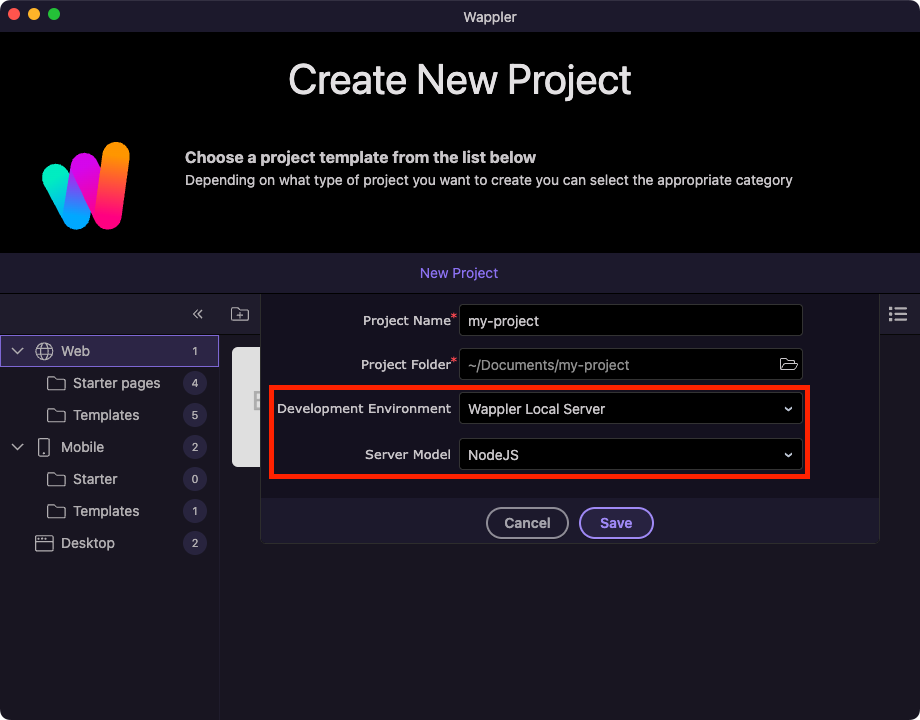
For the environment and server model, select:
- Wappler Local Server for the Development Environment
- NodeJS for the Server Model
Click Save:
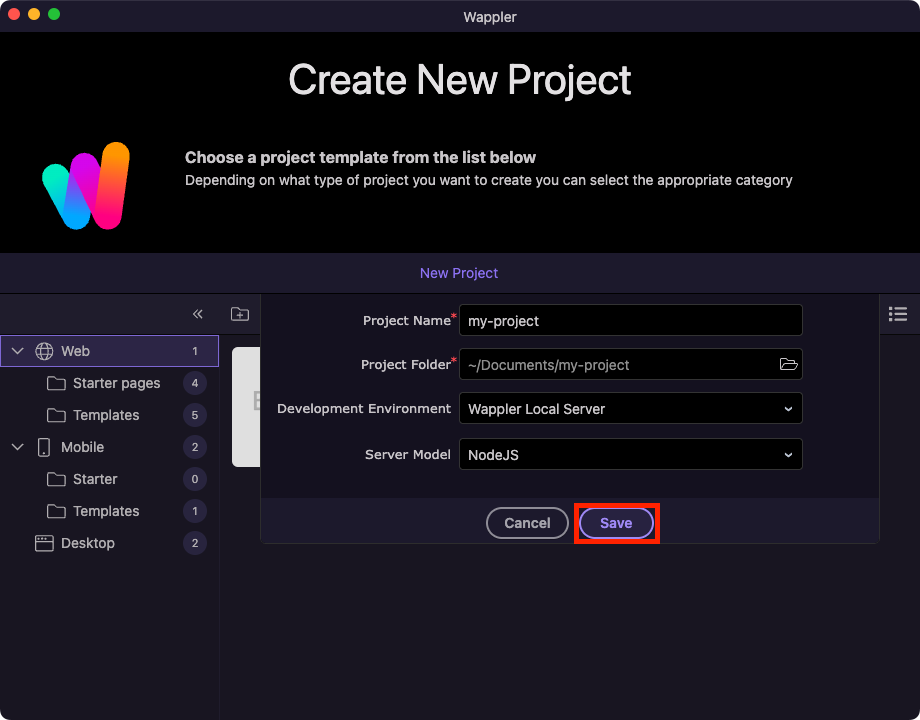
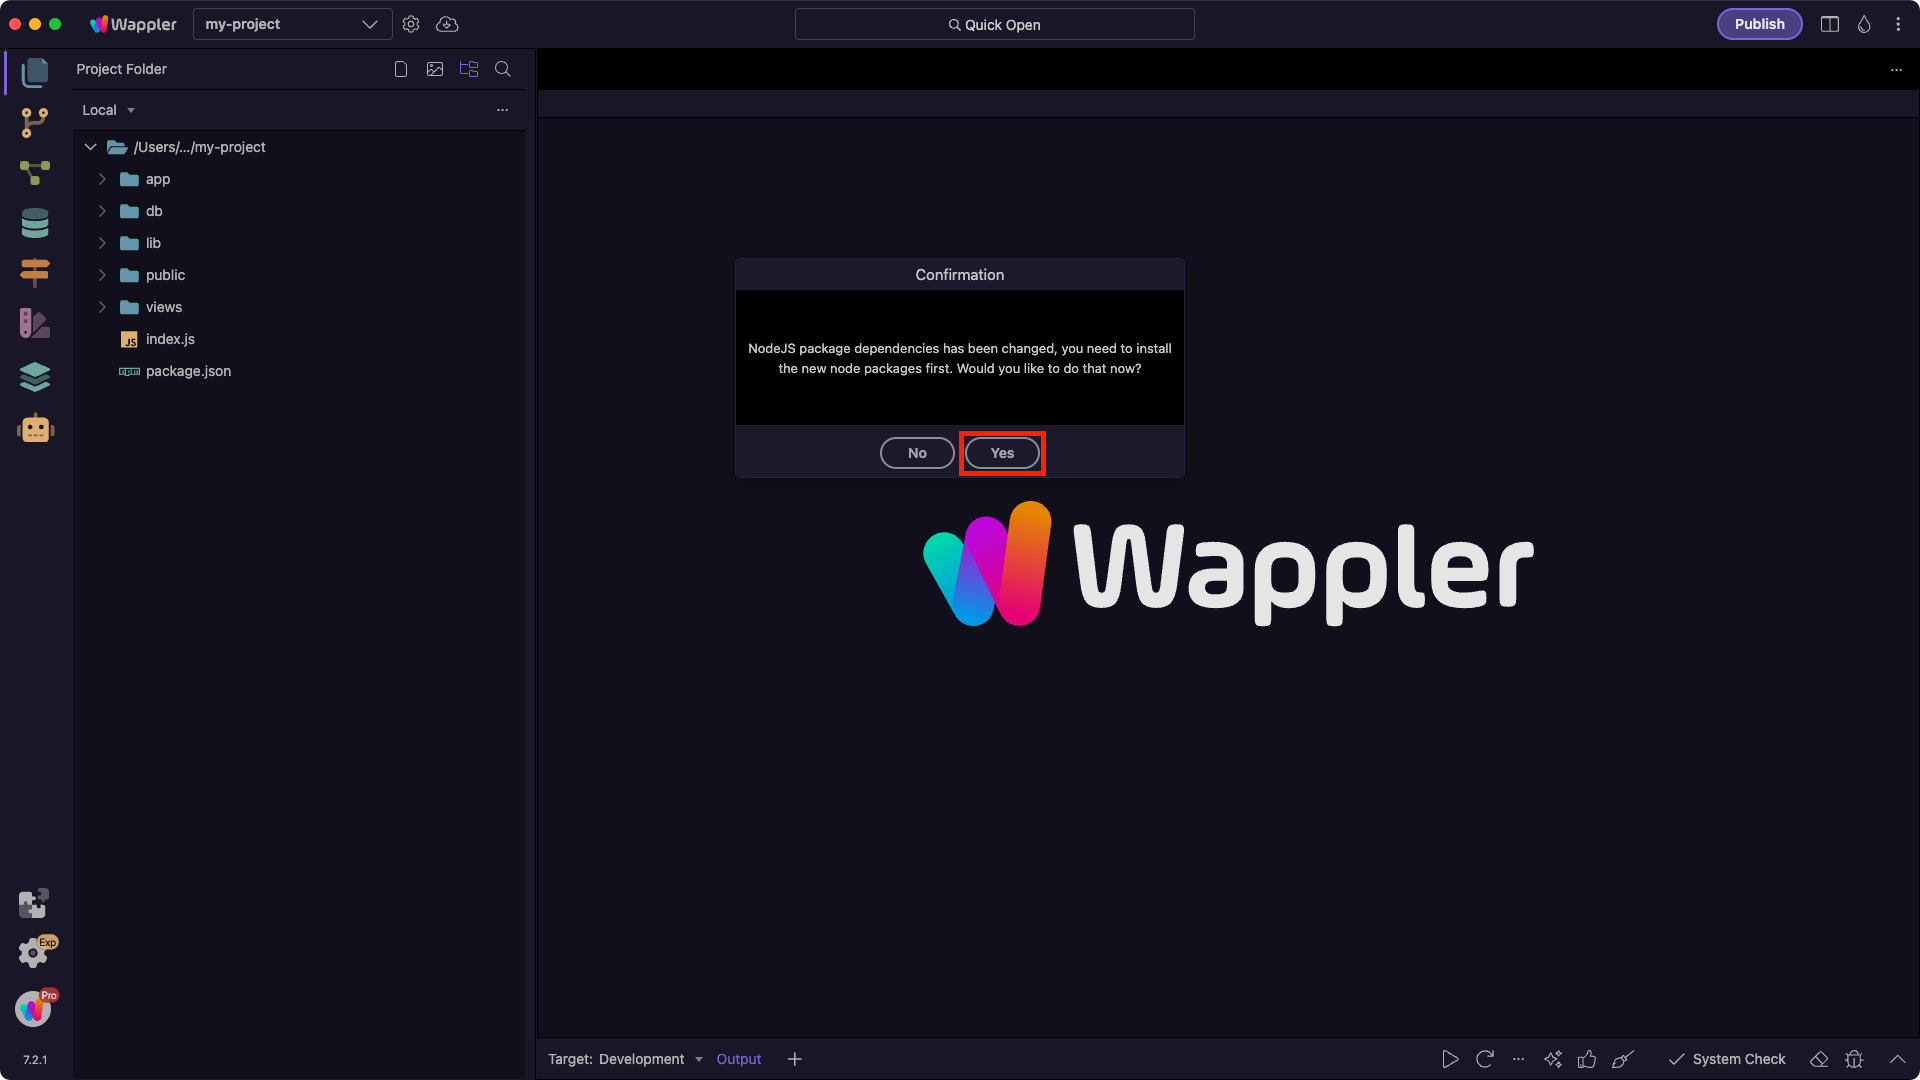
When the project starts, you will be asked to install the required NodeJS packages. Click Yes:
Your new project is now created and running:

Database Setup
Let's start by creating a database table and adding some data to it.
When you create a new project Wappler automatically sets up a SQLite database and the required database connection for you.
SQLite is a great choice for local development because it’s lightweight, requires no setup, and works out of the box.
Later, when you deploy your project to a remote server, you can use any other database (such as MySQL, PostgreSQL, or MS SQL). Wappler makes it easy to apply your table structure, data, and future changes directly to the new database.
Creating the Database Table
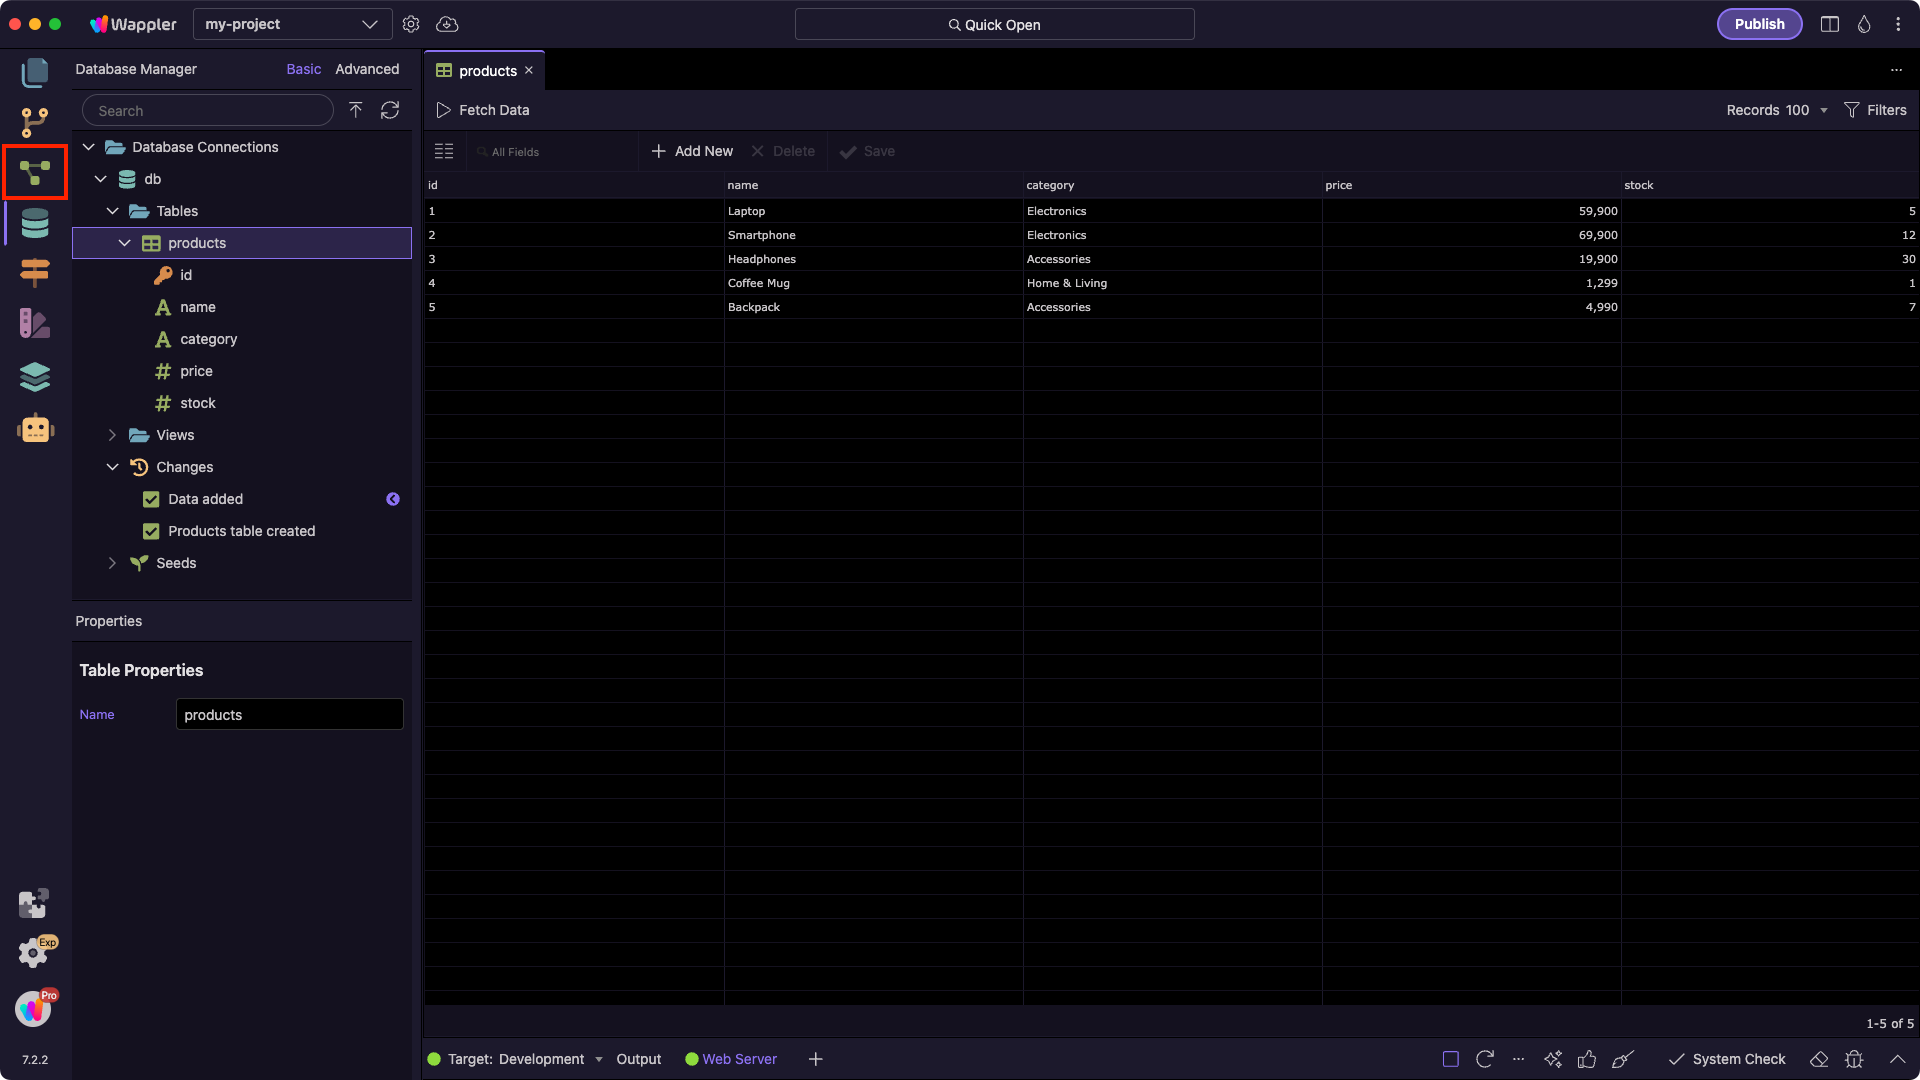
Open the Database Manager:
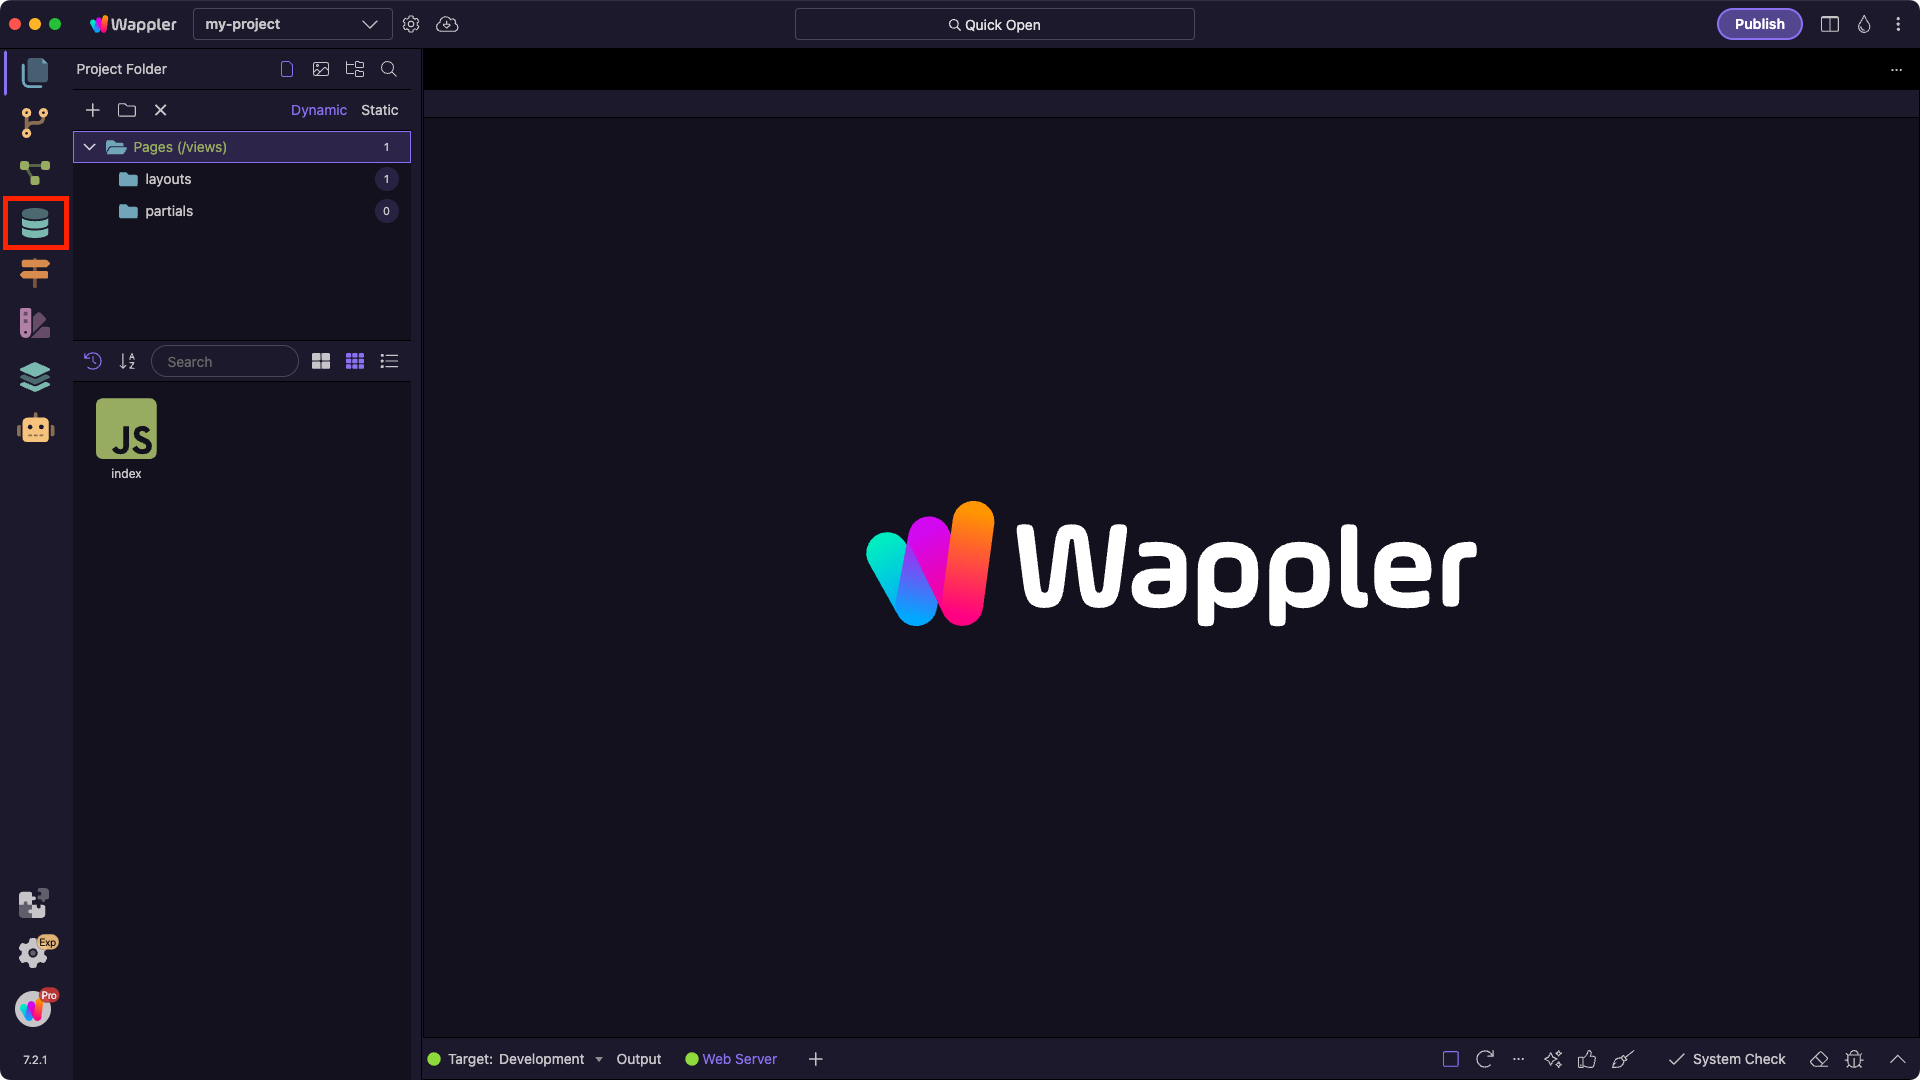
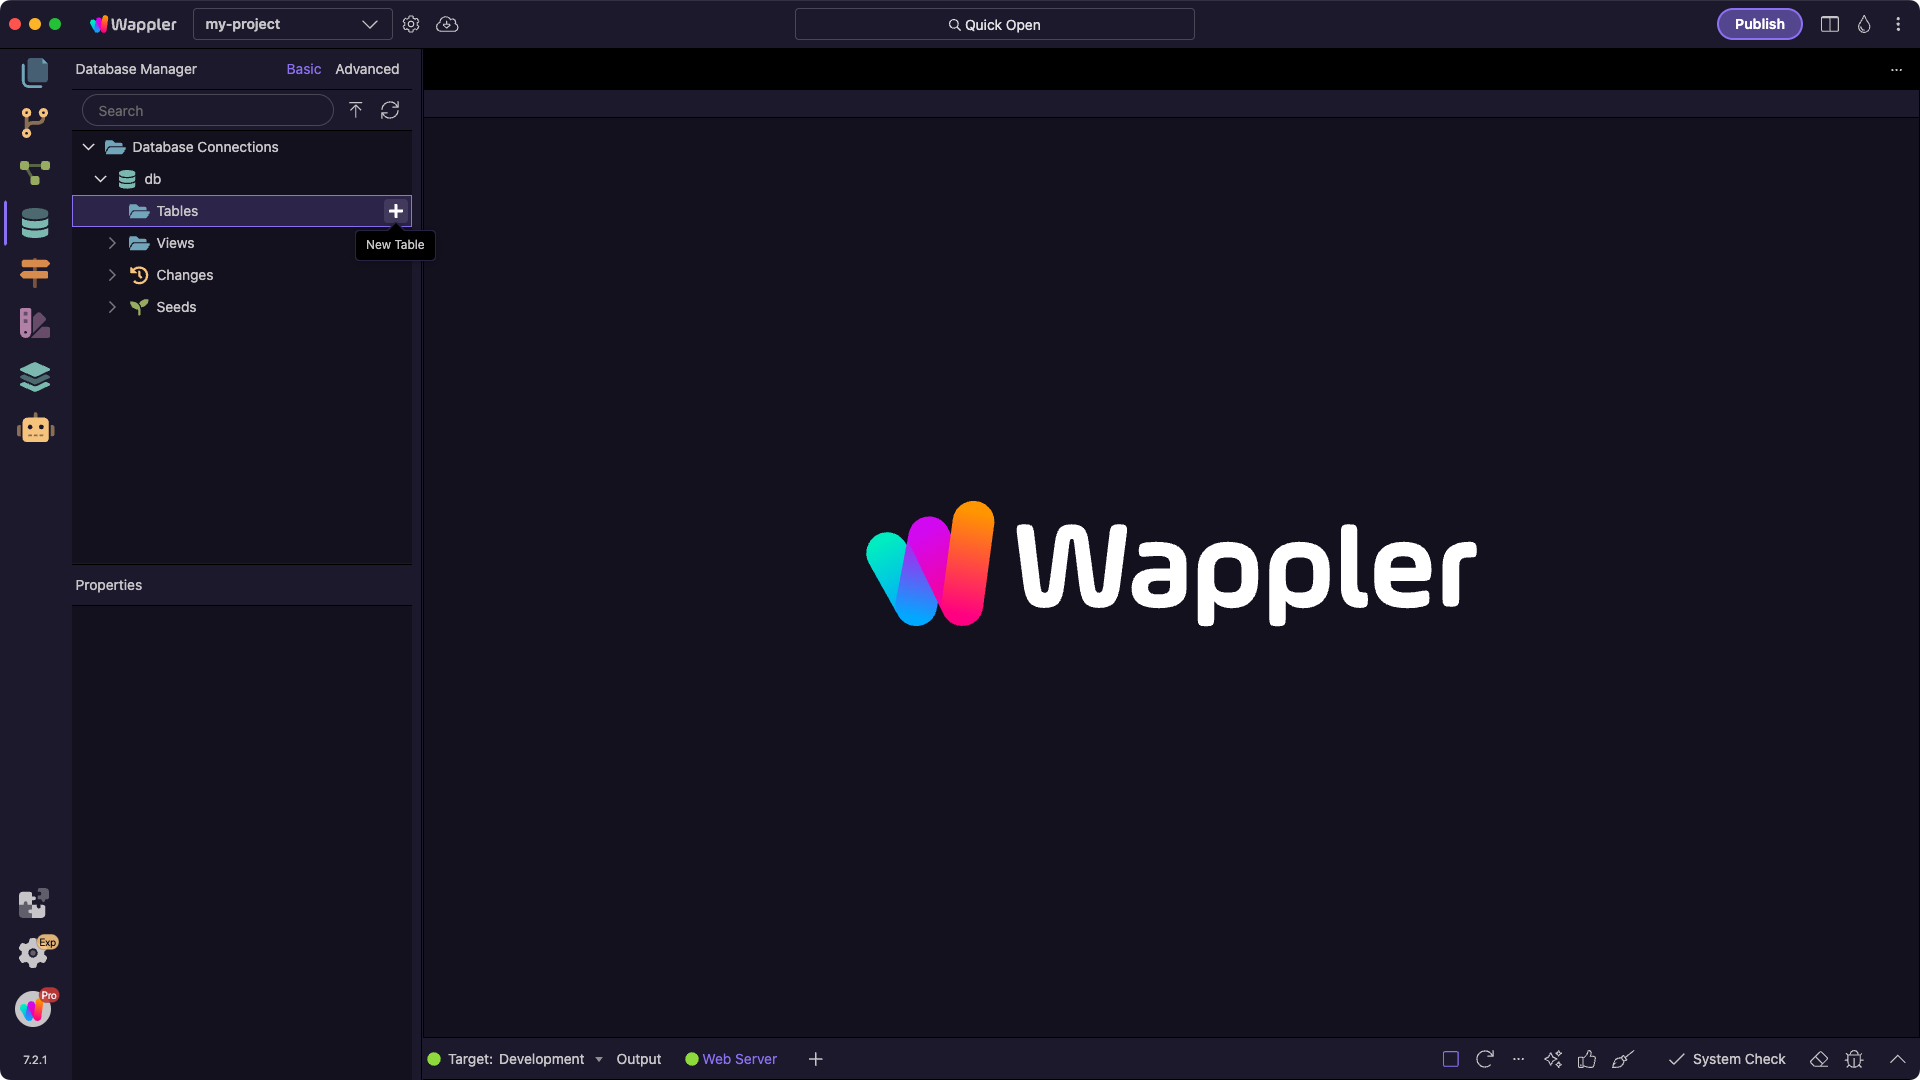
Here you can see the database and its sections: Tables, Views, Changes, and Seeds.
Click the New Table button:
Enter a name for the table: products
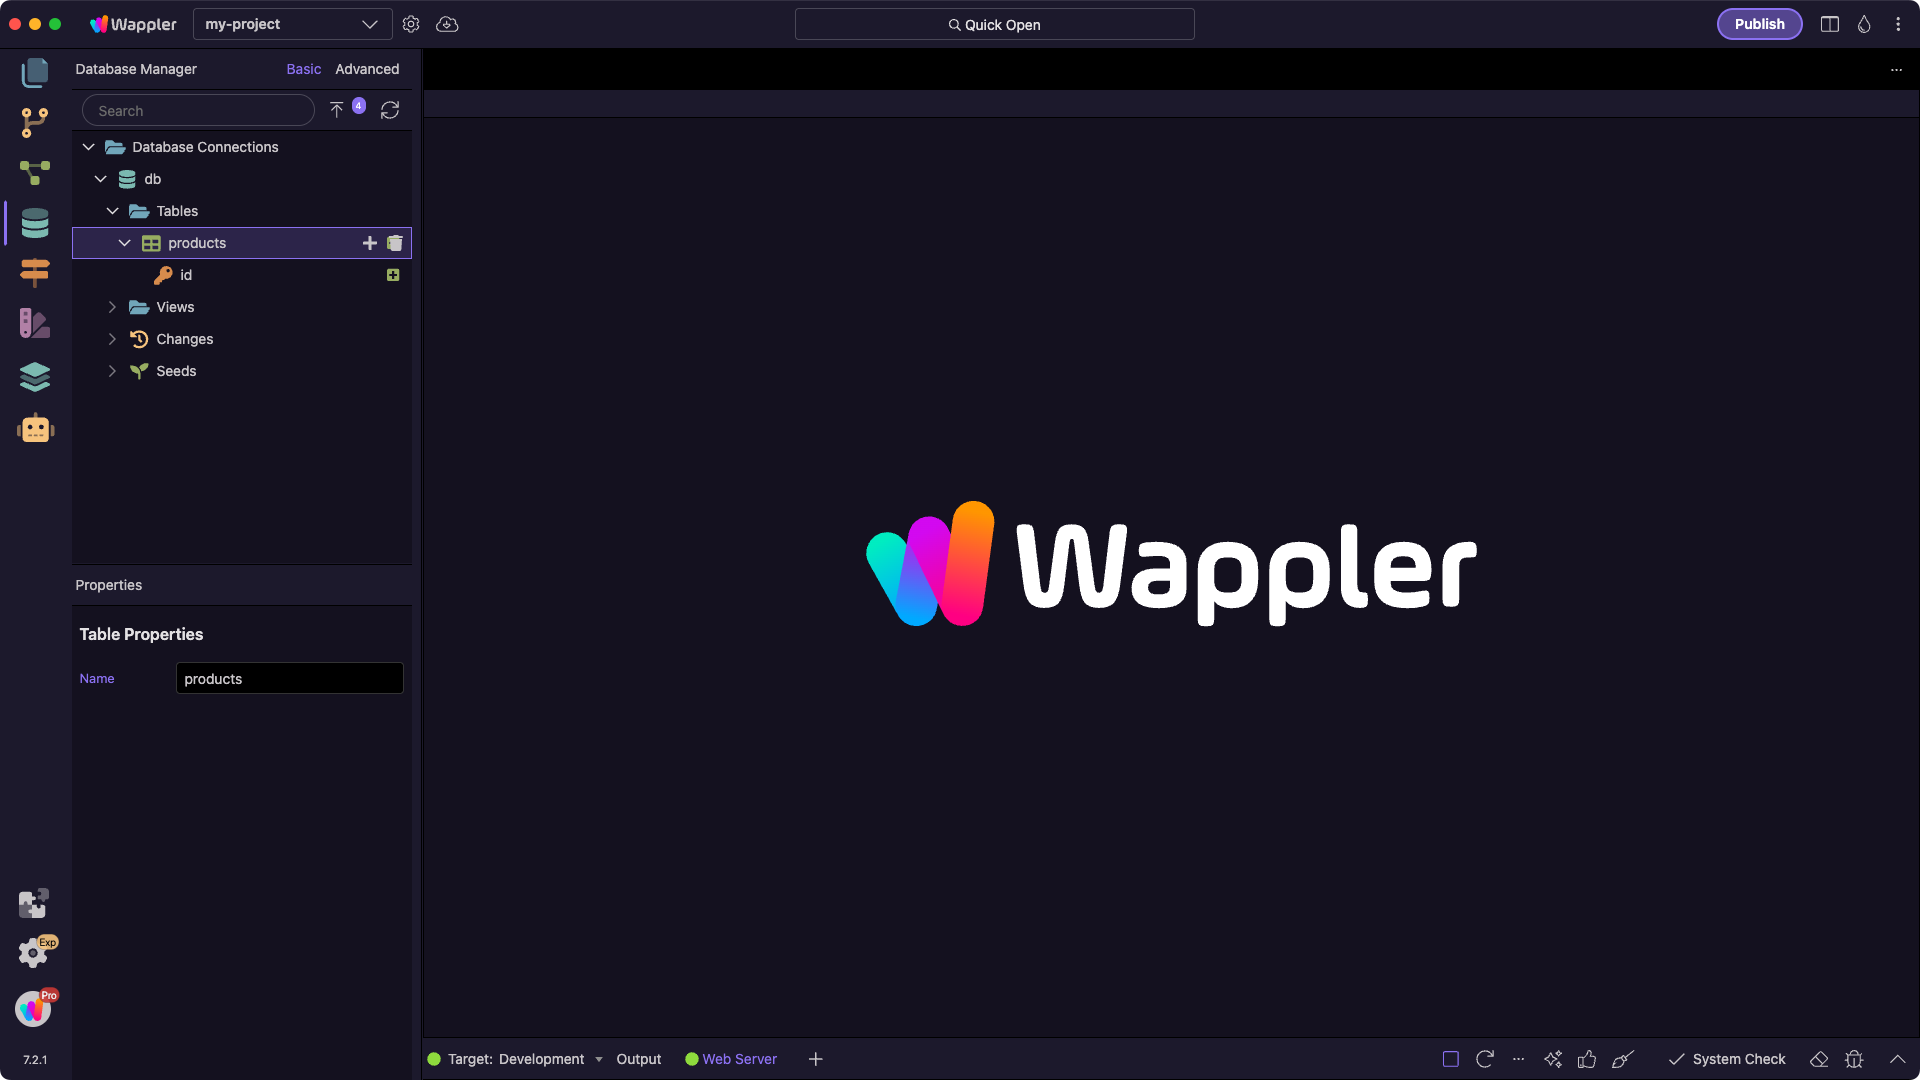
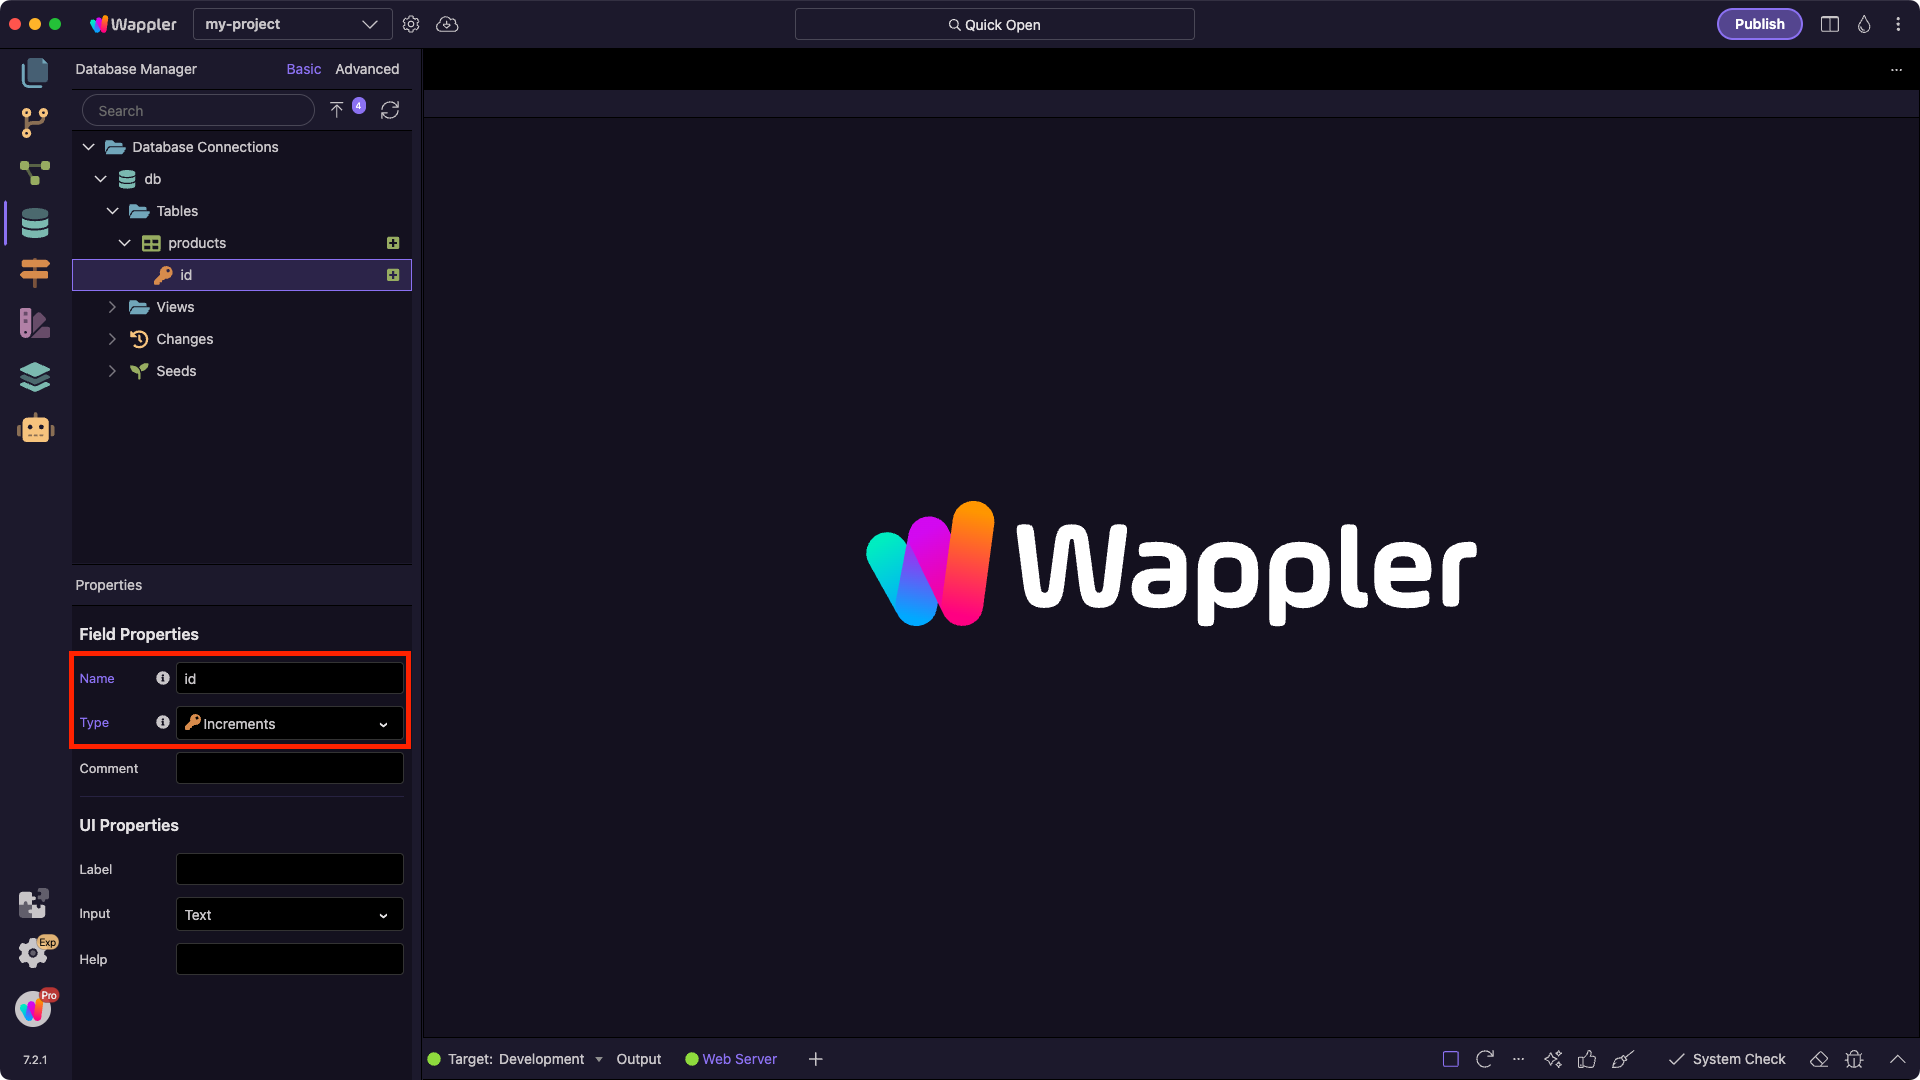
A primary key column named id is created automatically. Click the column to see its properties:
To add a new database column, click the Add Field button:

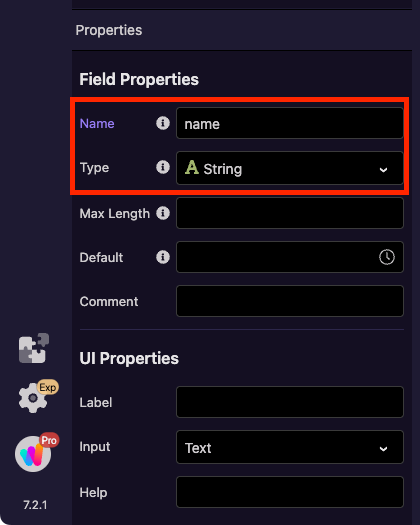
Enter a name for this field: name and set its type to String:

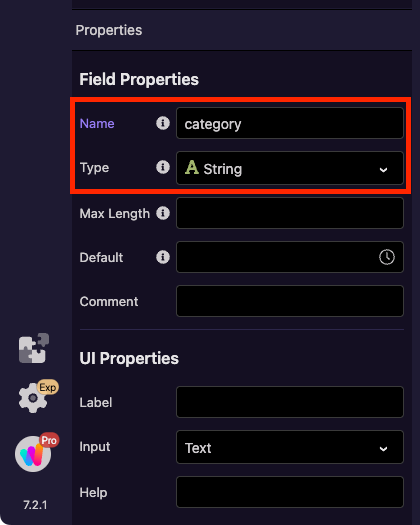
Next, add a field named category with type String:

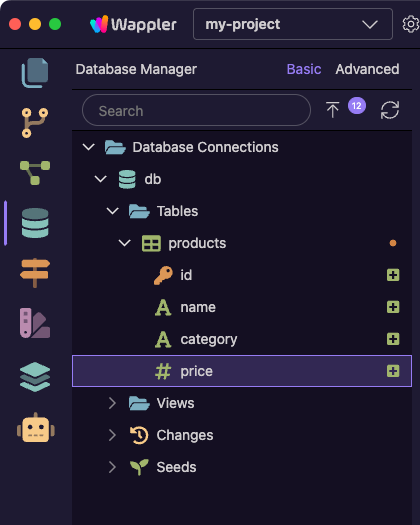
Now add a field named price with type Integer:

Finally, add a field named stock with type Integer:

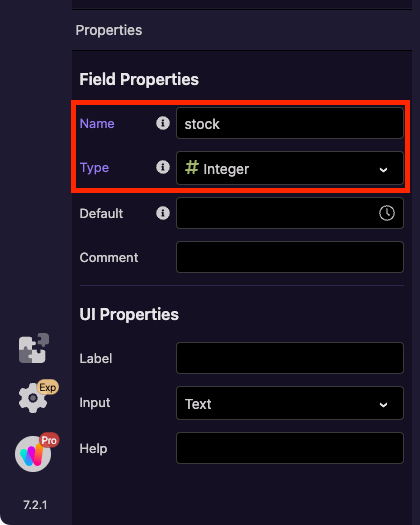
Why these field types?
name(String): Stores the product name as text.category(String): Stores the product’s category, also as text.price(Integer): For improved performance and precision, store prices as integers in the smallest unit of currency (e.g.9999= $99.99).stock(Integer): Stores how many items are available. Whole numbers are sufficient here.
This simple structure makes the table easy to work with and ensures values like price and stock stay accurate.
Adding Data
With the products table created, let’s insert some sample rows we’ll use on the page.
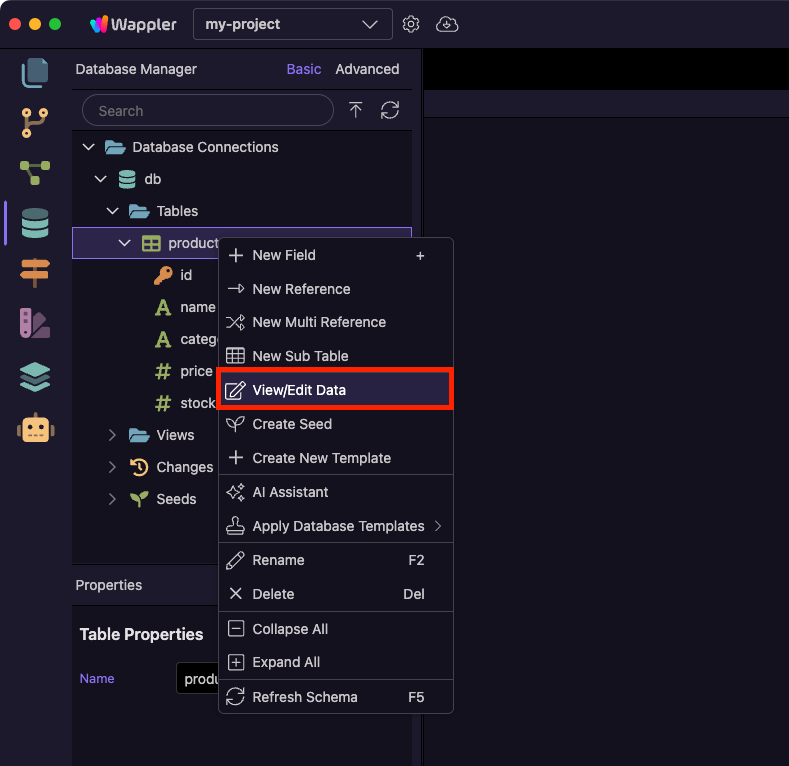
In the Database Manager right-click the products table and Choose View/Edit Data:
In the data editor, click + Add New to insert records:
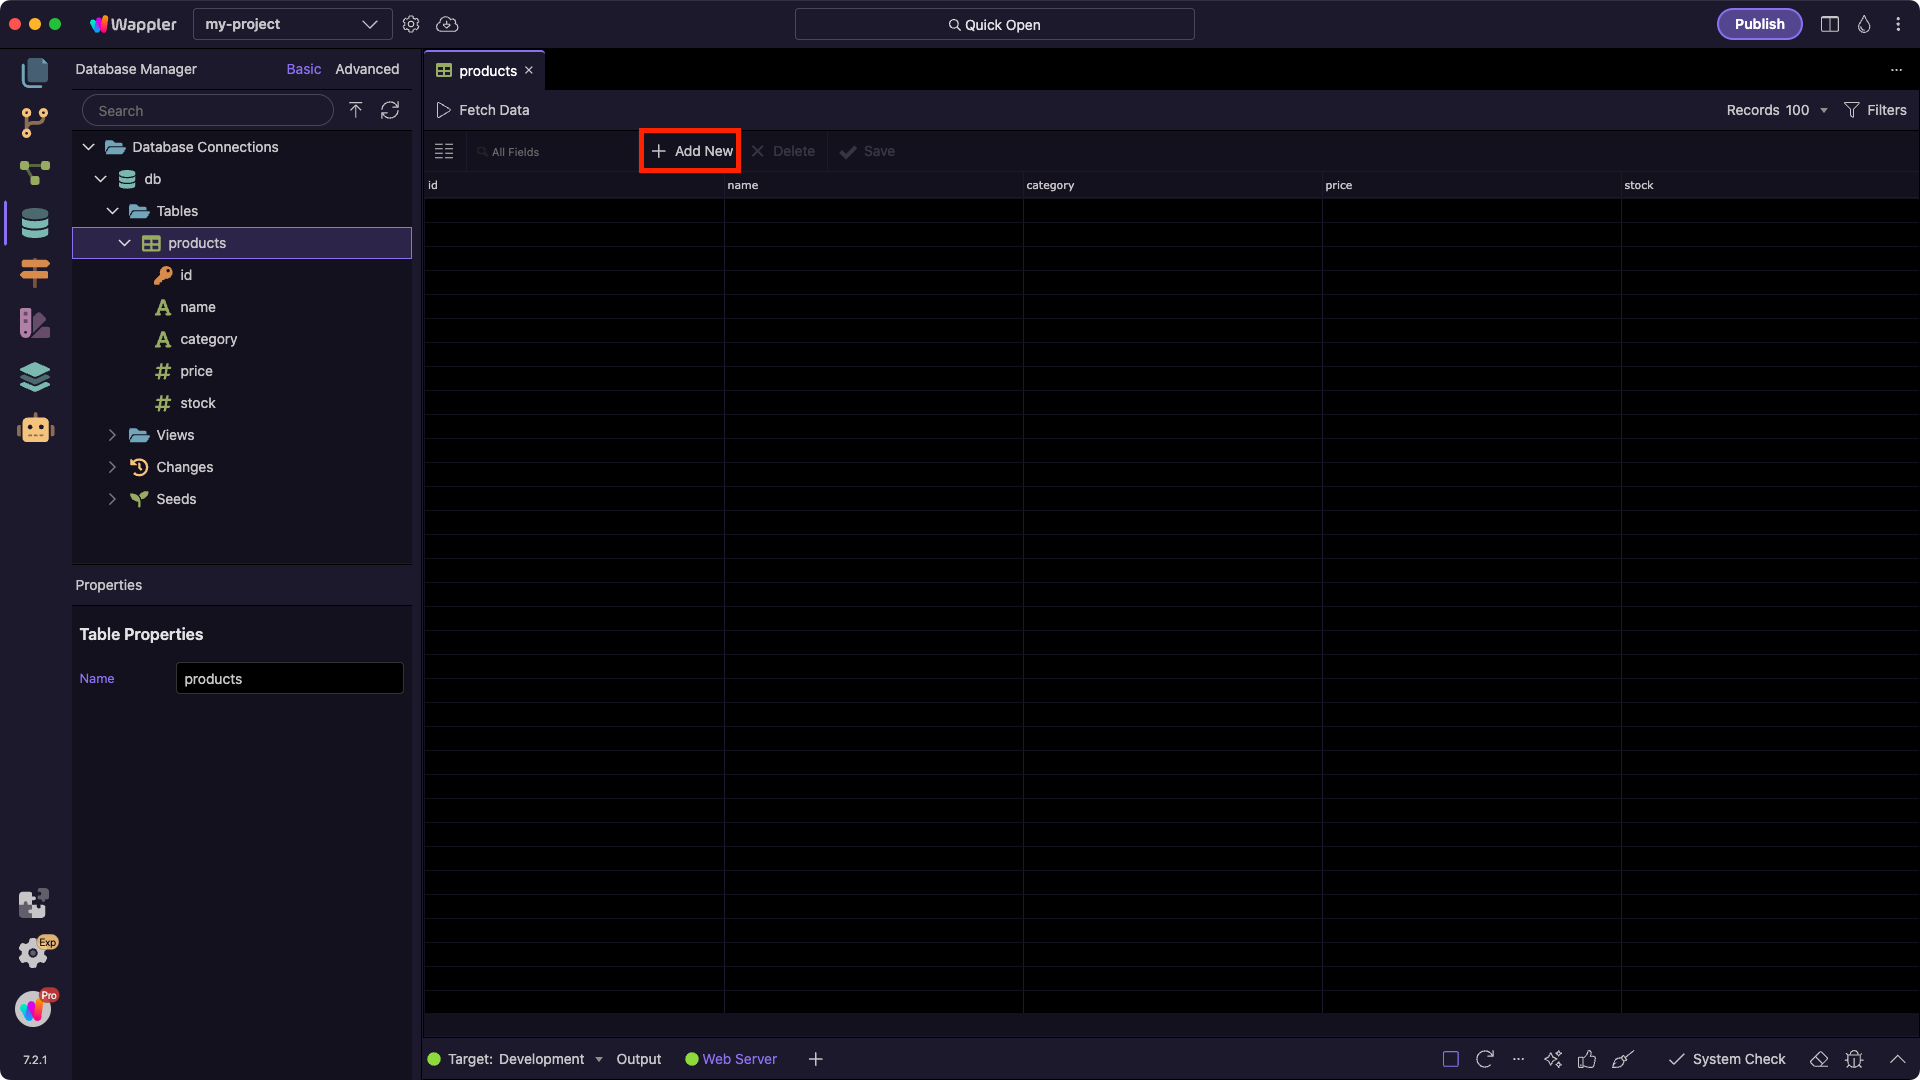
Fill in name, category, price (in cents), and stock. Leave id empty — it will be automatically added and auto-incremented.

Do the same for all the records you want to add:
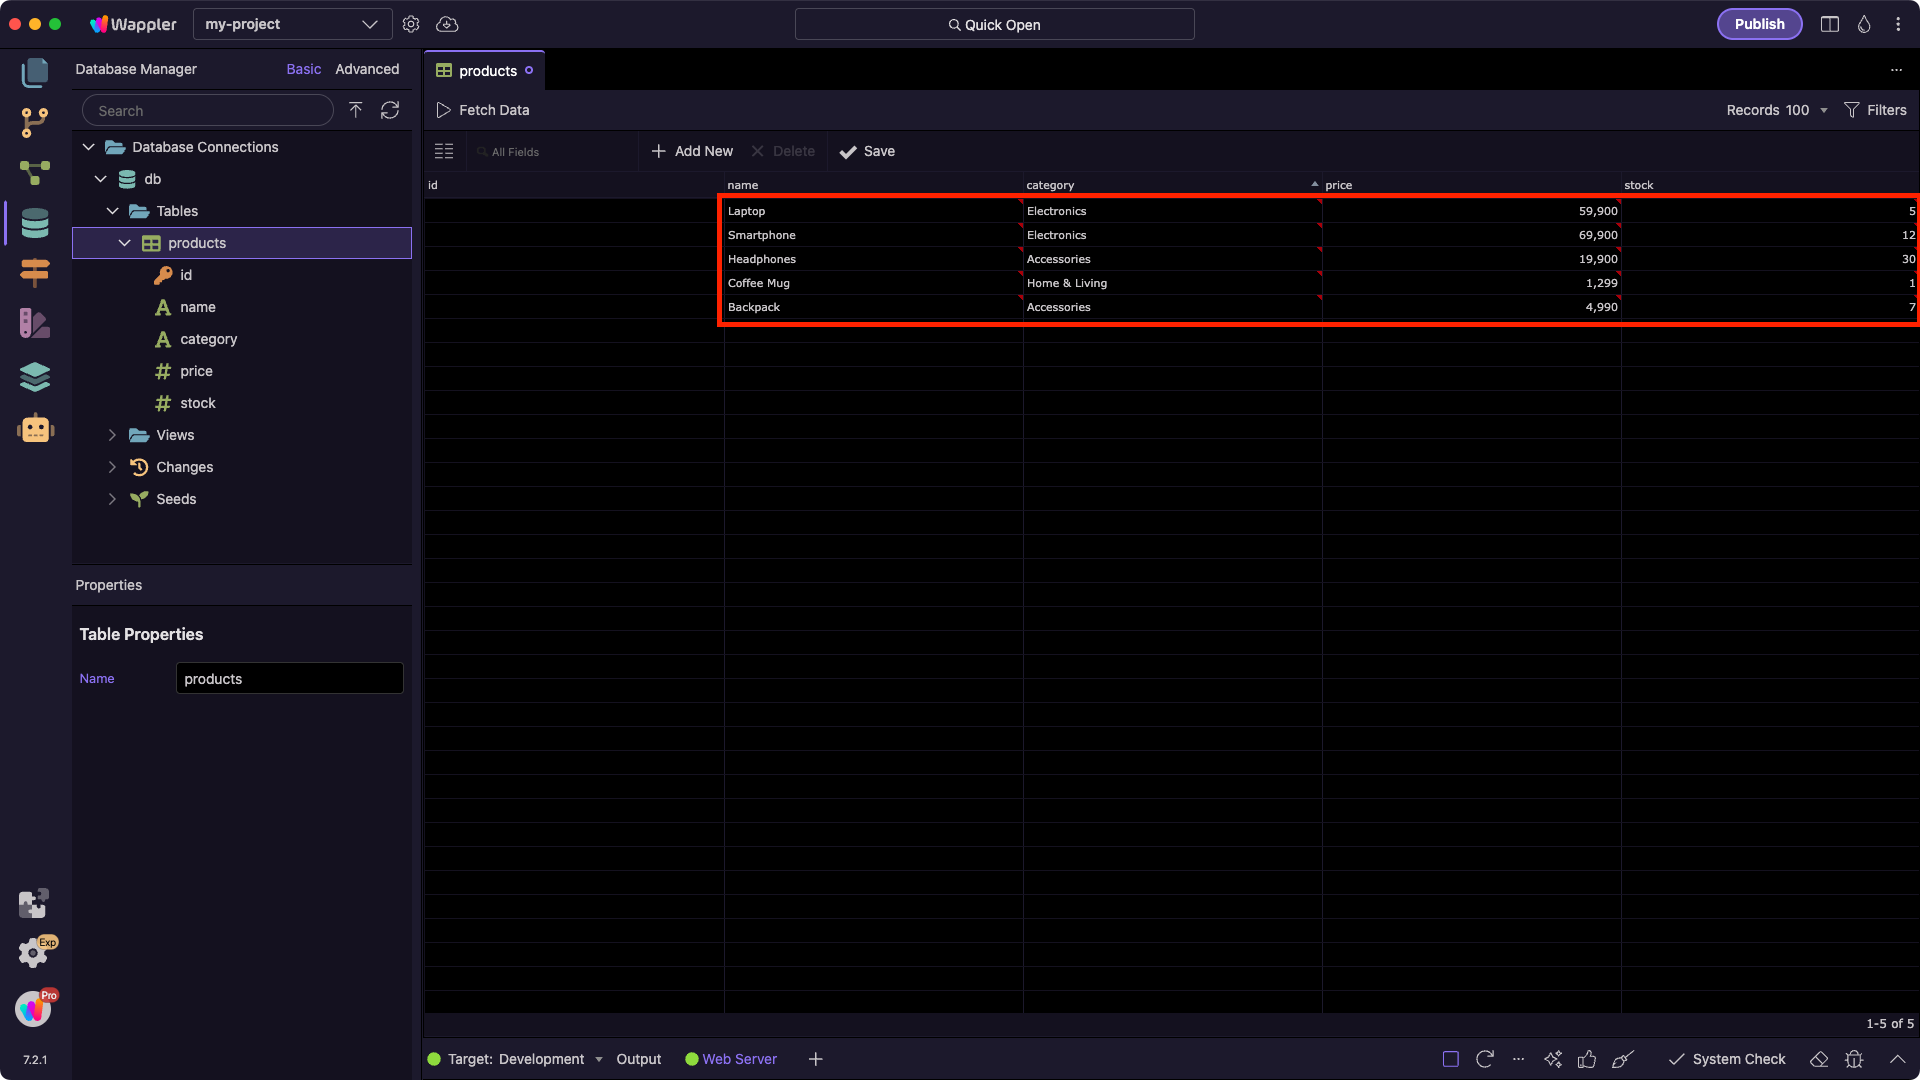
And click Save, when you're done:

When you click Save in the table data editor, Wappler shows a confirmation dialog:
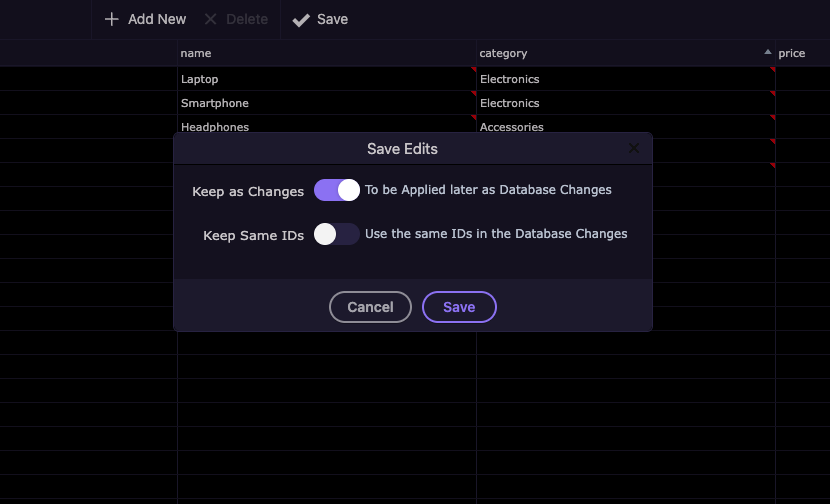
This gives you control over how the edits are stored:
-
Keep as Changes - If enabled, Wappler saves your edits as Database Changes.
These are versioned migration scripts that can later be applied to other environments (staging, production).
Useful if you want to keep your database structure and data changes consistent across multiple targets.
For this tutorial, we’ll enable this so the inserted rows are stored as changes that can be deployed. -
Keep Same IDs - If enabled, Wappler preserves the exact primary key IDs you entered when saving.
Normally, auto-increment IDs are regenerated by the database. You’d use this option if you need to keep identical IDs in other environments.
Click Save.
Applying Database Changes
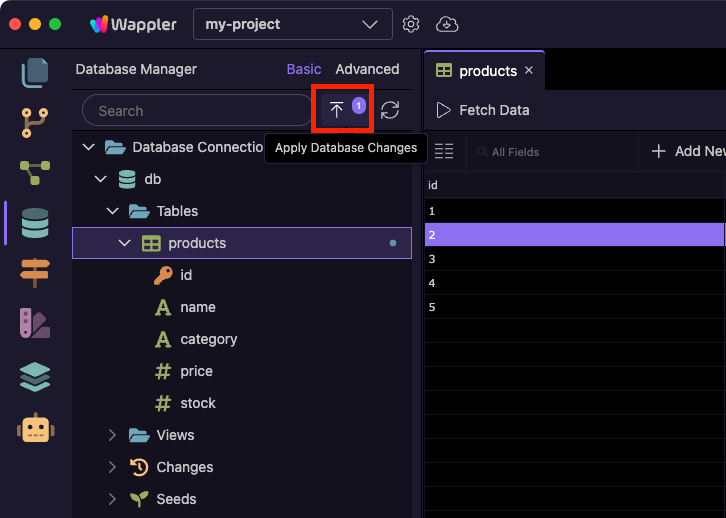
Since we chose Keep as Changes when saving our data, Wappler recorded these edits as Database Changes, so we need to apply them to our database. To apply the changes:
In the Database Manager, click the Apply Database Changes button at the top:
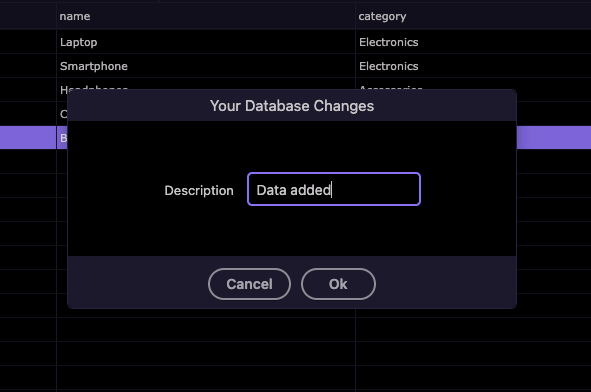
A dialog will ask you to provide a description for the change. Enter something meaningful (e.g. Data added), then click OK:
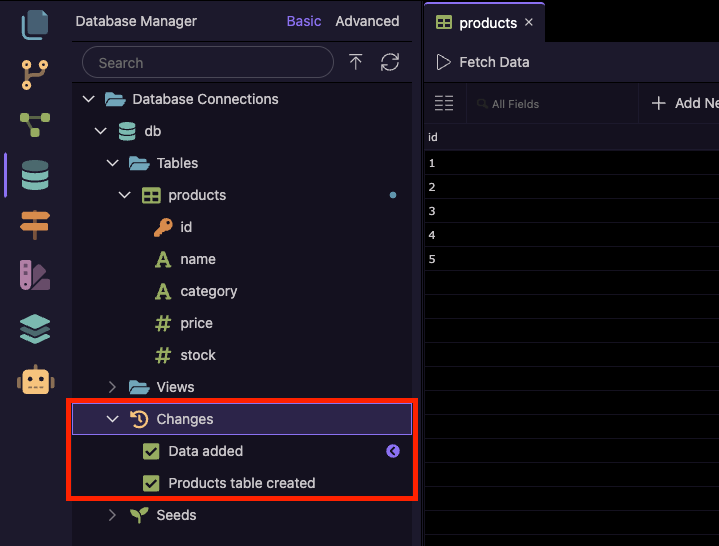
Your change is now listed under the Changes section in Database Manager.
You can see both the initial table creation and the data insert recorded here:
[!note]
In a later tutorial, we’ll cover Database Changes in more detail — including how to apply them to staging and production databases.
For now, you just need to know that they help keep your environments consistent.
Now that your products table is ready and filled with data, it’s time to build a server action to fetch this data and make it available on your page.
Build a Server Action to Fetch Data
With the products table ready, the next step is to fetch its data using Server Connect.
Server Connect is Wappler’s visual backend workflow builder - it lets you create APIs without writing code.
Creating a New Server Action
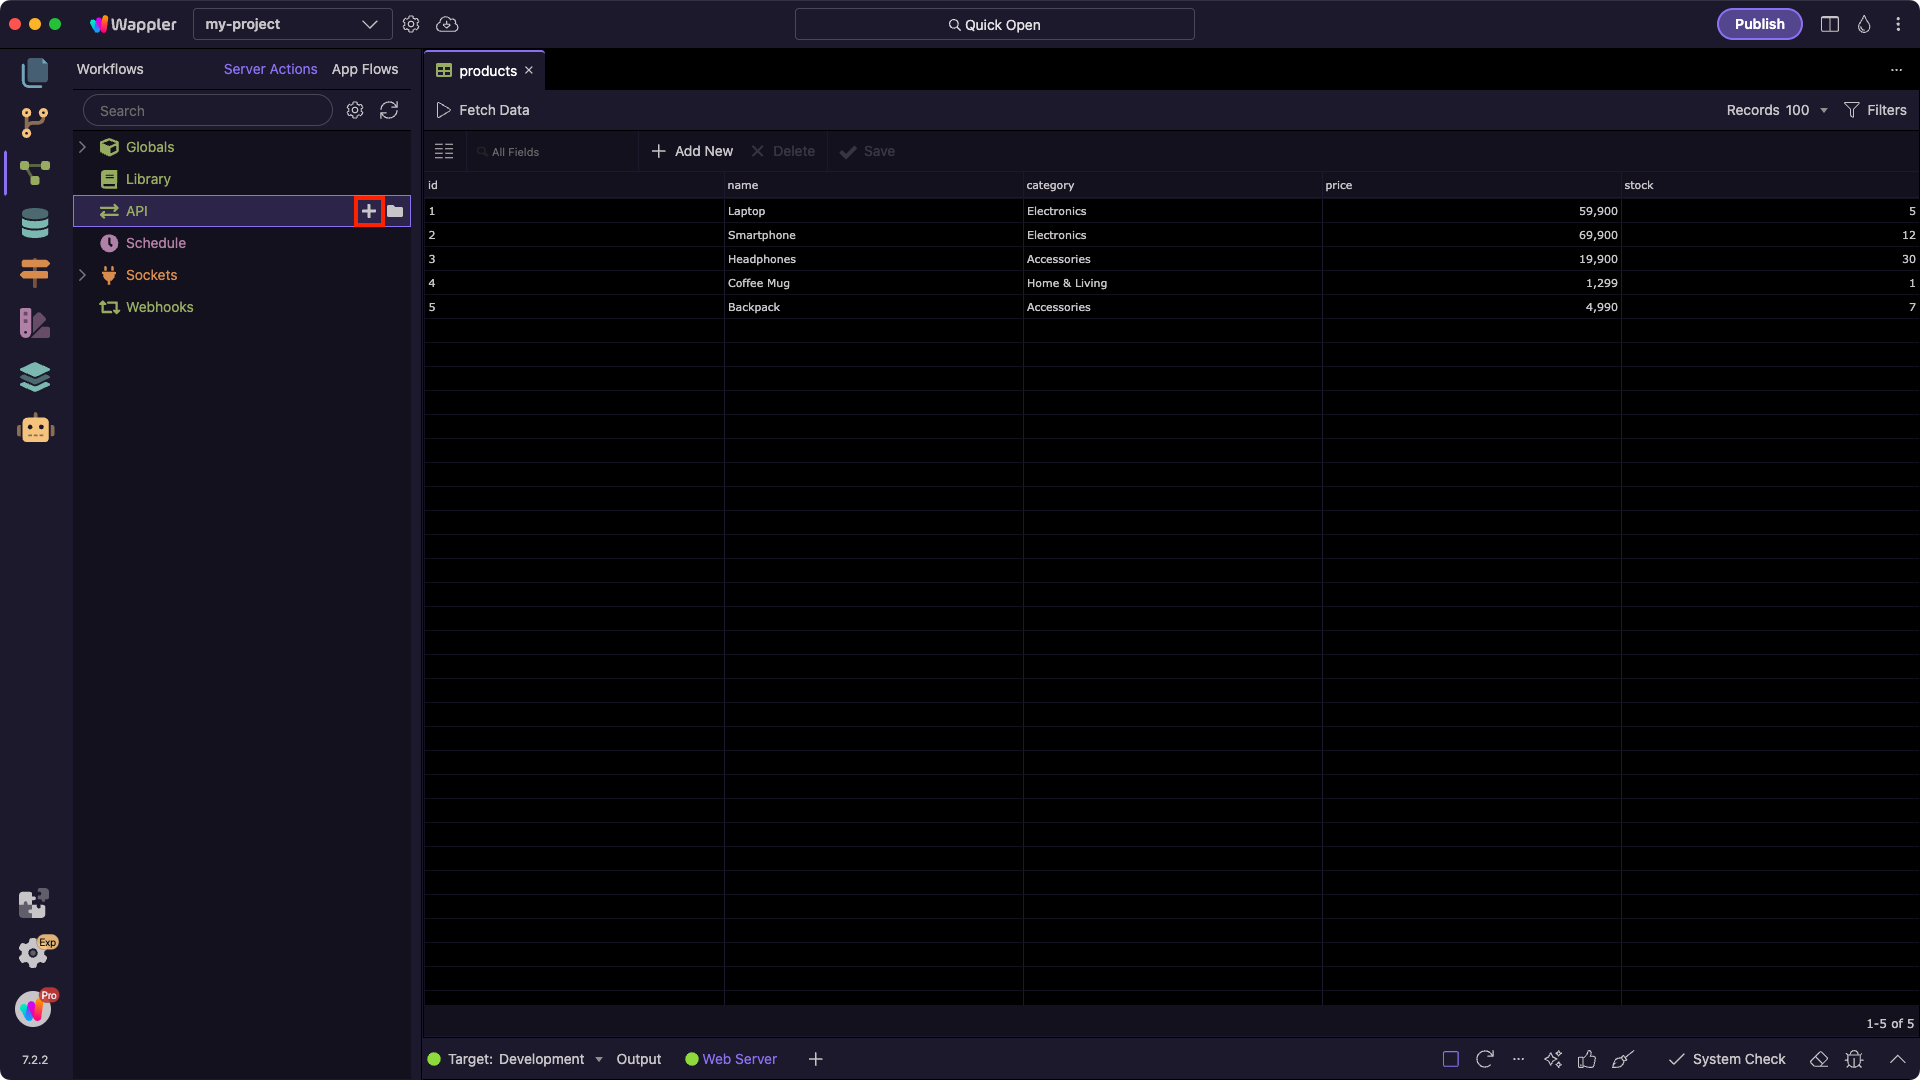
Open the Server Connect panel from the left sidebar:
Select the API section — this is where your server actions are stored — and click the + button to create a new server action:
Enter a name for the action — for example: productsList.
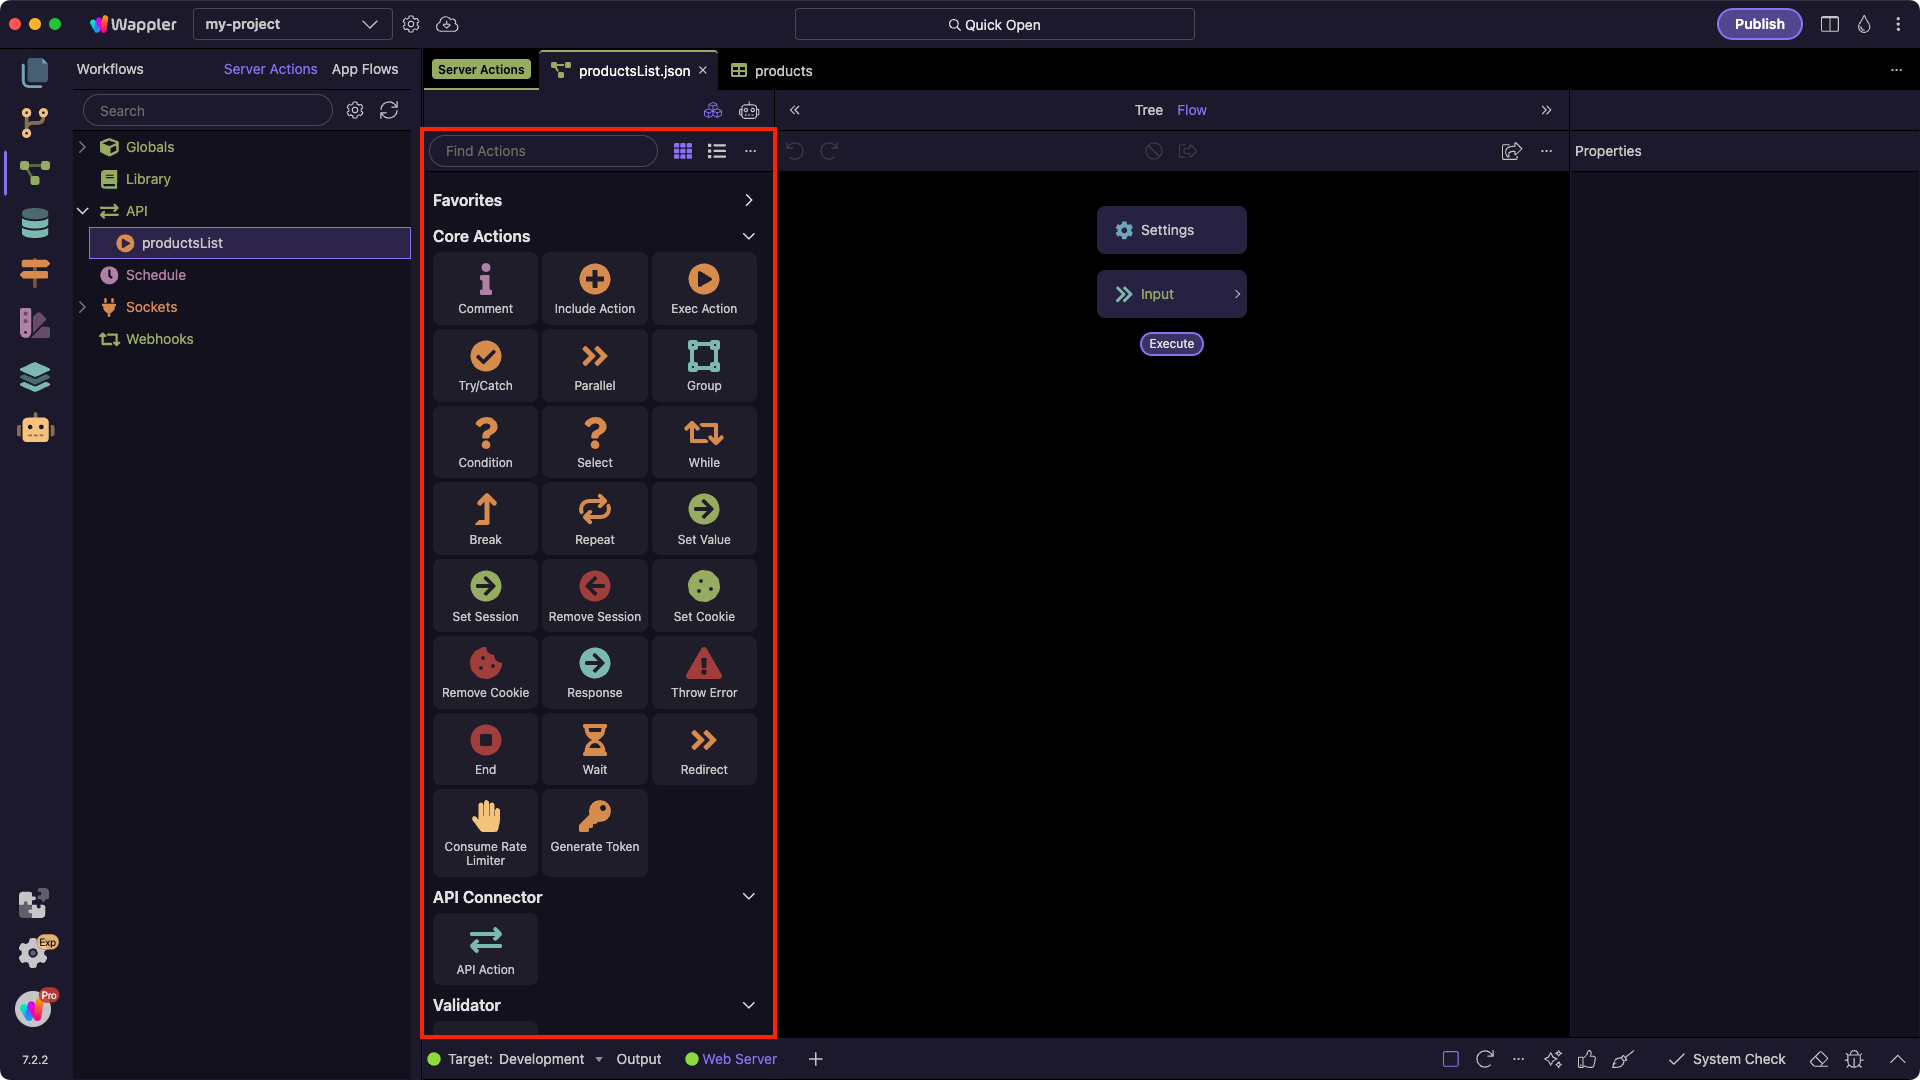
Once created, you’ll see the new server action open in a tab on the right:

The server action editor has three main parts:
- Action Steps (center) - This is where your workflow is built. Each step is executed in order, visually represented as a flow.
- Properties Panel (right) - Shows the options for the currently selected step.
- Actions Panel (left) - Lists all available actions you can add, such as database queries, conditions, or response steps. These are grouped into into different categories.
This workspace is where you’ll design all the logic for your server-side workflows, visually.
Creating a Database Query
There are two ways to add a step to your server action:
-
Drag and drop an action from the Actions Panel into the flow:
-
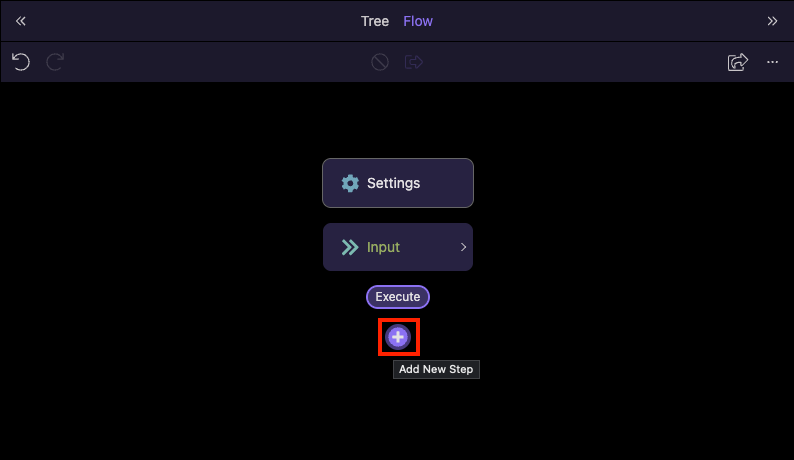
Click the + button directly in the flow to insert a new step:
Now that you know how to add steps, let’s create the first one — a Database Query.
This query will connect to your products table and fetch the data we added earlier.
It’s the foundation of the productsList action, since it prepares the product list that we’ll later display on the page.
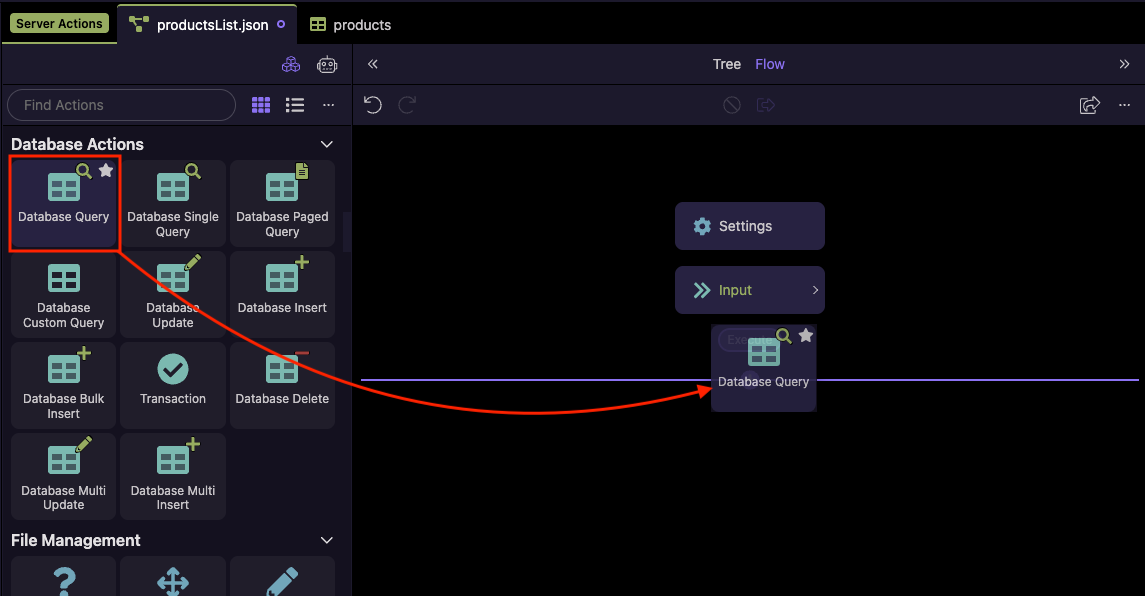
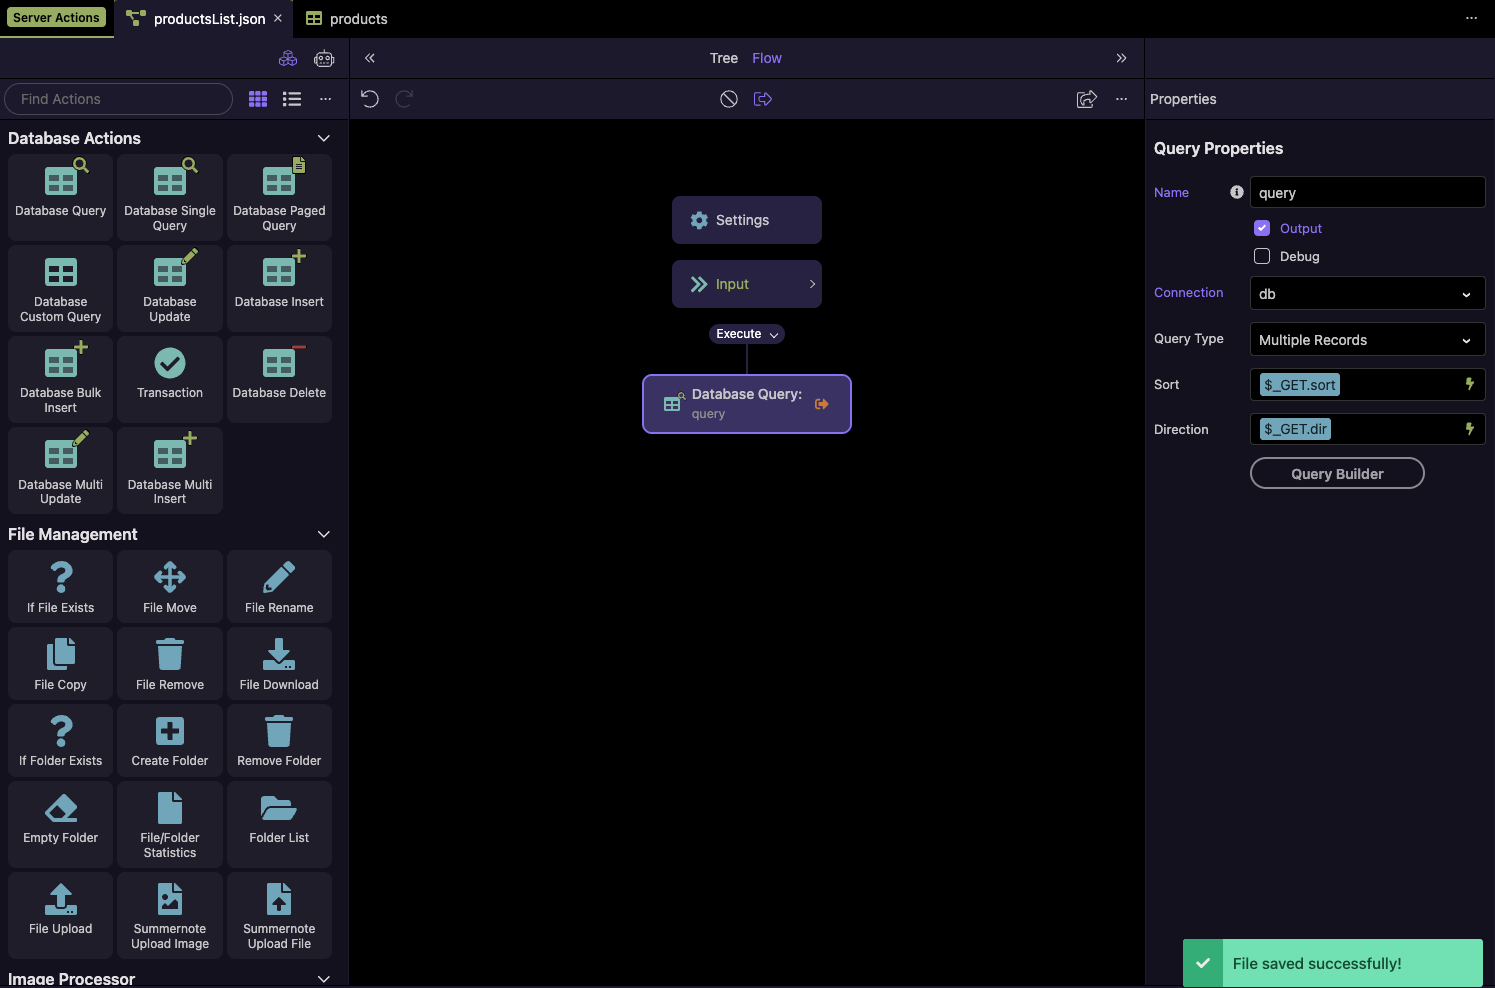
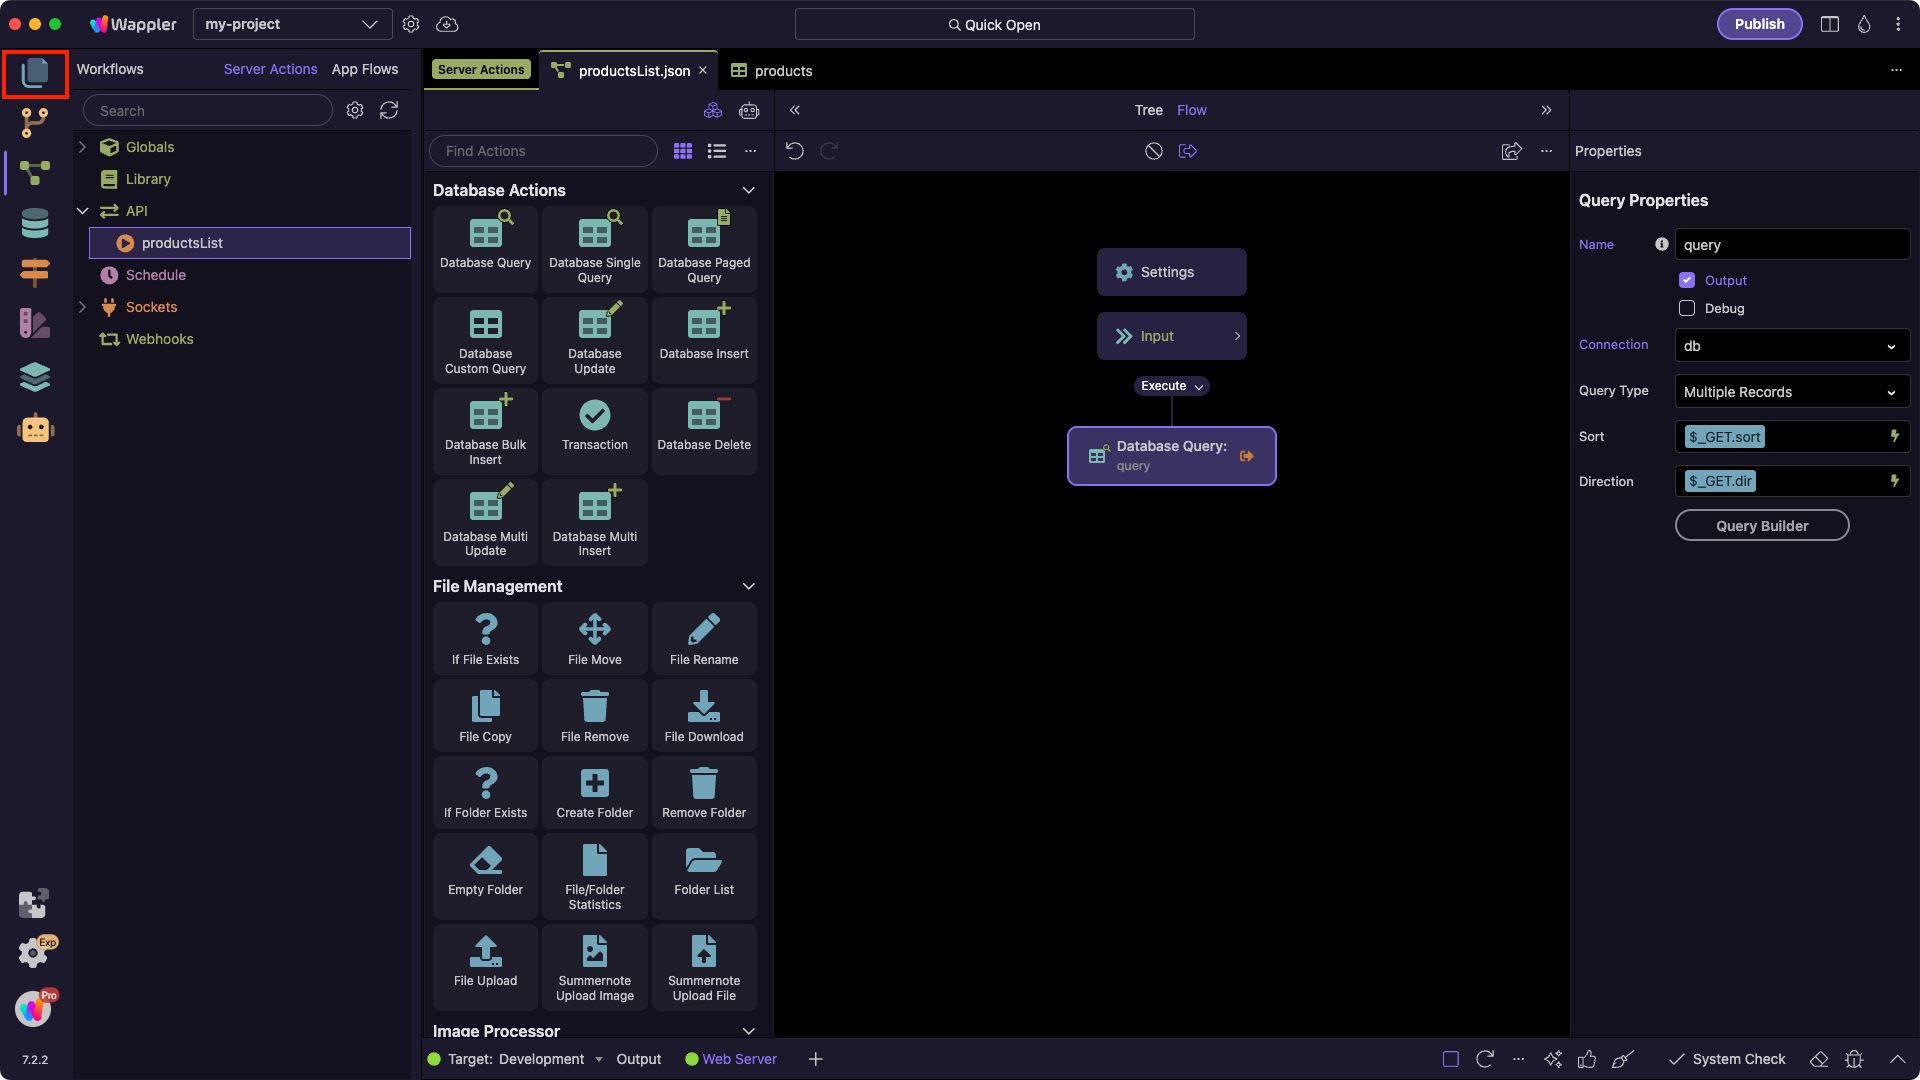
Scroll down to Database Actions and drag Database Query into the flow:
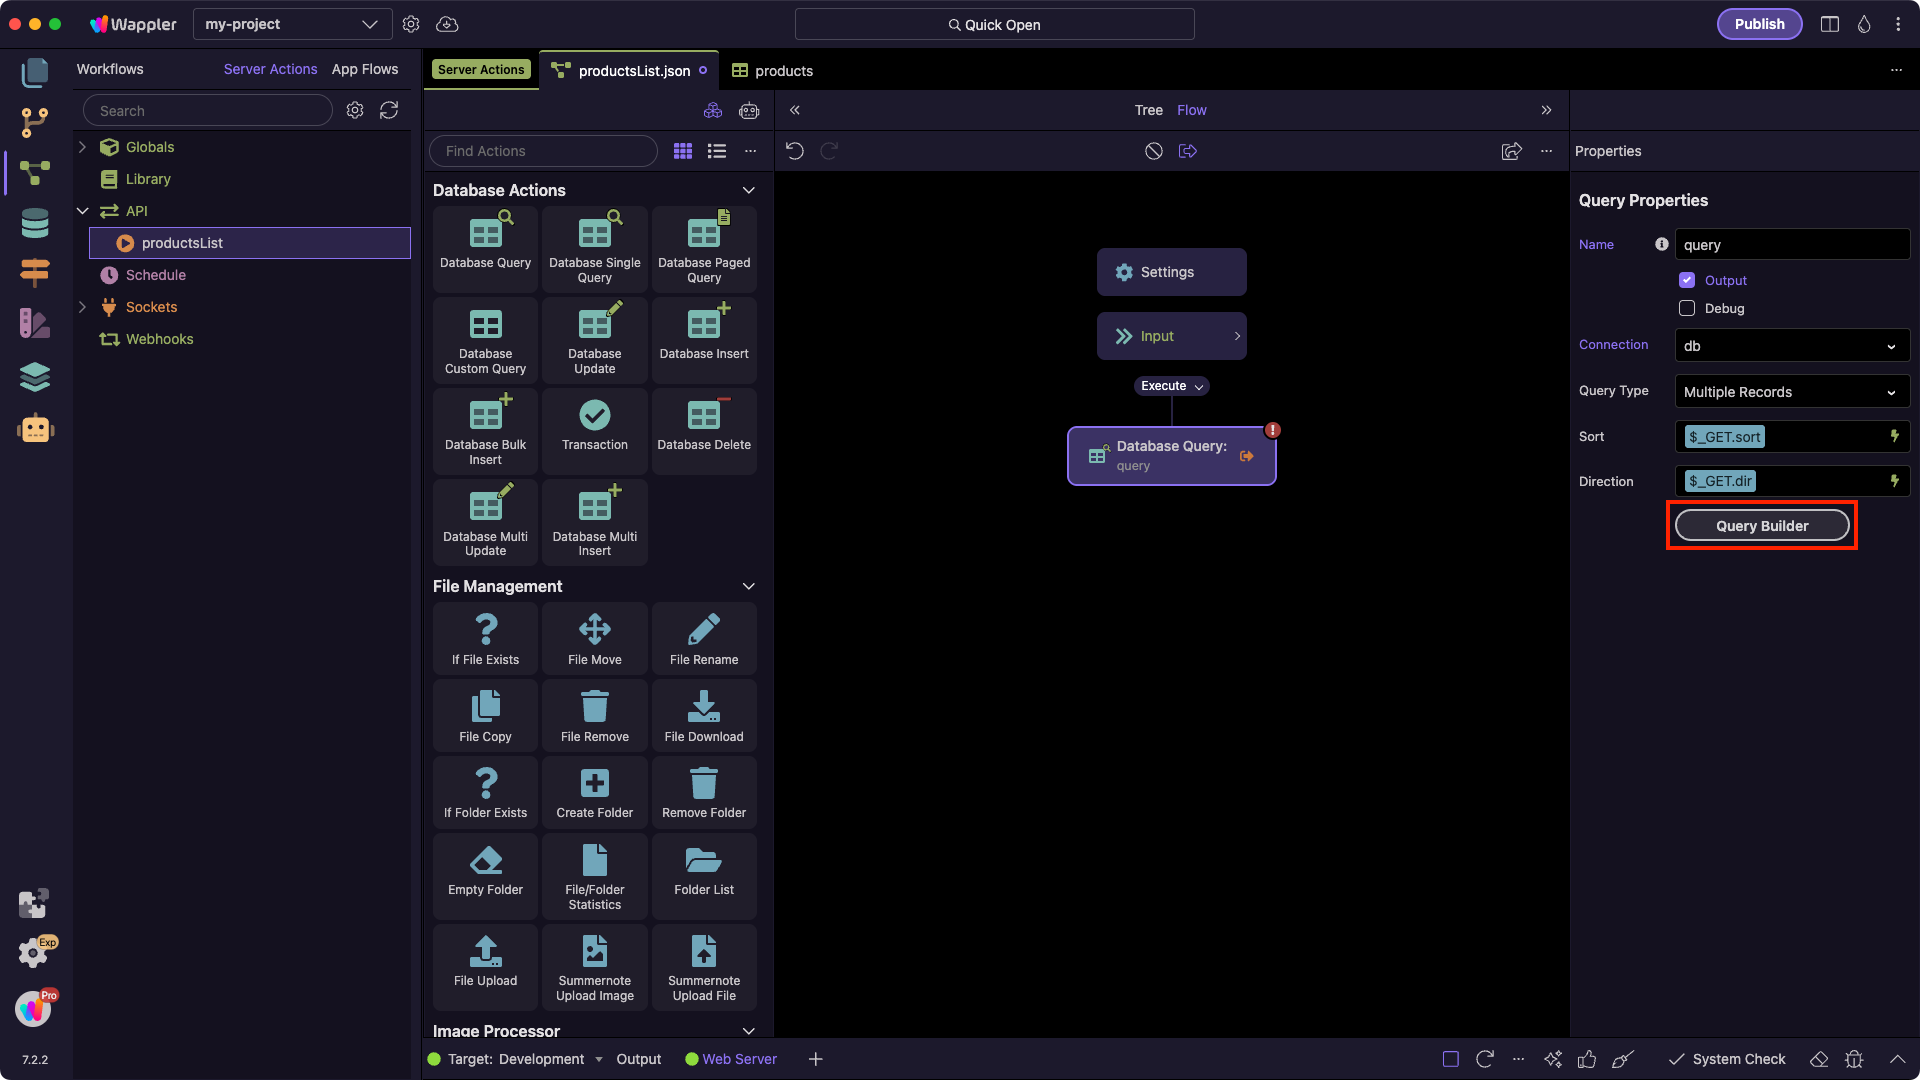
Click the Query Builder button:
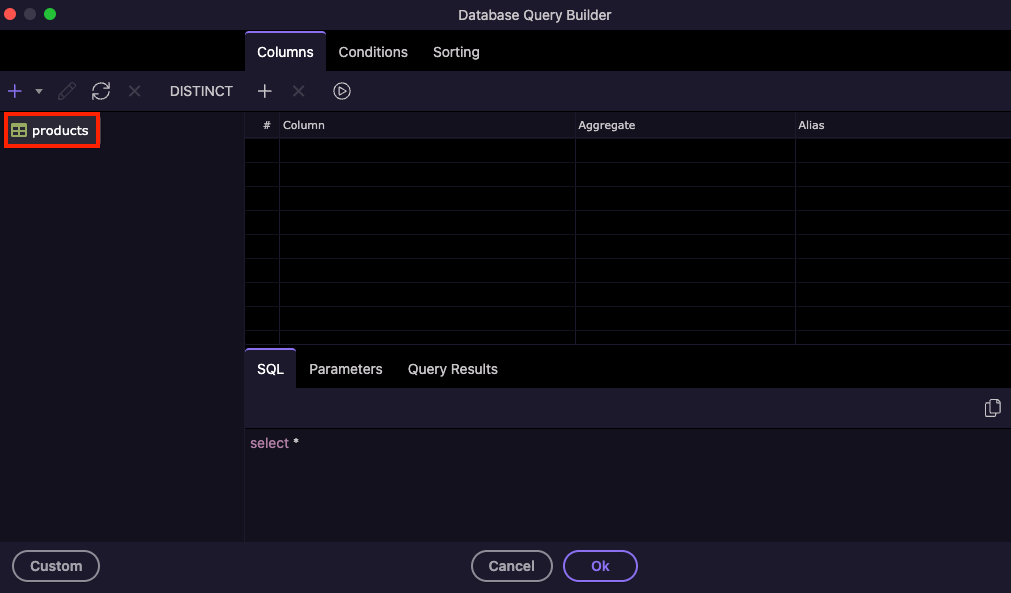
The Query Builder dialog opens. Start by opening the table selector:

You’ll see the products table listed. Select it to add it to the query:
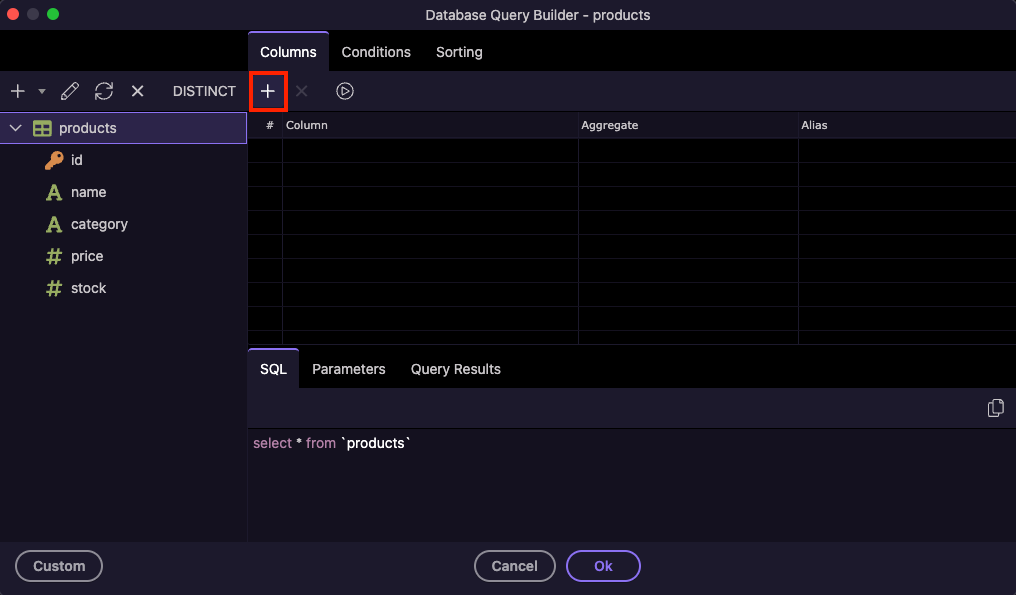
You can choose individual columns or add the entire table:
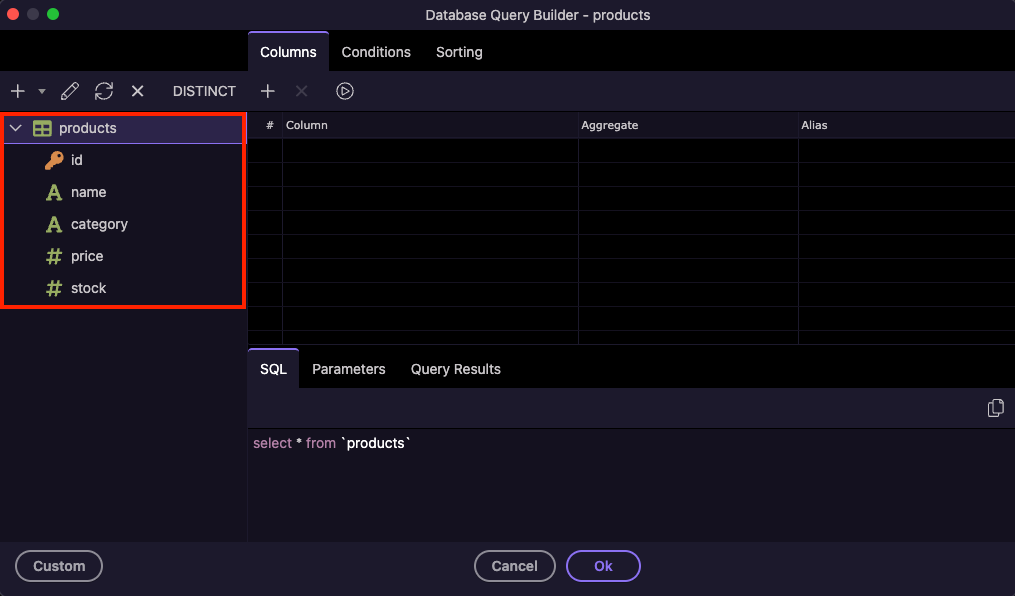
Click the table name and then the + button to include all columns:
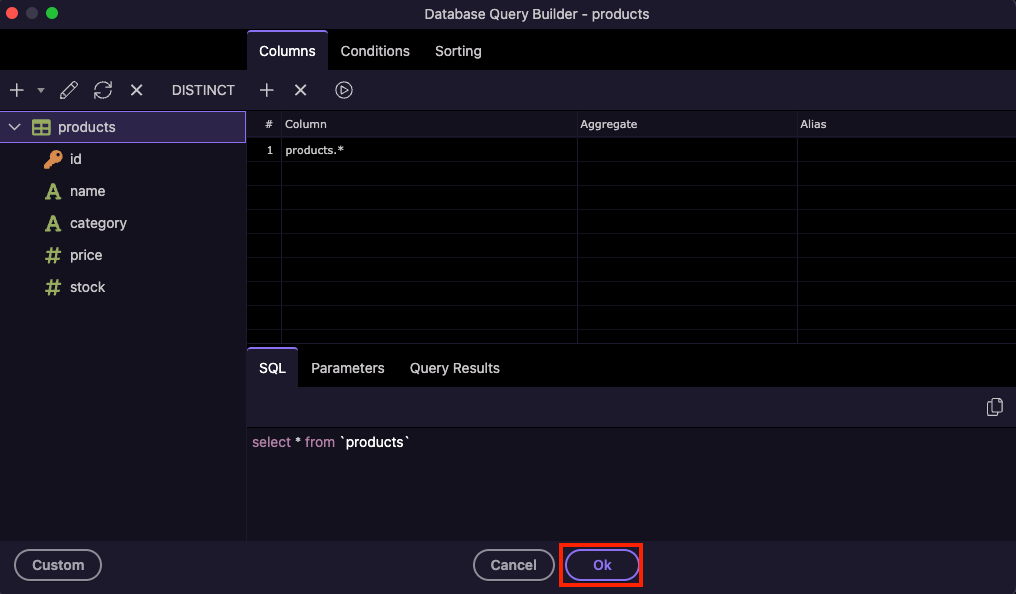
For this tutorial, we don’t need conditions or sorting, so leave them empty.
Click OK to apply the query and close the builder:
Finally, save your server action (Ctrl+S / Cmd+S):
Previewing the Server Action Results
With the productsList server action created and saved, let’s preview the result in the browser.
Before running it, make sure the Output option is enabled for the Database Query step. This ensures the query results are returned by the action and accessible later on the front end:
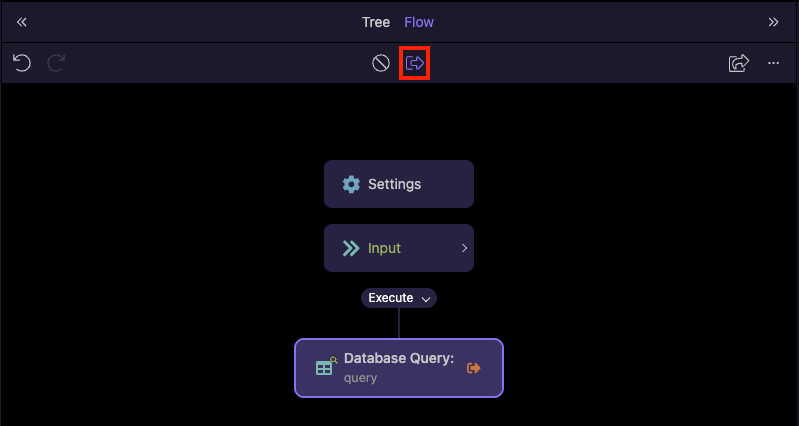
Click Open in Browser:

The server action will open in your default browser and run automatically.
You should see the product data returned as JSON:
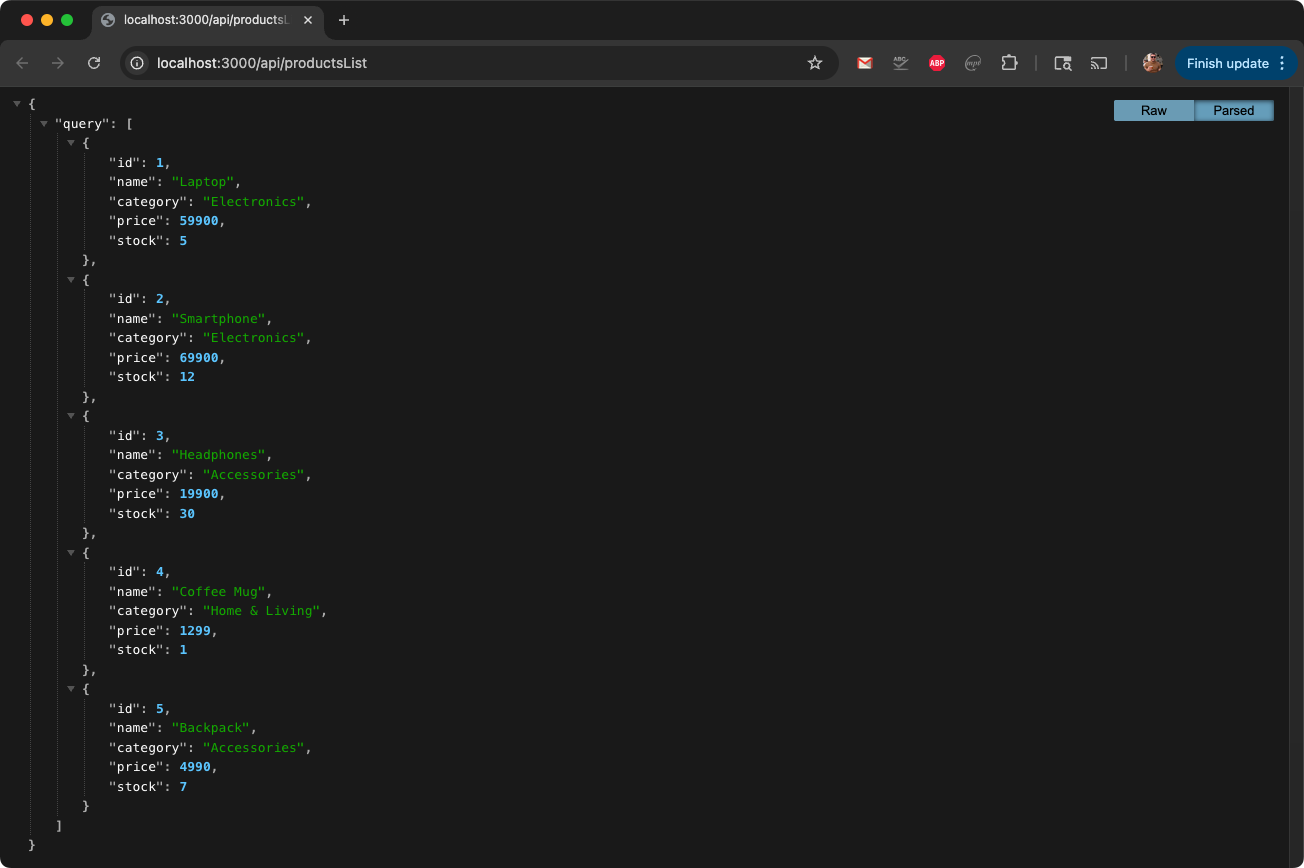
[!note]
Seeing raw JSON in the browser is normal here — it confirms your server action (API) works and is returning data correctly. In the next step, we’ll bind this data on a page.
Displaying the Data on a Page
We’ll show the productsList data on a page in a generated Bootstrap table.
Page Setup
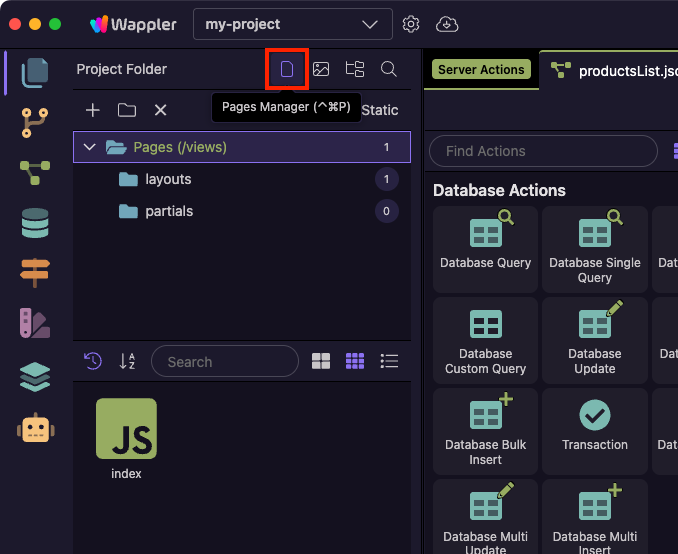
Open the Site Manager:
Switch to the Pages View (Pages Manager) — this view makes it easier to work with NodeJS pages:
When you created the project, Wappler automatically generated a main layout page and a content page called index.
Click index to open it:

Wappler should have already added the default frameworks to the page: App Connect, Bootstrap, and Font Awesome.

You can now close the Pages Manager panel — it won’t be needed in the next steps.
Adding the Server Action to the Page
Before we can display any data, we need to include the productsList server action on the page.
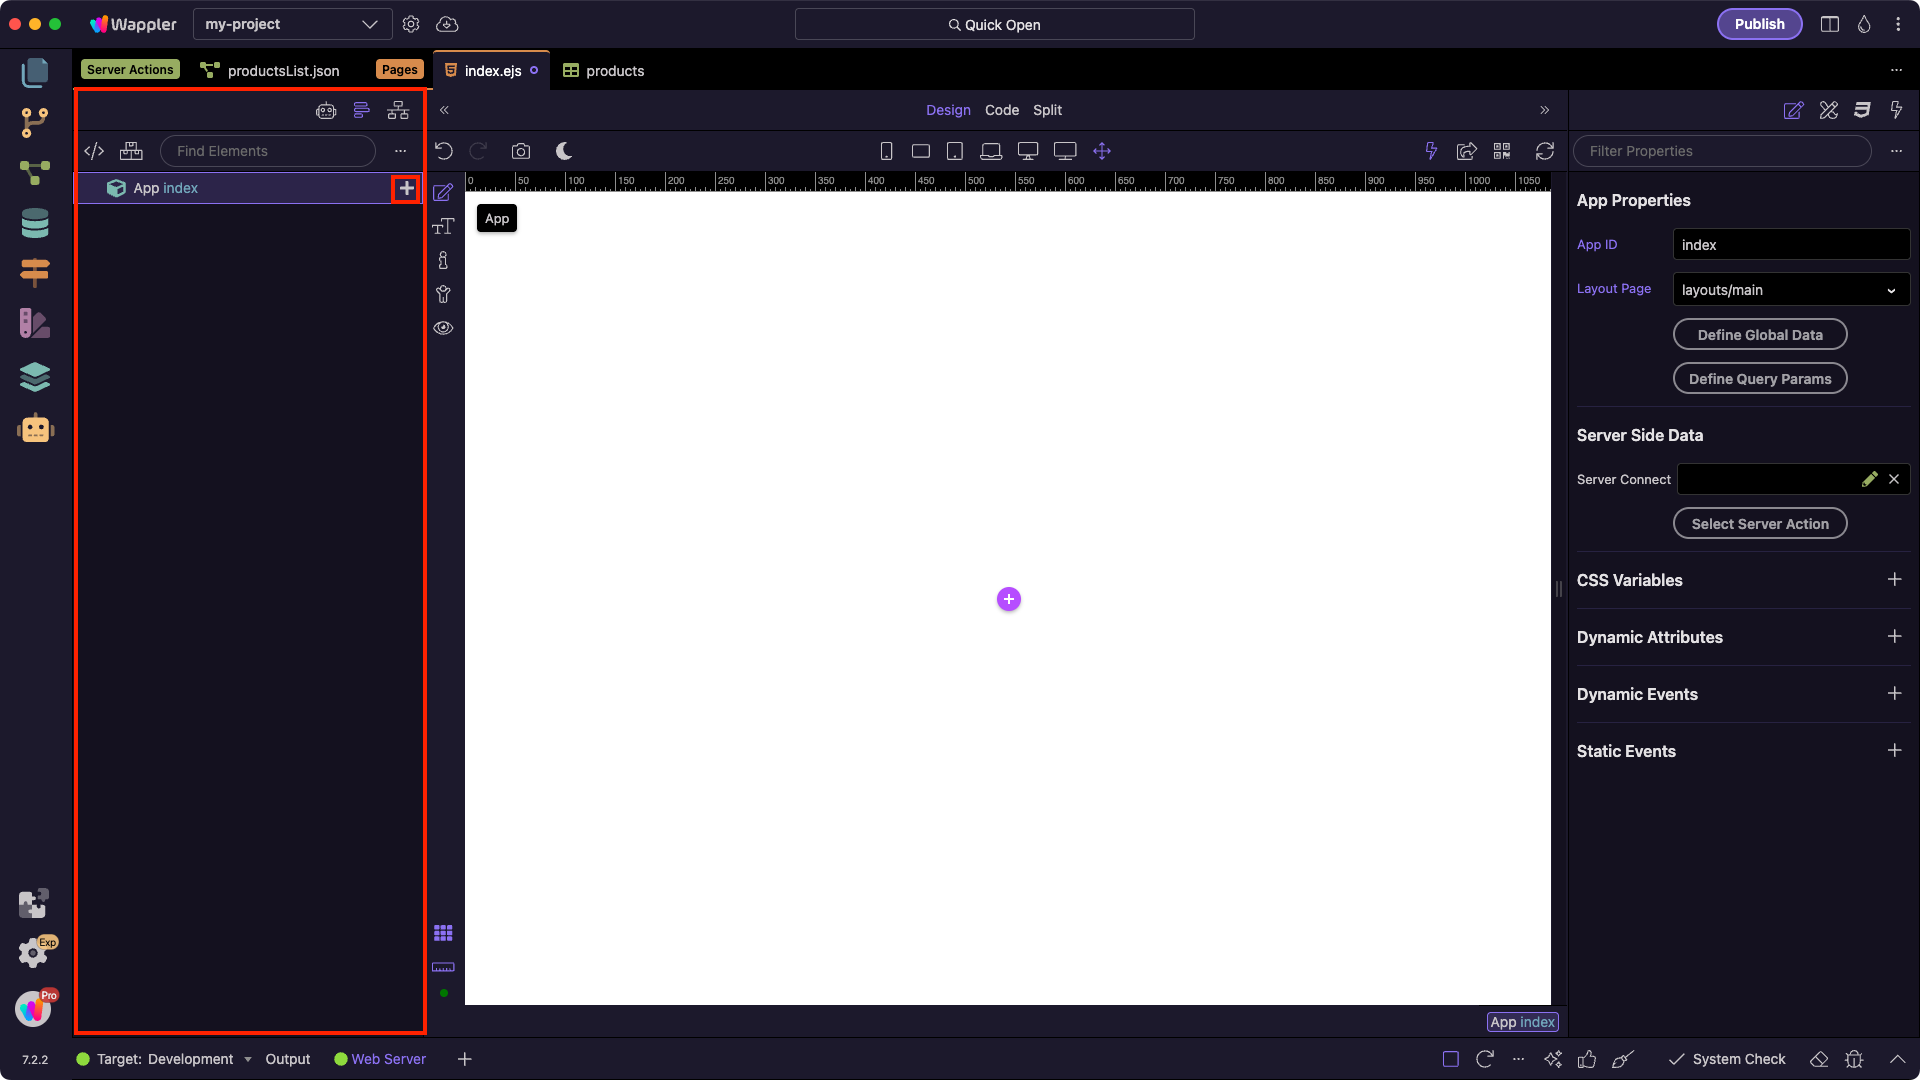
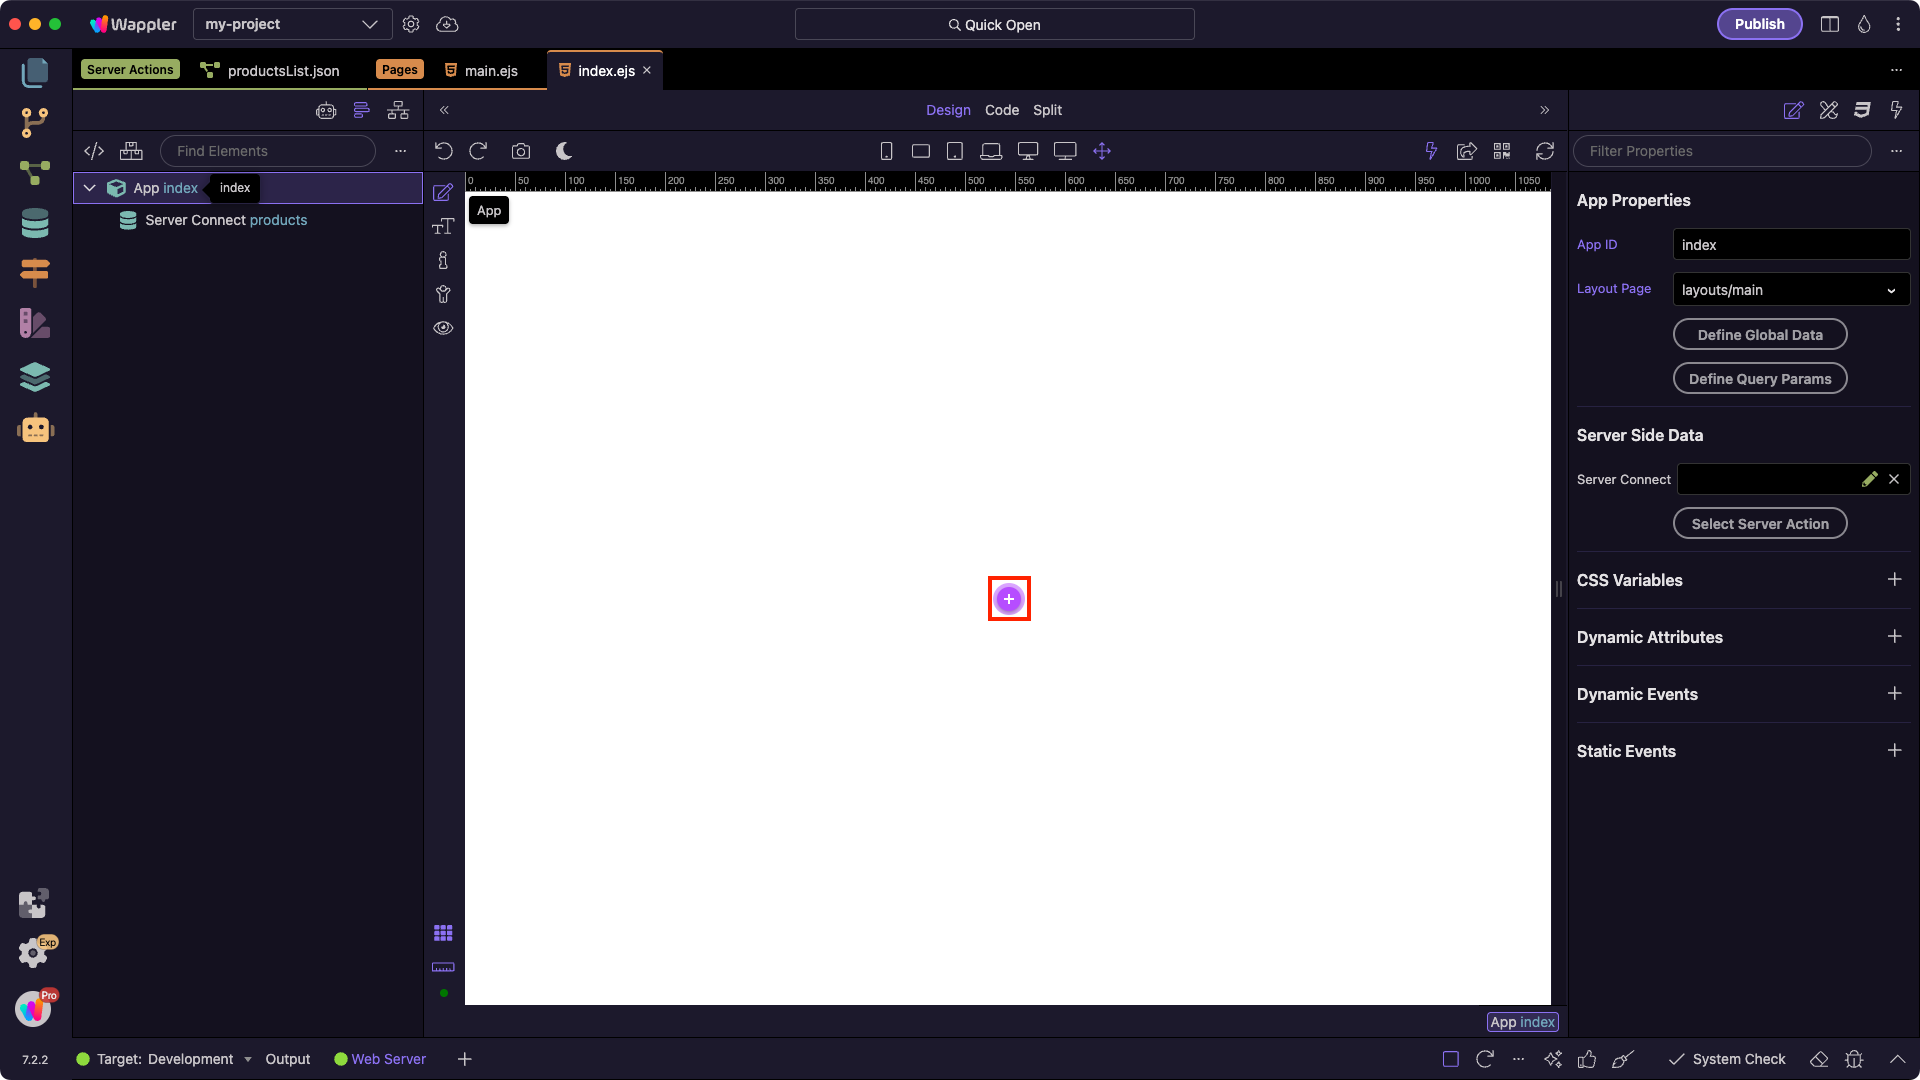
In the App Structure panel, select App and click the + button:
In the Components Picker dialog, go to Data > Server Connect:
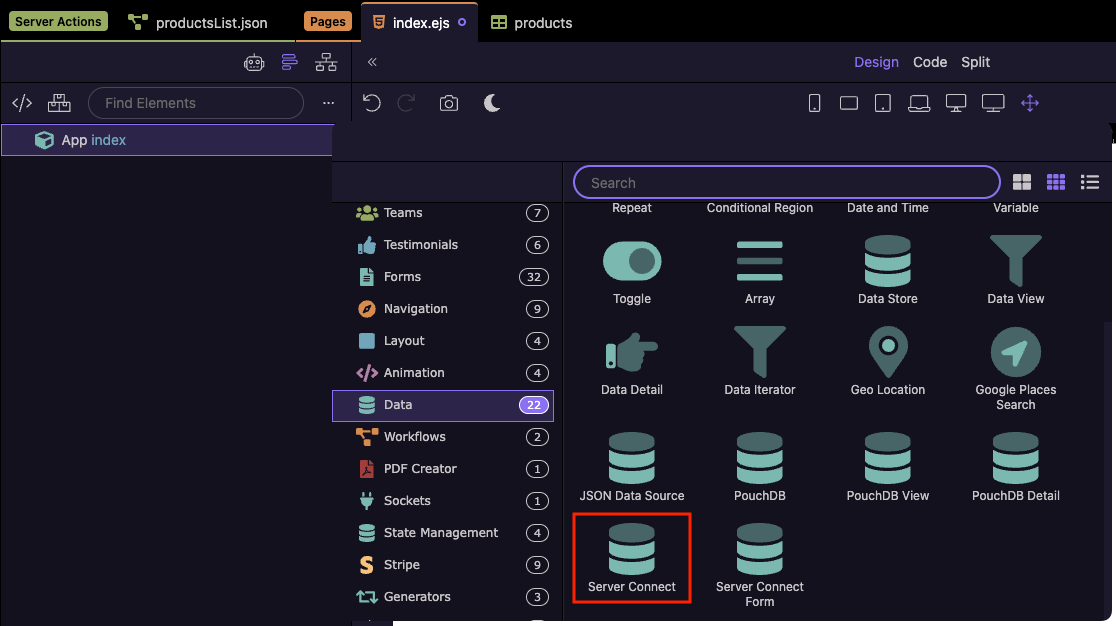
This adds a Server Connect component to the page:
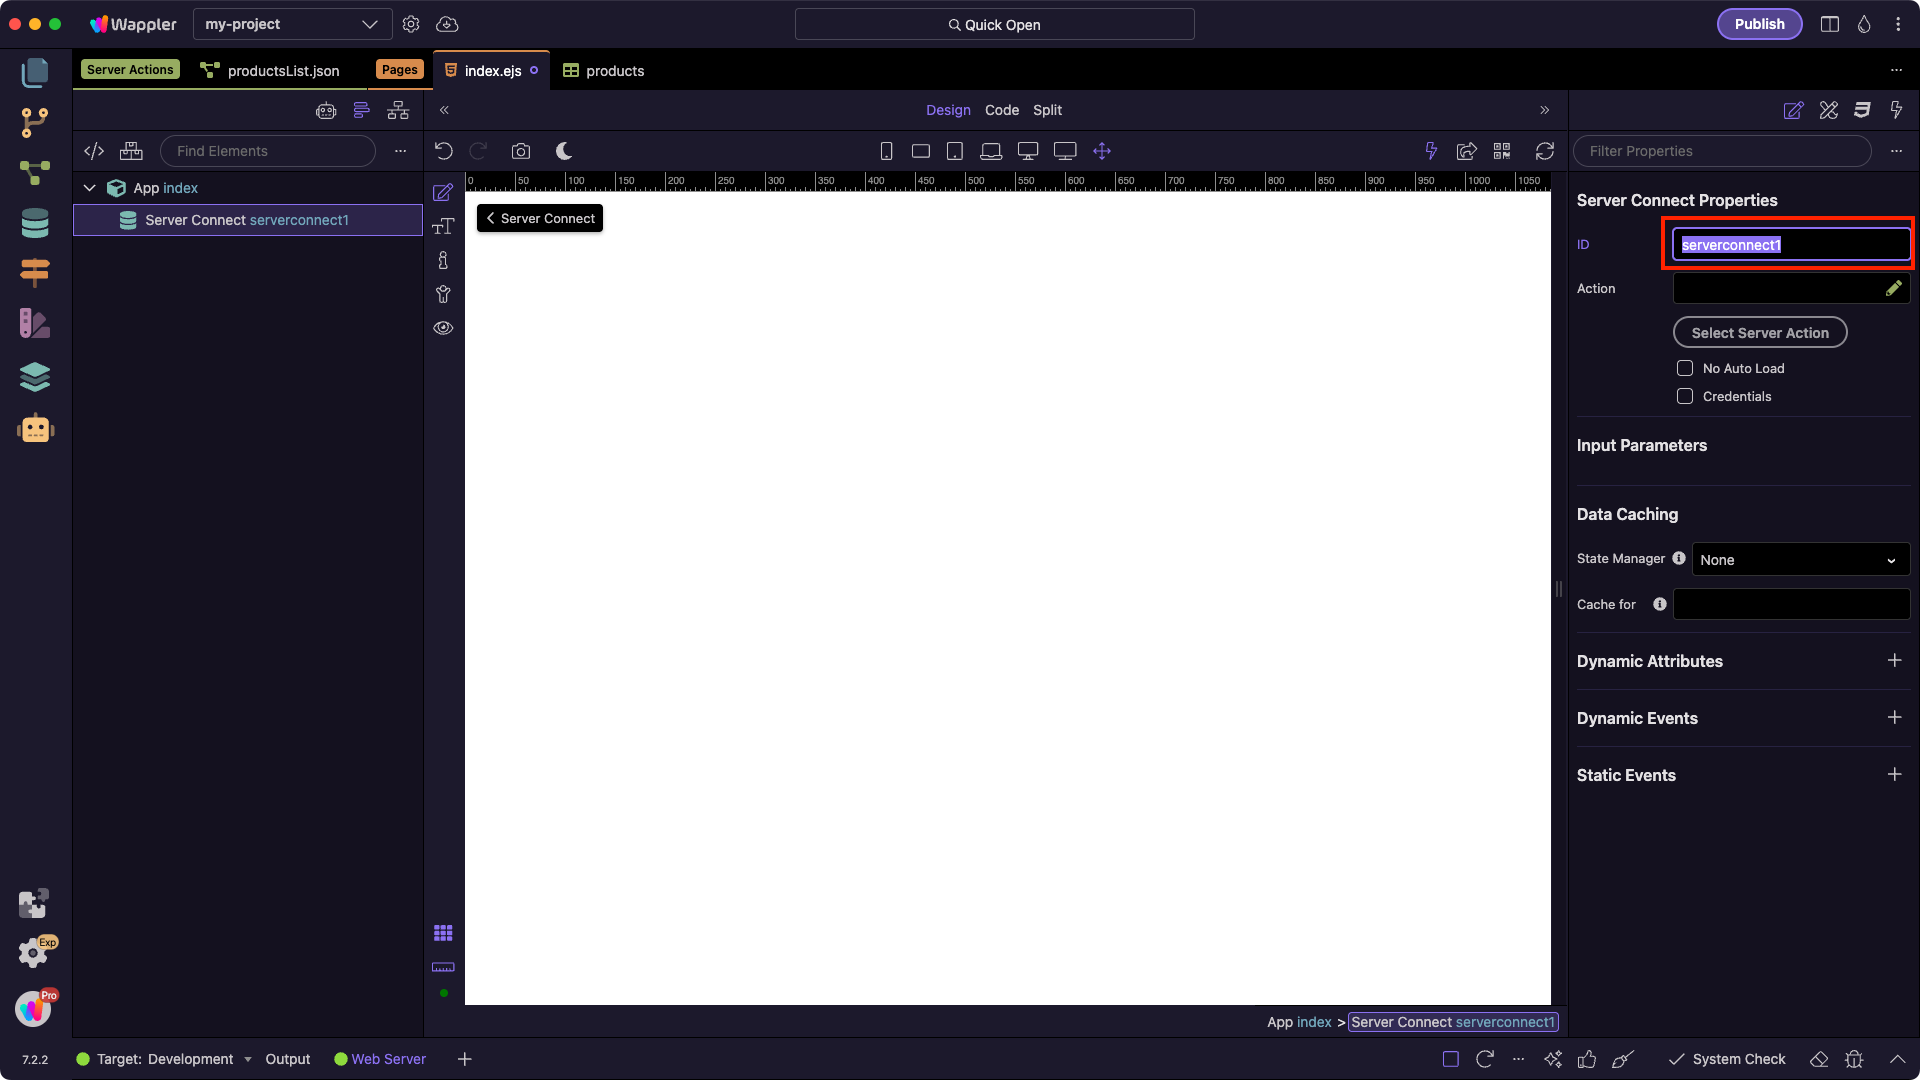
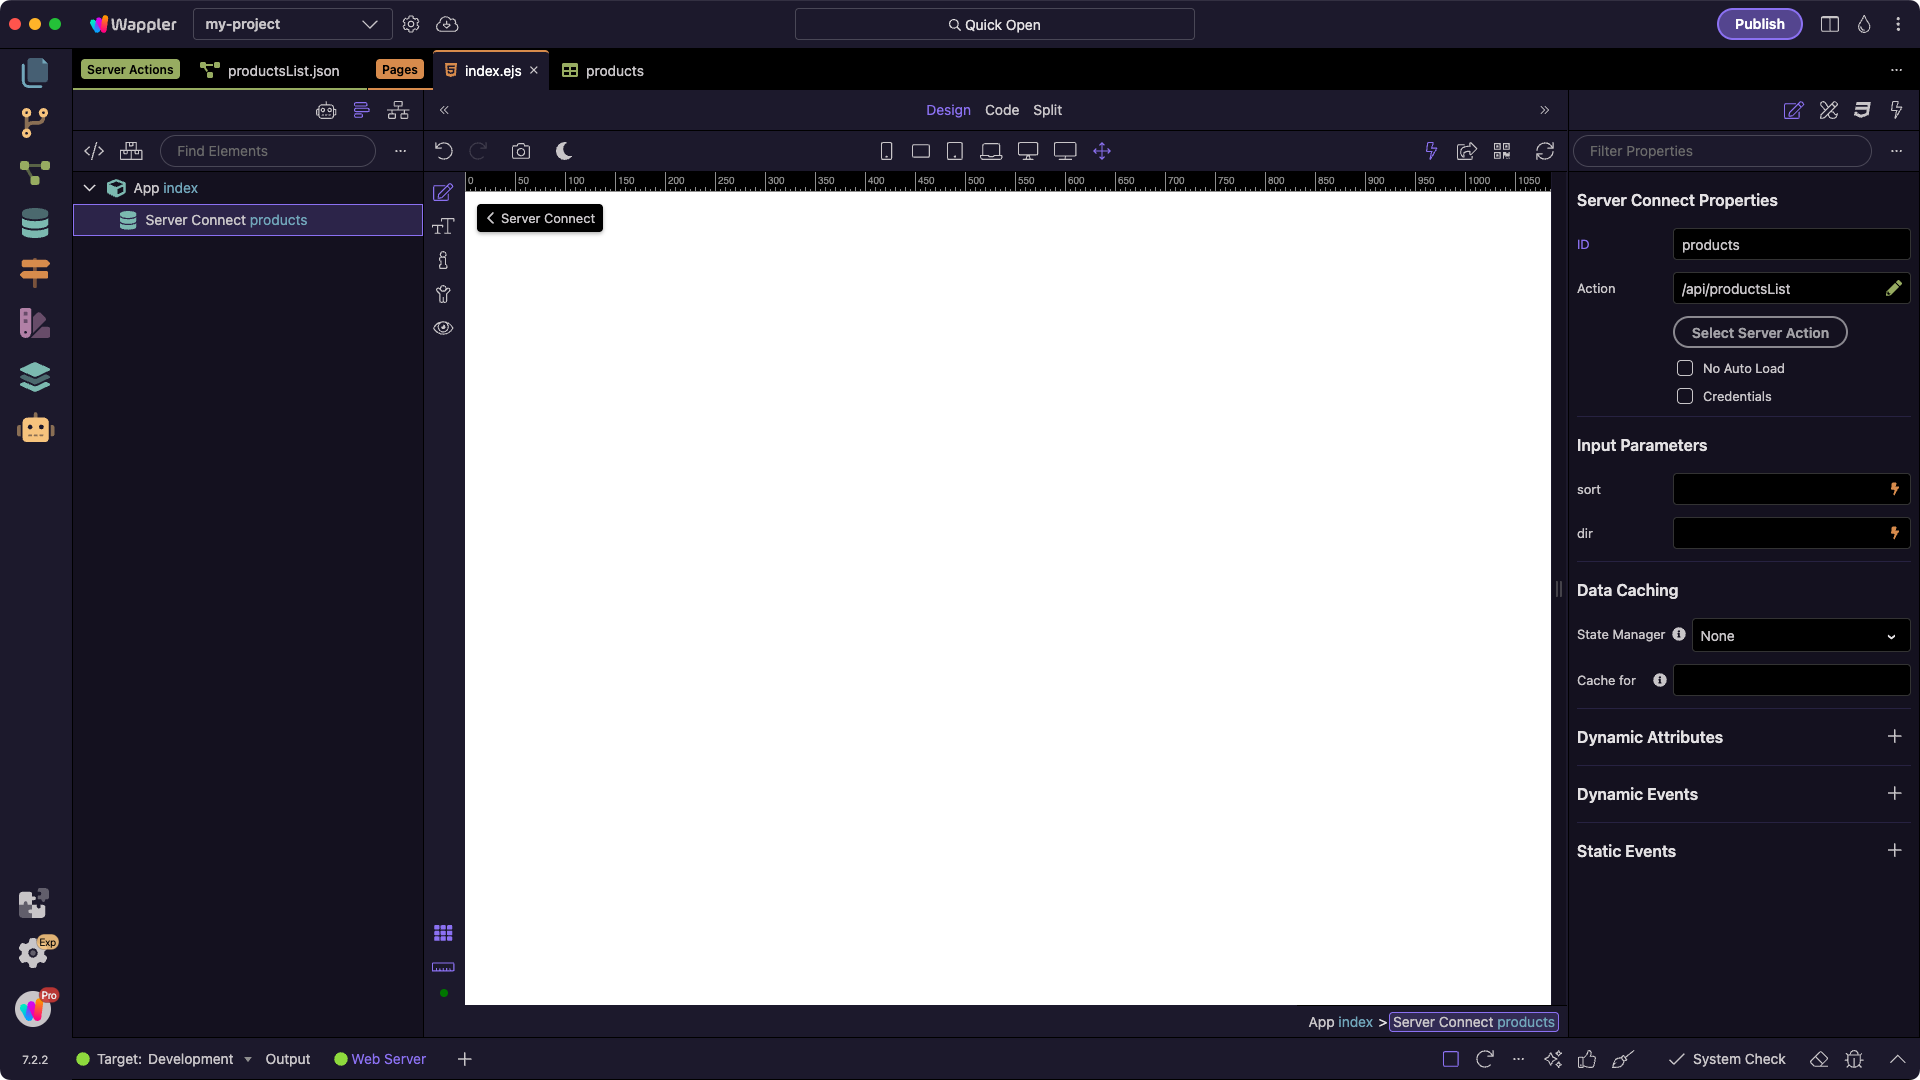
Give it a name - we’ll call it products:
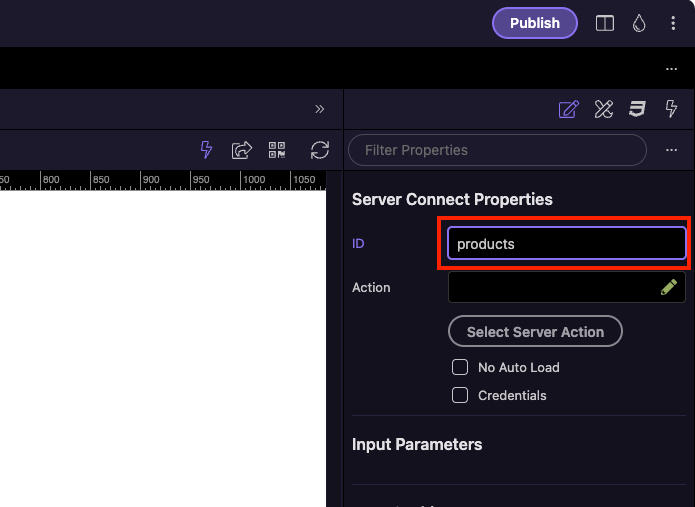
Next, click the Select Server Action button:

Choose the productsList server action and click Select:
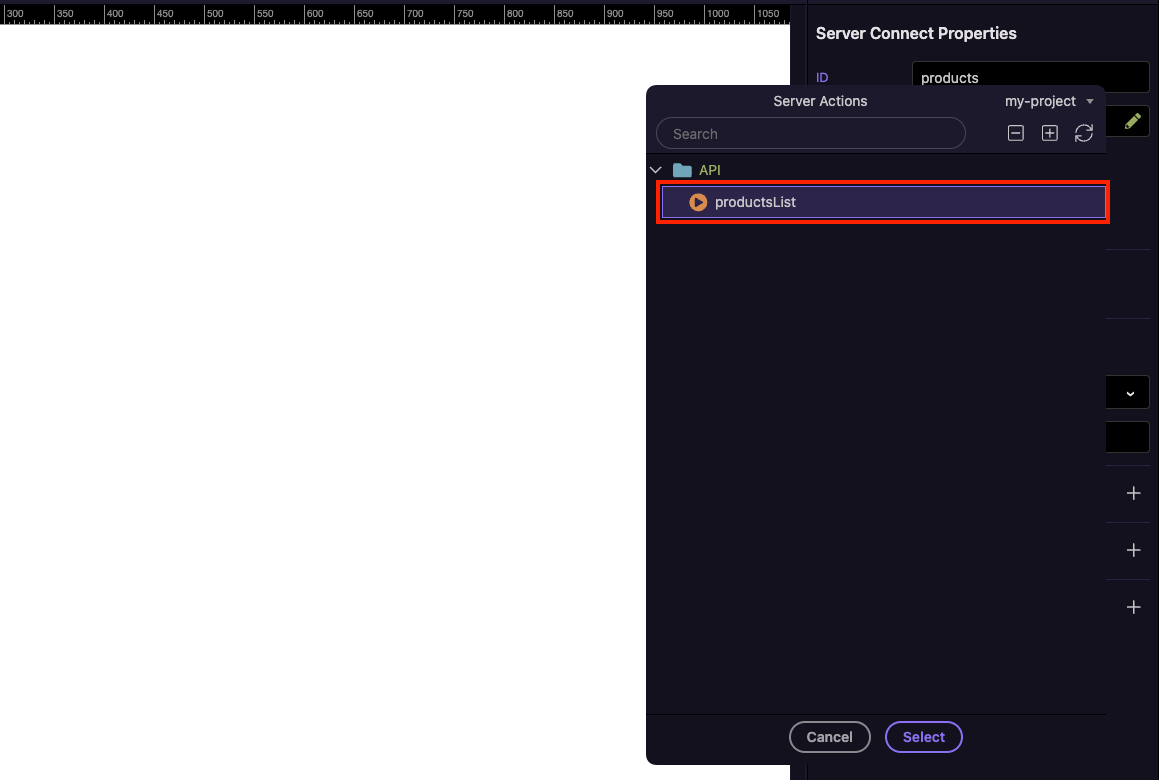
Now the productsList data is connected to the page and ready to use.
[!note]
The Server Connect component doesn’t display anything by itself.
It only makes the data from your server action available on the page, so you can bind it to tables, lists, or other elements.
Generated Bootstrap Table
This is the fastest way to create a clean, responsive table.
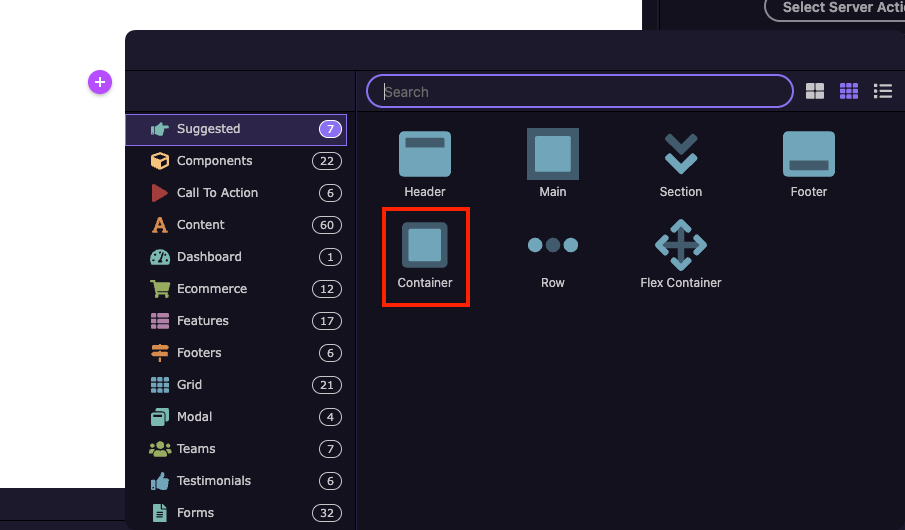
Start by adding a container to the page. Click Add New Element in the design canvas:
Choose Container:
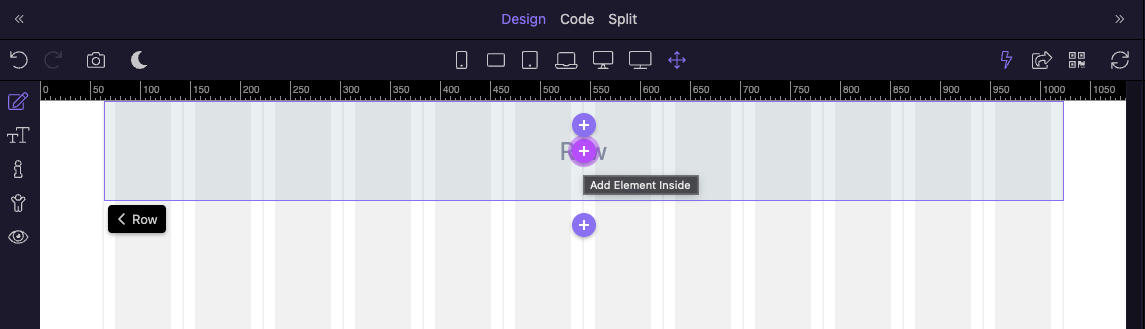
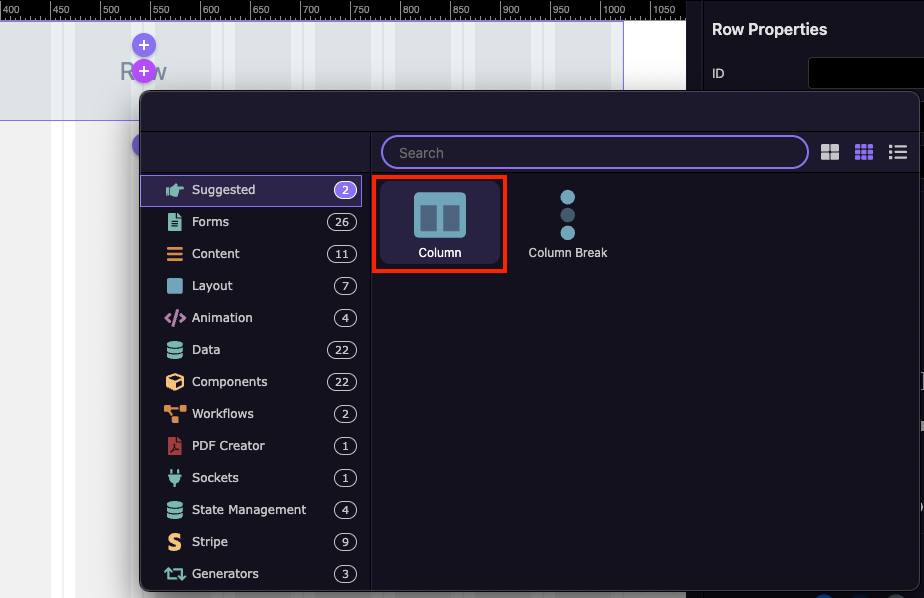
Inside the container, click Add New Element again and insert a Row:


Then, add a Column inside the row:
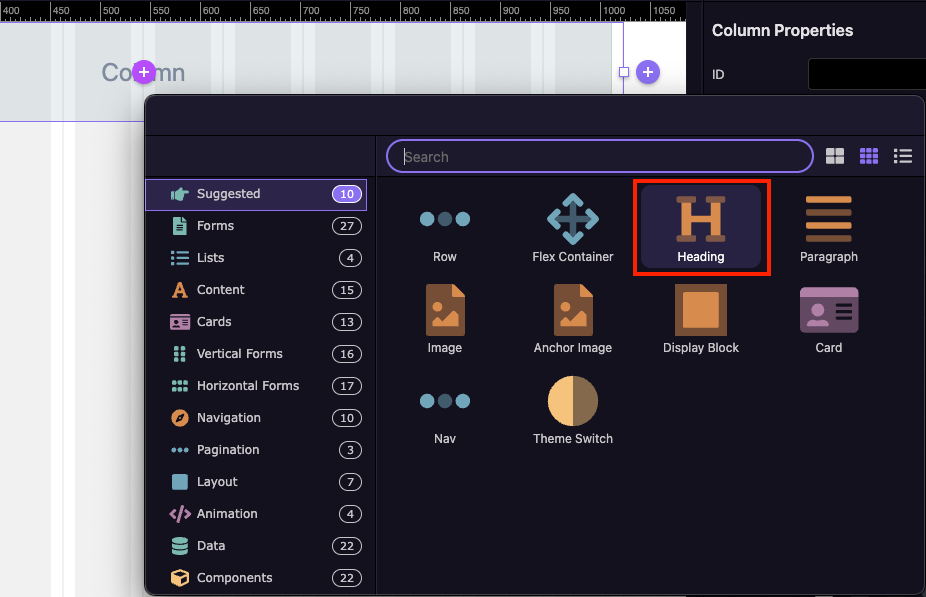
And insert a Heading inside the column and change its text to Products:
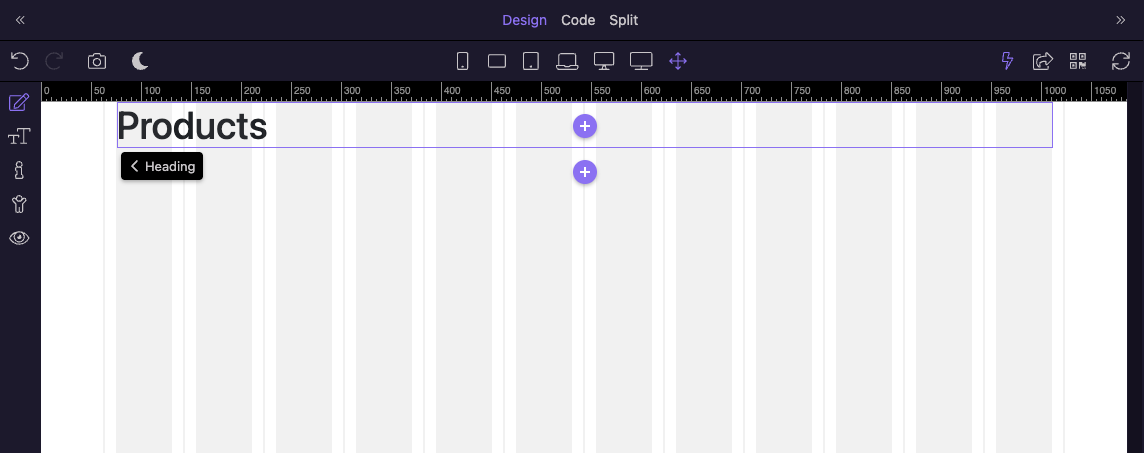
Now let’s add the dynamic table.
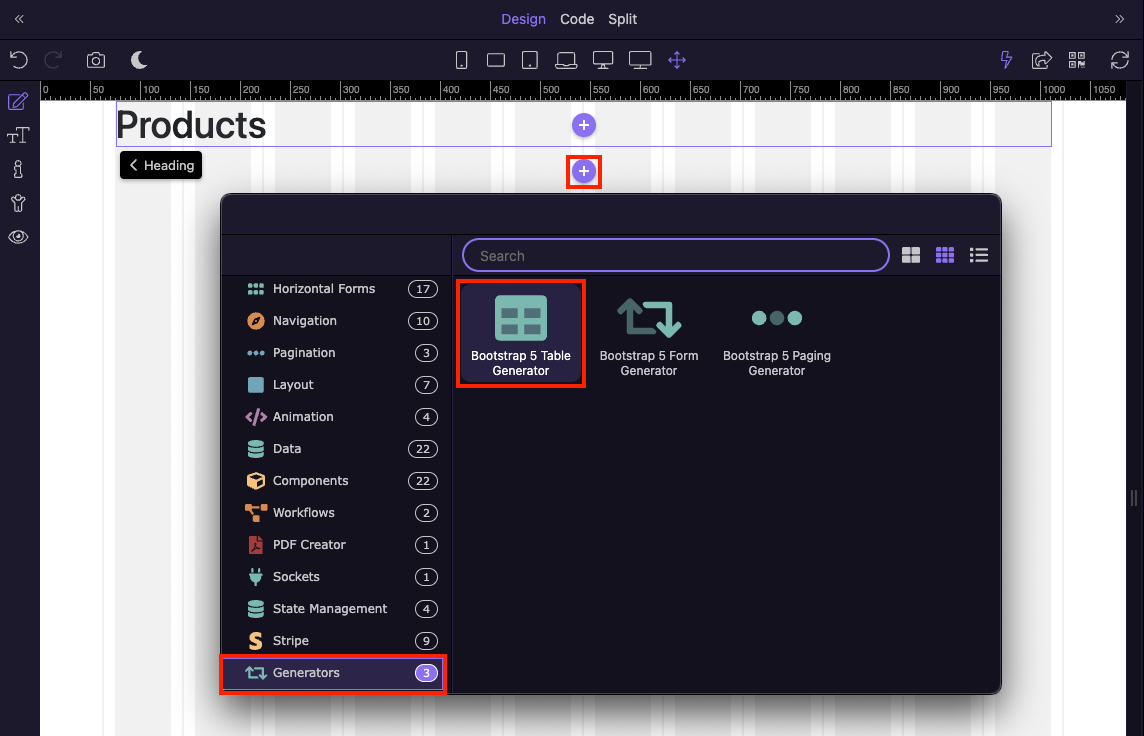
Insert a new element after the heading and choose Generators > Bootstrap 5 Table Generator:
The Table Generator options will appear.
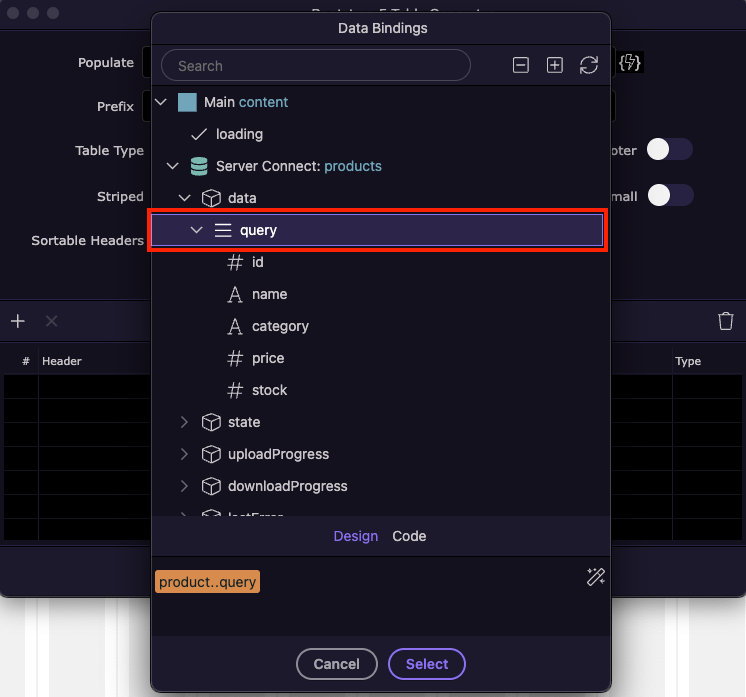
First, click the Dynamic Data Picker icon to select the data source:

In the Data Bindings dialog, expand our server action products and select data > query.
This is the database query that returns the product list:
Next, configure the table appearance options. You can enable features such as:
- Responsive → Makes the table scrollable on smaller screens.
- Striped → Adds alternating background colors to rows.
- Bordered → Adds borders around all cells.
- Hover → Highlights rows when hovered.
- Small → Reduces cell padding for a more compact table.
For this tutorial, make the table responsive and enable the hover option.
Below, you’ll see the table’s data configuration — the header texts (column names) and the dynamic values displayed in each table cell:
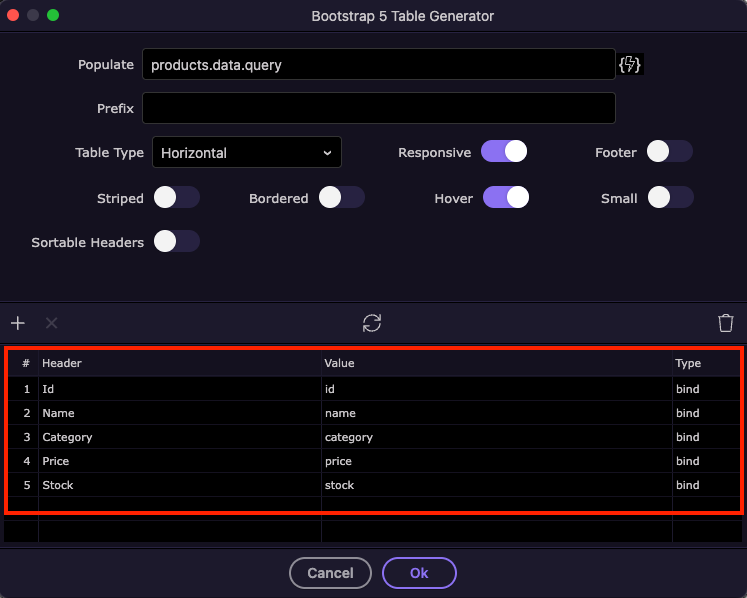
Click OK to generate the table.
You’ll see the results directly in Wappler’s Design View — including the raw price values shown in cents (e.g. 99999):
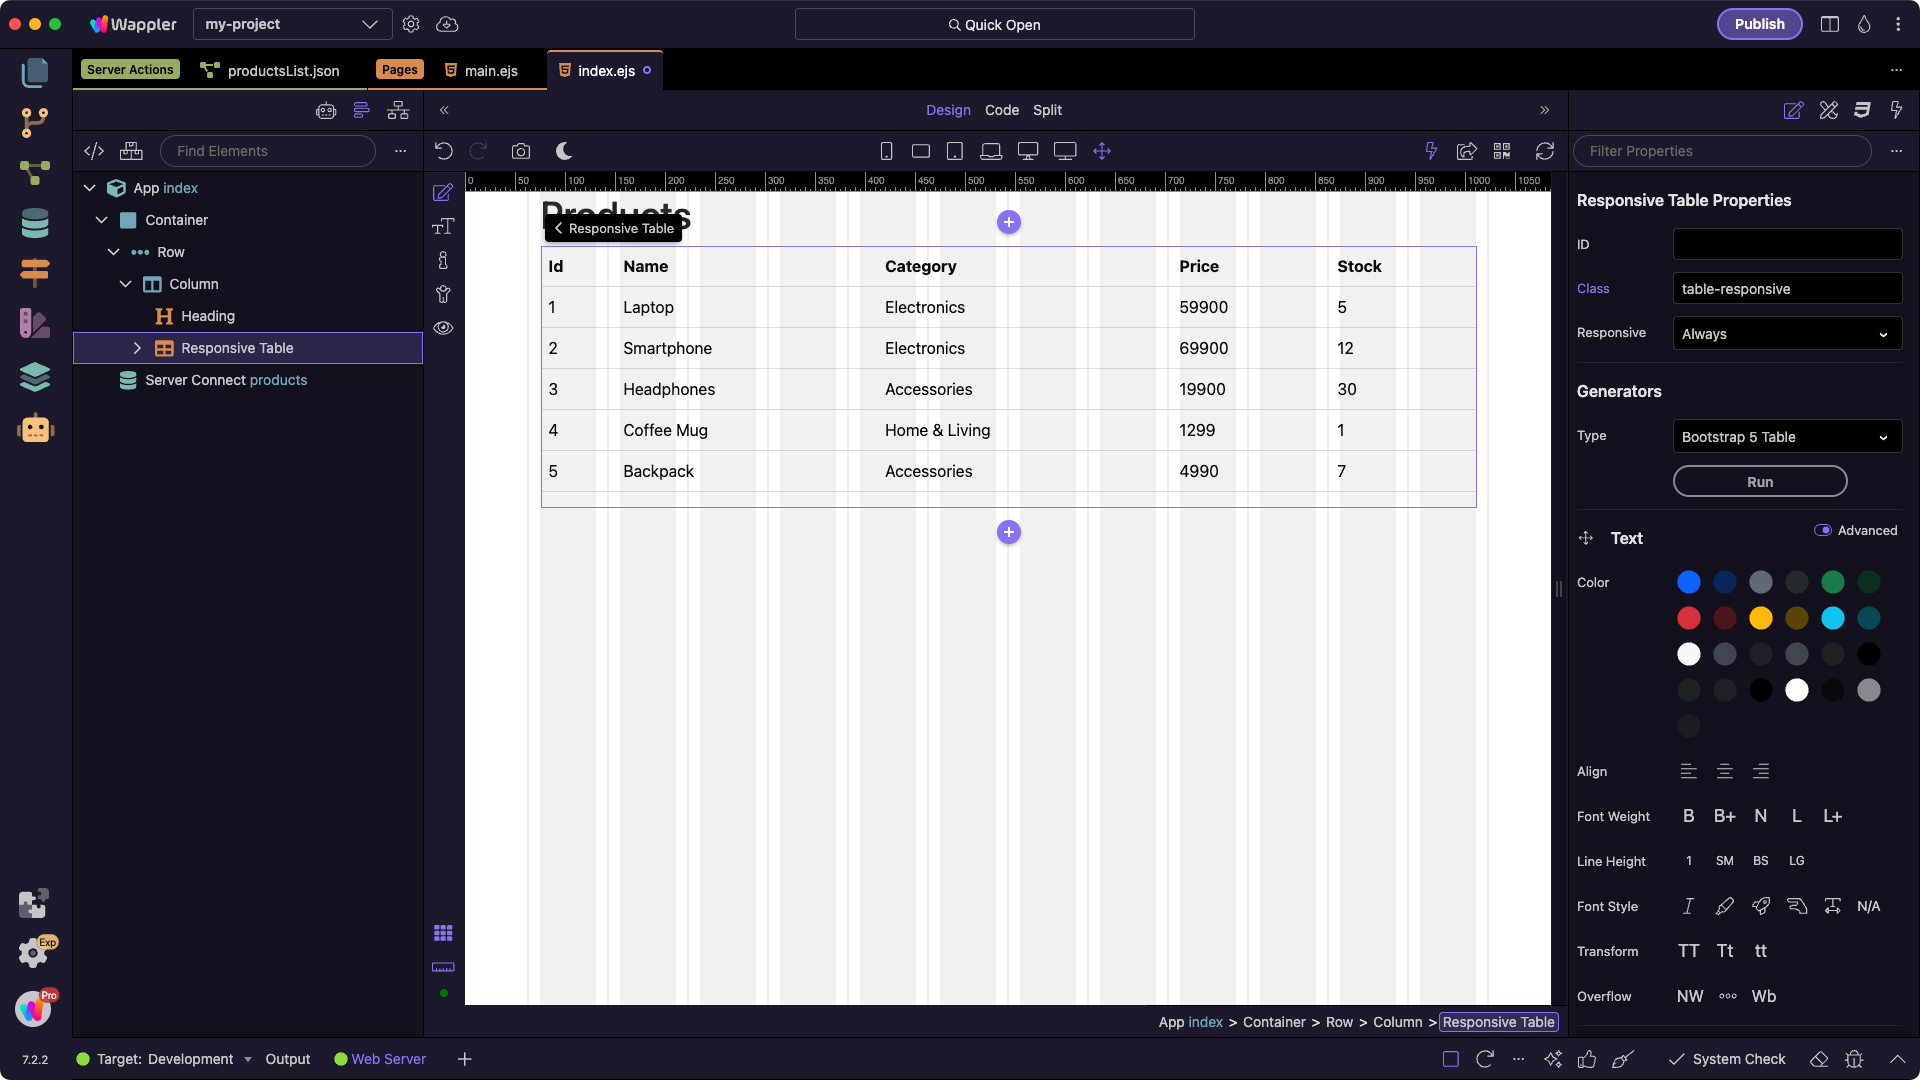
Next, we’ll format the Price column so it displays as a proper currency value.
Select the Price table cell and, in the Properties panel, scroll down to the Dynamic Attributes section.
There you will see the cell’s inner text value:
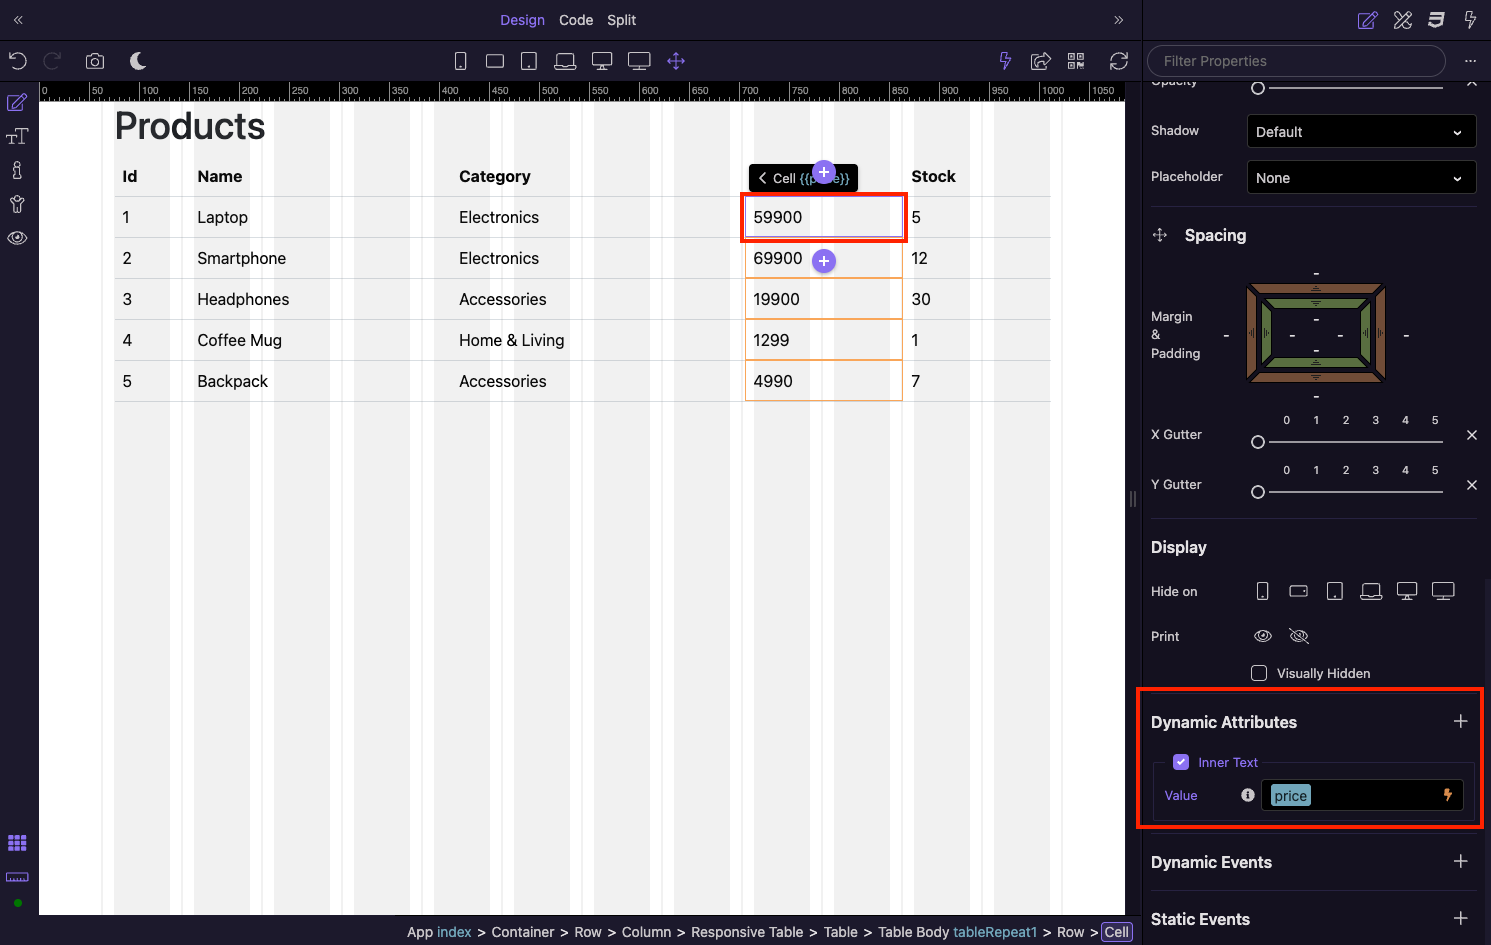
Click the Dynamic Data Picker icon:

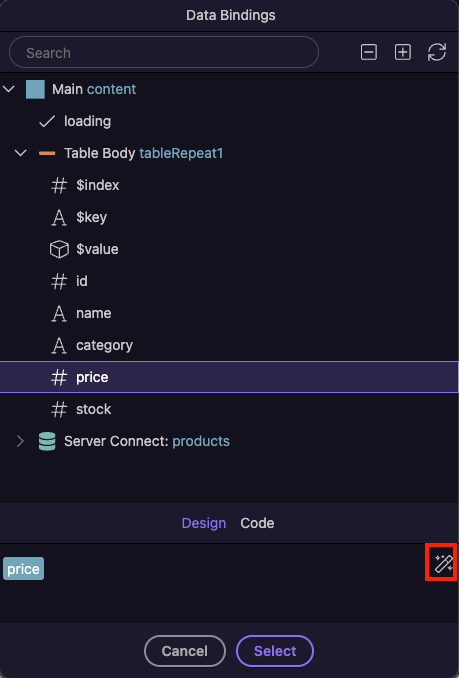
The Data Bindings dialog appears, showing the selected price binding.
Click the Format Data icon:
[!tip]
Data formatting changes how raw data is displayed on the page without altering the actual values in your database.Our
pricefield is stored as99999(cents).
By formatting it, we can display it as$999.99instead.This keeps the stored data accurate while showing clean, user-friendly values on the front end.
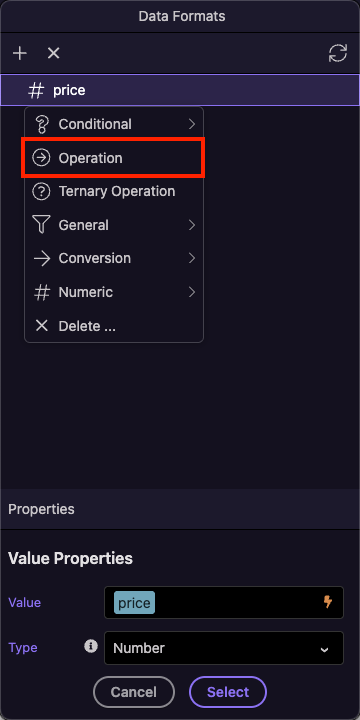
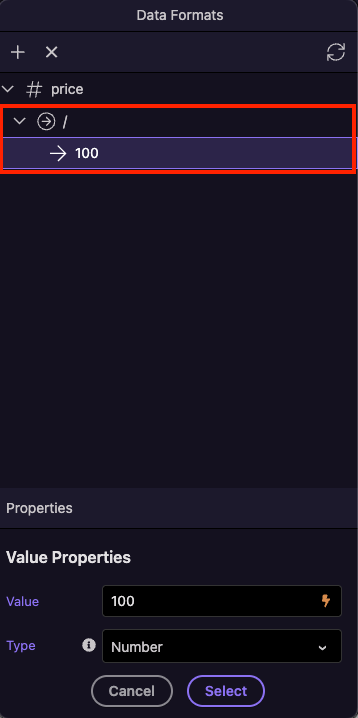
Because prices are stored in cents, we first need to divide the value by 100.
Right-click price, choose Operation, select / from the operations dropdown, and enter 100 as the value:
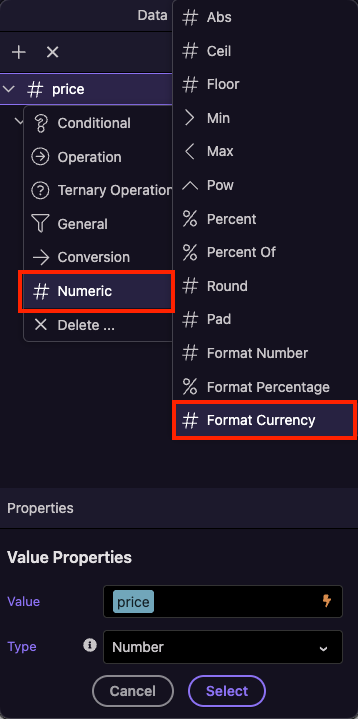
Then, let’s format the number so it displays as currency.
Right-click price again, and under the Numeric section, select Format Currency.
Adjust the unit, separator, delimiter, and precision as needed — we’ll leave the default values:

Click Select when you’re done.
You can now see the formatted prices in the Price column:
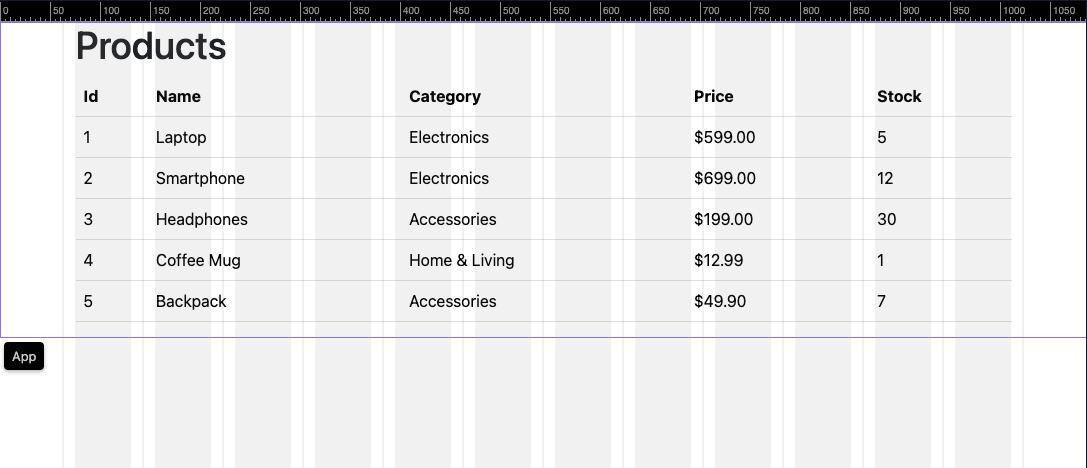
You can now preview the page in your browser to see the table filled with your formatted product data.
To do this, click the Open in Browser button at the top of the design canvas:

Now that you’ve seen how to quickly generate a table, you’ve successfully displayed dynamic data from your database on the page.
Congratulations — you’ve just built your first dynamic Wappler app!