Intro
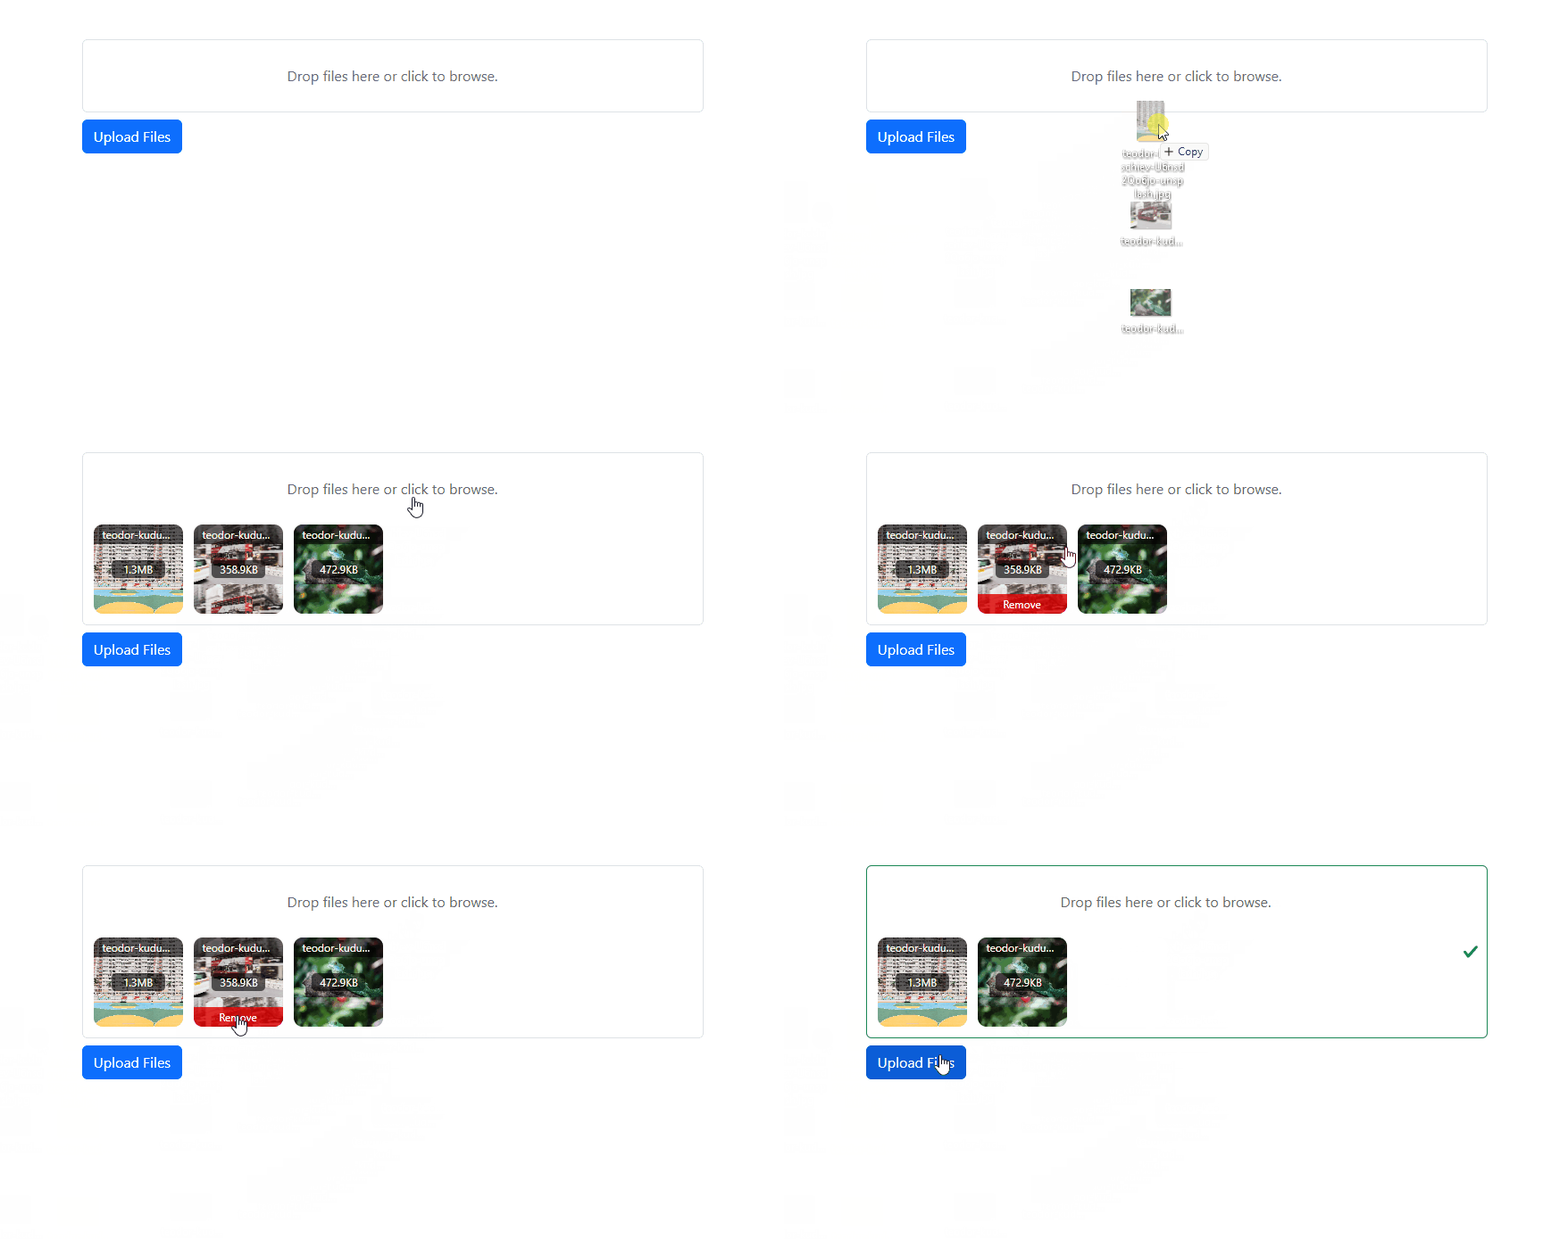
The Dropzone component allows you to add file drag and drop functionality to your forms. It also includes customizable thumbnail previews.
In this tutorial we will show you how to create a multi file upload form, that allows you to drag, drop and upload multiple files to a folder on your server.
Adding Drozone on the page
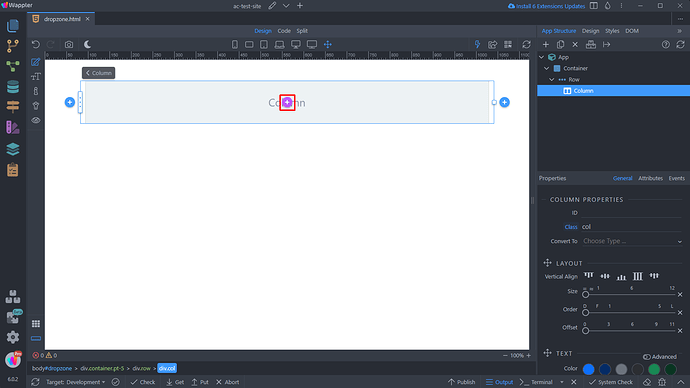
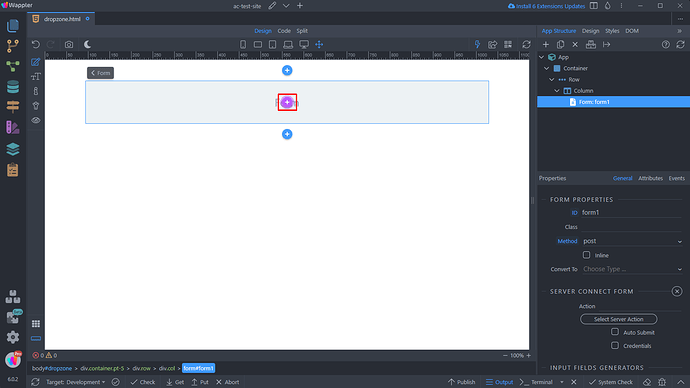
The first step is to create a server connect form. Click the Add Element button on the page:
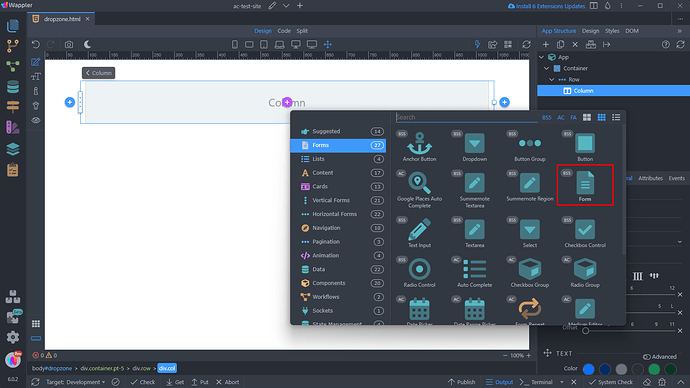
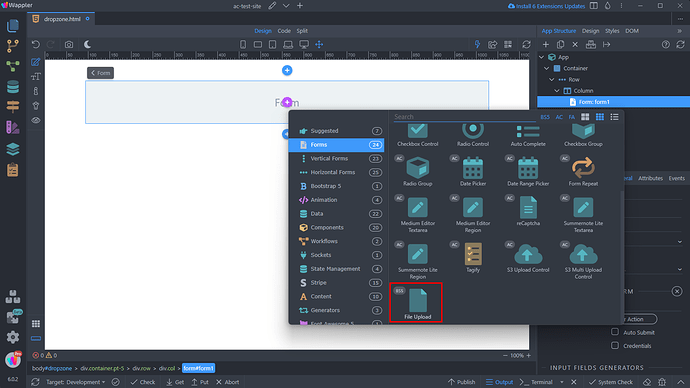
Then select Form:
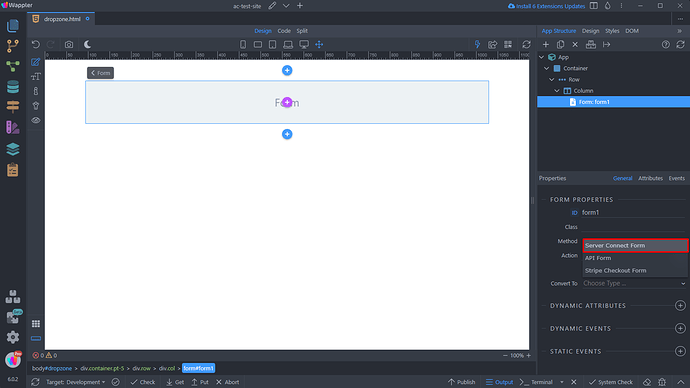
Convert the form to Server Connect Form:
We will select a Server Action for this form later in the tutorial, leave this empty for now.
The next step is to add a file input. Add new element inside the form:
And add a file input:
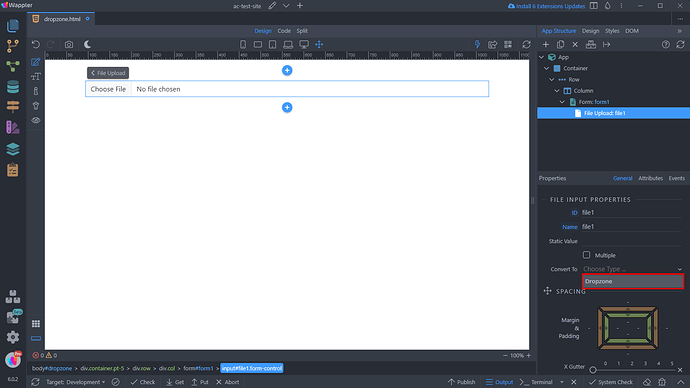
Convert the file input to Dropzone, using the Convert To dropdown:
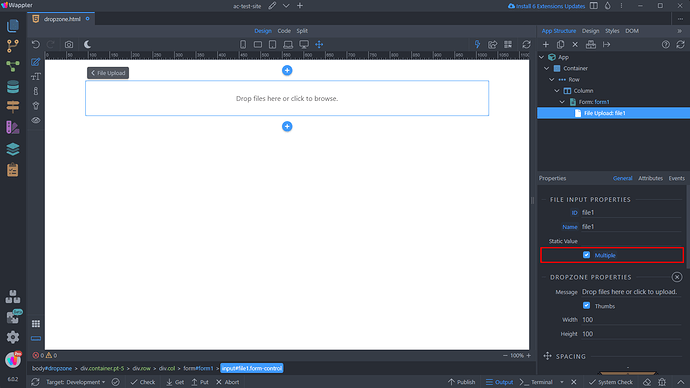
You can see our input has been converted to Dropzone. By default the Dropzone component allows multiple files to be dropped inside it (or selected) for upload:
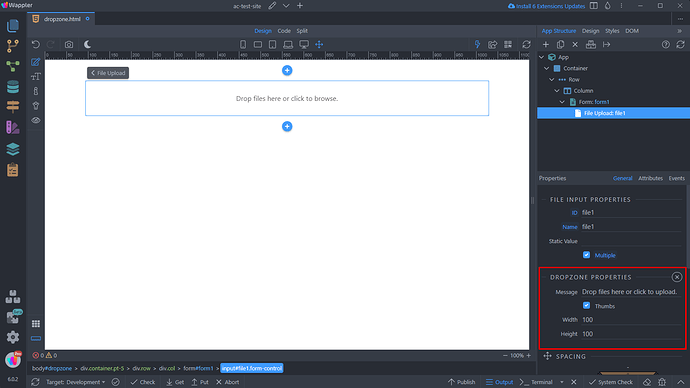
You can set up the options such as - the message to be displayed to your users and enable or disable thumbnail previews and also their size:
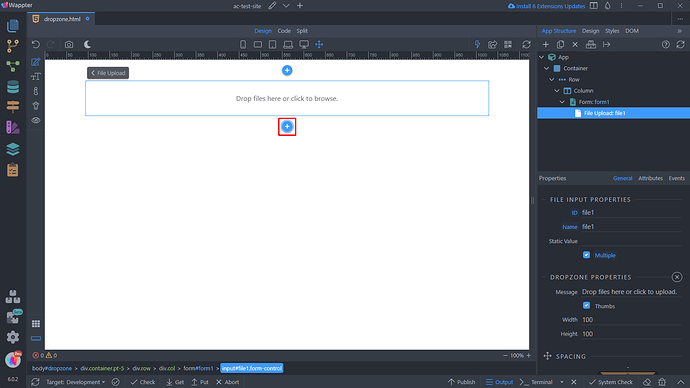
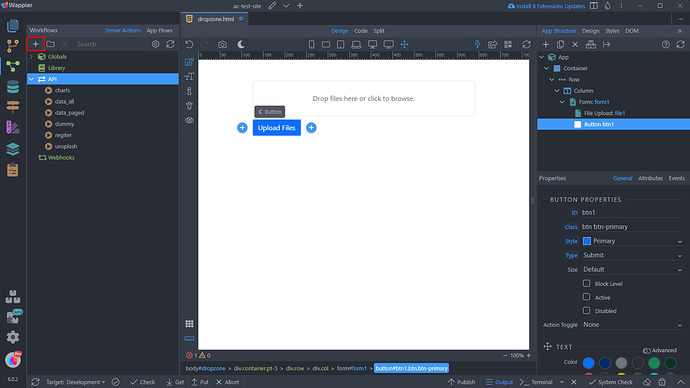
When you're done customizing the Dropzone properties, you need a button to submit the form. So add an element after the Drozpone:
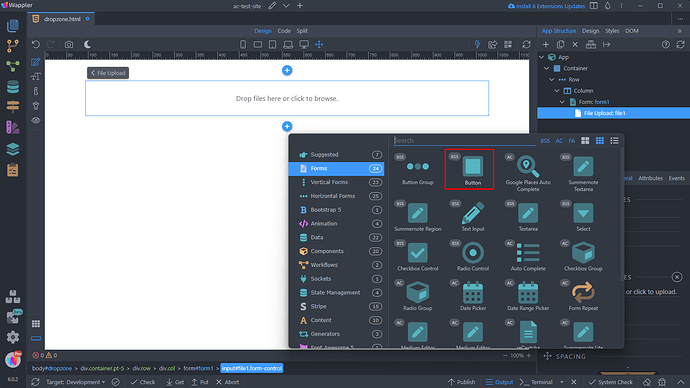
Select Button:
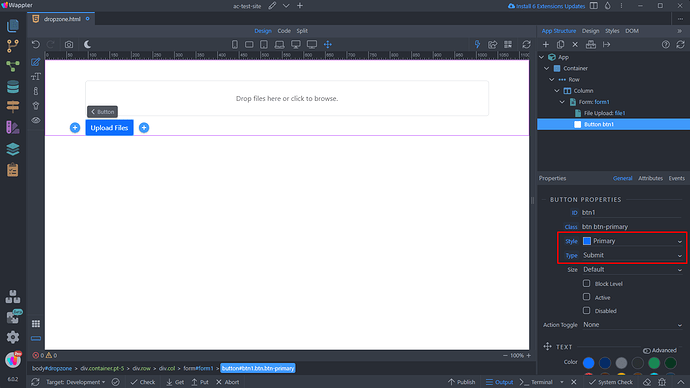
Customize it and set its type to Submit. That is important, as you need a submit button to submit the form:
File Upload Server Action
The next step is to create a Server Action which handles the file uploads.
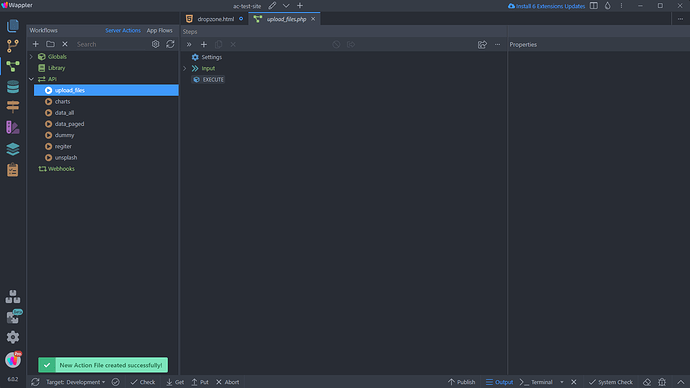
Open the Server Action panel and create a new Server Action (API Action):
We call it upload_files:
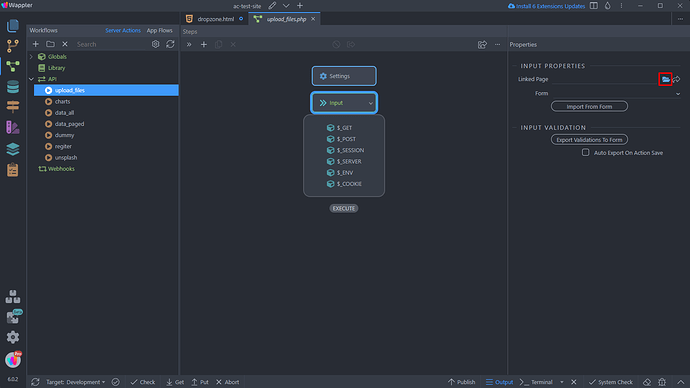
Select Input and in the linked page option, browse to your page containing the server connect form with the Dropzone component:
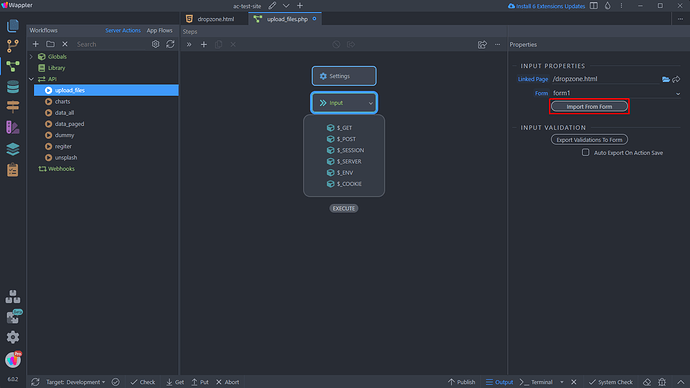
Select the form in the dropdown and click the Import button:
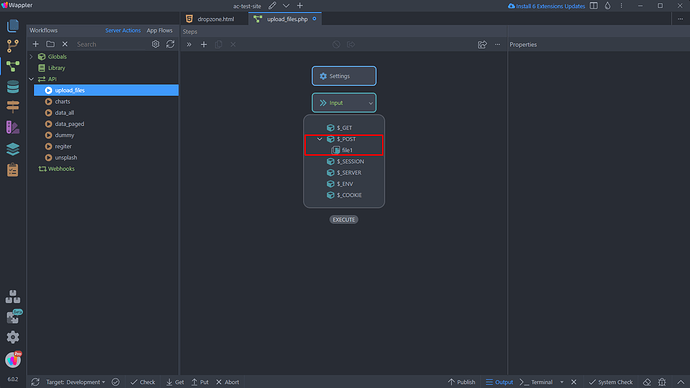
You can see the form input (i.e. the Dropzone input) has been imported under $_POST:
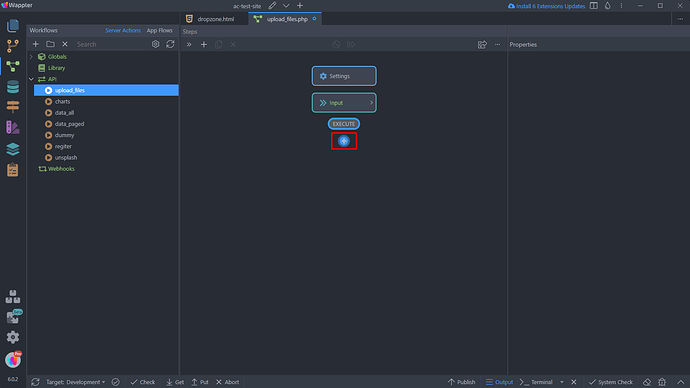
Let's add a file upload step:
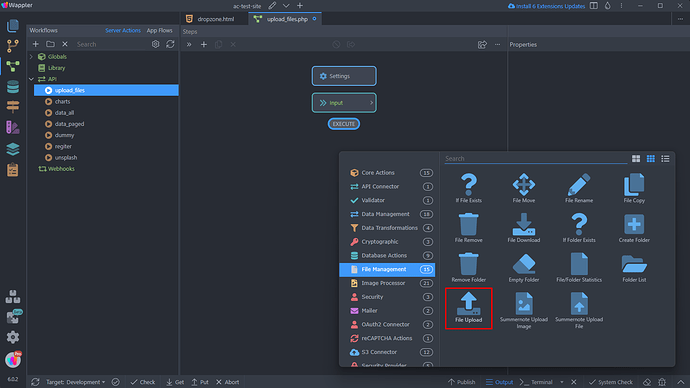
Under File Management select File Upload:
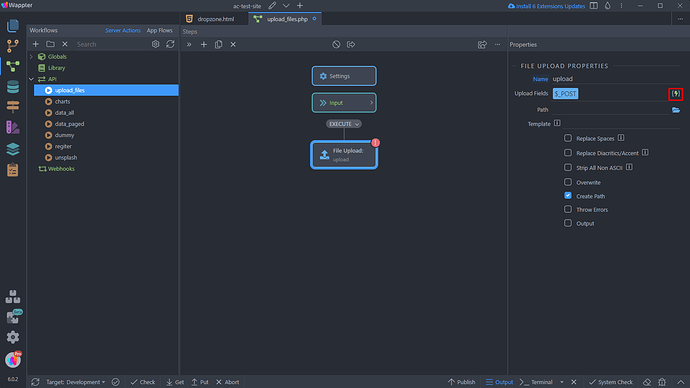
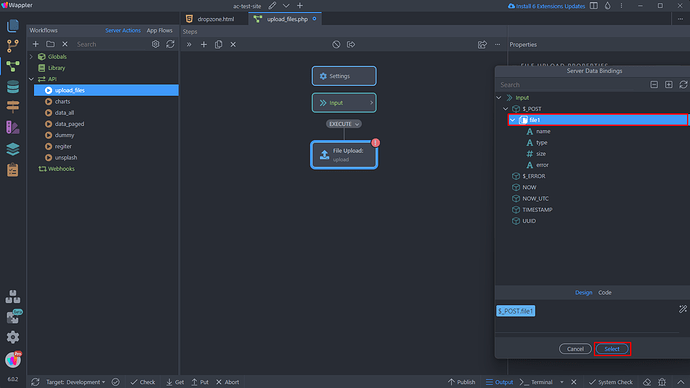
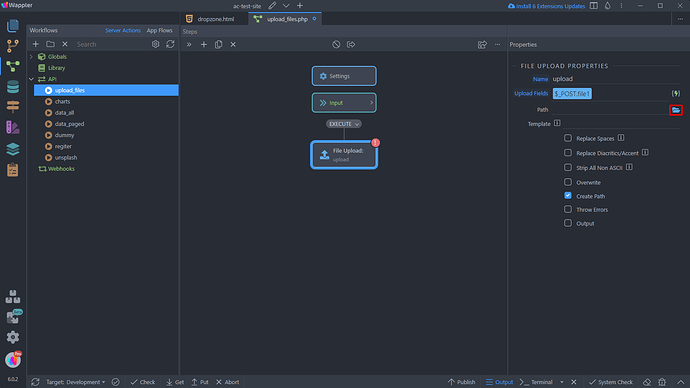
And click the dynamic data picker for the Upload Field option:
Select the file input that we imported under $_POST:
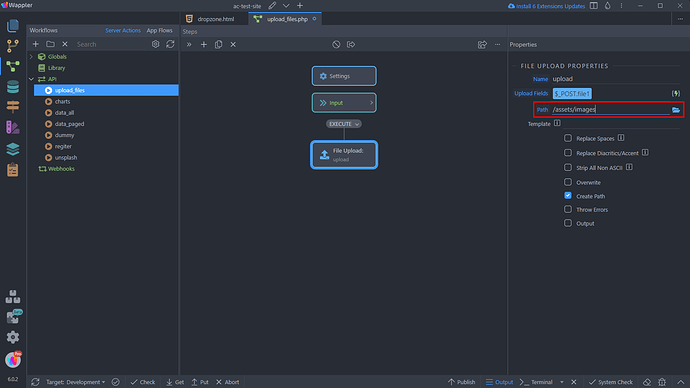
Then pick your upload folder:
It should be a folder, located inside your site definition:
In this example we only show how to upload the files on the server, but depending on your needs you can manipulate them, store their names in a database etc.
Save the server action.
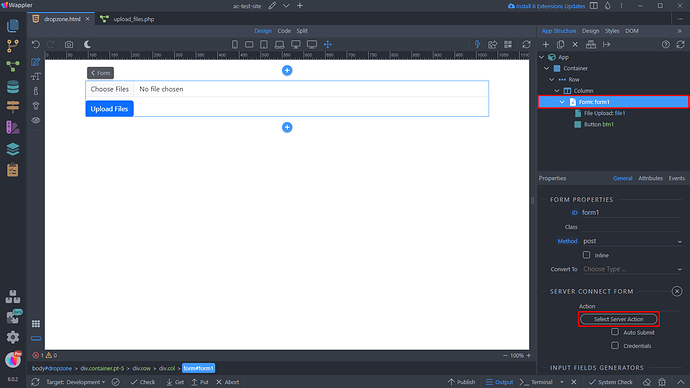
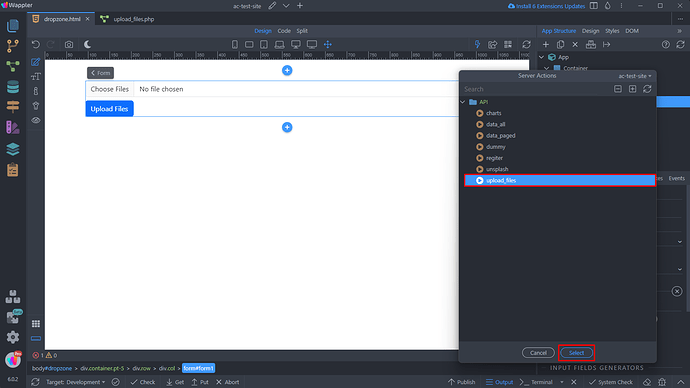
Back on the page, select your Server Connect Form and then select a Server Action:
In the Server Actions picker, select the Server Action that we just created:
And you are done, now you can save your page.
Form Validation
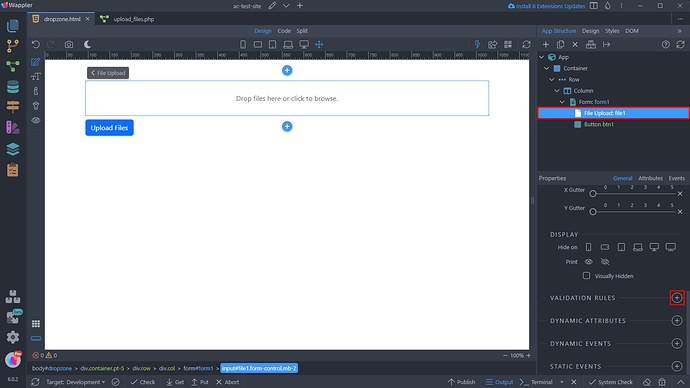
We want to only accept jpg and png files, so we will add a validation to the Dropzone.
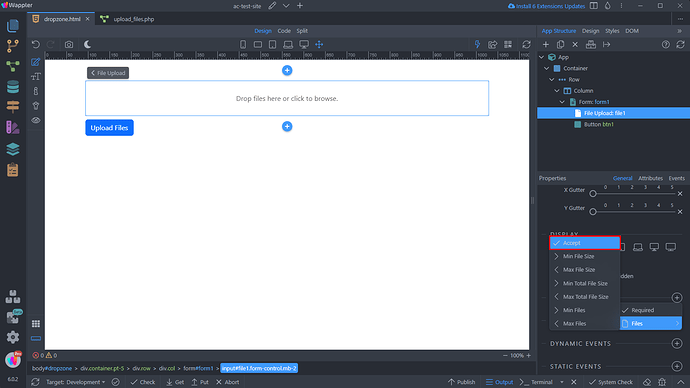
You can apply validation to the Dropzone component, same way as on any other input in your forms. Select the Dropzone and add a new validation, select Accept:
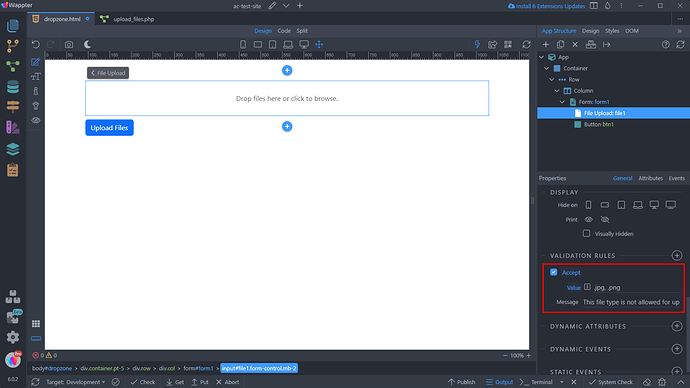
Enter a comma separated list of the file extensions that you want to accept:
You can add other validation rules, such as uploaded files size or limit the number of files to be uploaded.
Let's preview the results:
