Intro
Wappler now supports running a local Redis server directly with the Wappler Local Server — no Docker required.
This makes it easy to test caching, sessions, and other Redis-based features during development, without extra setup.
Redis will be automatically installed and started on your system when you enable it:
- Windows → installed via Scoop
- macOS → installed via Homebrew
[!note]
Local Redis is currently available only for NodeJS projects.
Enabling Local Redis
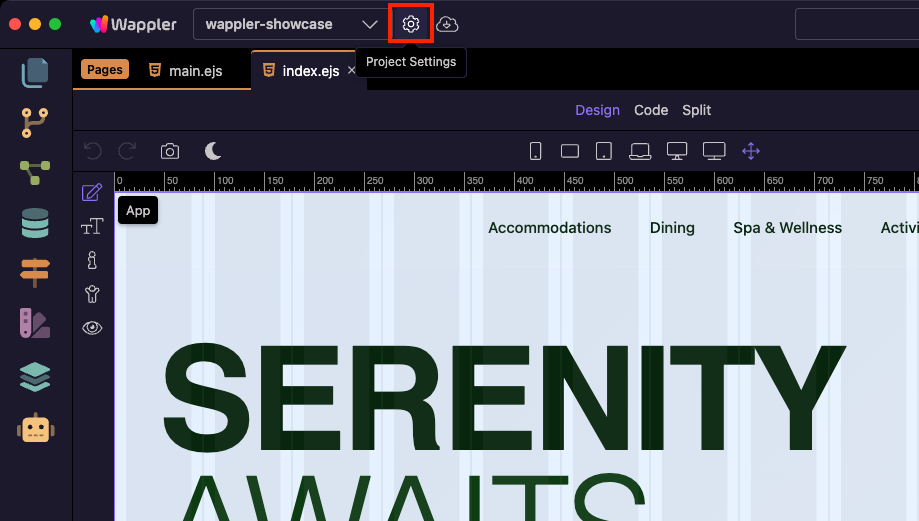
Open Project Settings and go to the Targets section.

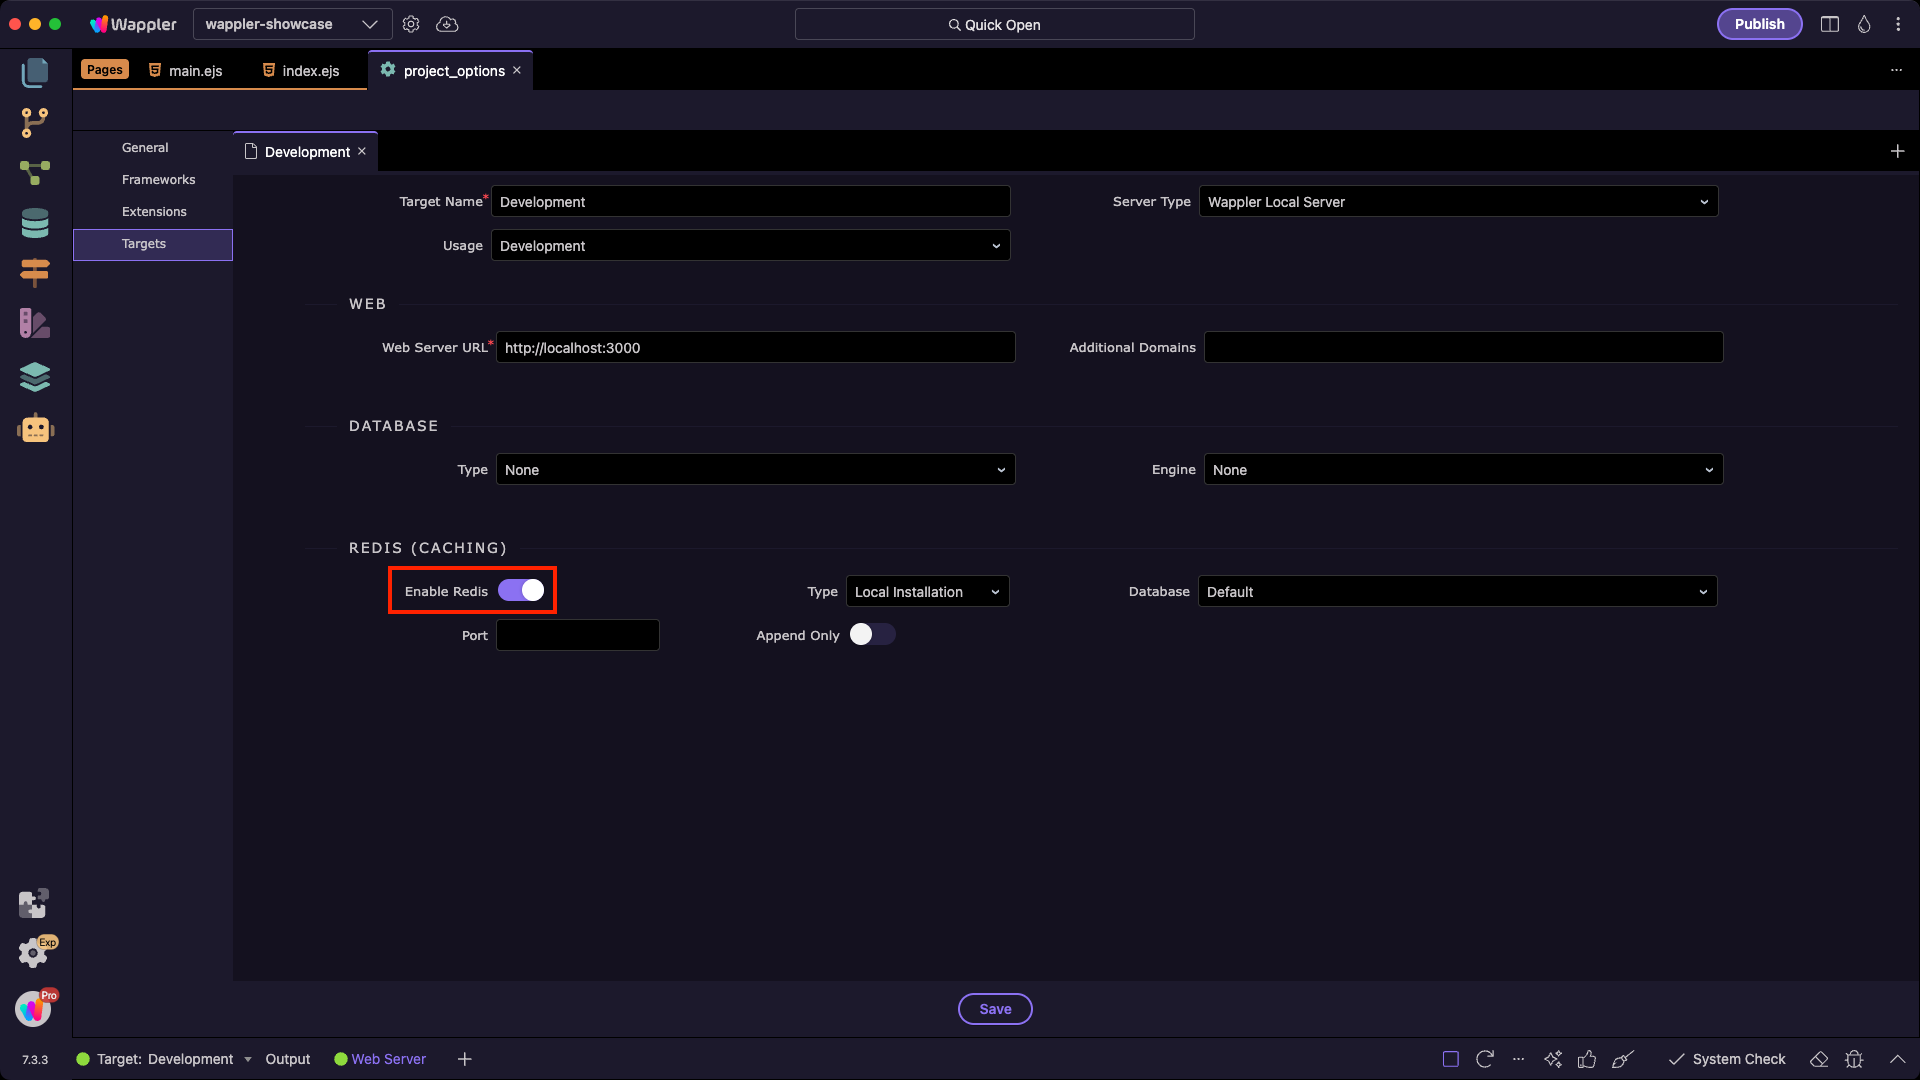
Enable Redis:
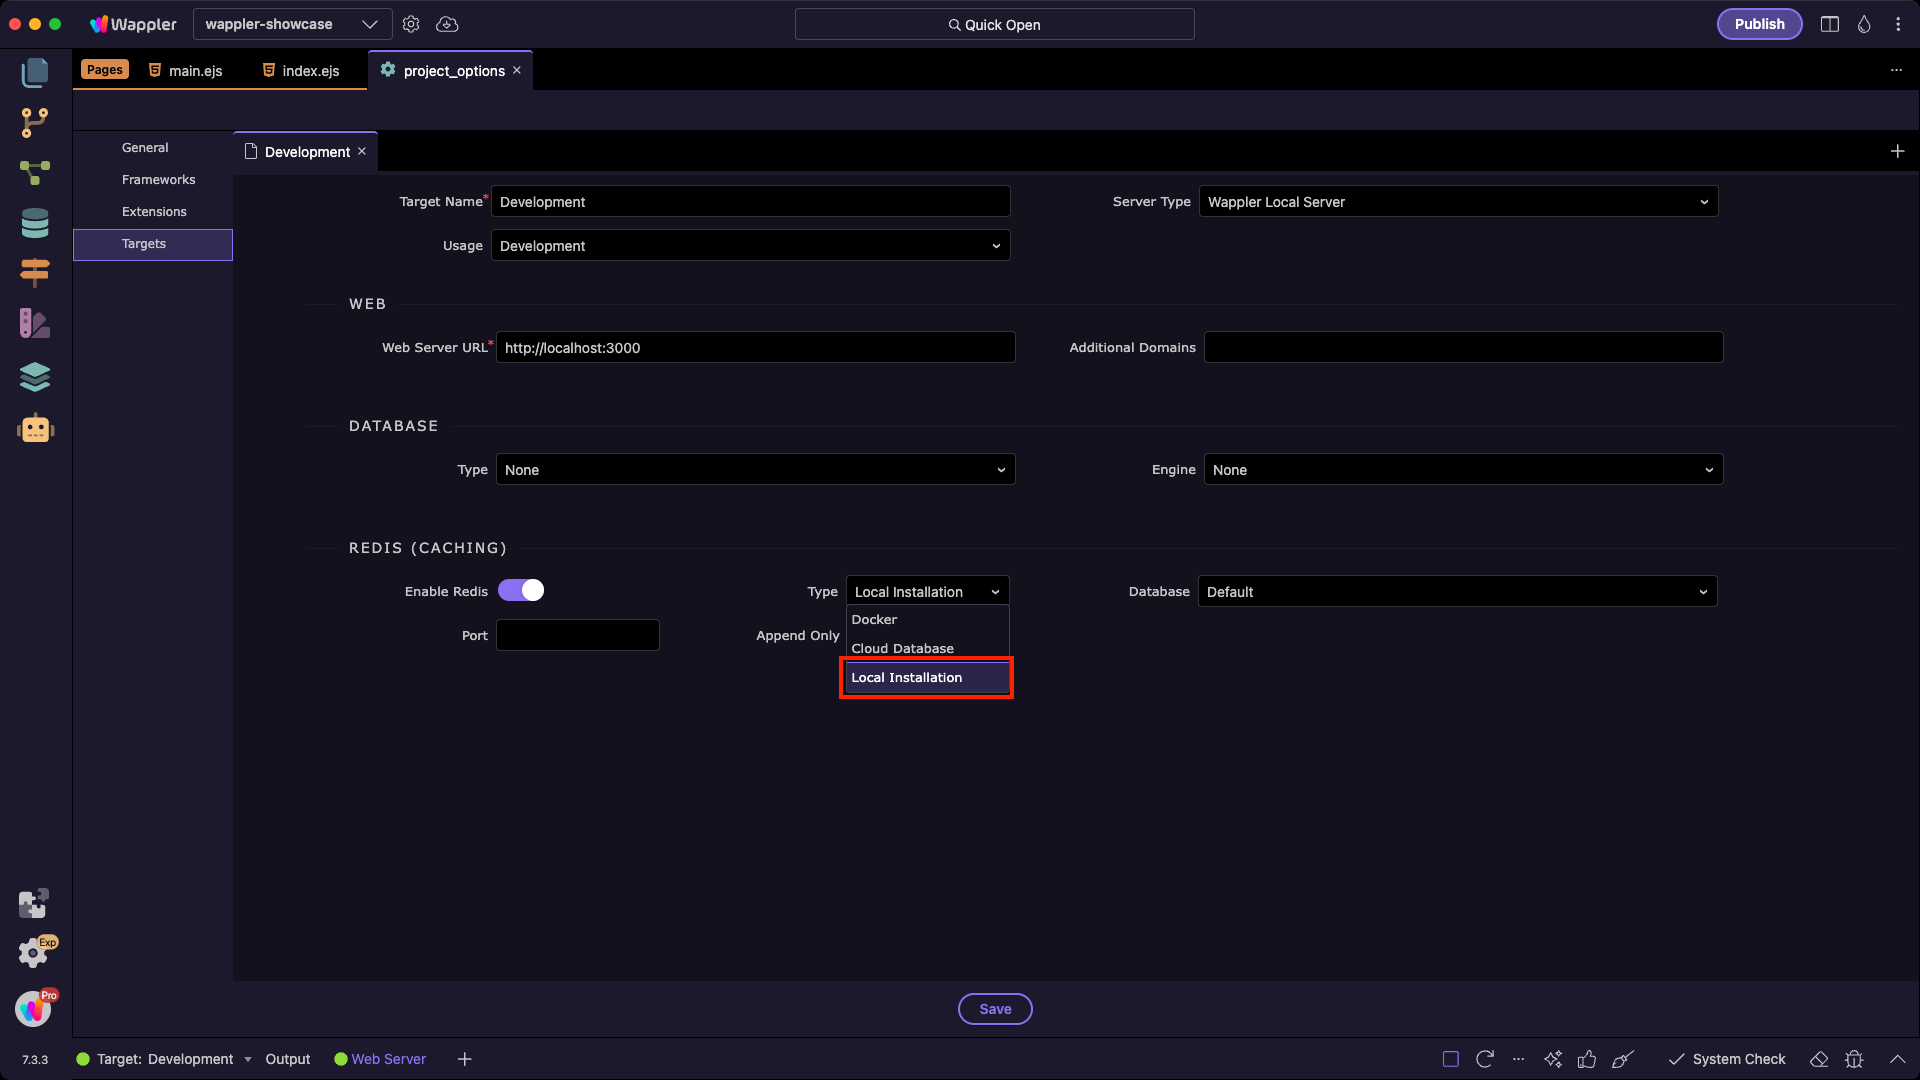
From the Type dropdown, select Local Installation to install and run a local Redis server:
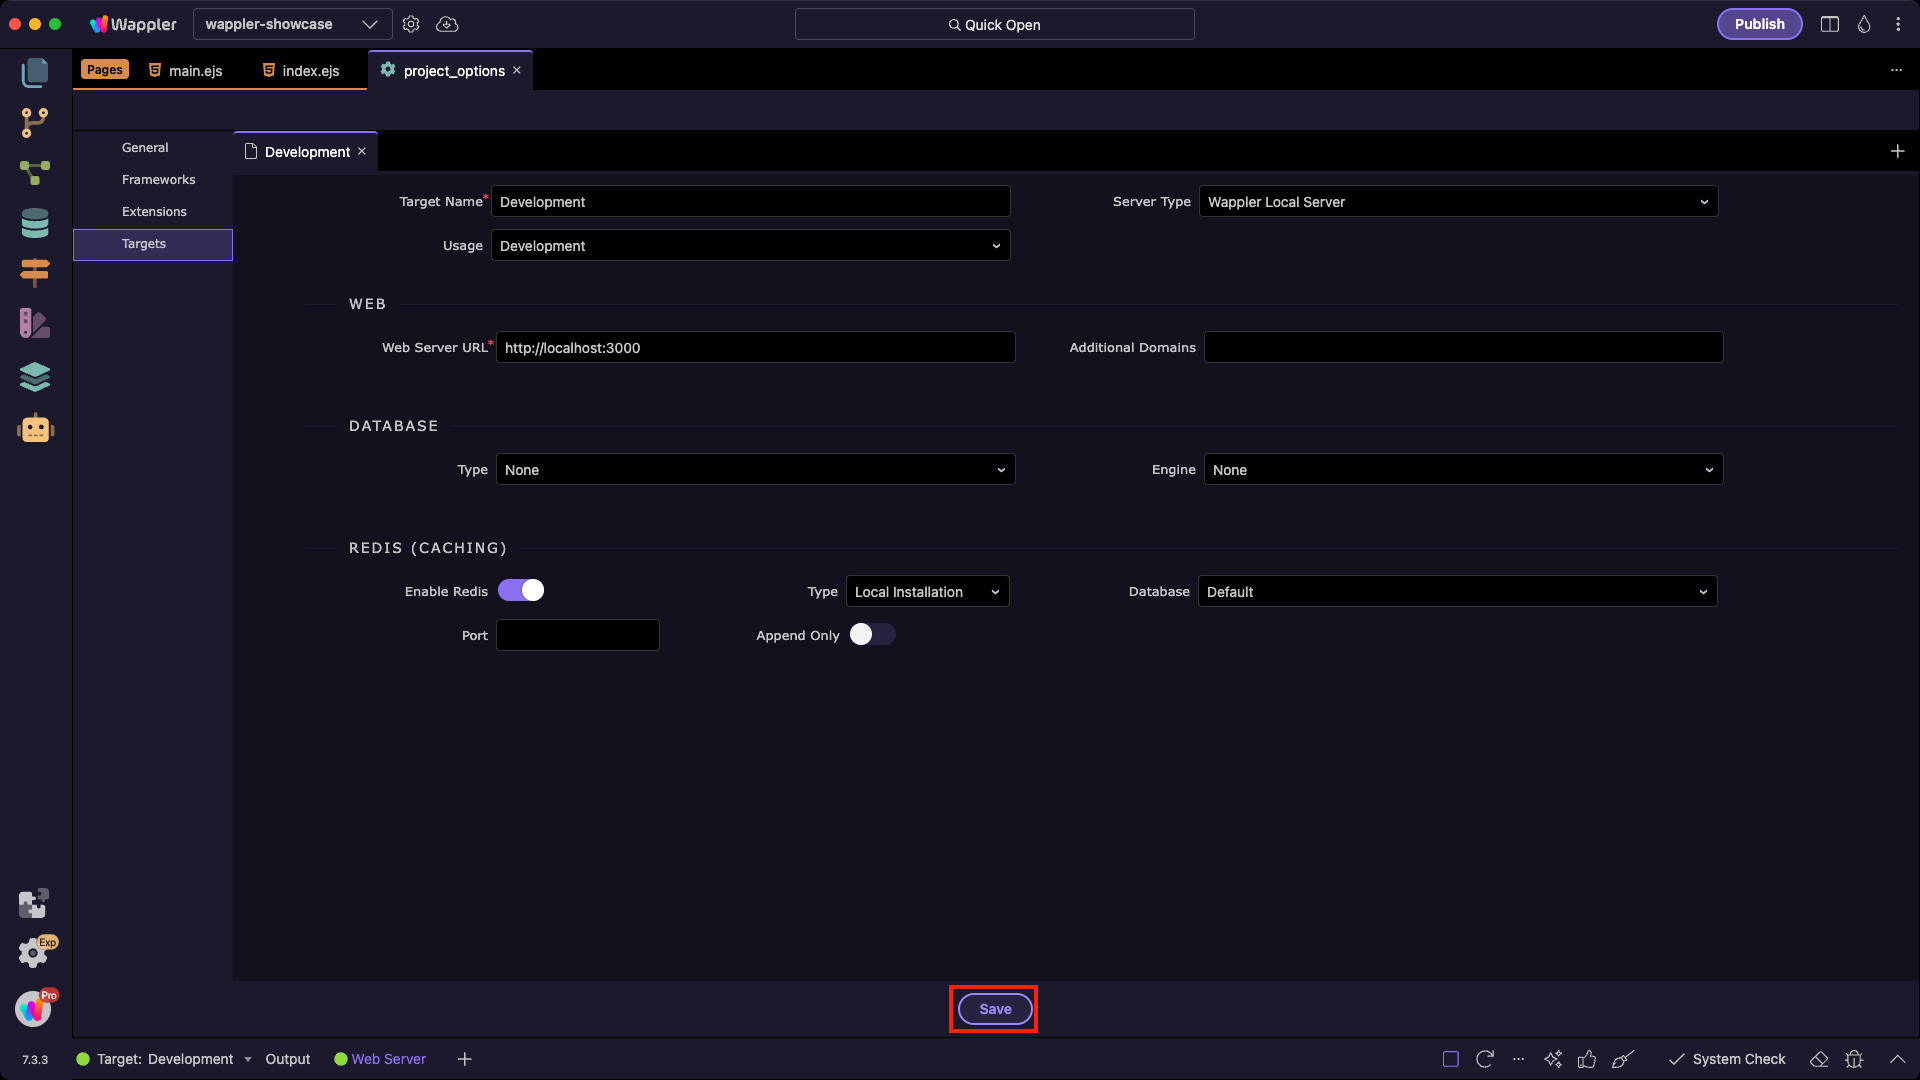
Click Save:
A confirmation dialog will appear. Click Yes to install the required components:

Redis will be installed — you can follow the progress in the bottom panel:
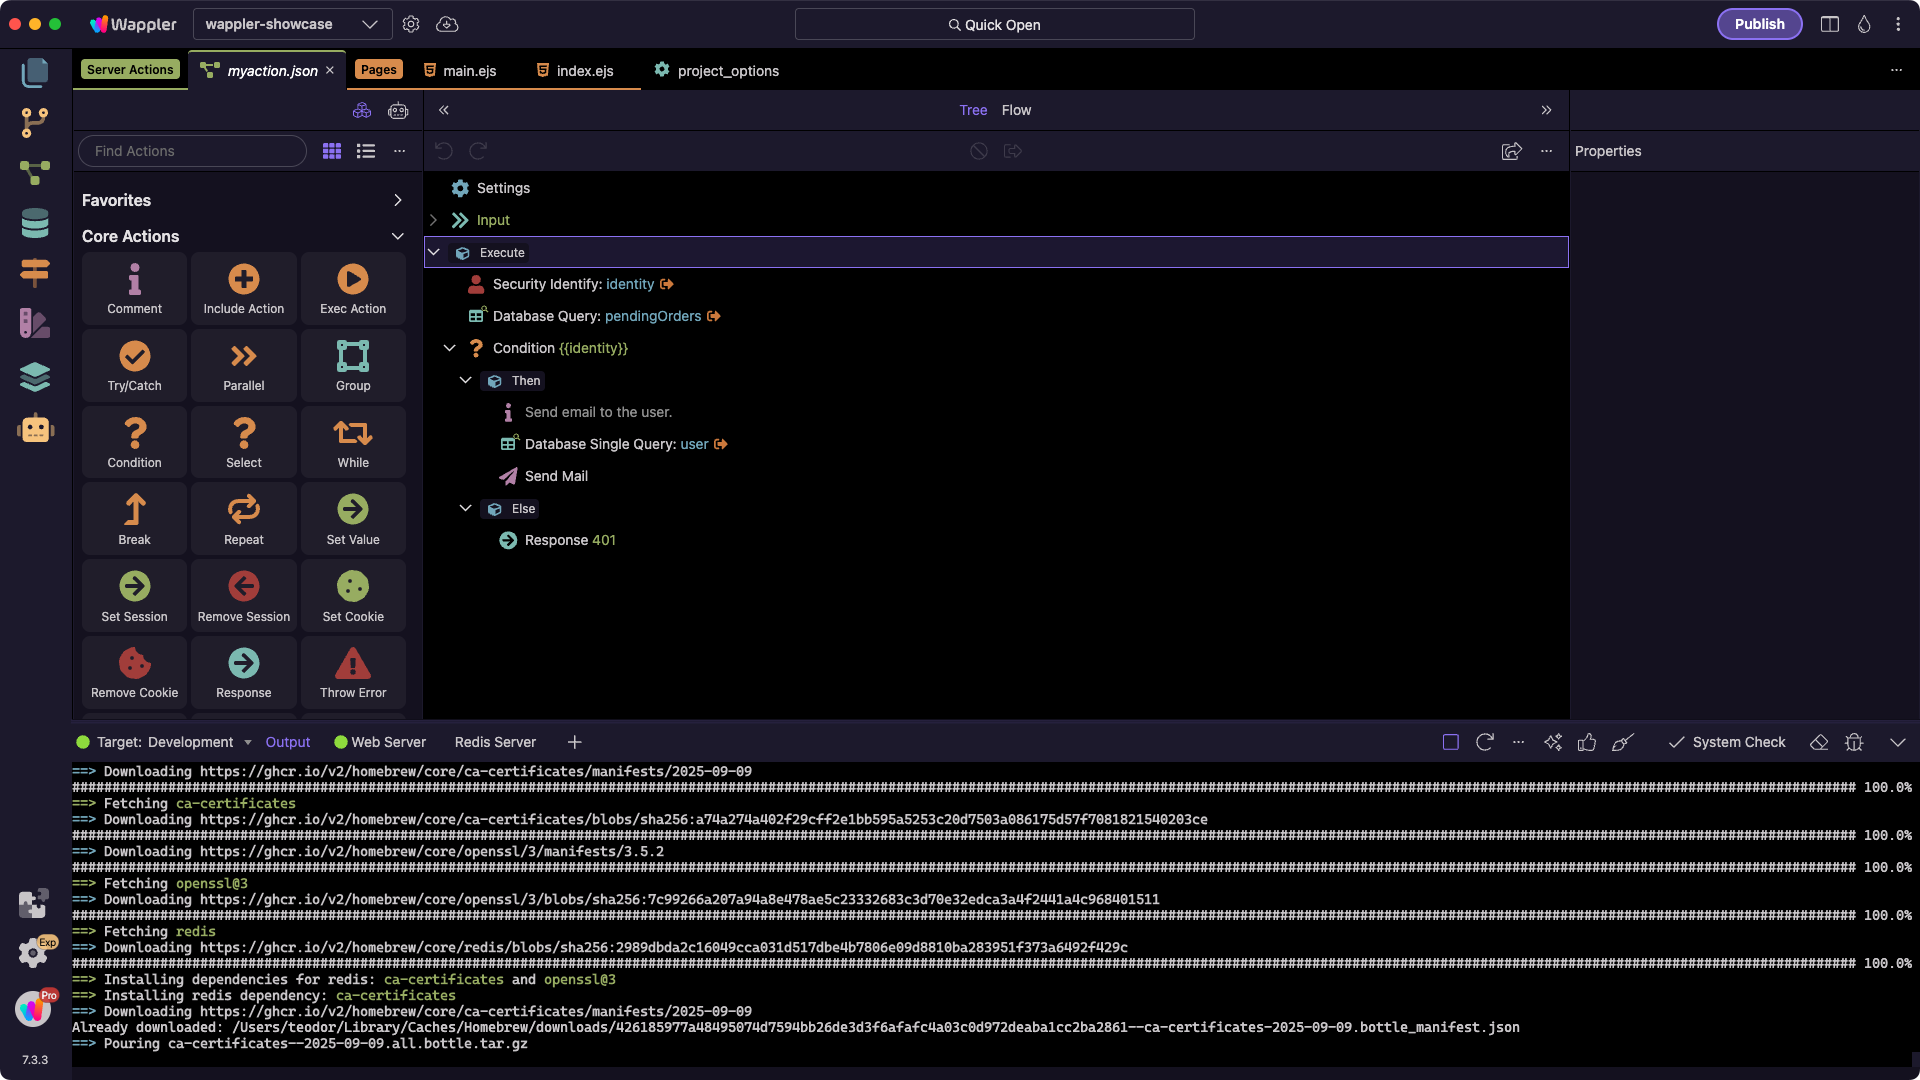
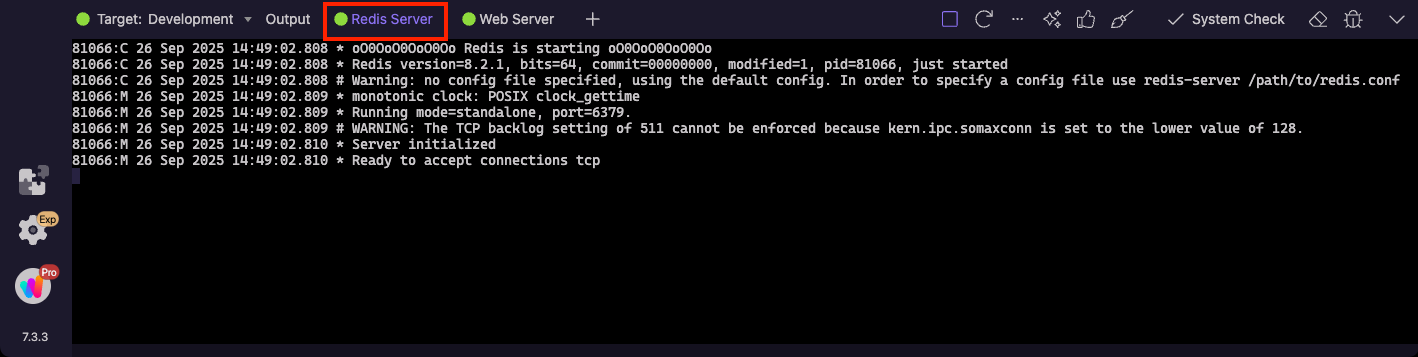
Once the installation is complete, the Redis server will run alongside the local web server:
Using Redis
With Redis enabled in your Wappler project, you can take advantage of its powerful features to improve performance and scalability.
Redis can be used in several ways in Wappler:
-
Session Storage
Store server sessions in Redis so they remain persistent, even if the server restarts. This ensures users stay logged in and their session data is not lost. -
Page Caching
Ideal for pages where the HTML doesn’t change often. Instead of regenerating the page on every request, the server serves it directly from the cache — making rendering much faster. -
API / Server Action Caching
Useful when working with database queries or API calls that don’t change frequently. By caching the results, you reduce database load and speed up data delivery to your users.
Session Storage
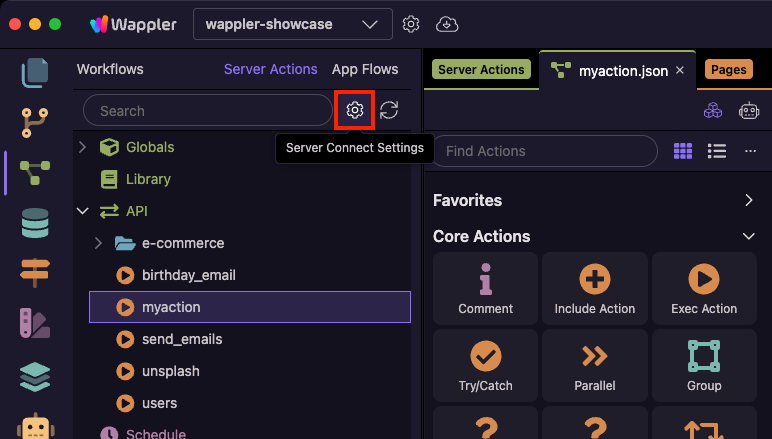
Open Server Connect Settings:
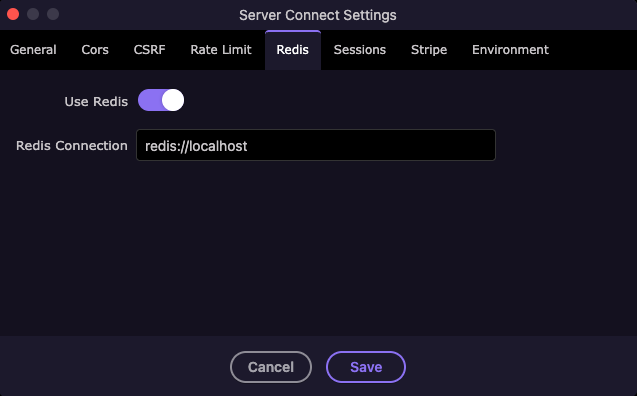
You can see that in the Redis tab the Use Redis option is automatically enabled and points to redis://localhost
Also in the Sessions tab, the Session Store is automatically set to Redis, and the TTL option has a value set to 86400 seconds (1 day):
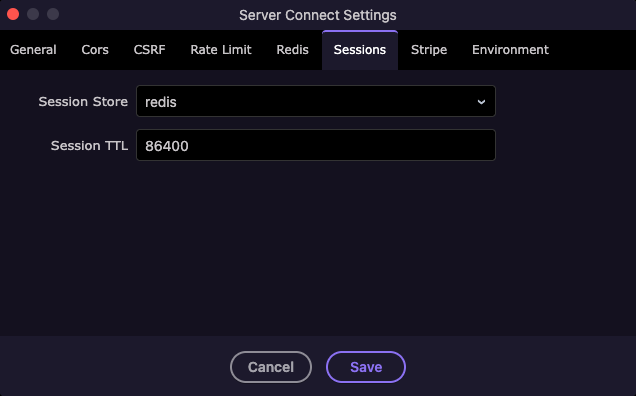
[!note]
The TTL controls how long session data lives in Redis. It’s independent of your cookie’s lifetime - set both according to your needs.
Click Save to apply.
Page Caching
Server-side caching is useful for pages where the HTML does not change often. Instead of regenerating the page on every request, the server will serve it directly from the cache — making rendering much faster.
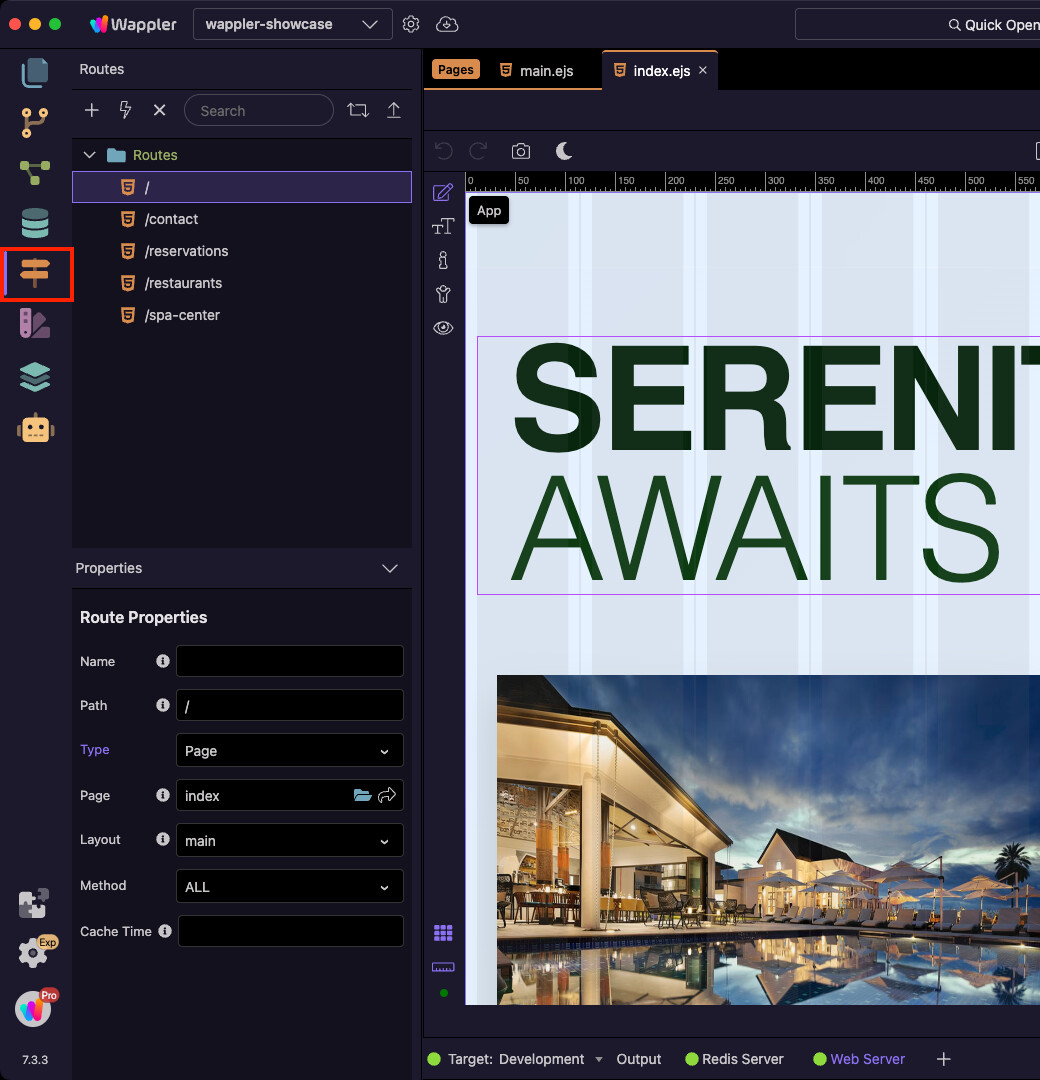
Open the Routing Panel, then select your page route. In the Properties panel you’ll see a Cache Time option.
Enter the time (in seconds) that the page should be cached. For example:
604800 = 7 days:
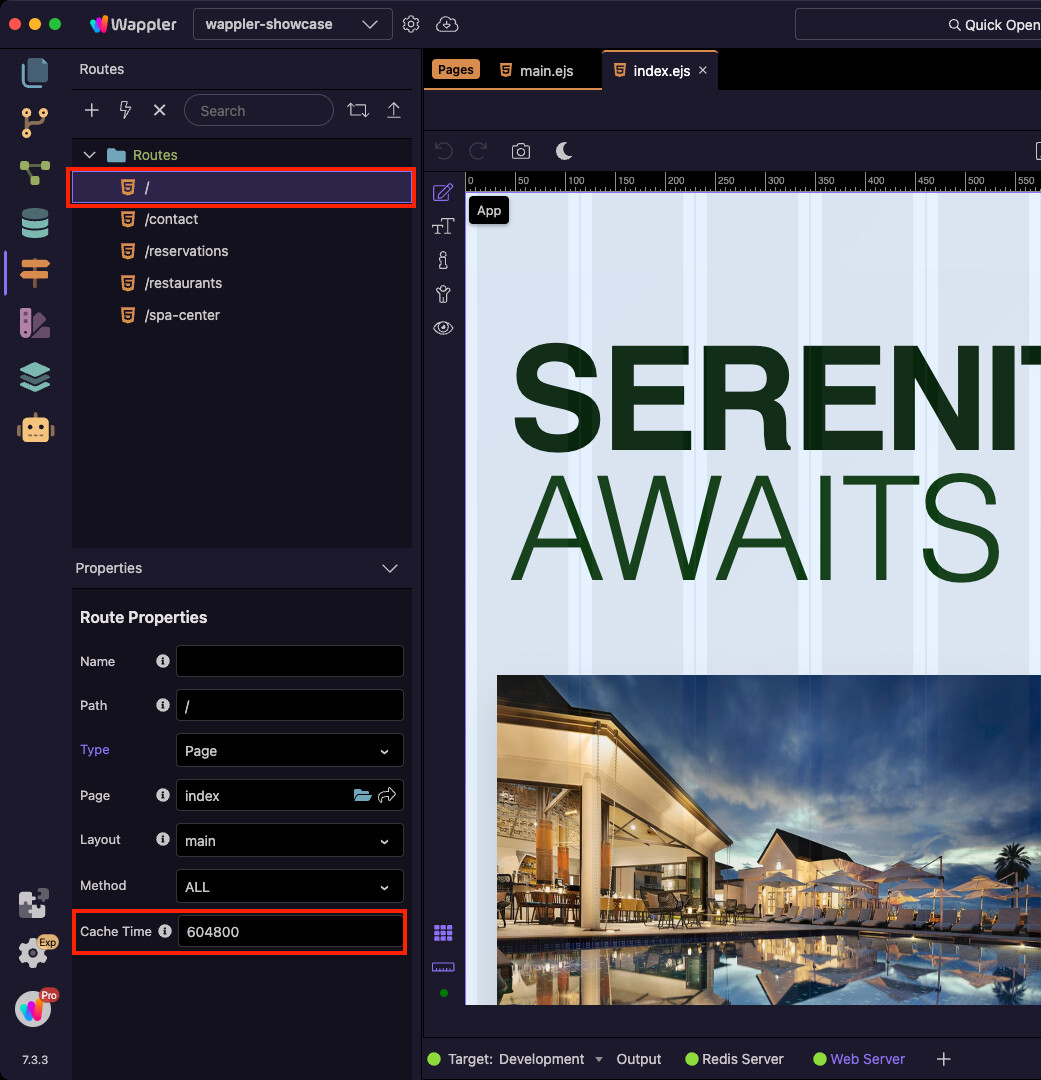
That’s it — the page will now be cached and served from Redis for all clients during the specified period.
[!tip]
Use page caching for static or semi-static pages (like landing pages, info pages, or blogs) to reduce load and improve performance.
Server Action Caching
You can also cache Server Actions where the data does not change frequently.
This reduces unnecessary database queries or API calls and speeds up data delivery to your users.
Open the Server Connect Panel and select your API Action. Click Settings:
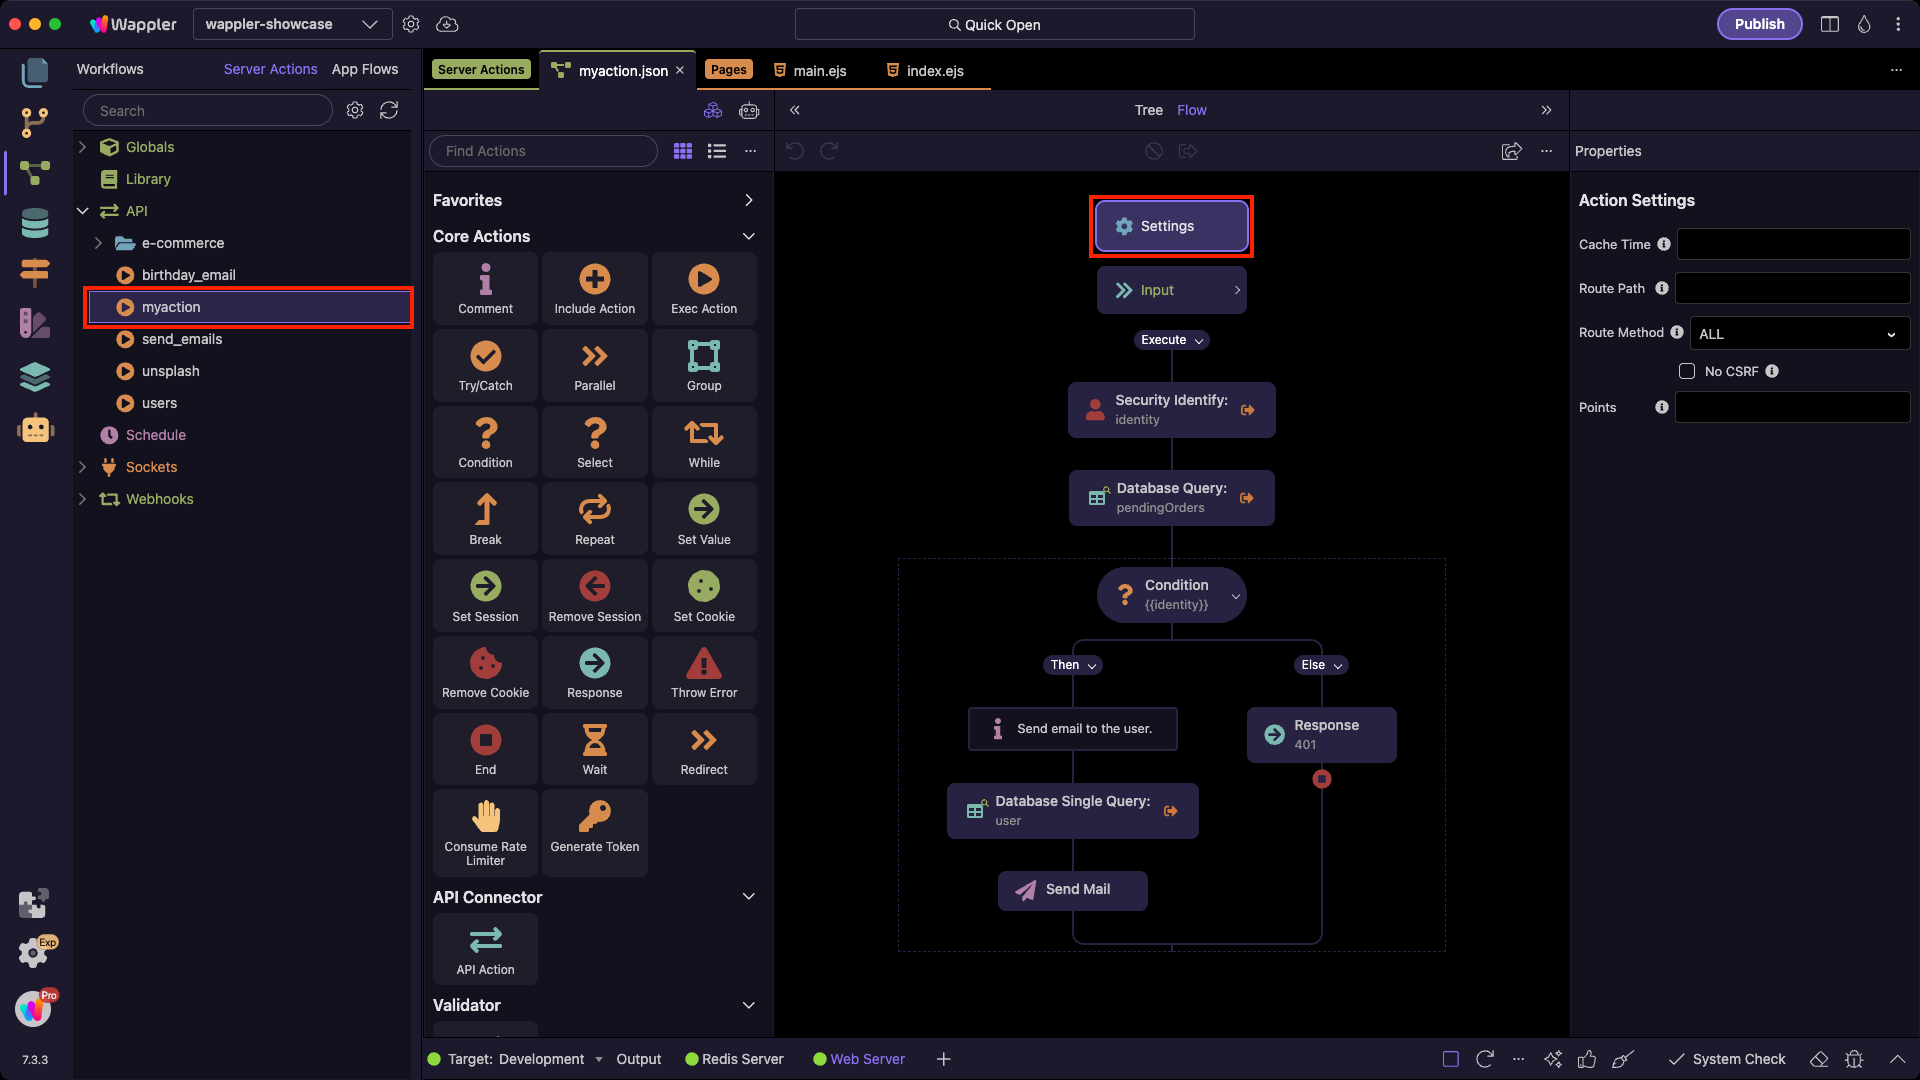
In the Properties panel you’ll see a Cache Time option.
Enter the time (in seconds) that the action should be cached and save your server action:
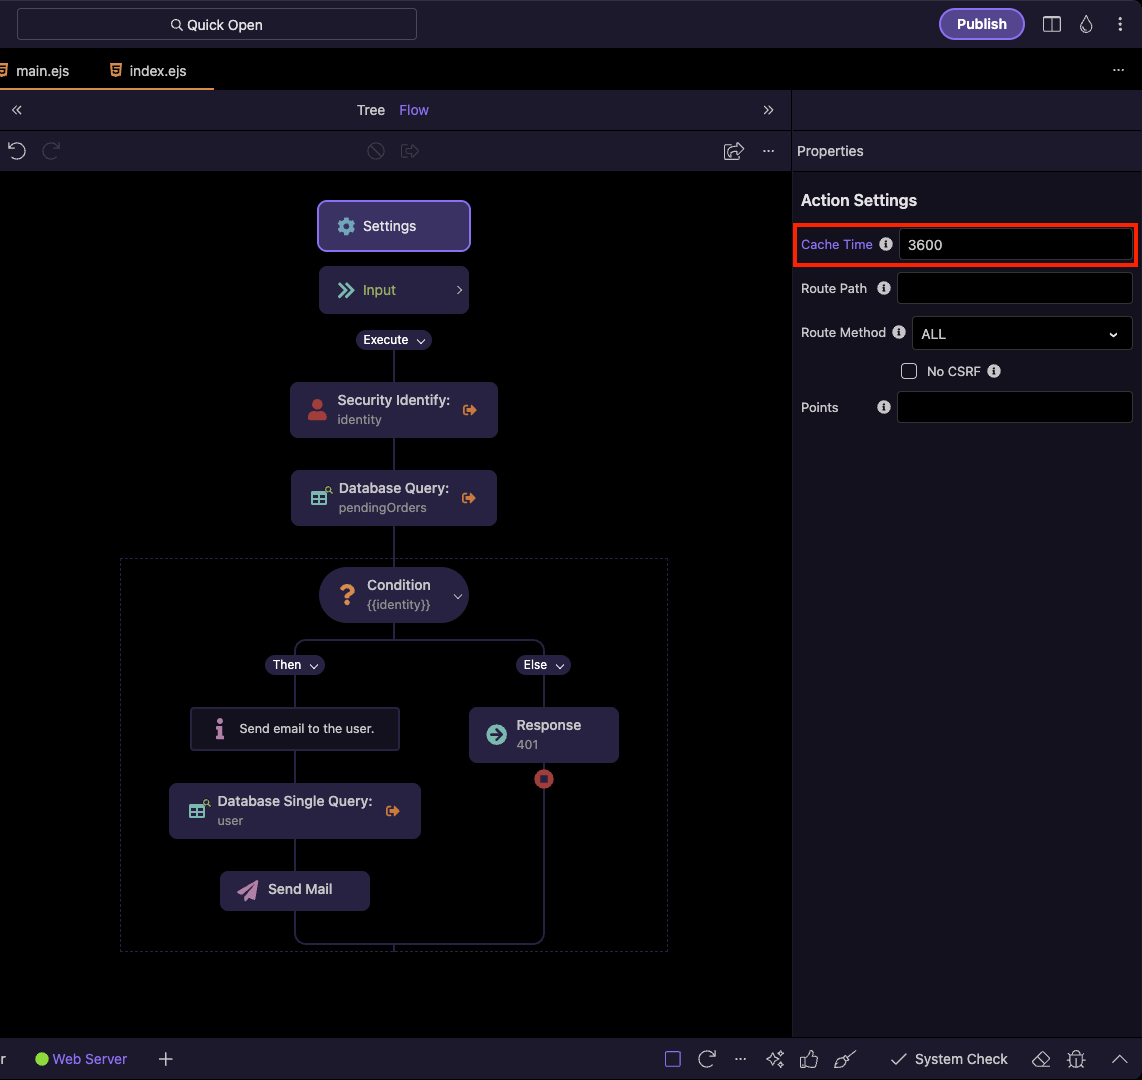
Your action is now cached. For example, if you set 3600, the results will be served from the cache for the next 1 hour.
[!tip]
Server Action caching is especially useful for data like product lists, categories, or API responses that rarely change. It reduces load on your database and improves overall performance.
[!warning]
Avoid caching actions with highly dynamic or user-specific data (like carts or dashboards), as this may result in outdated or incorrect results.
With Redis now available locally in Wappler, you can easily use sessions and caching during development.