Use a third-party Wysiwyg editor in your forms (TinyMCE Cloud) instead of Medium or Summernote

Hey everyone,

I’m just writing this short tutorial to show you that you can use a third-party wysiwyg editor in your projects.
Depending on your projects, as it’s not officially integrated into Wappler I guess it could be restrictive, but for pretty simple use case, it will be perfect.

First of all, why?
Yes, Summernote is already great, but I don’t really like how it works, and the custom plugins are sometime a little buggy, and it’s not that easy to include them…

Why Tiny Cloud?
Because it’s very popular, powerful, and you can really easily integrate it in your projects. (Bootstrap ready)

How much does it cost?
There is a free version which will be perfect for most of the project.

Is there a demo to check it out?
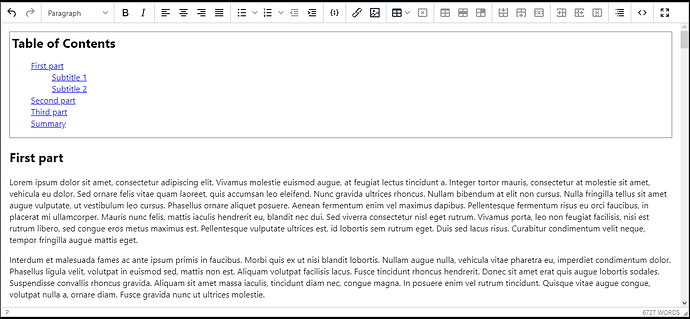
Sure, here you go: https://www.tiny.cloud/docs/demo/full-featured/

Let’s go!

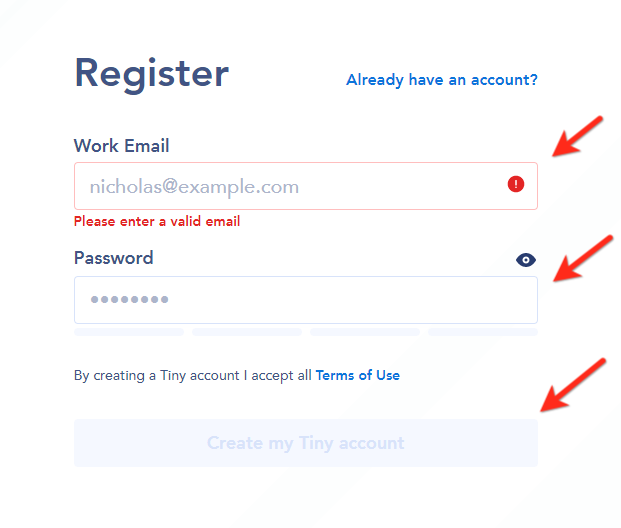
  1. Create a free account in their website: https://www.tiny.cloud/auth/signup/

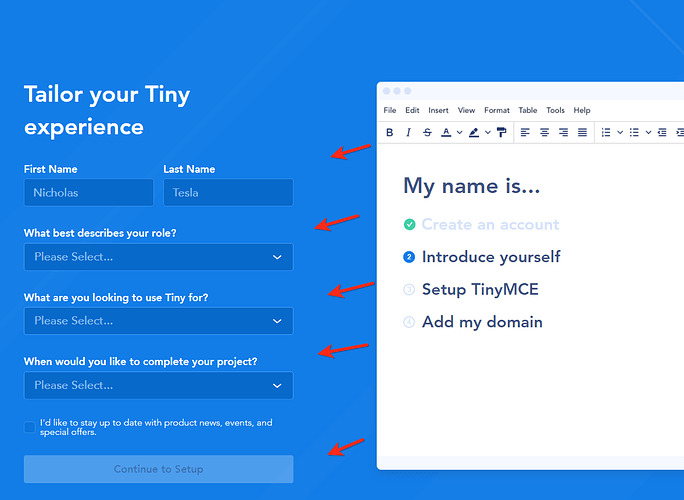
  1. Basically, from now, you just need to follow the simple steps on their website. So the next step is about giving your personal informations.

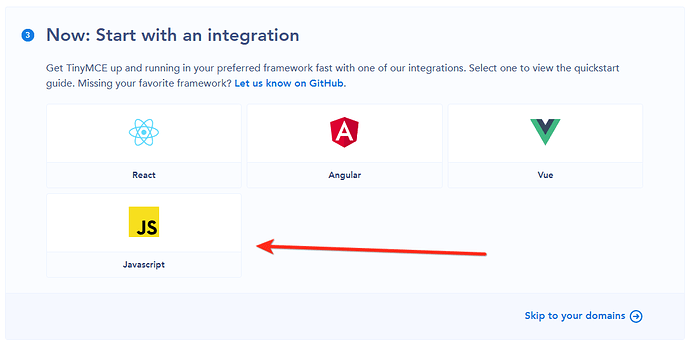
  1. You need to choose “Javascript” to get the right integration details.

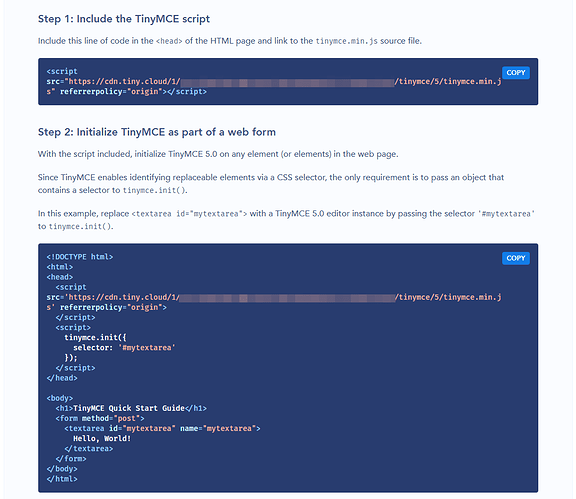
  1. You’ll now see the integration details like below:

  1. Now, you must include the TinyMCE script on your website.
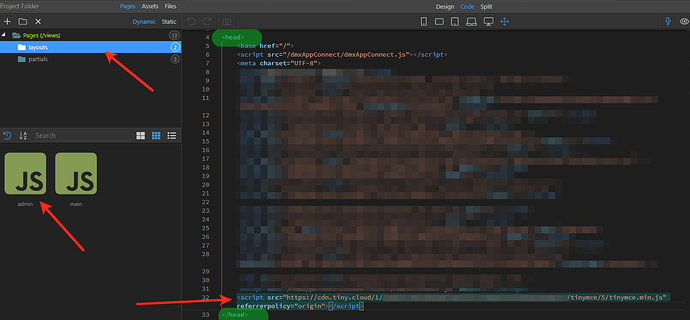
    You can just include the script in the concerned page or if you use partials (with PHP) or layouts (with NodeJS), you can add it there, between the head tags like below in a NodeJS layout:

  1. The new Tiny editor will be charged but we need to initialize it and add some features (more buttons in the editor).

I assume you already know how to create a form and post datas. So your page already has the form with a textarea like below:

As you can see, I’ve added this ID and Name to this textarea: form_edit_content

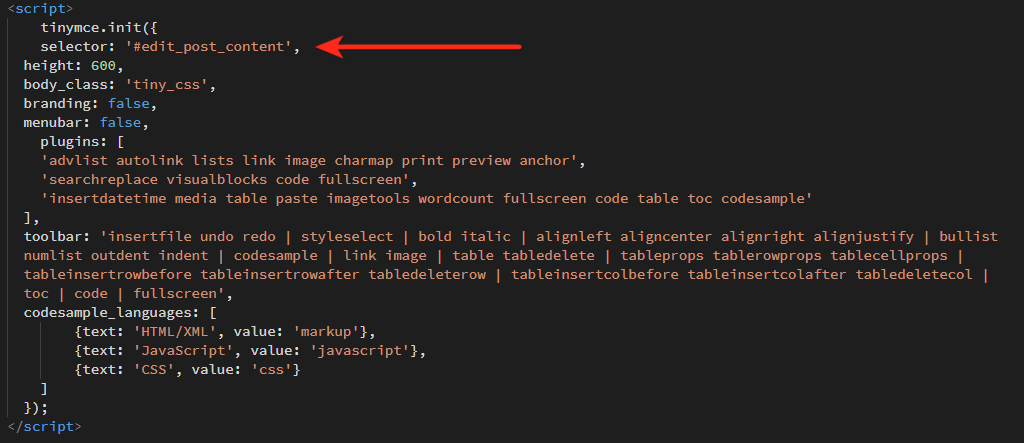
Now we’ll finish the integration by adding the last code snippets they provided to us and replace the default ID (#mytextarea) by our own ID (#form_edit_content):

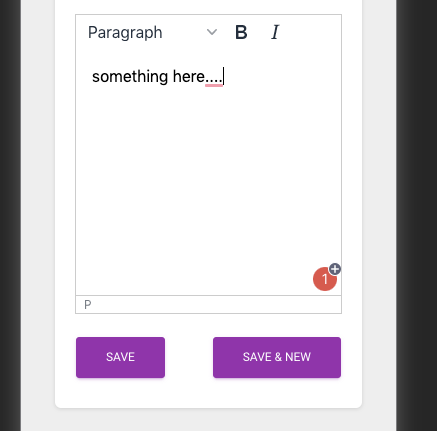
You can now save everything and check your page to see if the TinyMCE editor is showing. :tada:

As you’ve certainly noticed my code is bigger than the default one provided by TinyMCE, it’s because I’ve customized my editor to include some of their plugins:

  • TOC: Automatically create a Table of Content
  • Table: Add tables in your posts
  • Fullscreen: Write your post in full screen without distractions
  • Image: Add your images in your posts
  • Code Sample: Use a code Highlighter in your posts (Need to include separate files for PrismJS)
  • Code: View/edit source of your post
    I also added a line to change the editor height to 600px, remove the menubar and remove the branding in the bottom right.

If you want to use the same configuration as me, here is the code (don’t forget to change the selector ID)

<script>
    tinymce.init({
    selector: '#edit_post_content',
  height: 600,
  body_class: 'tiny_css',
  branding: false,
  menubar: false,
    plugins: [
    'advlist autolink lists link image charmap print preview anchor',
    'searchreplace visualblocks code fullscreen',
    'insertdatetime media table paste imagetools wordcount fullscreen code table toc codesample'
  ],
  toolbar: 'insertfile undo redo | styleselect | bold italic | alignleft aligncenter alignright alignjustify | bullist numlist outdent indent | codesample | link image | table tabledelete | tableprops tablerowprops tablecellprops | tableinsertrowbefore tableinsertrowafter tabledeleterow | tableinsertcolbefore tableinsertcolafter tabledeletecol | toc | code | fullscreen',
  codesample_languages: [
        {text: 'HTML/XML', value: 'markup'},
        {text: 'JavaScript', value: 'javascript'},
        {text: 'CSS', value: 'css'}
    ]
  });
</script>
  1. And now, before using it live, just one last thing you need to add to your form to be sure every data in your editor is posted by your form in your database: Save the TinyMCE data on submit.
    If you don’t do that, you’ll likely see that your text is not saved/updated in your database.

To do so, you need to add this to you submit button: tinyMCE.triggerSave();.
You can add it in the Codeview directly (1) or in the Property Editor (2).

Annnnd, you’re done! :heavy_check_mark:

I made a small gif to show how it’s working (too big to upload here directly): https://jumpshare.com/v/Kfdl6sHRzOtM0b3JYS5A

I hope you’ll enjoy this tutorial and find it useful. :wave:

11 Likes

Nice tutorial. One potential issue here:

With the new expression things (which I absolutely don’t like), you can no longer write expressions directly in the fields. It treats them as string.
If you look at your screenshot, you will see that value is wrapped in single quotes. '.
Just remove them in code view. Or, make sure to open the action picker and write the value in the code input mode.

1 Like

Fab tutorial, thanks @ChristopheA!

The biggest issue for me is going to end up being how easily you can cut text from other apps such as Word or MailChimp and paste it with a similar look into the editor.

Do you have a sense of how TinyMCE and Summernote compare in this regard?

Best wishes,
Antony.

1 Like

Hey @sid,
Thanks for your feedback! :slight_smile:

It’s strange because without this, it’s not working correctly. Even if it’s between single quotes it’s working…

Nevermind, I’ve deleted it to be sure, and I’ve added this at the bottom of my page:

<script>
  $( "#form_edit_post" ).submit(function( event ) {
  tinyMCE.triggerSave();
  event.preventDefault();
});
</script>

“Or, make sure to open the action picker and write the value in the code input mode.”, can you tell me more about this solution please? Because I don’t really understand how I could do this. :slight_smile:

Thanks @Antony :slight_smile:

Unfortunately I’m not really sure how Summernote and TinyMCE integrates copied text from Word or so in the editor.
They both have a pluin to clean copied text from WEorkd and other tools for example, but I think it’s not really what you are looking for:

image
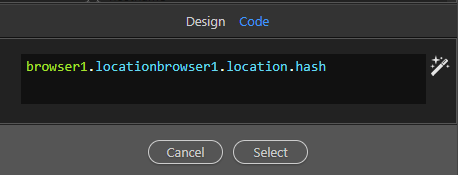
I meant this ‘Code’ input in action picker.

1 Like

Ah OK, with the browser component. :smiley:
Thanks!

No no. Not just the browser component. That is just an example text. This Code input is available for all
types in binding action picker.

Actually it isn’t available everywhere. If I want to add it on submit for example, I can’t use the action picker to add this code to the button, there is no place add it…
But maybe I’m wrong…

The picker you get on ‘events’ is a different picker. We can call it event action picker.
The picker I am talking about specifically is a binding action picker (again, a name I have given it).
Binding guy shows up when setting, say, a button’s text.

For anyone who finds this later, you don’t need to register for their API. There are instructions for downloading the code at this URL: https://www.tiny.cloud/docs/general-configuration-guide/advanced-install/#self-hostedinstall

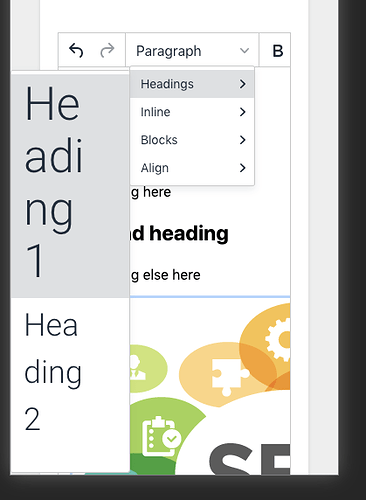
Also - note that you’ll need to style it based on the browser settings. The responsiveness out of the box isn’t amazing (using the same settings above here’s what it looks like):

Here’s how I solved it.

I have a navbar include on my app so I added the following script to the navbar:

<script>
function getBootstrapDeviceSize() {
    var size=$(window).width();
    
    if (size<576)
        return 'xs';
    if (size<768)
        return 'sm';
    if (size<992)
        return 'md';
    if (size<1200)
        return 'lg';
    if (size>=1200)
        return 'xl';
    
}
</script>

Then I added the following javascript function:

<script>
    function getBootstrapDeviceSize() {
    return $('#users-device-size').find('div:visible').first().attr('id');
    }
</script>

Then on my page I do the following:

    ds_size=getBootstrapDeviceSize();
      if (ds_size=='xs'){
        tinymce.init({
          selector: '#textAreaId',
          branding: false,
          menubar: false,
          height:300,
          toolbar: 'styleselect bold italic'
        });

      }
      else {    
        tinymce.init({
          selector: '#textAreaId',
          height: 600,
    ... other attributes from above here

And here’s what a more mobile-friendly version looks like:
image

1 Like

Anyone had any trouble getting the data to load into the form when editing existing data?

I’ve been having hell trying to make Medium Work, so I’ve been trying to get TinyMCE to work, and it initializes fine and I can style the text in the textarea just fine, however if i set the data bind to my data detail it never loads anything into the textarea?

I’ve not tried TinyMCE with Wappler but what about putting the bind between the <textarea> and </textarea> tags like this:

<textarea id=.....etc etc>
{{data_detail_blog.data.blog_content}}
</textarea>

Having the same issue, did you ever get this figured out? Loads 80% of the time.

Been a while since I tried TinyMCE but I managed to solve this when I did, if I remember right I created a custom javascript function to init my TintMCE text areas using a class name:

function myFunction() {
    tinymce.init({
        setup: function(editor) {
        editor.on('change', function() {
            tinymce.triggerSave();
        });
    },
    selector: '.classname',
    plugins: 'emoticons quickbars',
    menubar: false,
    inline: true,
    toolbar: false,
    quickbars_insert_toolbar: 'undo redo',
    quickbars_selection_toolbar: 'bold italic underline | blocks | blockquote quicklink',
    skin: 'oxide-dark',
    content_css: 'dark',
    font_size_formats: '8px 10px 12px 13px 14px 15px 16px 18px 24px 36px 48px'
    });
}

Then your text area will only init when you run myFunction so all you need to do is setup a app connect flow that runs when your binds have been filled you can do this with checking the server connects or just adding a wait into the flow. Then just run the function in the flow which will init the text areas.

The idea behind this is making sure that the binds are in the text area before its converted to a TinyMCE text area there might be better ways I only briefly looked into TinyMCE :slight_smile:

3 Likes

This is very helpful, I appreciate it.