After struggling to get Android and Electron apps to work with CORS for weeks, I've finally figured them out with help from others in this forum and lots of Googling. Hopefully, some of this will be helpful for you if you're trying to build mobile apps with Wappler.
These notes assume you have two separate projects created in Wappler. One for the API server and one for the mobile clients.
STEP 1 - Enable CORS
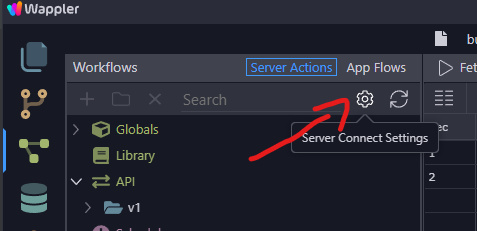
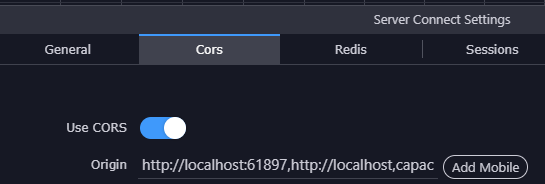
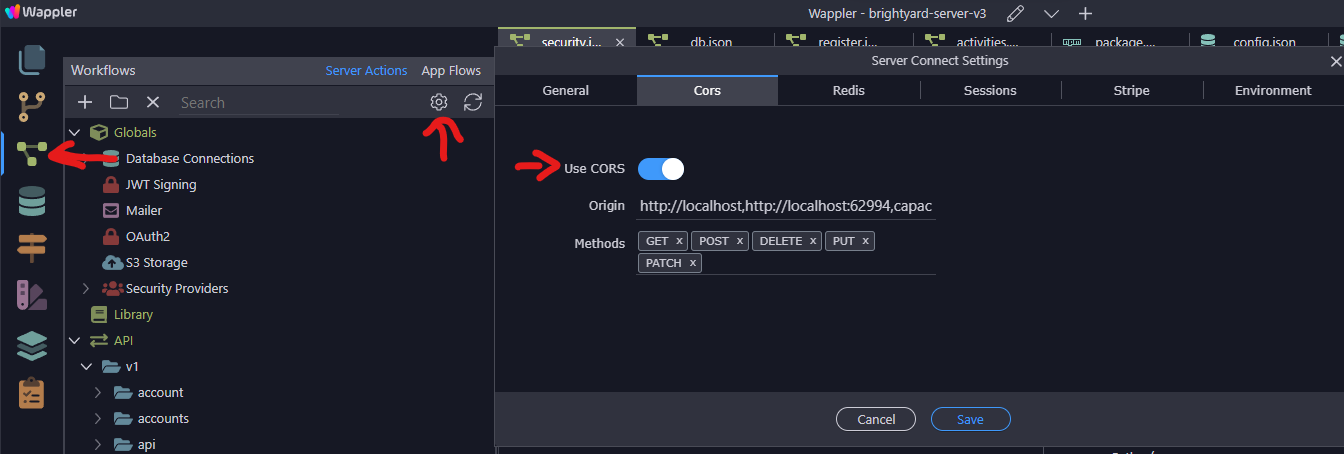
In the API Server project, you should have CORS enabled. This is set via the Server Connect Settings. Make sure to add all the Methods you plan to allow. At a minimum, this should usually have GET and POST.
The Origin field will hold all of the clients that will be allowed to connect to the Server. We will set these up in STEP 3 because adding more than one through the UI will not work in the current version of Wappler.
.
STEP 2 - Setting up remote server and database
Due to the security components standard in Android, you cannot connect to the server via standard HTTP. Ideally, you should connect via HTTPS, so you need to set up a remote server with HTTPS. There are some potential ways to setup HTTPS on your local machine, but I decided it wasn't worth the time and effort. Wappler makes setting up a remote server and database fairly easy by using the Resource Manager and then setting up a new target.
I will not cover the standard steps in this post, but I will go over the additional steps I had to take after following the steps to setup a remote server and database. See these two posts for the standard steps to create the remote server and database.
NOTE: Capacitor has a new feature that will allow mobile apps (Android and iOS) to work without having to set up a remote server with HTTPS, but I did not try it before starting this post, and I'm not sure if it will work for Electron. The steps are outlined in this comment from George. Need HELP with Mobile F7 app login process - #36 by George
For the sake of this post, hopefully, you followed the steps above to create a remote server and database and connected them to a new target.
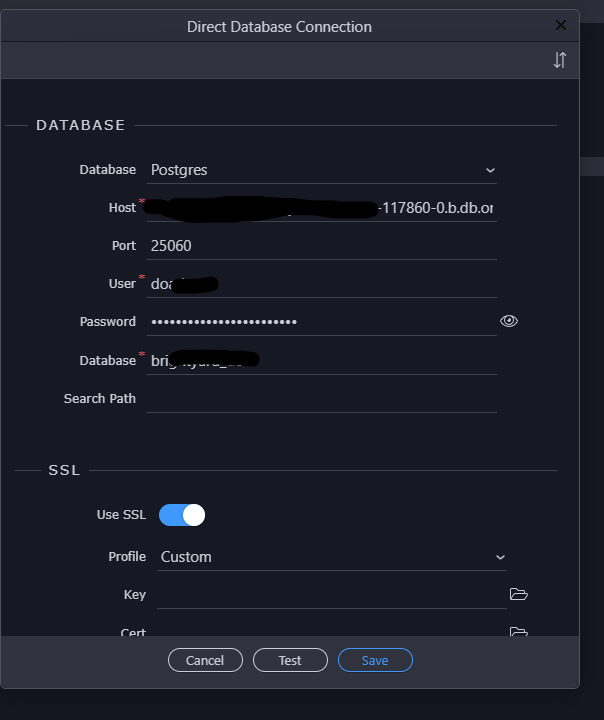
During my creation of the remote database, the Direct Database Connection was not populated, so I manually entered the connection details. You may not encounter this issue, but it's worth checking.
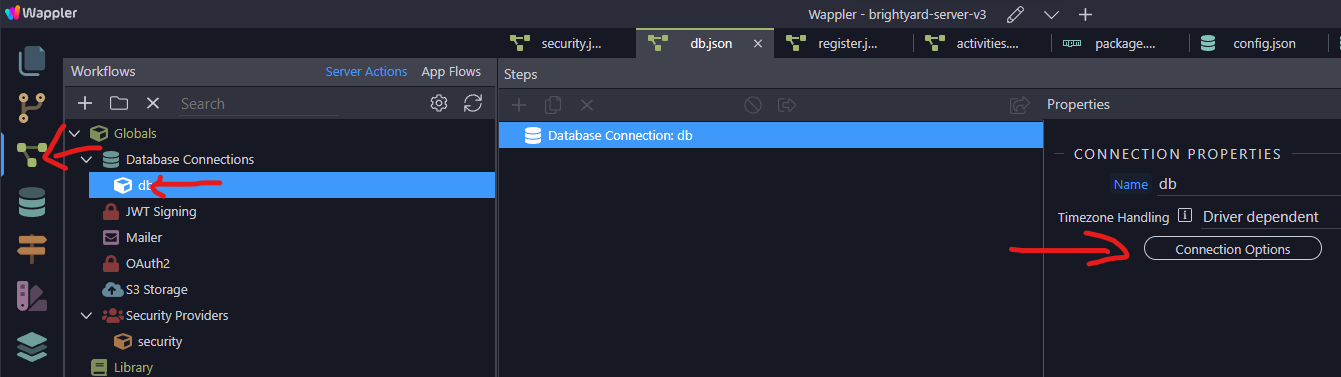
Make sure your target is set to the new remote target, then go to the Database Manager and highlight 'db' to show the Properties panel. Then click the Direct Database Connection button.
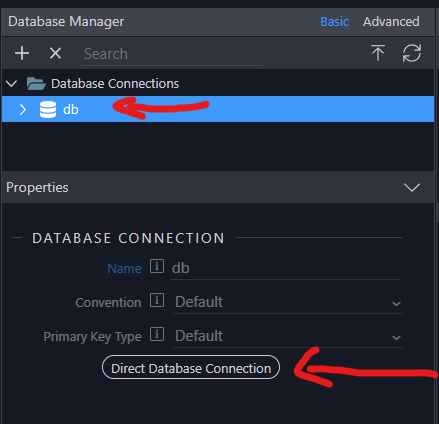
Make sure the values in here match the values for your remote database.
You'll also need to check the Global Database Connections DB to ensure it has the same remote database. Go to Server Actions, expand Globals > Database Connections, and click 'db'. Then click on Connection Options and validate it has the remote database values.
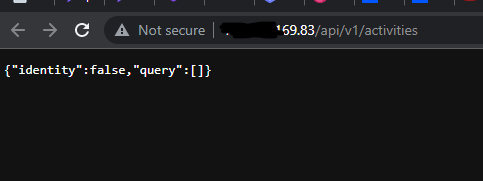
Once everything is setup, deploy the site to the remote server and make sure the database schema shows all of your tables.

You could also test some of your Server Connect Actions by clicking the Open in Browser icon.

It will most likely use the IP address of the remote server instead of the URL, but it should return something if everything is setup correctly.
STEP 3 - Configuring CORS Origin
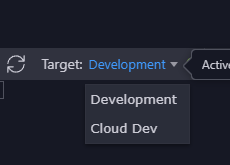
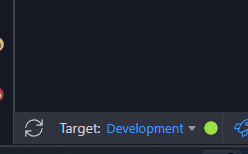
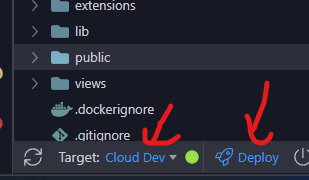
- Switch your target back to your local Development
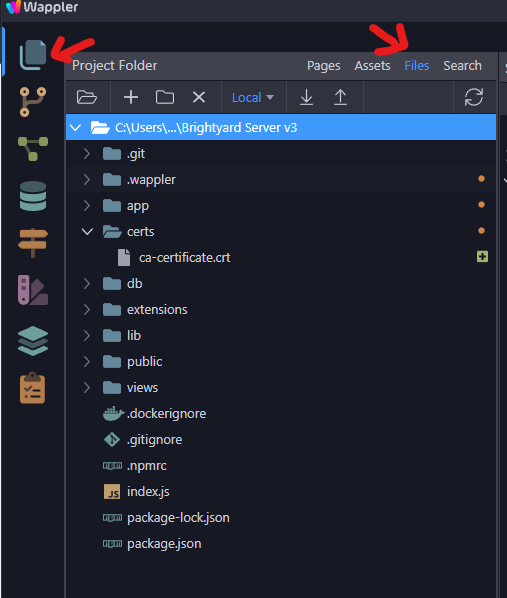
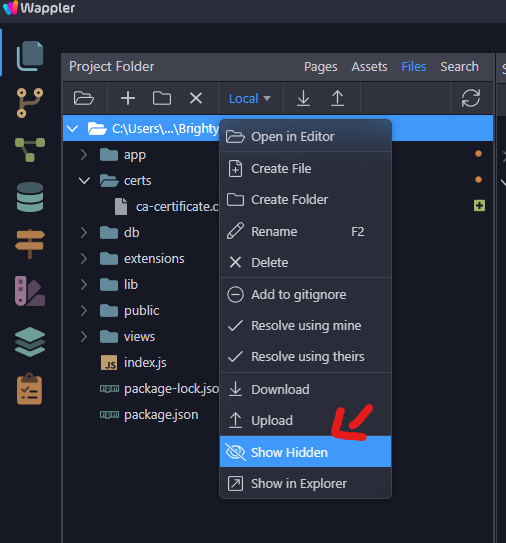
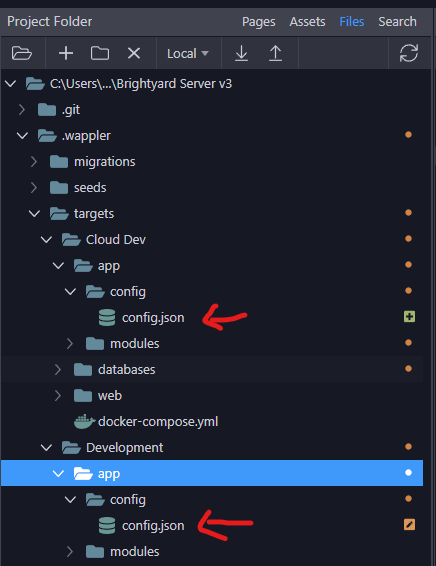
- Go to Project Folders and click Files
- Right click on the top folder and click 'Show Hidden'
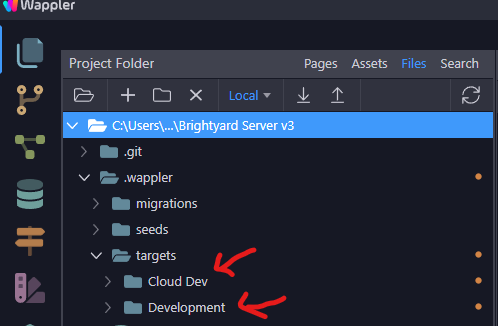
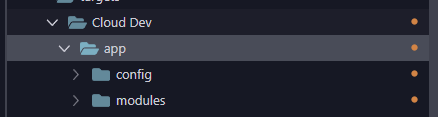
- Expand .wappler < targets. You should see your two targets. We're going to make updates in each of these.
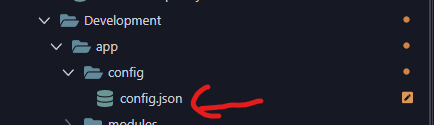
- Expand Development > app > config
- For the "origin" key, create an array with and add
http://localhostfor Android,capacitor-electron://-for Electron, andcapacitor://localhostfor iOS. You could also add other entries for web clients.
"origin": [
      "http://localhost",
      "capacitor-electron://-",
      "capacitor://localhost",
      "http://localhost:62994"
    ],
- Save the file
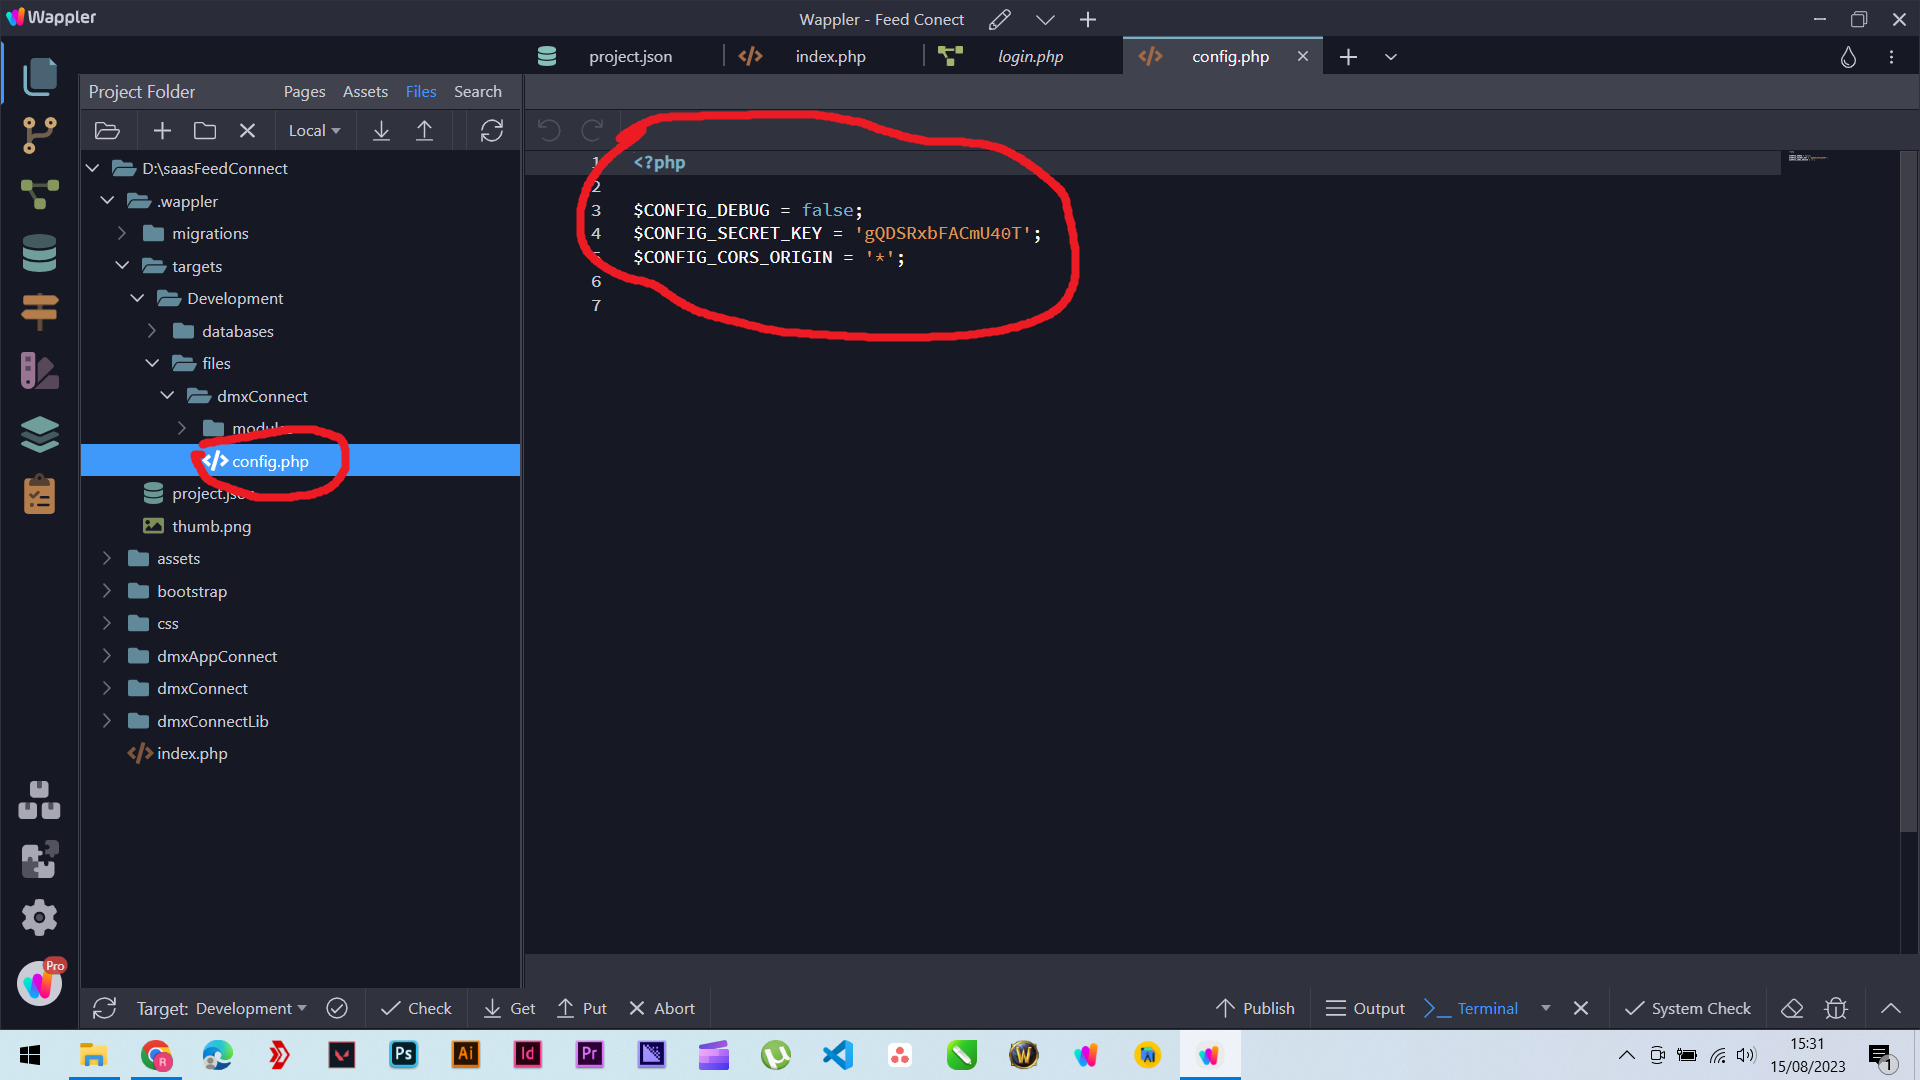
- Create config folder under Remote Target > app. This folder was missing for me.
- Create a
config.jsonfile in the folder and copy the code from theconfig.jsonunder the Development target.
You should have two config.json files.
- Switch back to your remote target and click Deploy
STEP 4 - Setting up HTTPS
There are multiple ways you could enable HTTPS on the remote server. Two options are to use Traefik within Wappler or since I'm using DigitalOcean I prefer to use their hosted Load Balancers and adding a certificate for HTTPS.
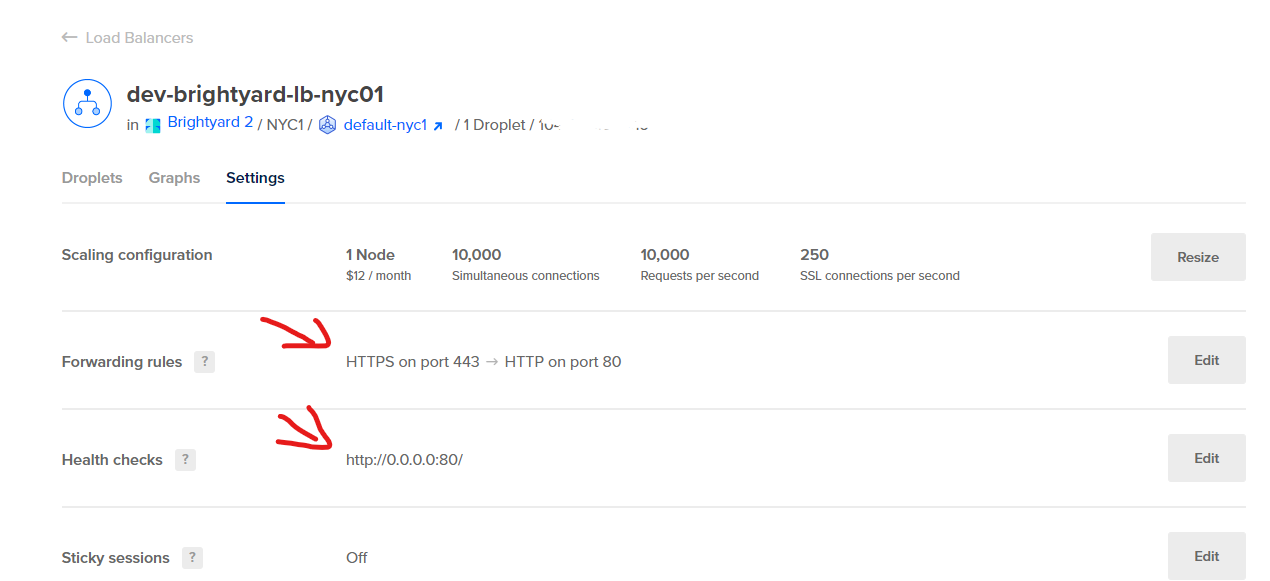
DigitalOcean makes it easy to create a load balancer and relate the remote server that I created via Wappler's Resource Manager to it.

Make sure to setup a forwarding rule from port 443 to port 80. Also setup a Health check on port 80.
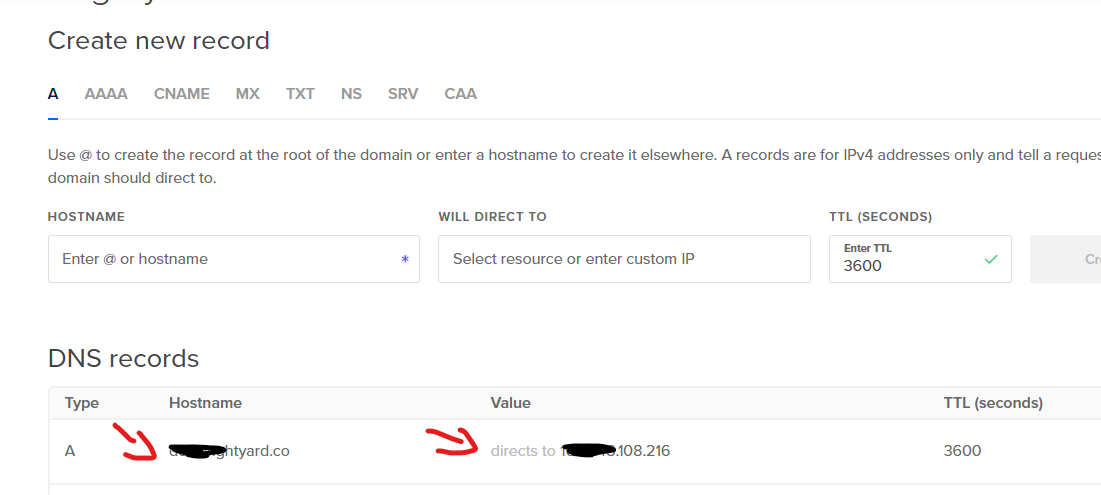
The final step is to relate a domain to the load balancer. Since I host my domain with DigitalOcean it's very easy to point the domain or subdomain to the load balancer.
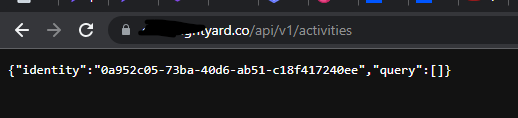
If everything is setup correctly you should be able to open the URL in your browser. The site will not fully work yet, but you will most likely see a white page without any 404 or 500 server errors.
You could also try to take the previous Server Action and replace the IP with the URL and see if it returns anything.
At this point, your remote API server should be setup.
STEP 5 - Update all Server Connect URLs in Mobile project
When you create your mobile project you are typically connecting to the local development environment so all of the URLs in your Server Connects will have http://localhost:8100.

We need to update these to our remote server. @mebeingken describes a way to do this dynamically in this post. You could also use find/replace in a program like Notepad++ to update all references throughout the whole project.

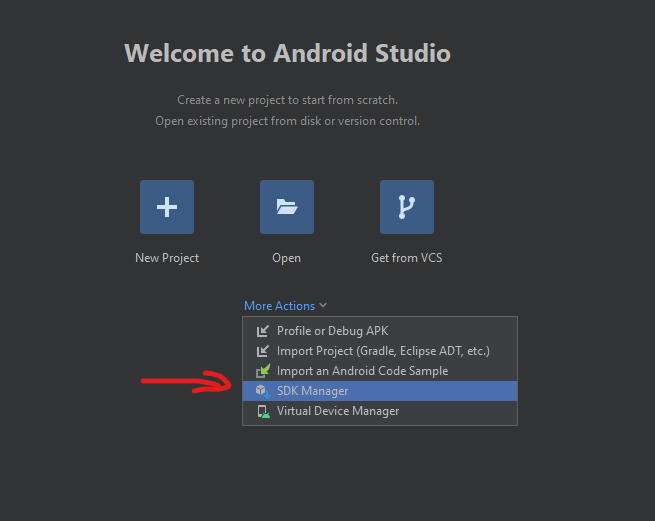
STEP 6 - Android testing
No additional steps were needed for CORS to work correctly, but I did run into issues with Android Studio and understanding how to view the network logs.
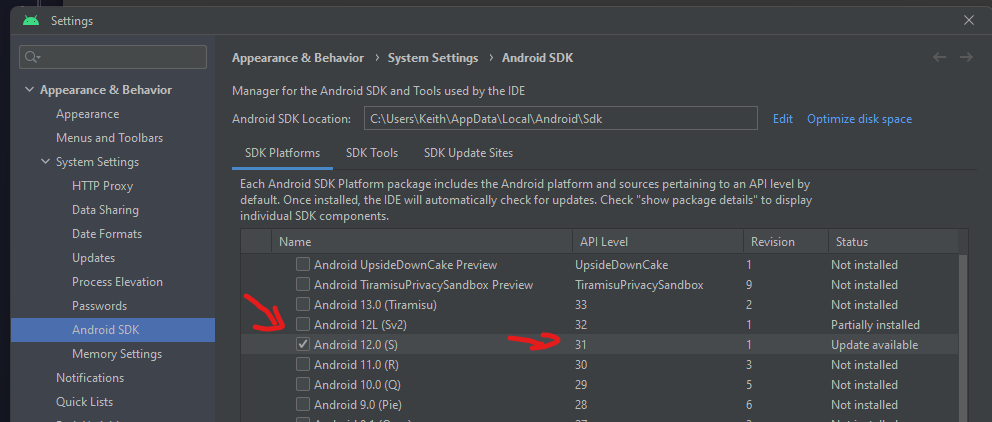
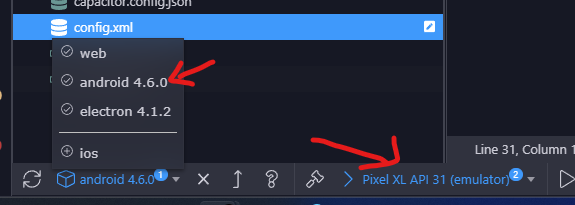
- The lastest version of Android does not work with Capacitor, so I had to install an early version through the SDK Manager.
Install Android 12.0 with API Level 31
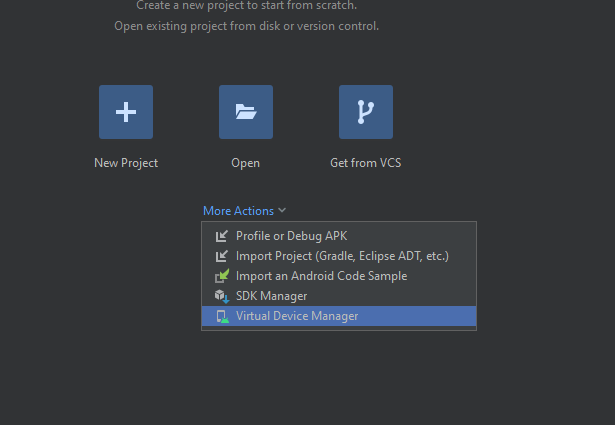
- I also had to create a device in Device Manager that used Android 12 with API 31.
After that, you should be able to select Android in the Platform menu in Wappler and also select the Device.

After launching the Android emulator, one helpful tip is to open Google Chrome and type the following in the address bar.
chrome://inspect/#devices
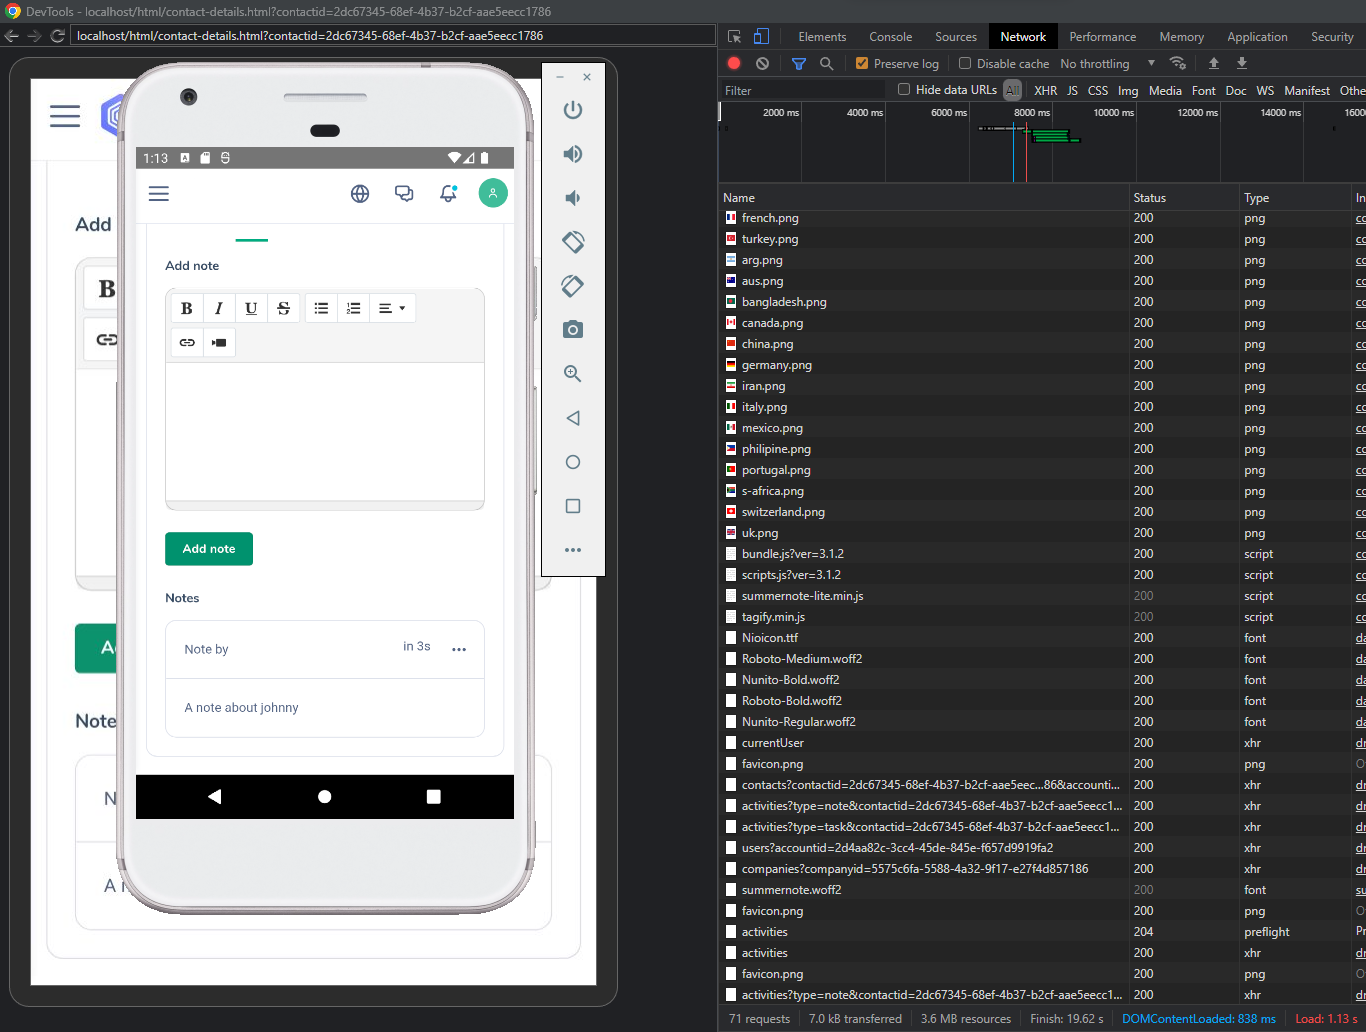
This will show devices on your network, including the Andoird Emulator. You can click the 'inspect' link to launch dev tools for the emulator.
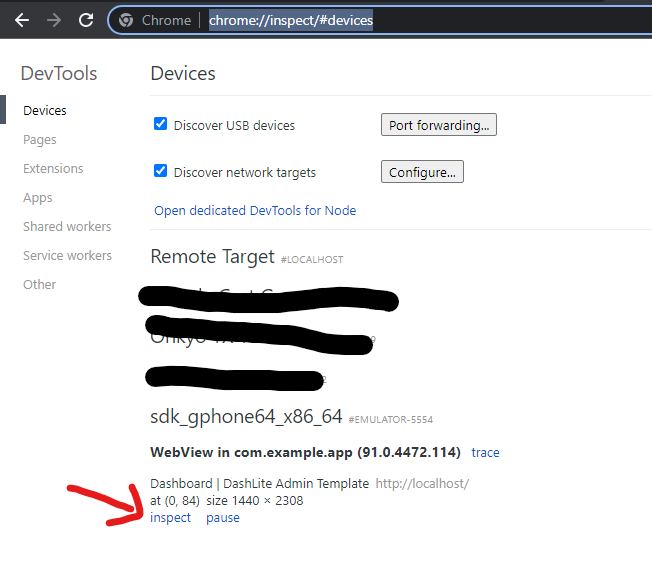
This will allow you to see the network and console logs for troubleshooting.
STEP 7 - Electron setup
Electron required slight modifications to the Content Security Policy defined in setup.ts

At or near line 219 is a function named setupContectSecurityPolicy. There are many CSPs that could be configured. You can read about them here. For the basic setup the following change worked for me.
Change this:
? `default-src ${customScheme}://* 'unsafe-inline' devtools://* 'unsafe-eval' data:`
            : `default-src ${customScheme}://* 'unsafe-inline' data:`,
To this:
NOTE: make sure to update the mysite.com references to your site's address
? `default-src ${customScheme}://* https://mysite.com/* 'unsafe-inline' devtools://* 'unsafe-eval' http://* 'unsafe-eval' https://* 'unsafe-eval' ws://* 'unsafe-eval' wss://* 'unsafe-eval' data:`
            : `default-src ${customScheme}://* https://mysite.com/* 'unsafe-inline' http://* 'unsafe-eval' https://* 'unsafe-eval' ws://* 'unsafe-eval' wss://* 'unsafe-eval' data:`,
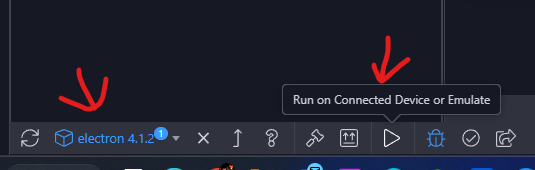
That should be all the is required. Switch to Electron platform and then click the "Run on Connected Device or Emulate" icon.