Hey guys!
The other day @franse mentioned an issue with reCAPTCHA, and to be honest, it never felt that reliable to me, especially version 2. So I decided to switch to hCaptcha, and I really recommend it.
After testing and successfully implementing hCaptcha, I made this tutorial using ChatGPT, so I guess I found another good use for AI in Wappler haha.
Hope it helps!
 Tutorial: How to Add hCaptcha to Your Wappler Forms
This tutorial will show you how to protect your forms using hCaptcha, a lightweight and privacy-friendly alternative to reCAPTCHA.
 Requirements
- Free account at https://www.hcaptcha.com
- A working form in Wappler
- Access to your backend code (e.g.,
send_email.phpor Server Action)
 Step 1: Get Your Keys
-
Go to https://www.hcaptcha.com and sign up.
-
Inside your dashboard, add a new site.
-
You'll receive two keys:
 Site Key → used in the frontend.
 Secret Key → used in the backend (keep it private!).
 Step 2: Insert hCaptcha in Your Form
 In your
 index.html (or the page containing the form):
a) Add the hCaptcha script in the <head>:
<script src="https://js.hcaptcha.com/1/api.js" async defer></script>
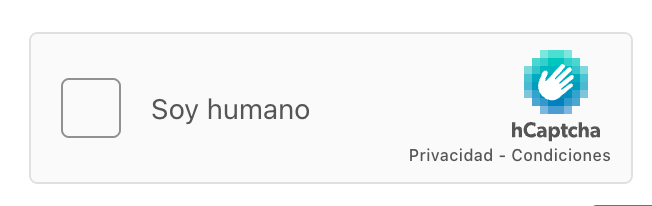
b) Inside the <form>, place the captcha widget:
<div class="h-captcha" data-sitekey="Your-SiteKey"></div>
(Replace "Your-SiteKey" with your actual one)
c) Add this script before </body> to validate the captcha before submission:
<script>
  function validateHCaptcha () {
    const response = hcaptcha.getResponse();
    const errorEl  = document.getElementById('captcha-error');

    if (!response) {
      errorEl.classList.remove('d-none');
      return false;
    }

    errorEl.classList.add('d-none');

    let inp = document.querySelector("input[name='h-captcha-response']");
    if (!inp) {
      inp = document.createElement('input');
      inp.type = 'hidden';
      inp.name = 'h-captcha-response';
      document.getElementById('mail_form').appendChild(inp);
    }

    inp.value = response;
    return true;
  }

  document.addEventListener('DOMContentLoaded', () => {
    const form = document.getElementById('mail_form');
    form.addEventListener('submit', e => {
      if (!validateHCaptcha()) e.preventDefault();
    });
  });
</script>
d) (Optional) Add an error message for when the captcha is not solved:
<div id="captcha-error" class="alert alert-danger d-none text-center mt-2">
  Please complete the captcha before submitting.
</div>
 Step 3: Validate the Token on the Backend
If using PHP (send_email.php for example), add this code at the top:
<?php
$captcha = $_POST['h-captcha-response'] ?? '';

if (!$captcha) {
  http_response_code(400);
  echo json_encode(['error' => 'Captcha missing']);
  exit;
}

$secret = 'Your-SecretKey';
$verify = file_get_contents(
  'https://hcaptcha.com/siteverify?secret=' . urlencode($secret) .
  '&response=' . urlencode($captcha) .
  '&remoteip=' . $_SERVER['REMOTE_ADDR']
);

$verify_data = json_decode($verify);

if (!$verify_data->success) {
  http_response_code(400);
  echo json_encode(['error' => 'Invalid captcha']);
  exit;
}
Replace
"Your-SecretKey"with your actual secret key (never share it publicly).
 Result
- If the captcha is not completed, submission is blocked and an error is shown.
- If the captcha is solved, a token is sent to the server.
- The server validates the token before continuing (sending the email, storing data, etc.).
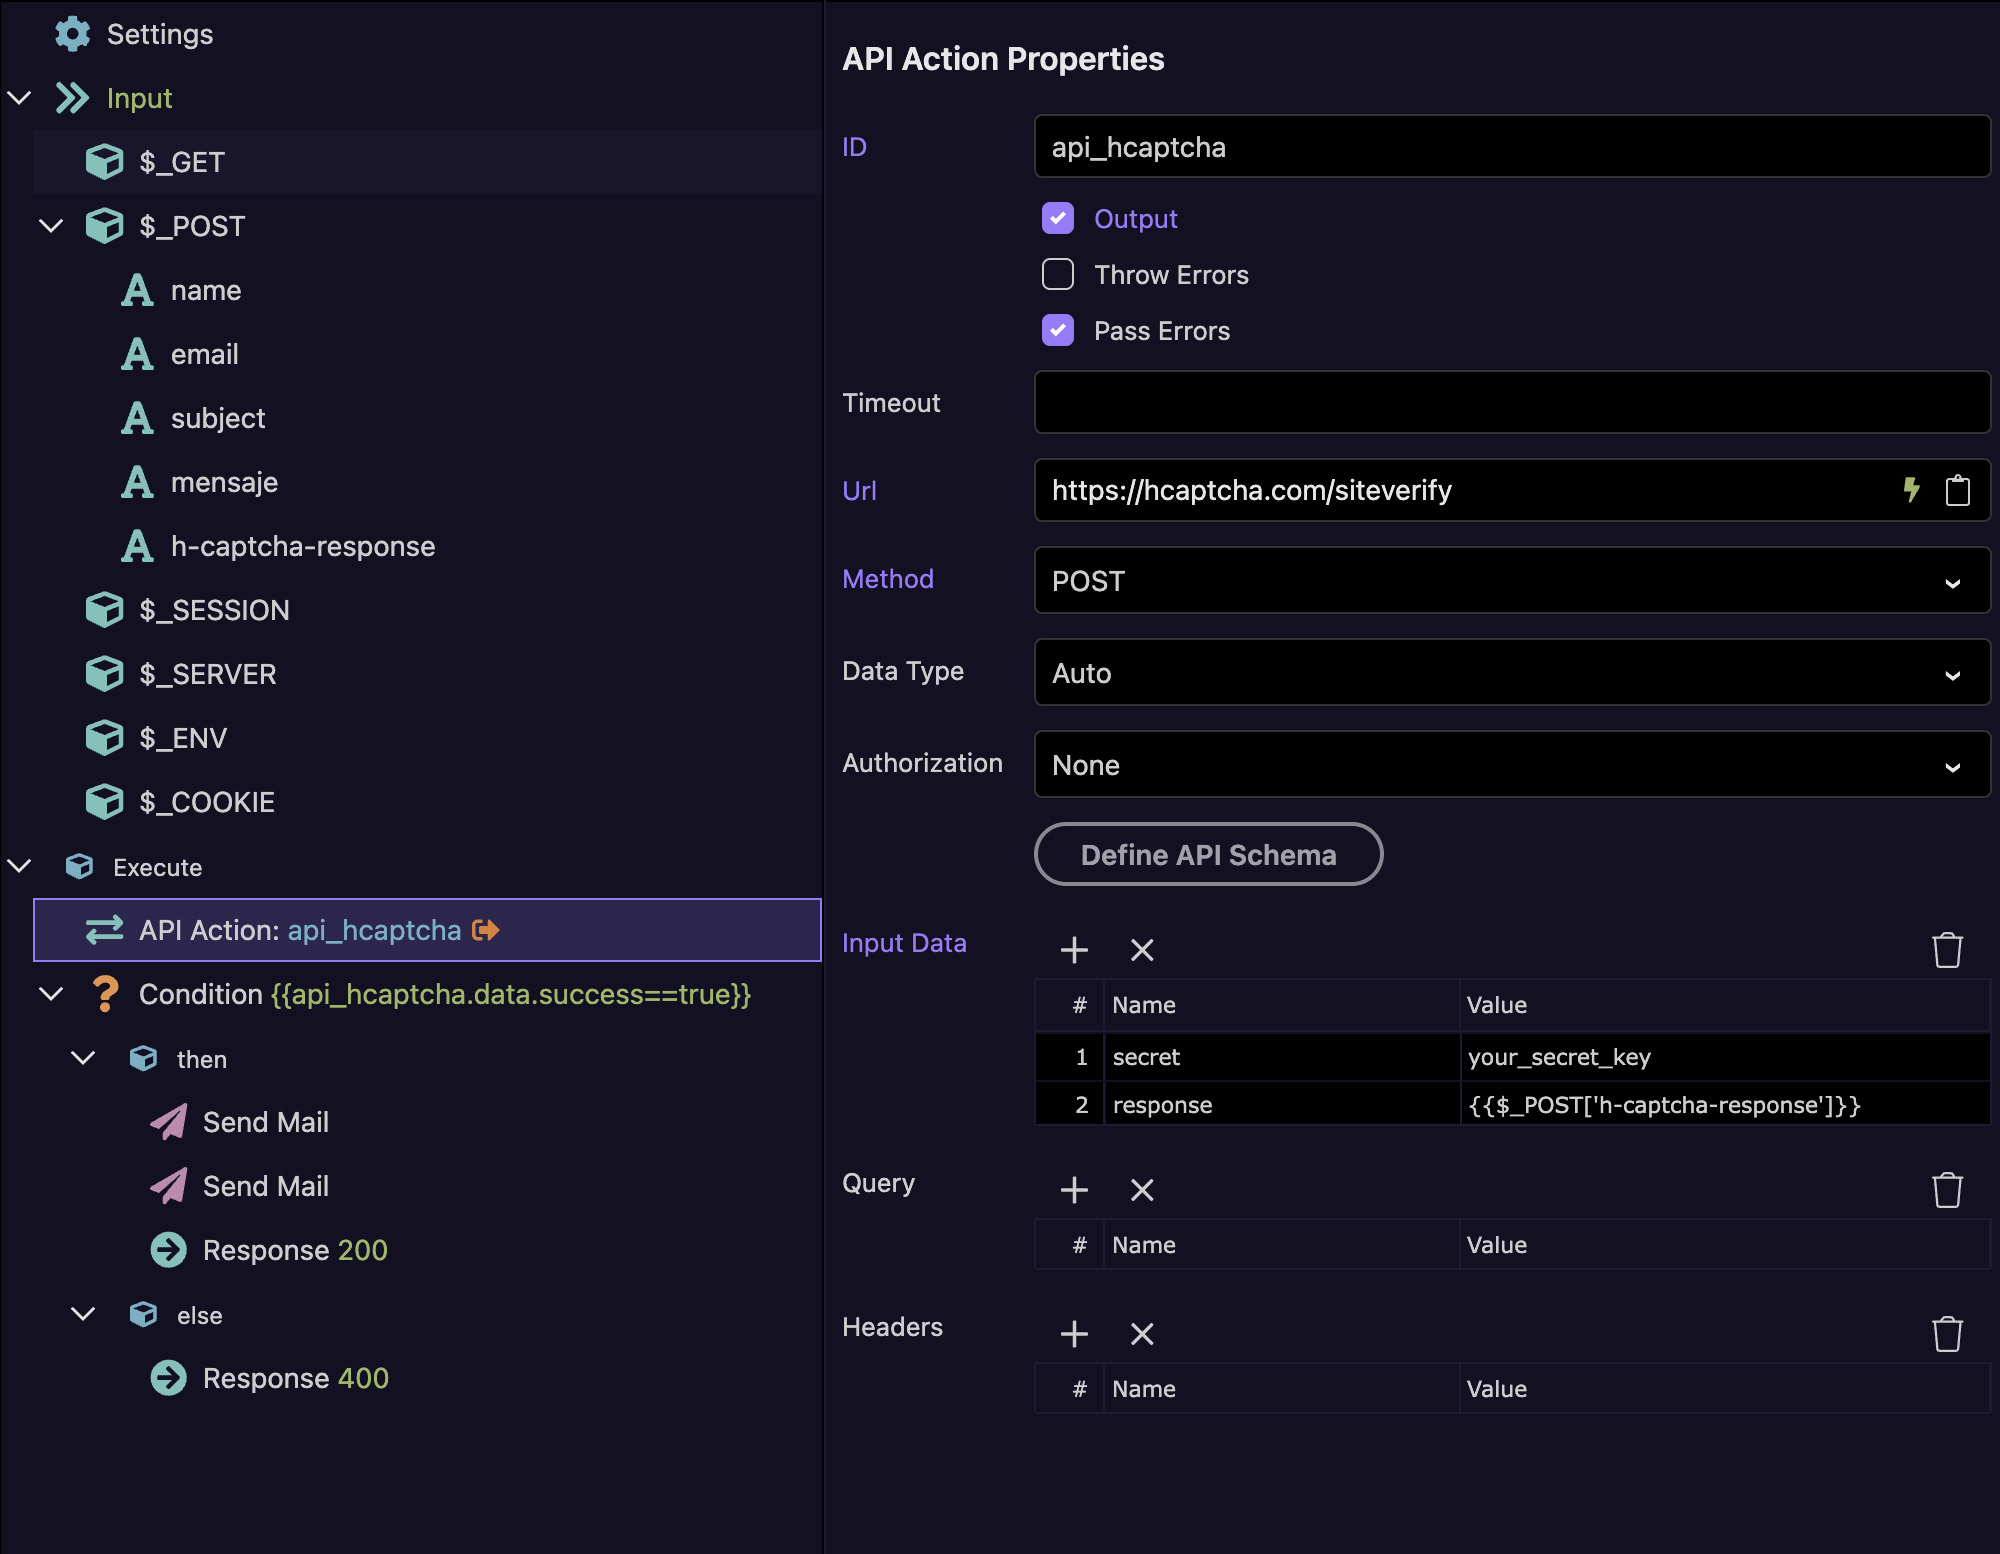
 Bonus: Using hCaptcha in Wappler UI
- Insert the widget using a Static HTML block inside your form.
- Use a
<script>block to inject the logic. - For Server Connect: use an API Action step to verify
https://hcaptcha.com/siteverify.
Security Tips
- Never upload your secret key to public repositories.
- Use Wappler Globals or environment variables to store it securely.