funchal
September 24, 2021, 12:57am
1
Hello
How can I use Google Source Calendar ?
brad
September 24, 2021, 4:12pm
2
There is no Wappler way to do it. You will have to do it manually.
https://support.google.com/calendar/answer/41207?hl=en
funchal
September 24, 2021, 11:13pm
3
How do I use Google Calendar Source options?
brad
September 24, 2021, 11:20pm
4
Huh. Interesting. First I have seen on this. I am now curious to see the answer as well.
Teodor
September 25, 2021, 7:07am
5
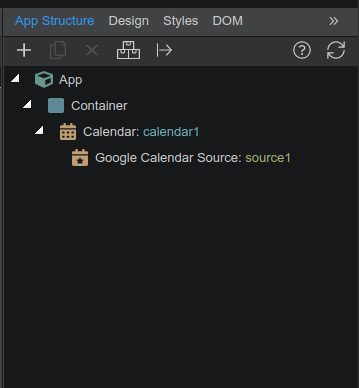
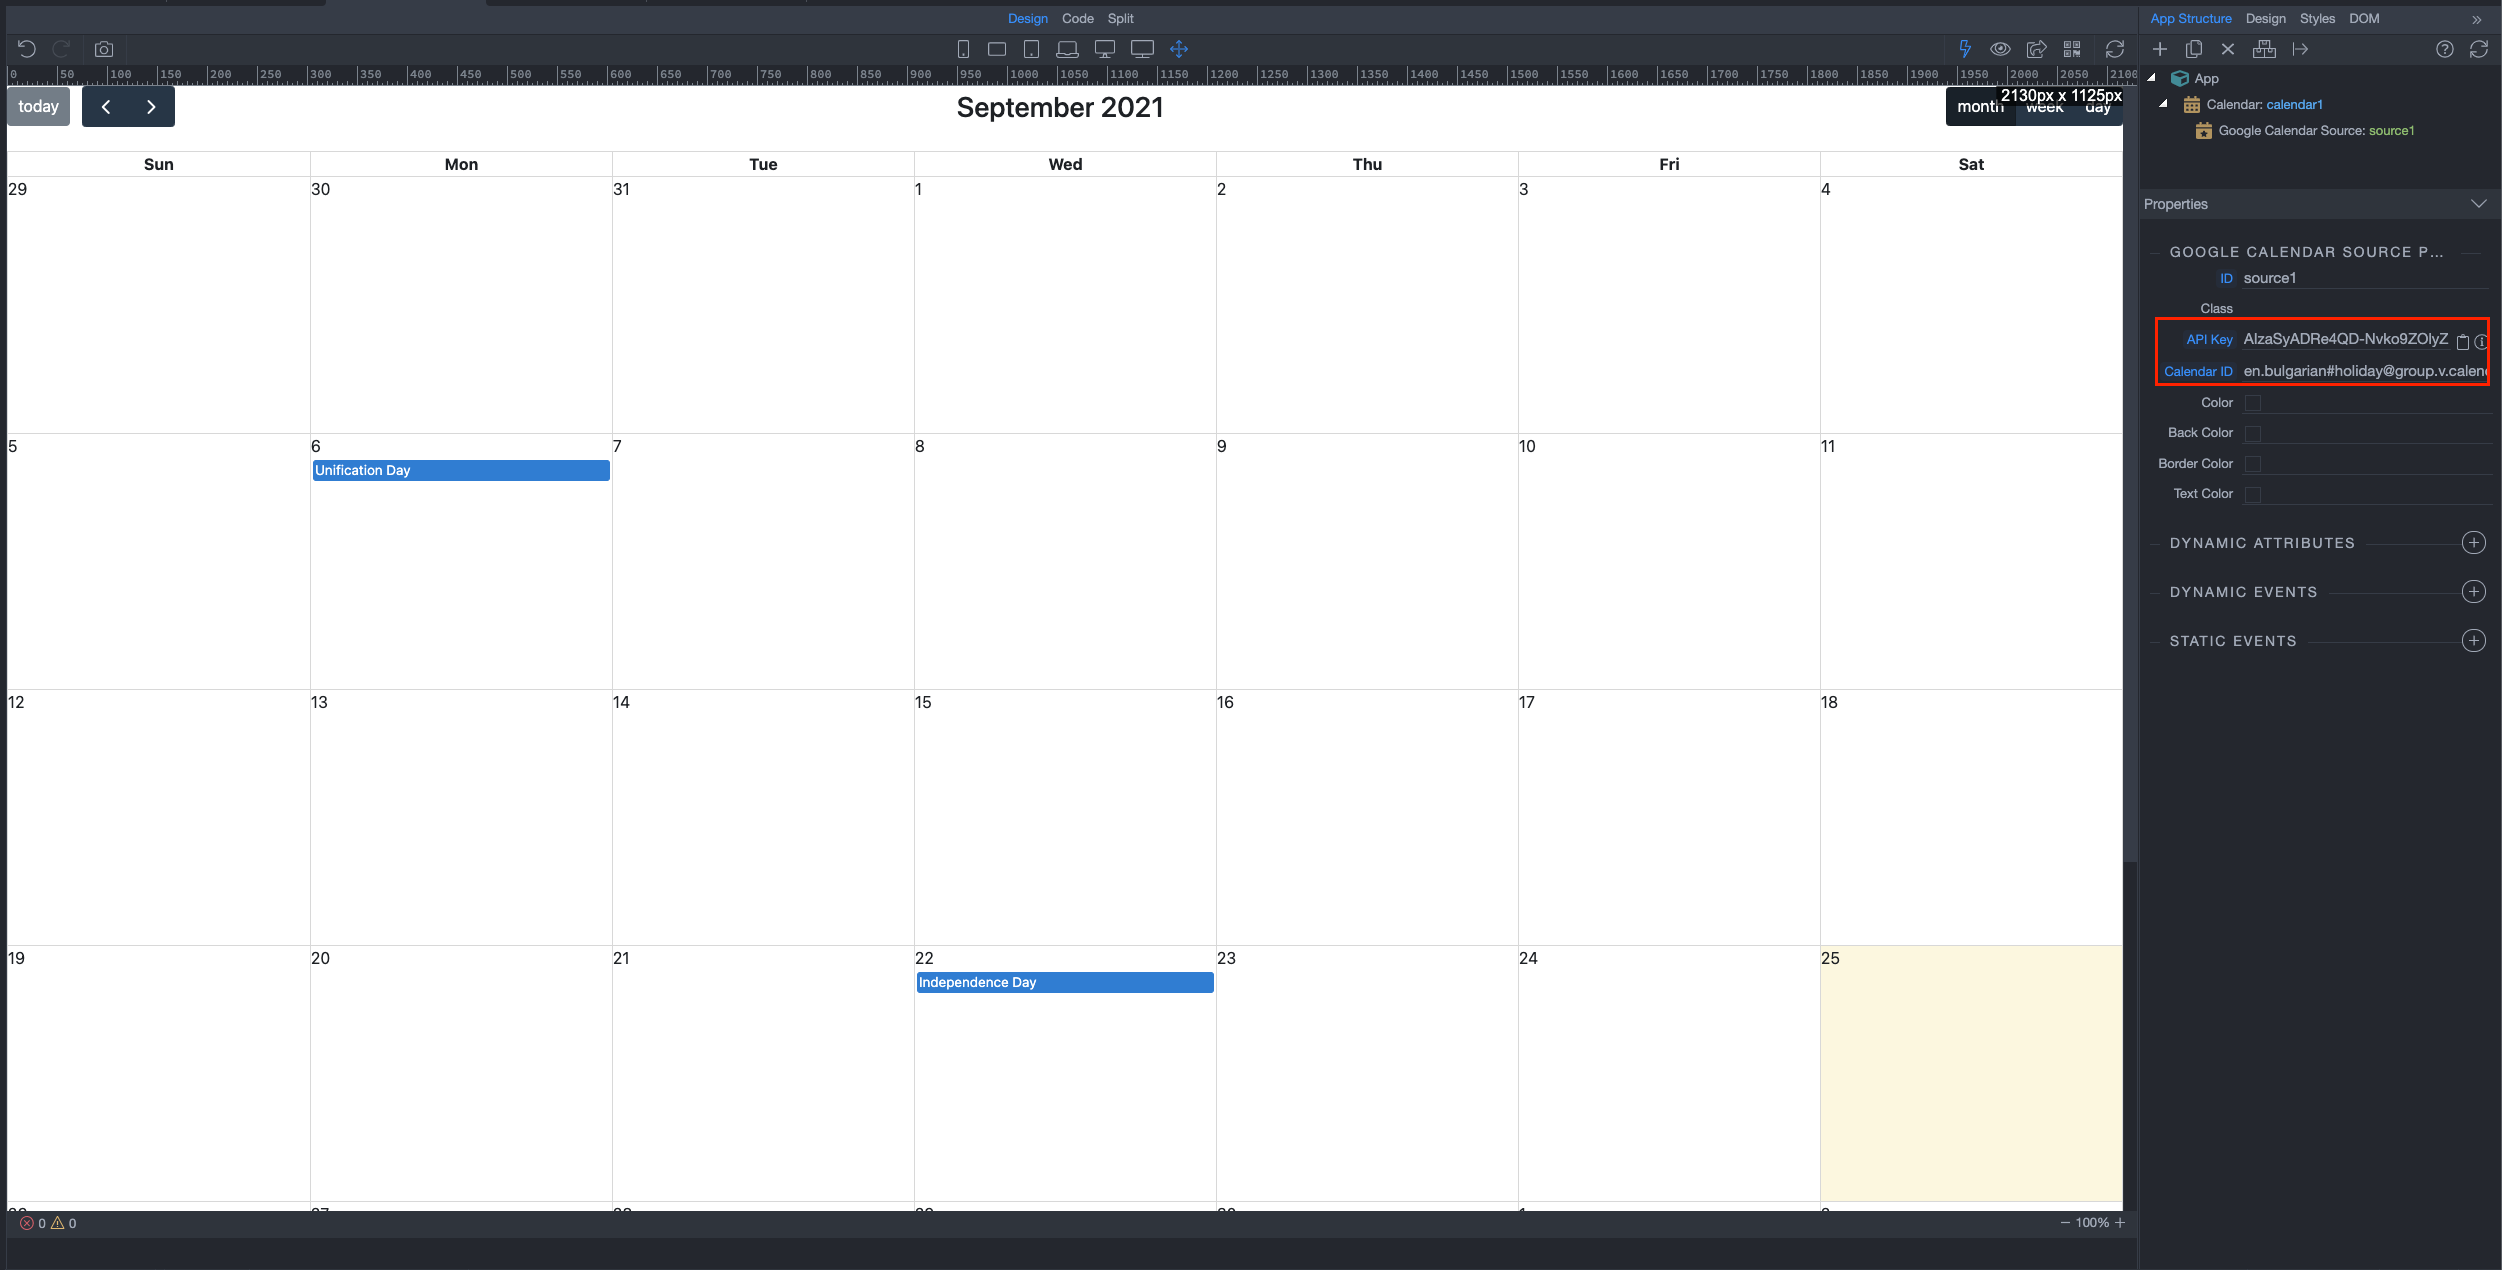
Well that’s pretty straightforward. Enter your Google Calendar API key and the calendar id in the properties:
You must first have a Google Calendar API Key :
Go to the Google Developer Console and create a new project (it might take a second).
Once in the project, go to APIs & auth > APIs on the sidebar.
Find “Calendar API” in the list and turn it ON.
On the sidebar, click APIs & auth > Credentials .
In the “Public API access” section, click “Create new Key”.
Choose “Browser key”.
If you know what domains will host your calendar, enter them into the box. Otherwise, leave it blank. You can always change it later.
Your new API key will appear. It might take second or two before it starts working.
Make your Google Calendar public:
In the Google Calendar interface, locate the “My calendars” area on the left.
Hover over the calendar you need and click the downward arrow.
A menu will appear. Click “Share this Calendar”.
Check “Make this calendar public”.
Make sure “Share only my free/busy information” is unchecked .
Click “Save”.
Obtain your Google Calendar’s ID:
In the Google Calendar interface, locate the “My calendars” area on the left.
Hover over the calendar you need and click the downward arrow.
A menu will appear. Click “Calendar settings”.
In the “Calendar Address” section of the screen, you will see your Calendar ID. It will look something like “abcd1234@group.calendar.google.com”.
2 Likes
funchal
September 27, 2021, 11:10pm
7
Its works! Its works! I needed to create a new project and a new Key.
Thanks Teodor.
Dave
September 27, 2021, 11:47pm
8
I think this should be added to the Documentation section @Teodor
1 Like
funchal
September 28, 2021, 12:21am
9
How could I add events to the calendar? What features are available?
psweb
June 19, 2025, 5:24pm
10
Hey @Teodor , I have tried this a couple times today and just can not seem to get the calendar to display anything other than a blank calendar, and there is also no console errors or anything I can see to try track down the issue.