
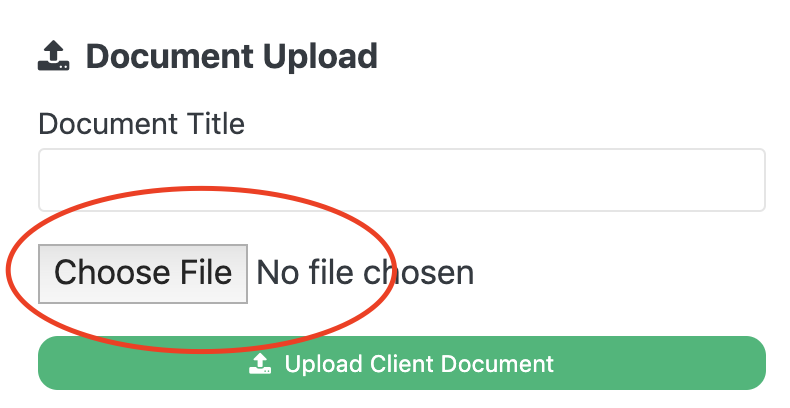
Is there a way to give the file upload form field a more bootstrap look?
I wrote a small rant about something like this in one of my many novels to explain something completely different, haha
Here’s a little simplistic CSS lesson:
#FileUpload {
    position:relative;
}

#BrowserVisible {
    position: absolute;
    top: 0px;
    left: 0px;
    z-index: 1;
    background:url(upload.png) 100% 1px no-repeat;
    width:345px;
    height:30px;
}

#FileField {
    width:250px;
    margin-right:85px;
    padding: 6px;
    font-size: 13px;
    background: #fff url('bg-form-field.gif') top left repeat-x;
    border: 1px solid #d5d5d5;
    color: #333;
    border-radius: 4px 4px 4px 4px !important;
}

#BrowserHidden {
    position:relative;
    width:345px;
    height:30px;
    text-align: right;
    -moz-opacity:0;
    filter:alpha(opacity: 0);
    opacity: 0;
    z-index: 2;
}

<div id="FileUpload">
<input type="file" size="24" id="BrowserHidden" onchange="getElementById('FileField').value = getElementById('BrowserHidden').value;" />
<div id="BrowserVisible">
<input type="text" id="FileField" />
</div>
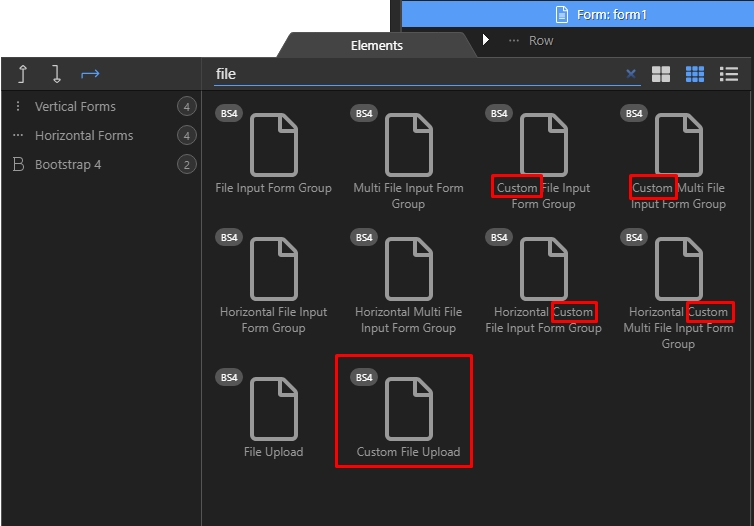
One other tweak which may be useful: I don’t think the selected filename will appear if you choose the Custom File option. This can be resolved by adding:
	<script>
		$('#uploadfile').on('change',function(){
                //get the file name
                var fileName = $(this).val().replace(/^.*\\/, "");
                //replace the "Choose a file" label
                $(this).next('.custom-file-label').html(fileName);
            })
	</script>
Obviously you will need to change references to the default ‘input1’ id etc. (or change #uploadfile above).
1 Like
I did the same as you initially Tom to get the name working, but i was not satisfied using custom code to achieve the result, so I used the built in Wappler bindings and got the same result in a far quicker and simpler way. If you read the post i linked to in this thread it has some screenshots to show what i did.
2 Likes
Thanks Paul. I’ve just read the post and tried out your suggestion - it’s a much better solution. You make a lot of good points in your post/article.
1 Like