With Wappler you can easily deploy your web site and apps to Heroku with a single click.
What is Heroku?
Heroku is a cloud platform as a service supporting several programming languages. One of the first cloud platforms, Heroku has been in development since June 2007, when it supported only the Ruby programming language, but now supports Java, Node.js, Scala, Clojure, Python, PHP, and Go.
In our example we will show you how to use NodeJS with Heroku.
Creating a Heroku Project
In order to use Heroku with Wappler you need to setup an account and then create your project.
Register a Free Account
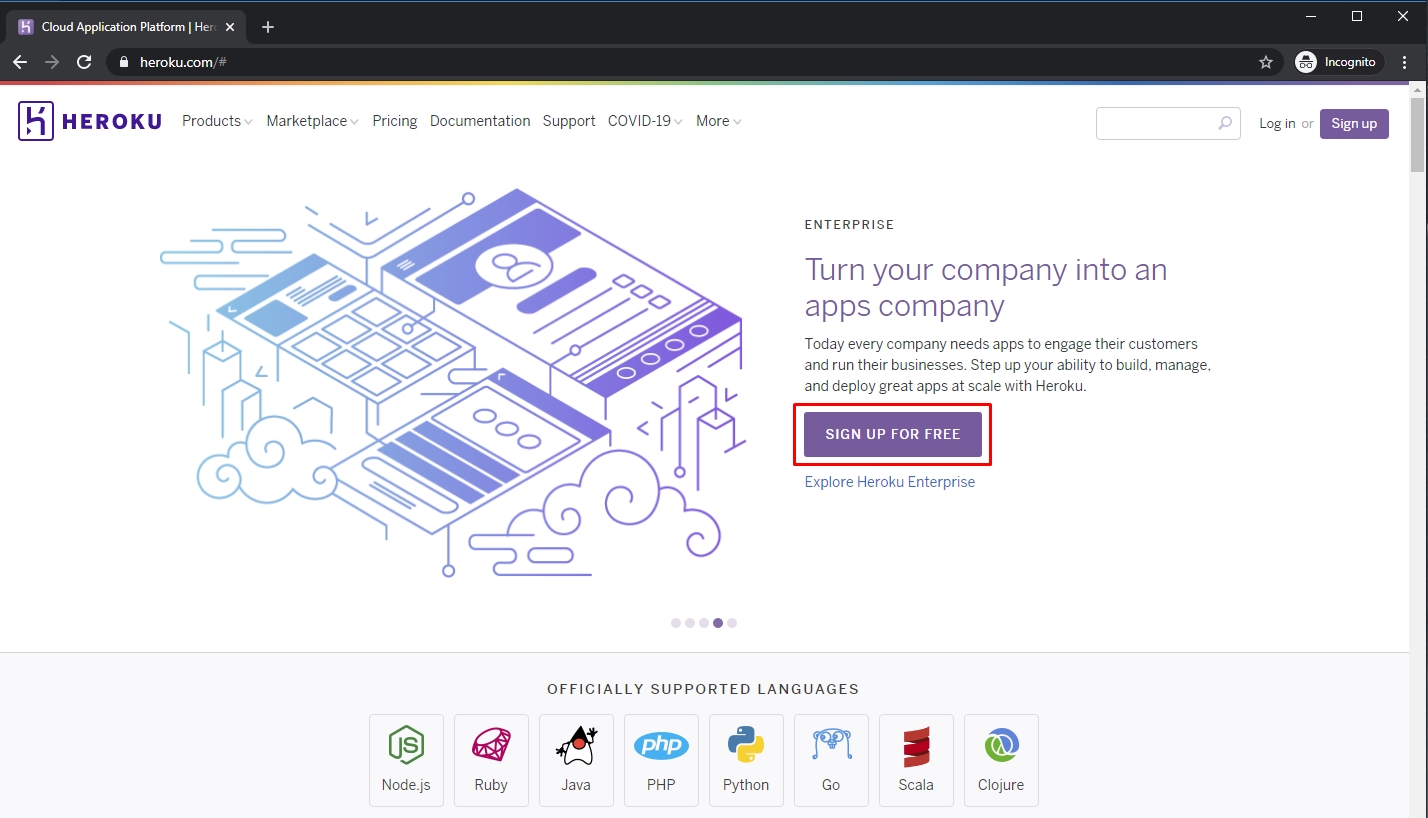
The first step is to create an account (it’s free) on Heroku website. Go to: https://www.heroku.com/ and click the Sign Up For Free button:
Follow the steps and create your account.
Create a Heroku App
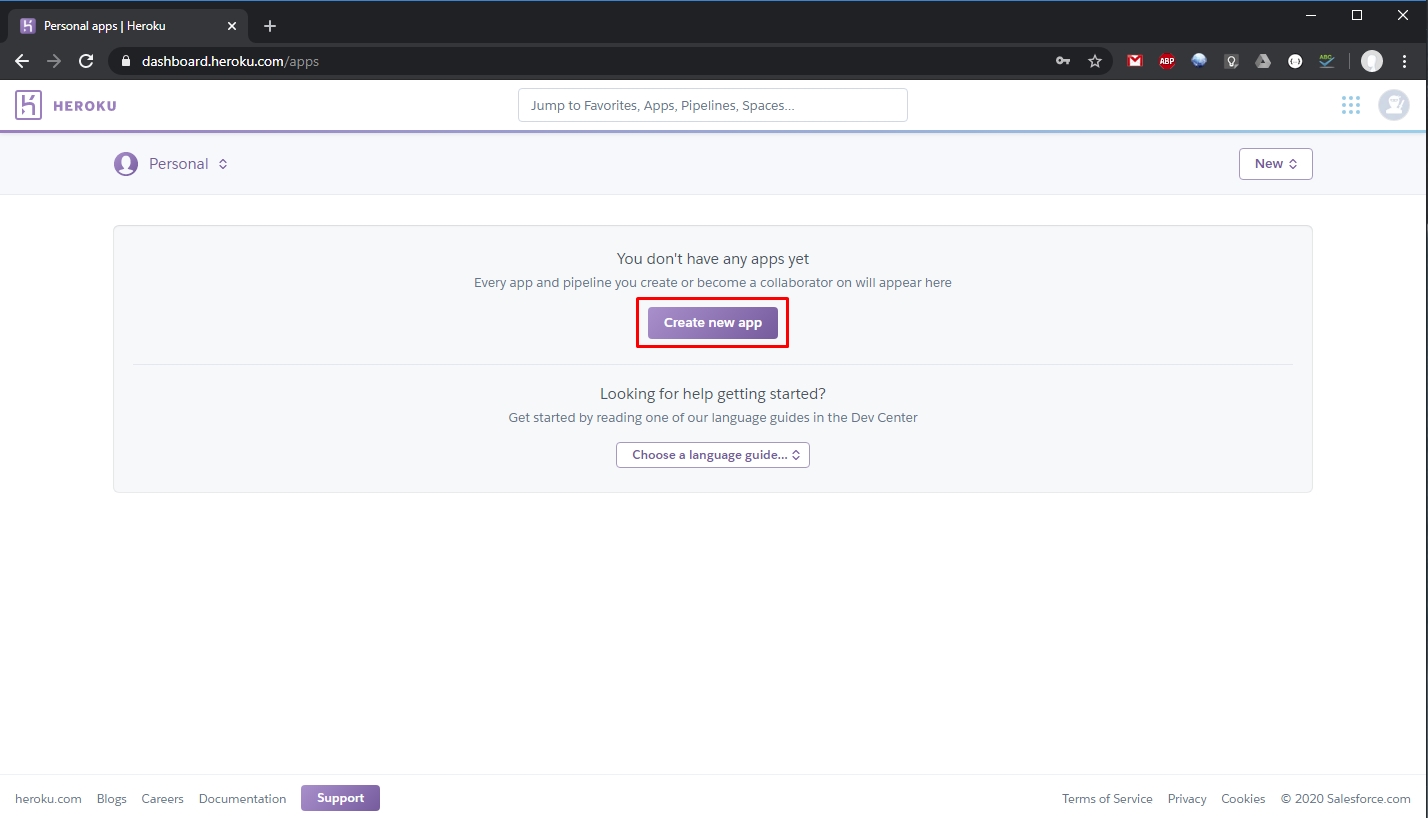
The next step is to create your app. Log in with your newly created account and click Create new app button:
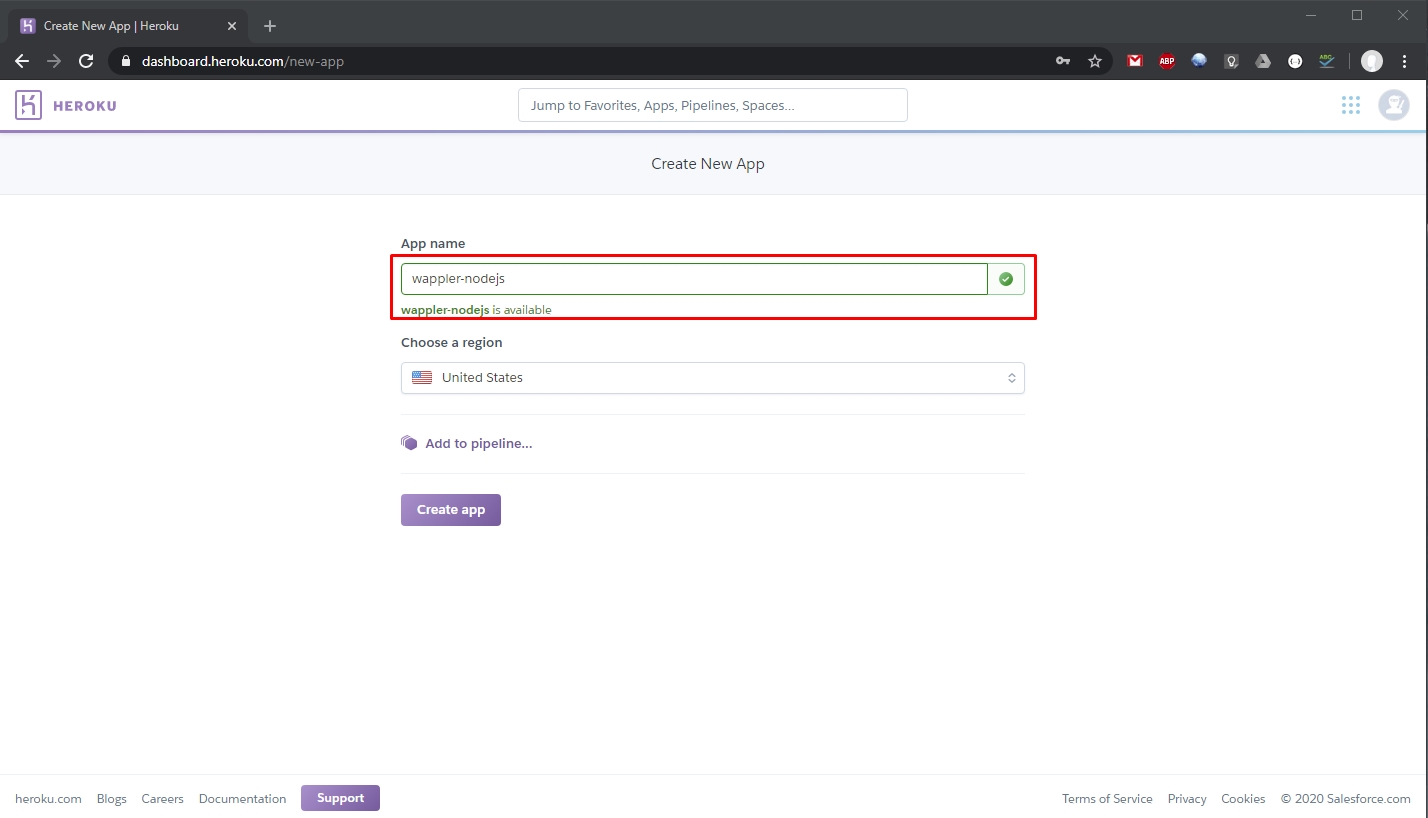
Add a name for your app. It will be used to access your app like: https://your-app-name.herokuapp.com/:
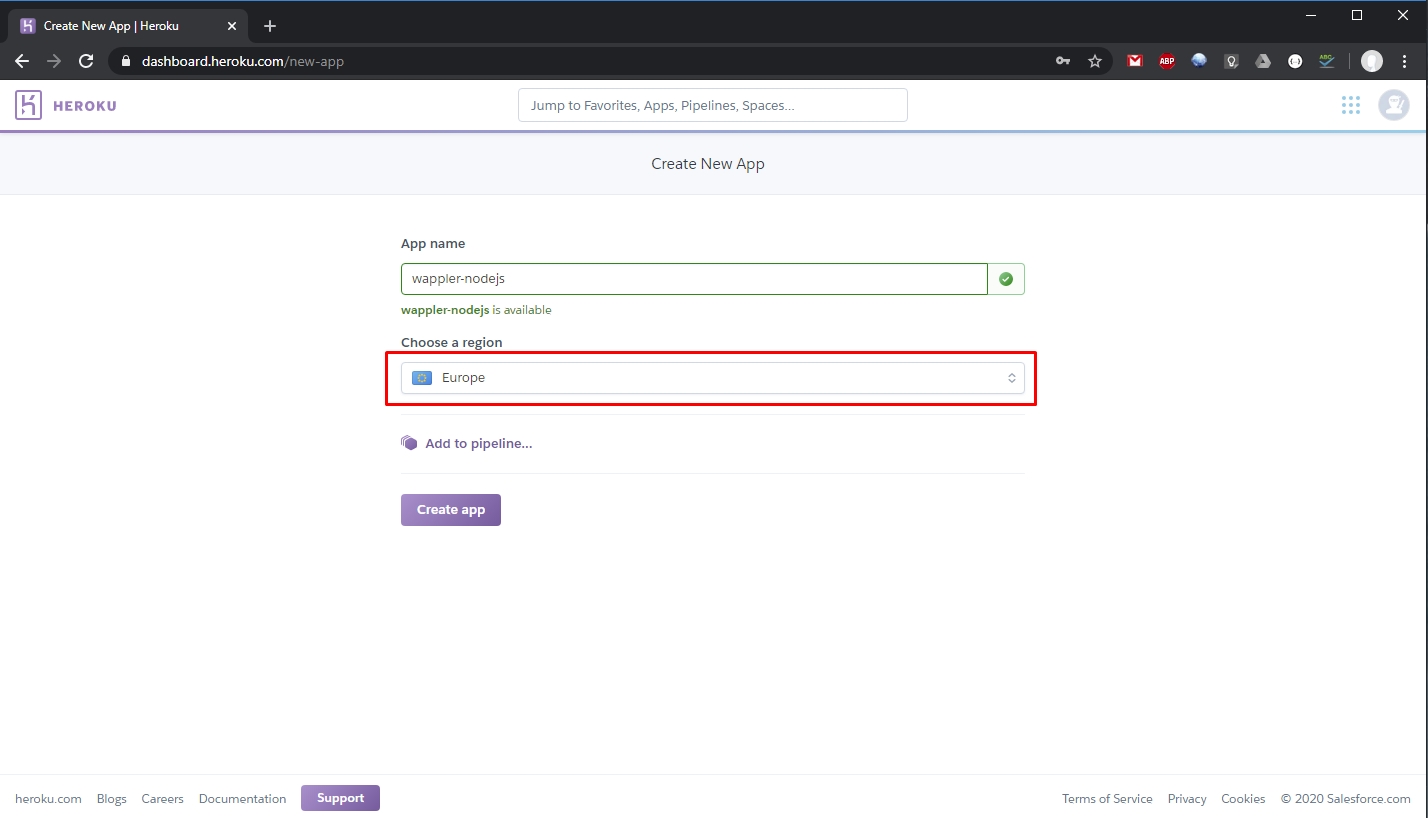
Select your region:
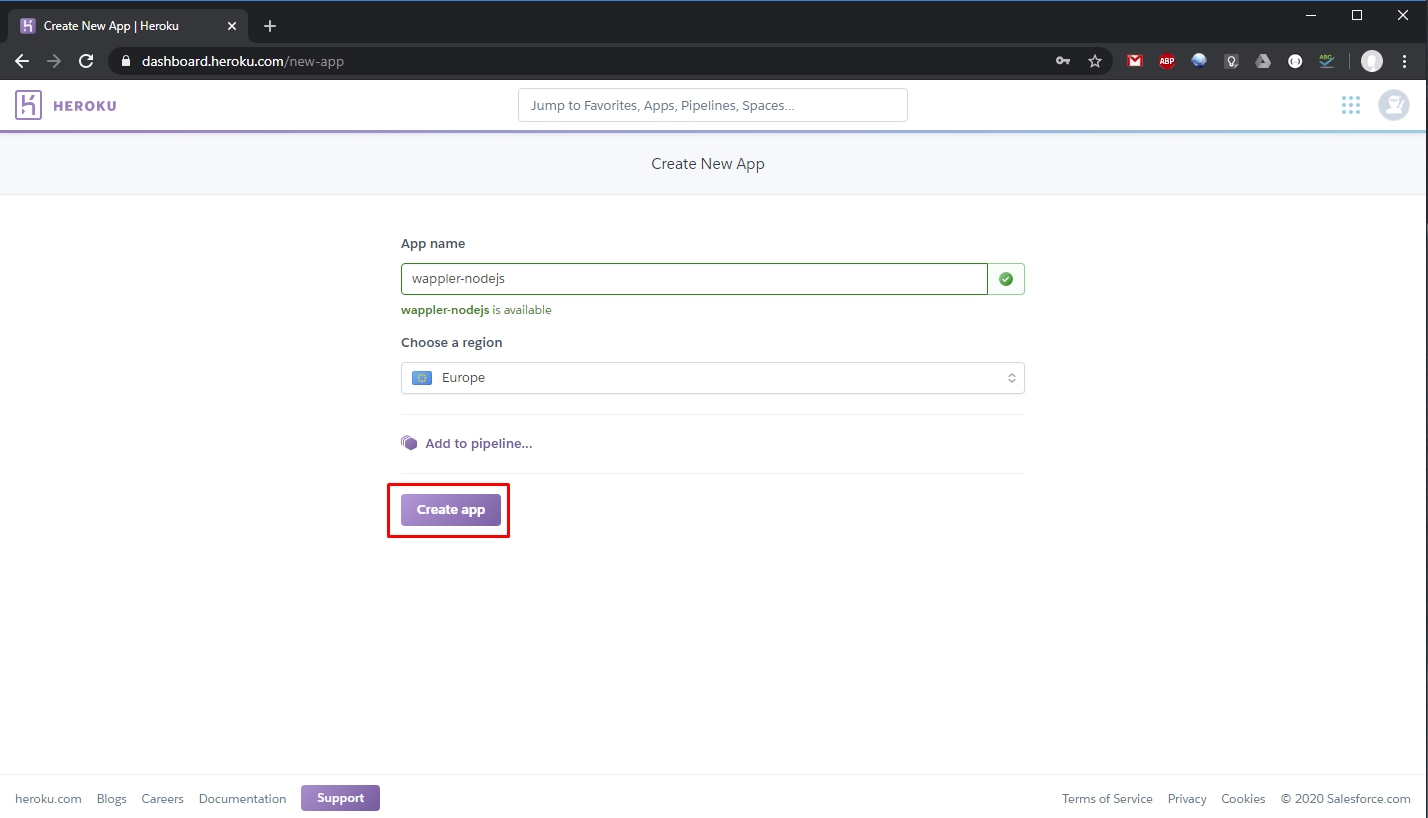
And click the Create App button:
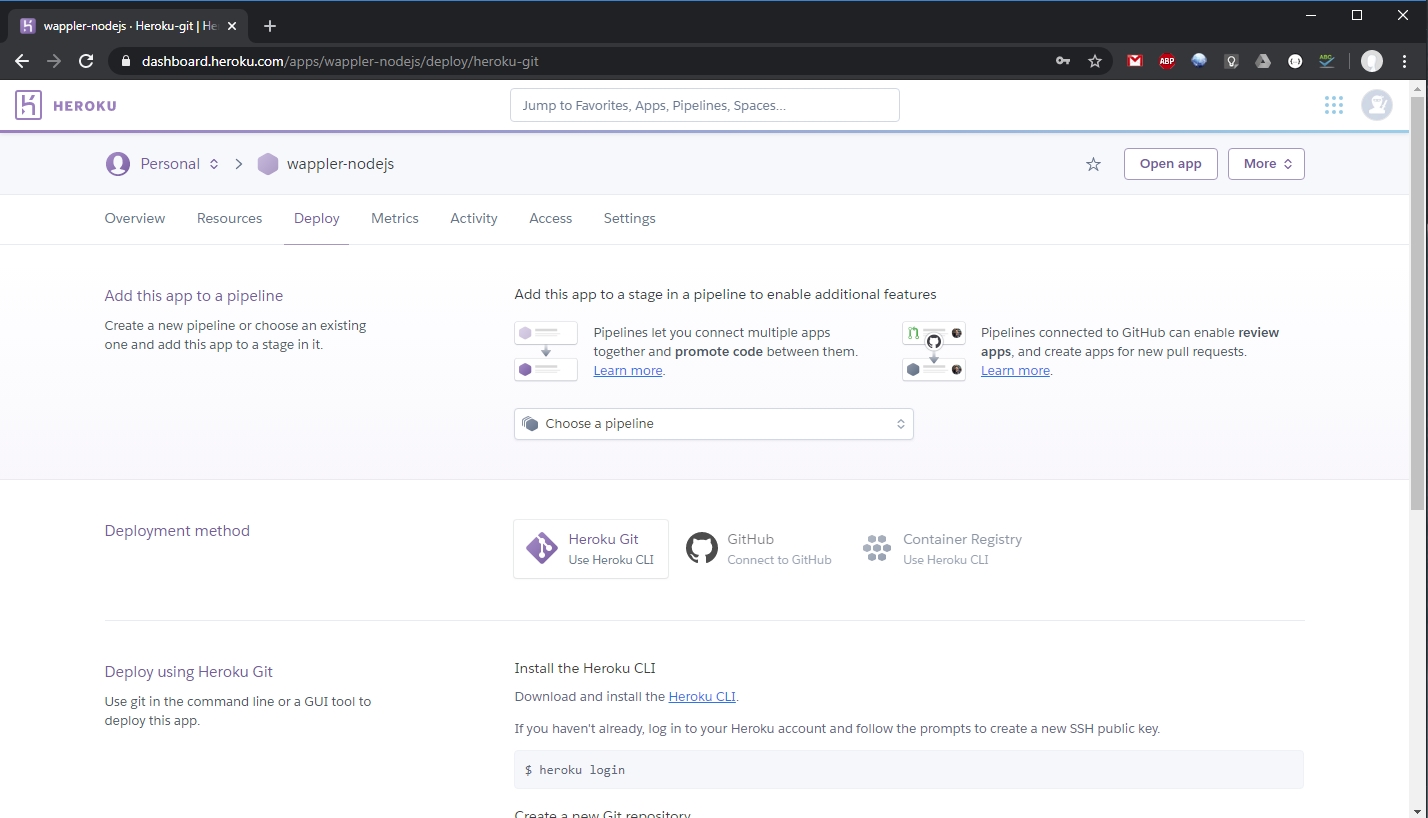
Your app is now ready:
Creating a Wappler Project
Open the Project Manager:
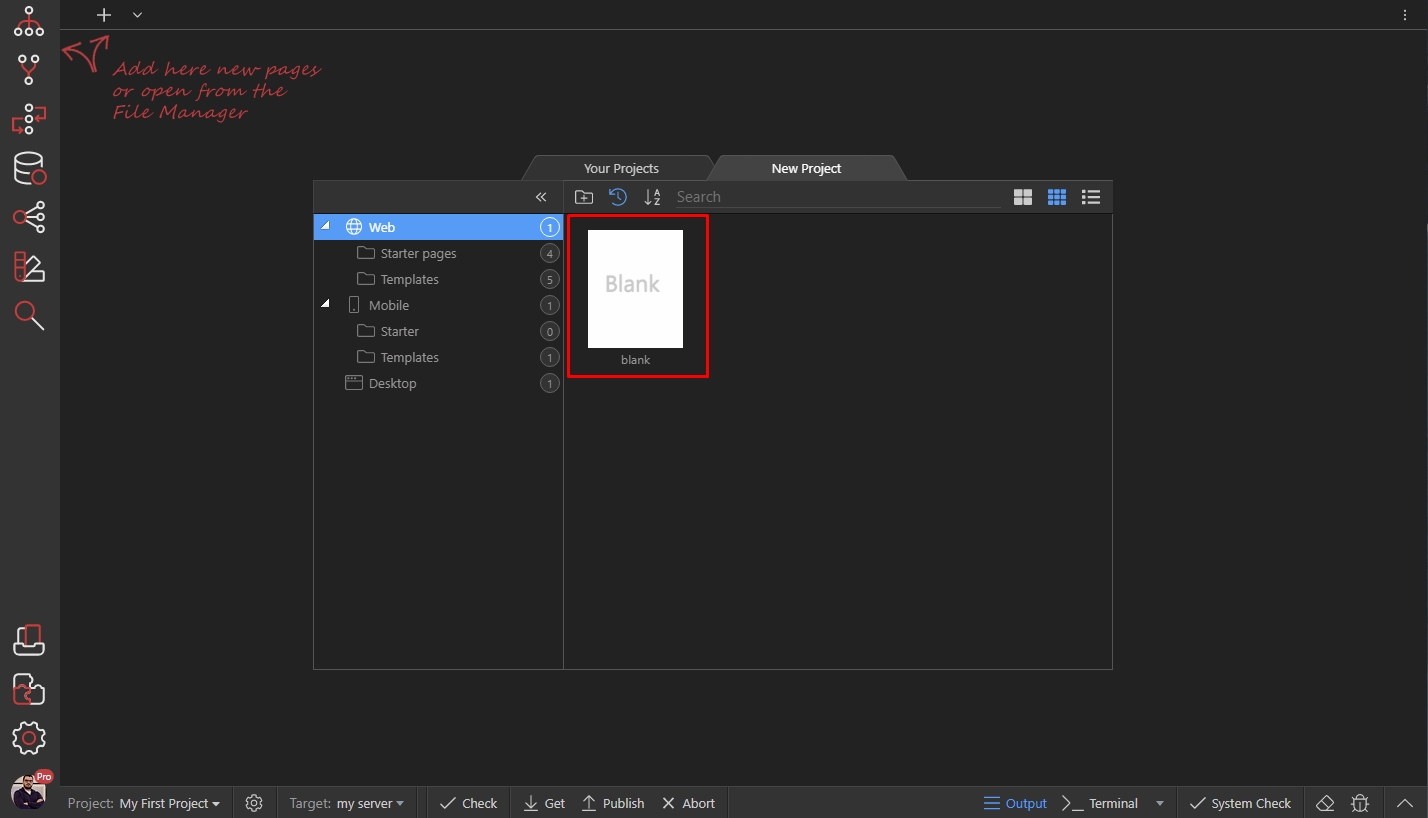
Select New Project tab and create a new blank project:
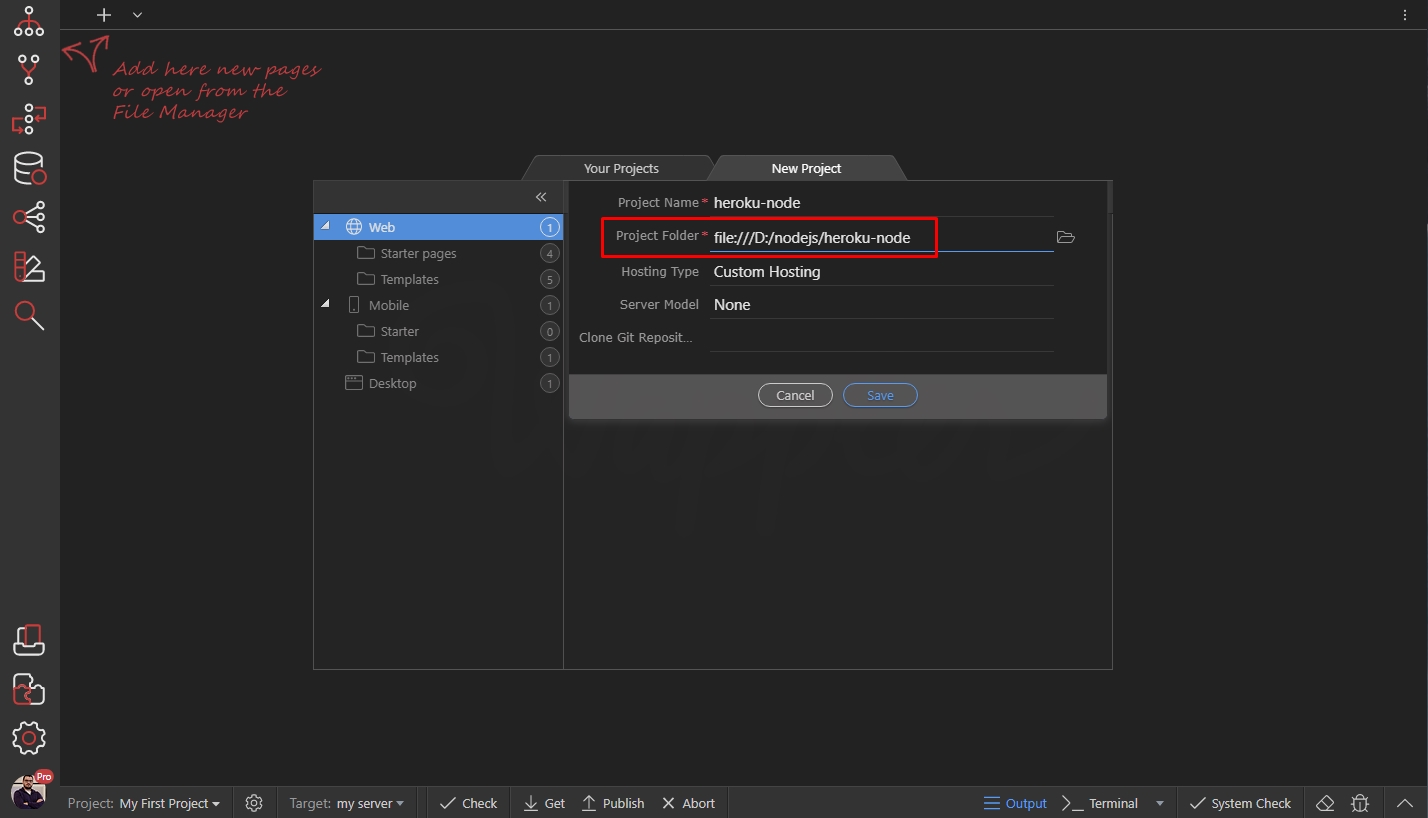
Add a name for your project:

Select a project folder:
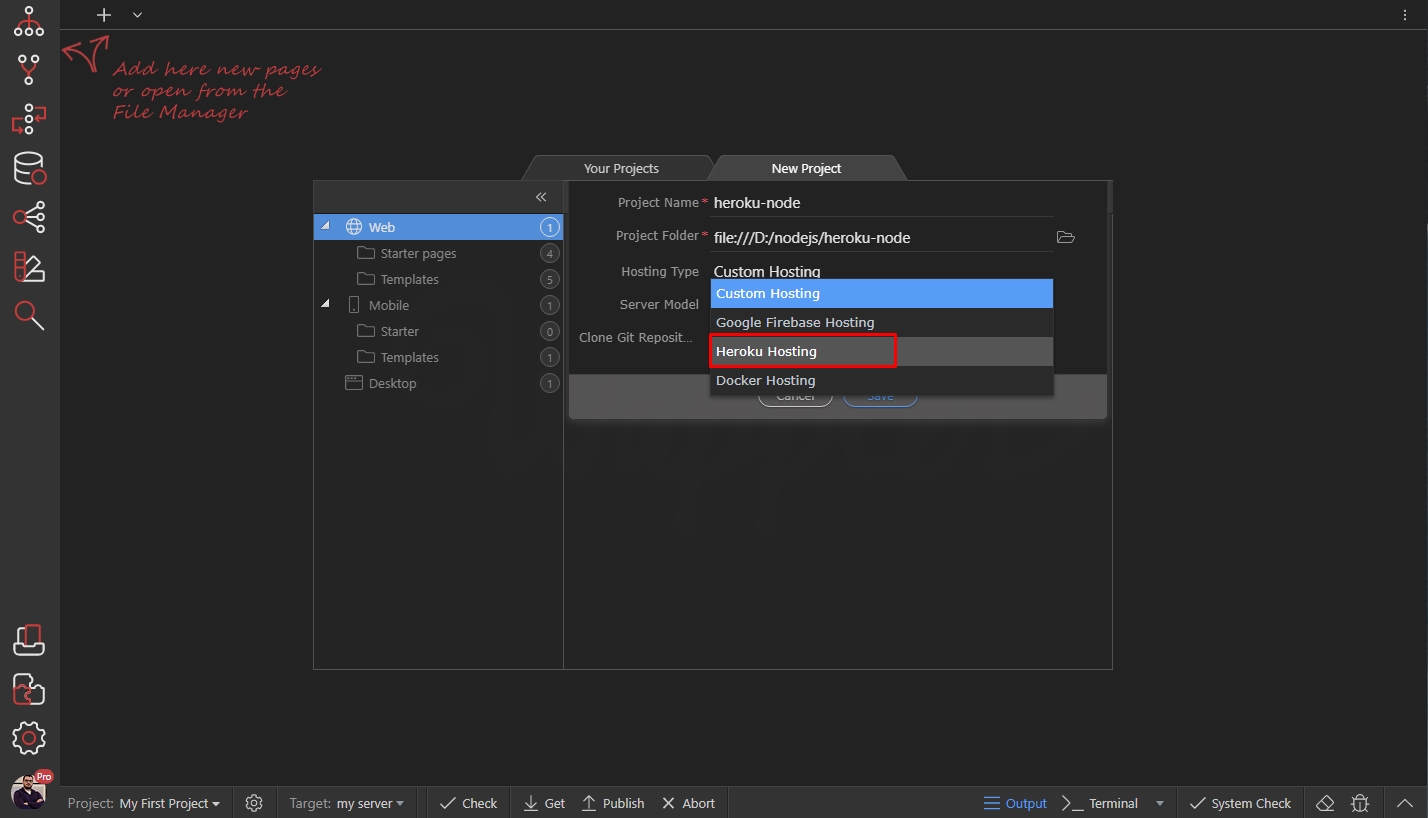
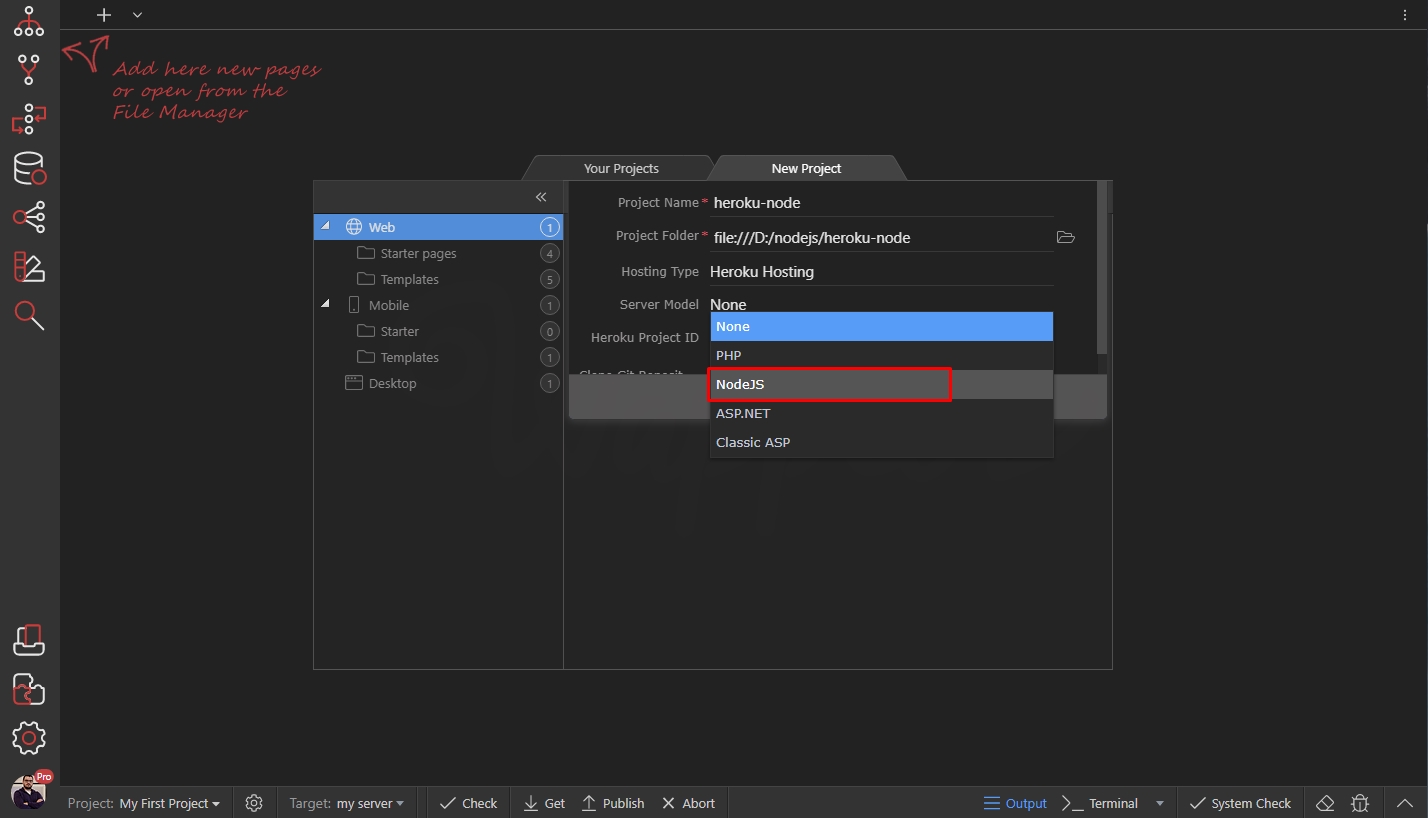
Open the Hosting Type menu and select Heroku Hosting:
Then open the Server Model menu and select NodeJS:
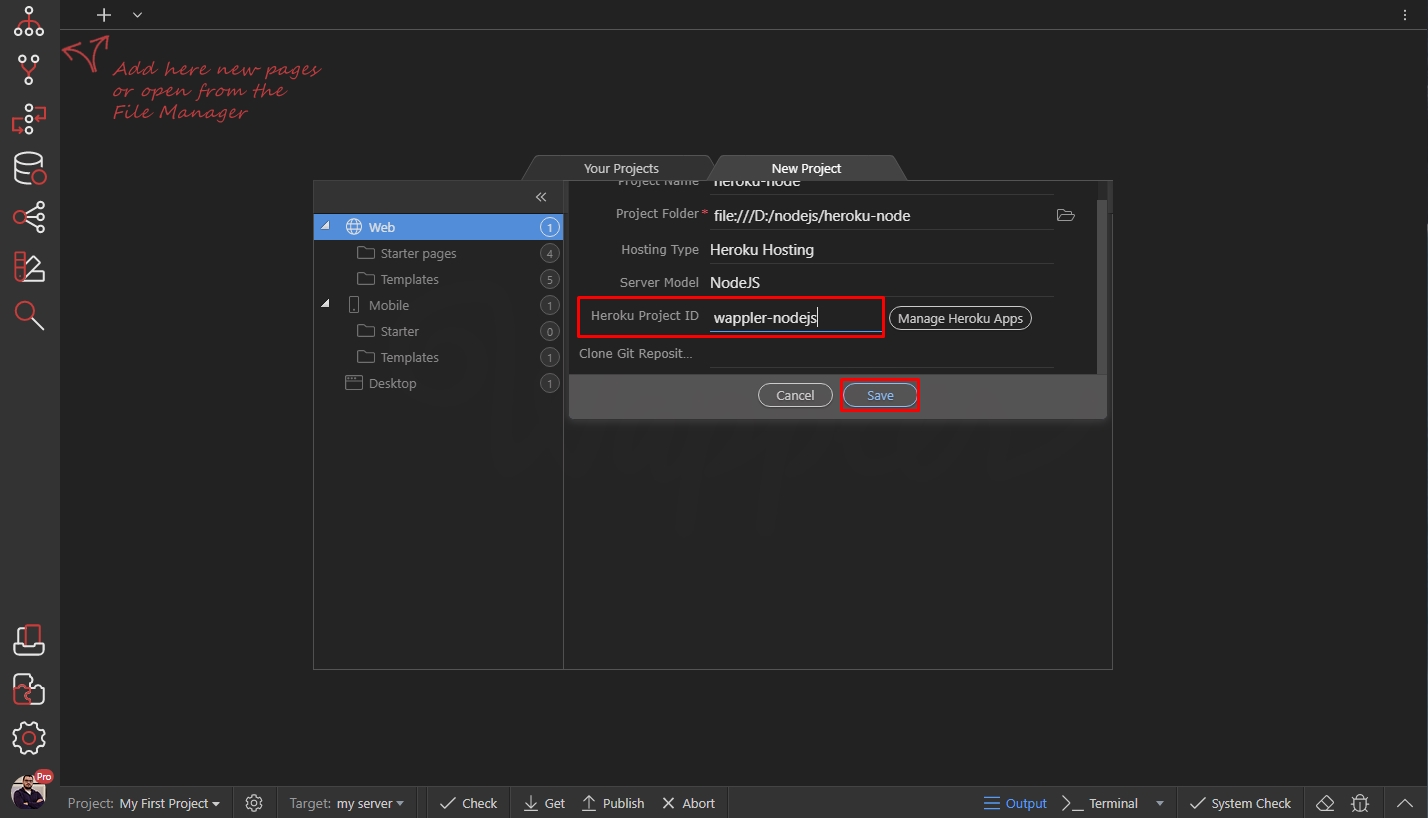
Enter your Heroku Project name here. If you don’t know what is it, you can click the Manage Heroku Apps button:

It will open your Heroku projects in the browser, so you can check your project name:

Enter it and click Save:
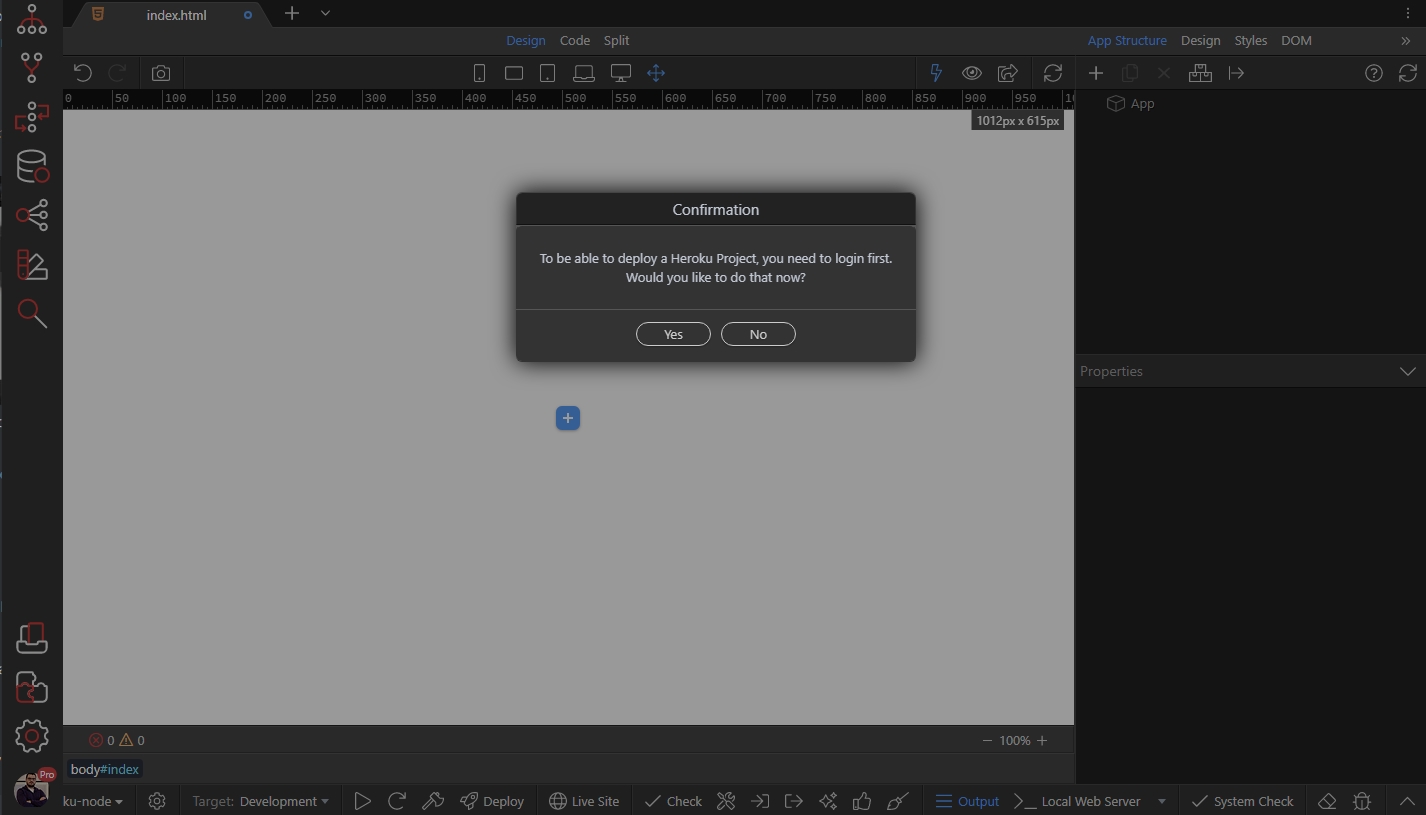
You are done. Your new project is ready, it will ask you to deploy to Heroku - select yes:

Then you will see a message, saying you need to log in - select yes:
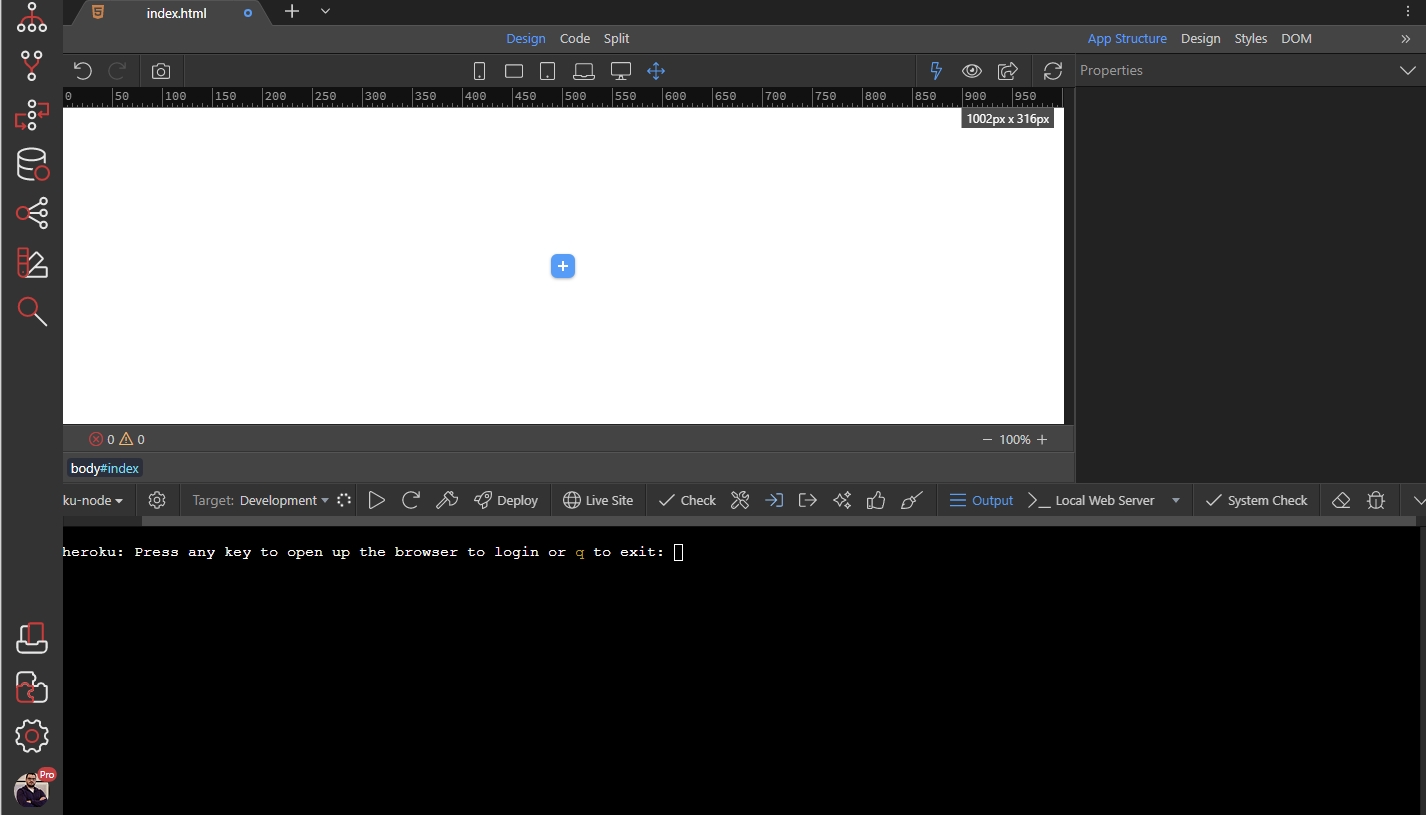
The terminal opens asking you to press any key, so click inside the terminal and press any key:
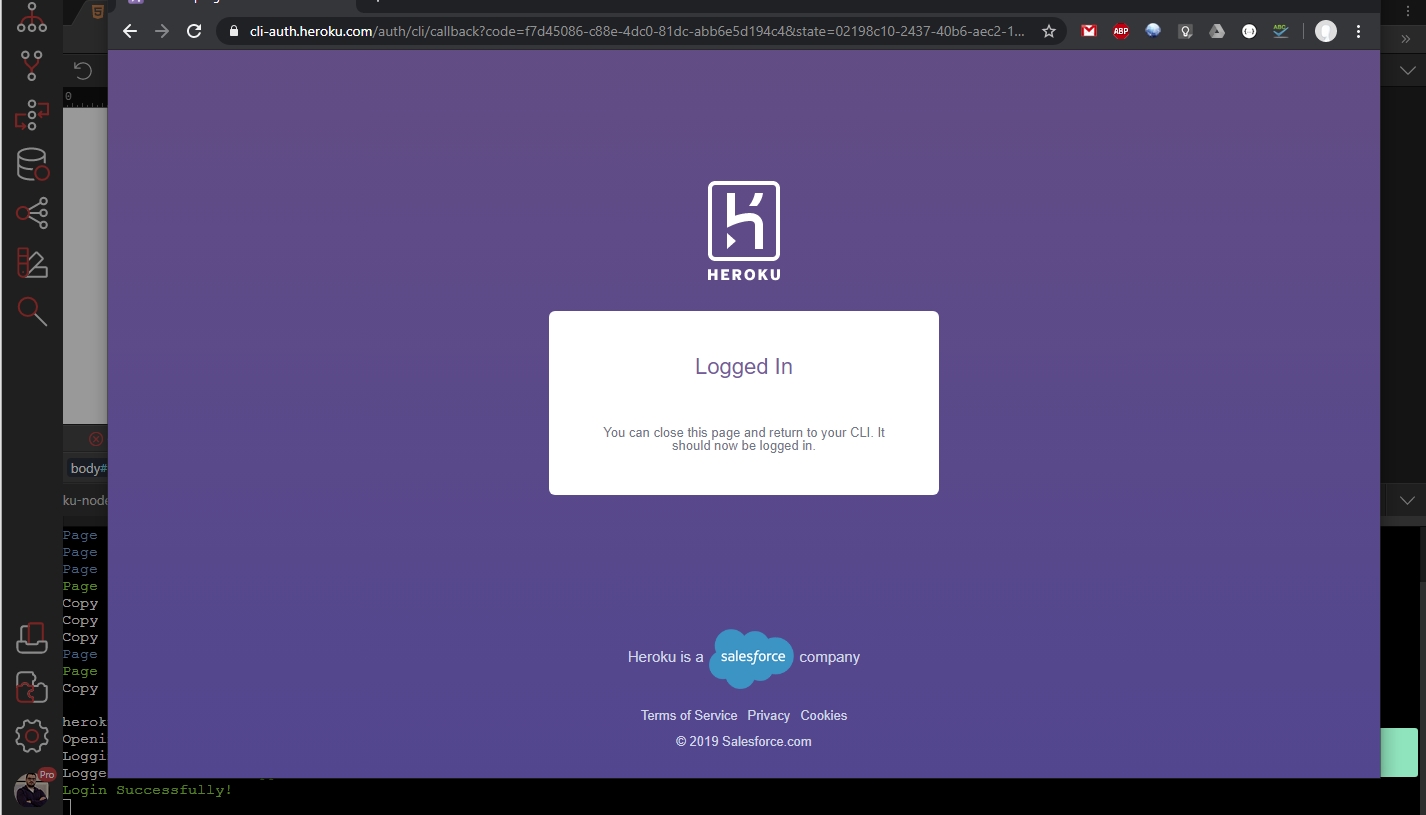
This will open your browser, where you will see a Log In button. Click it:

You will see a success message, when you are logged in:
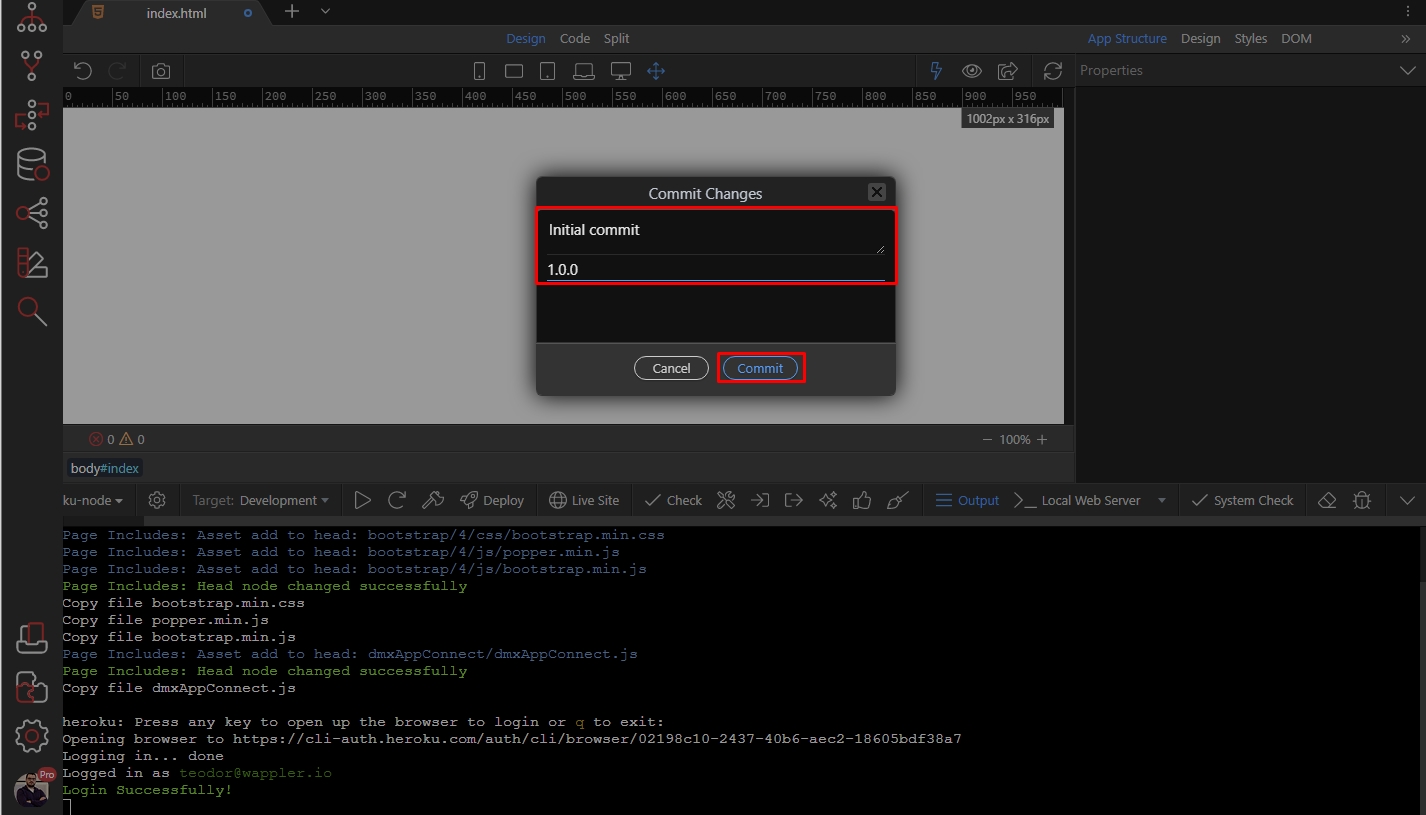
Close the browser window and go back to Wappler. The Commit dialog appears - enter your comment and version, then click Commit:
Heroku Project Targets
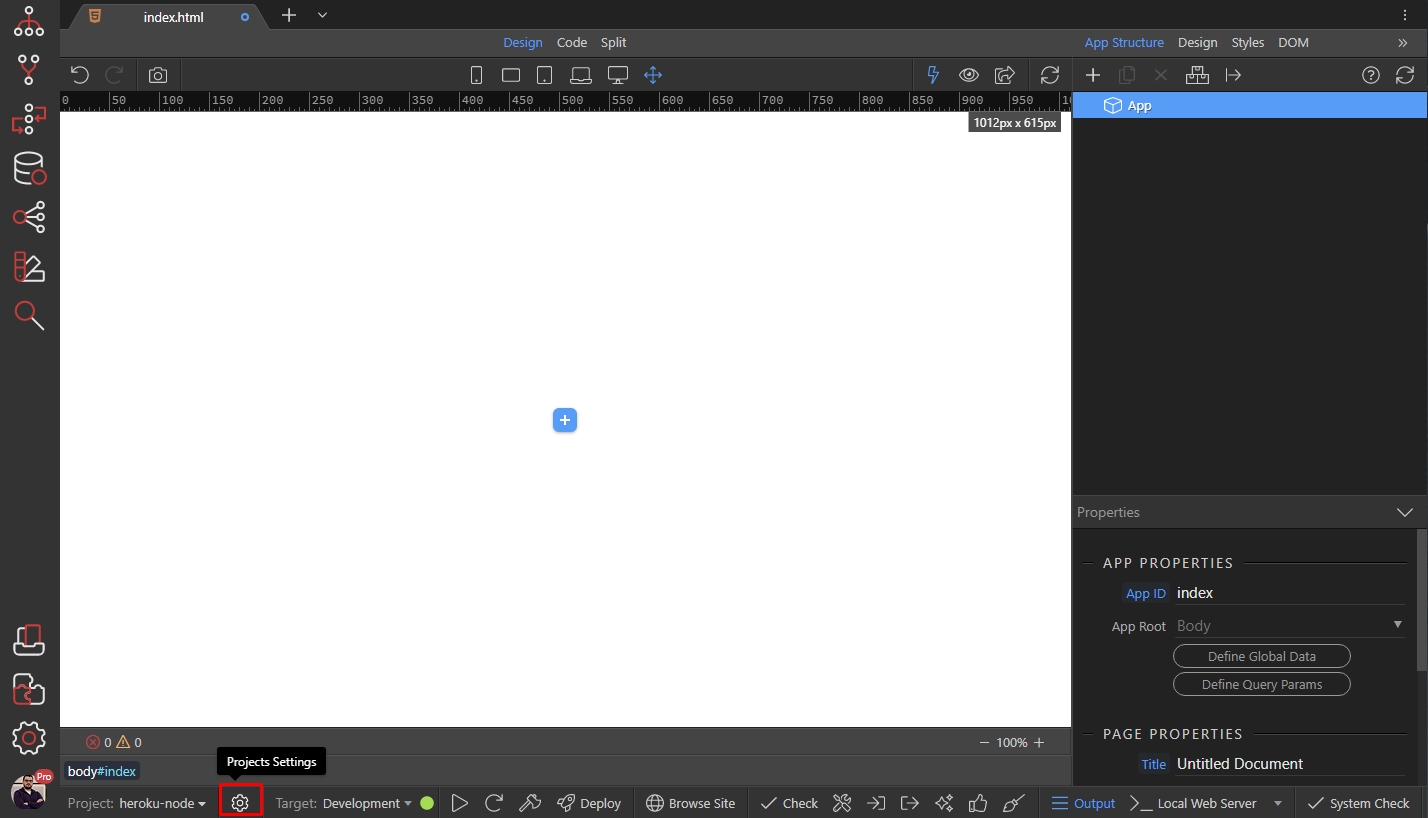
Wappler automatically creates 2 targets for your project - development and production. The development target points to a local NodeJS server and the production target points to your Heroku project.
You can see the targets by clicking the project settings icon:
You can see your targets in targets menu:

Deploying to Heroku
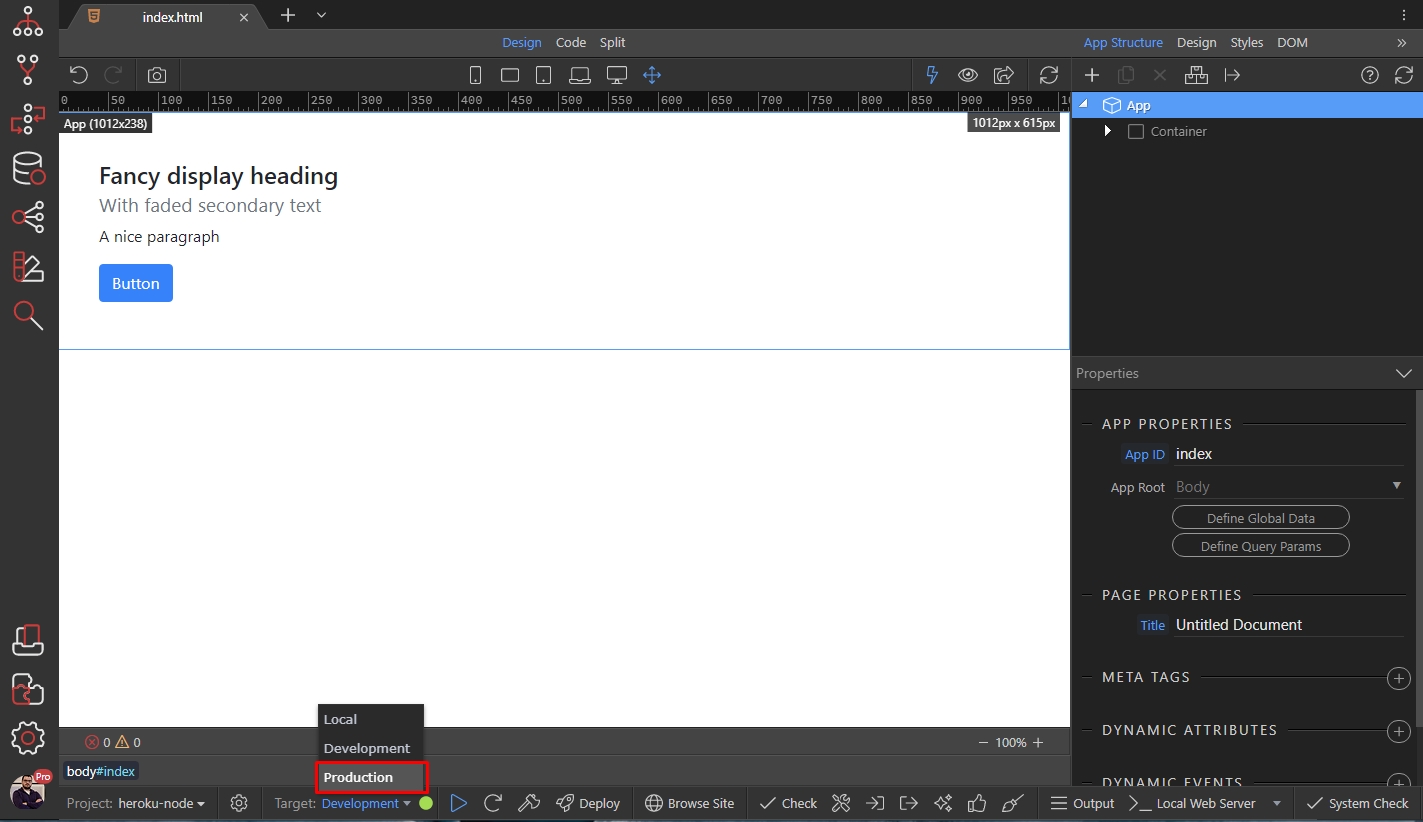
When you are done setting up your page(s) and preview them on your development target you can then switch to the Production target and deploy your project.
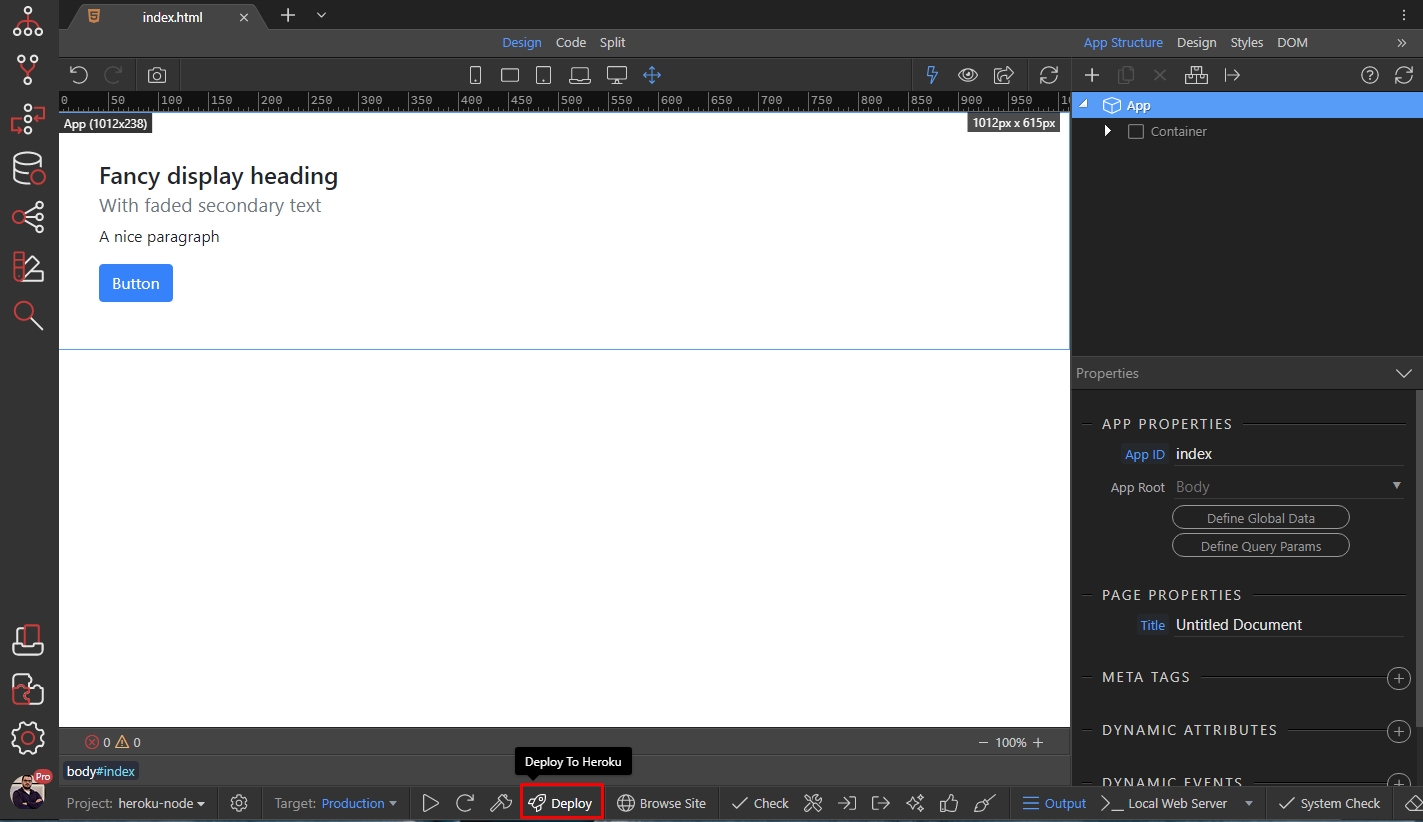
Open the Targets menu, then select Production:
And click the Deploy to Heroku button:
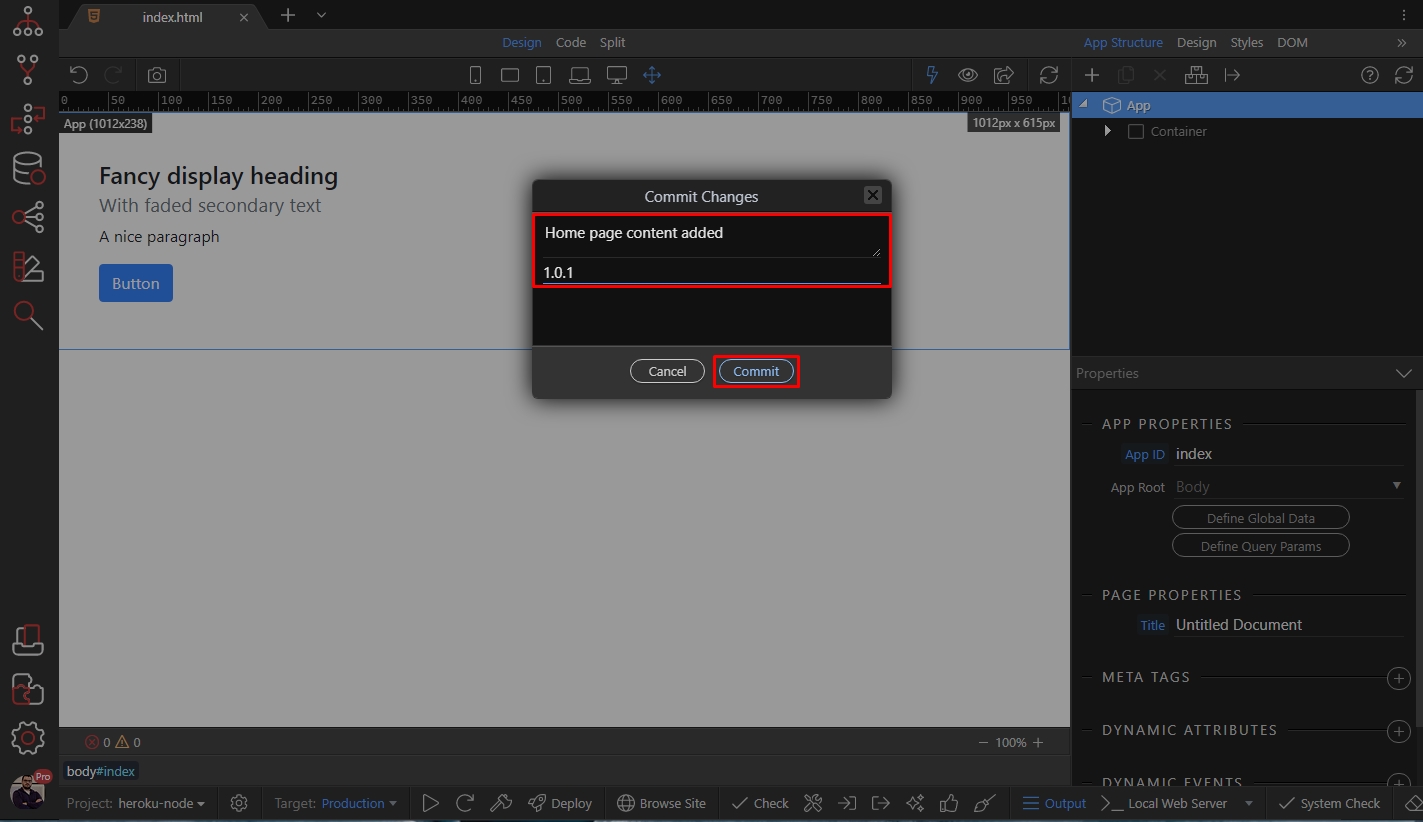
The commit dialog appears. Enter your comment and version, then click the Commit button:
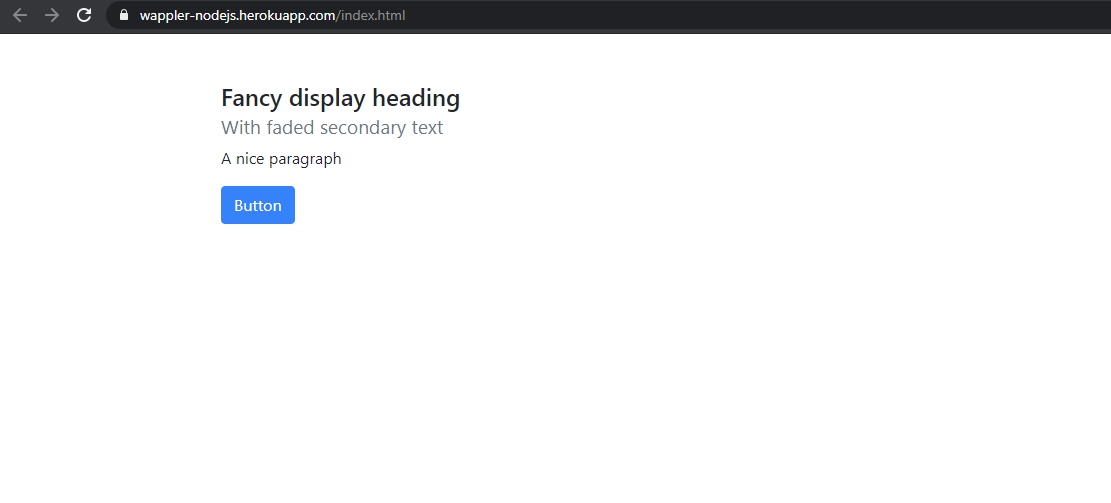
Your app has been uploaded to Heroku and you can preview it in your browser: