AI Image Manager
Developed to support an idea by @TMR , this module allows the manipulation of an uploaded image by means of a text prompt to transform the original image
Wappler AI Image Manager leverages the amazing GPT-image-1 or 1.5 endpoints (currently by far the most effective endpoints) to perform the transformation.
As the processes can be quite lengthy, support for messaging while running is enabled via sockets to send progress messages to the client page.
The perfect solution for everything from App content production to online custom merchandising, I hope you will find this extension useful.
Installing
Install is via the project manager:
or via npm install of
@hyperbytes/wappler-image-manager
https://www.npmjs.com/package/@hyperbytes/wappler-image-manager
Using the module
The module should be found in the AI Tools group as "AI Image Editor"
Add the module to your API action

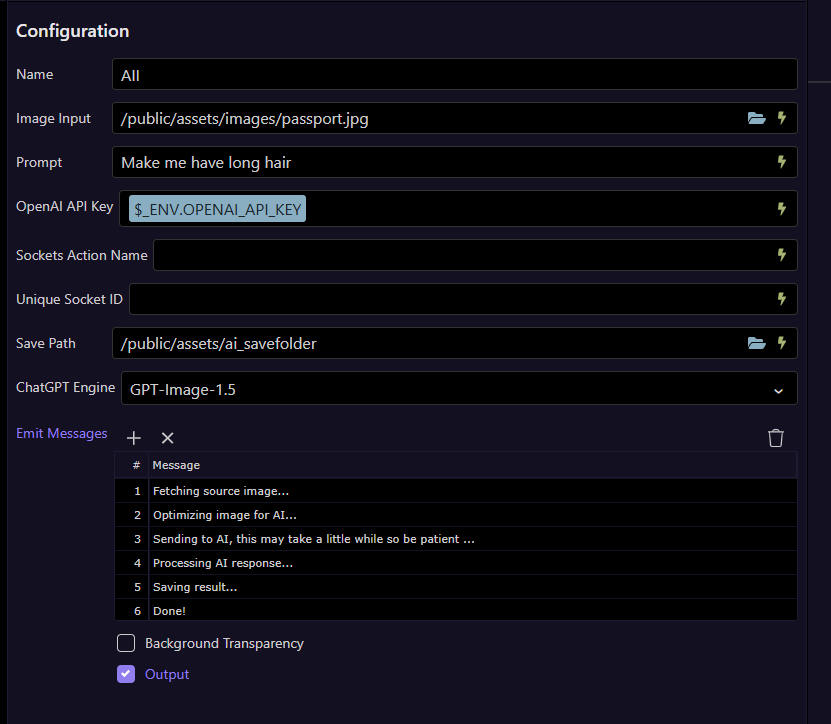
Image Input.
This is the local path to a file currently saved on your server (use file upload if necessary). This is the image that the changes will be applied to.
Prompt
These are the instruction to AI as to what must be done with the image.
OpenAi API Key
If omitted, the module will look in the Environment variables for a entry "OPENAI_API_KEY". This is the most secure way of doing things however you can override this when testing by adding a key manually.
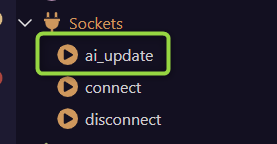
Socket Name
Optionally, sockets can be used to pass linited status updates to the client page while processing. If this is needed then add the socket name here. For example, an entry "ai_update" would look for this socket.
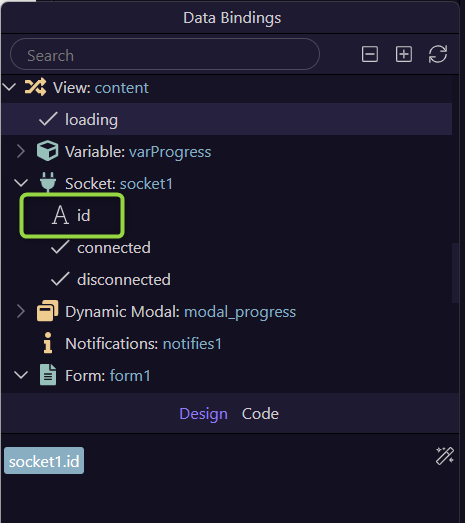
Unique Socket ID
To ensure that the emit message is not broadcast to all users, the message should be targeted to the current user. This is done by binding the the socket ID provided from the calling page (more on this later).
Socket ID is only mandatory if the Sockets Action Name is specified.
Save Path.
This is the directory into which you want the result saved. The file name will be preserved.
Chat GPT Engine.
Select v 1.0 or 1.5
Emit Messages
The stages at which messages are sent is coded into the module however the actual message can be amended. If socket use is selected, 6 messages are expected although they can be blank in which case the message is not sent.
Background Transparency.
This will try to enforce background transparency on the final image
Usage Examples
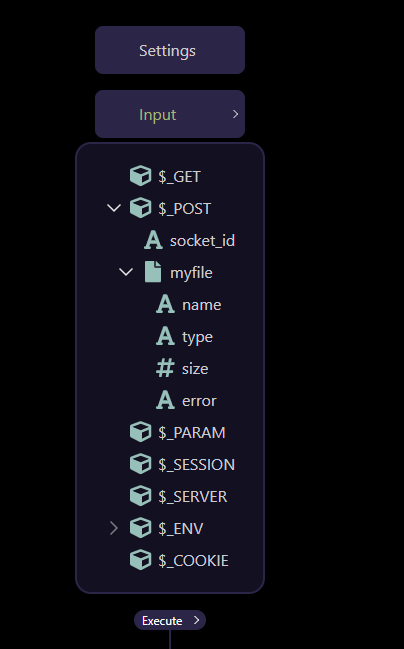
Here we upload an image from app connect using a standard file upload as $_POST.myfile.
If using sockets we need to add the app connect socket component.
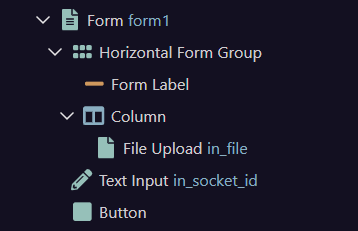

and send the socket.id as a file upload option using a hidden form input
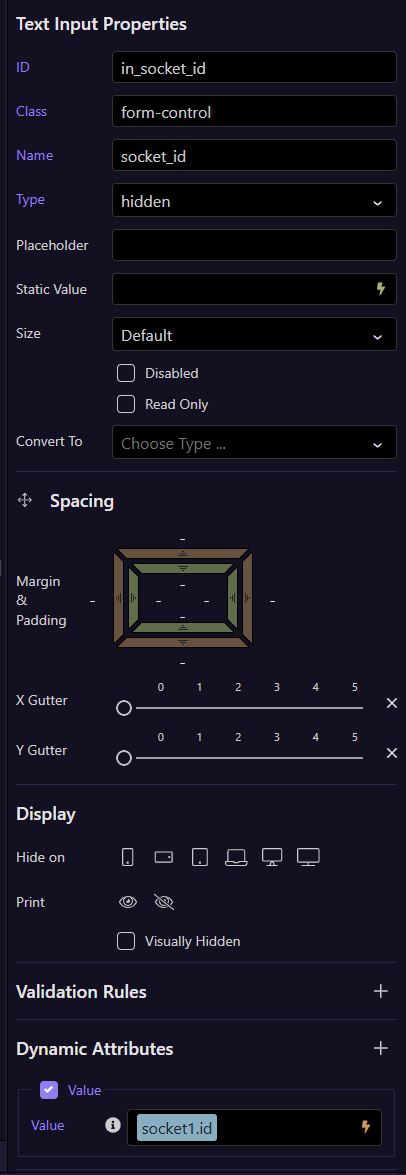
Binding the value to the value of the socket.id (found in picker)
In our API action, we define the POST inputs.
I give simple instructions to give me long hair, a pretty random instruction so let's see what happens.
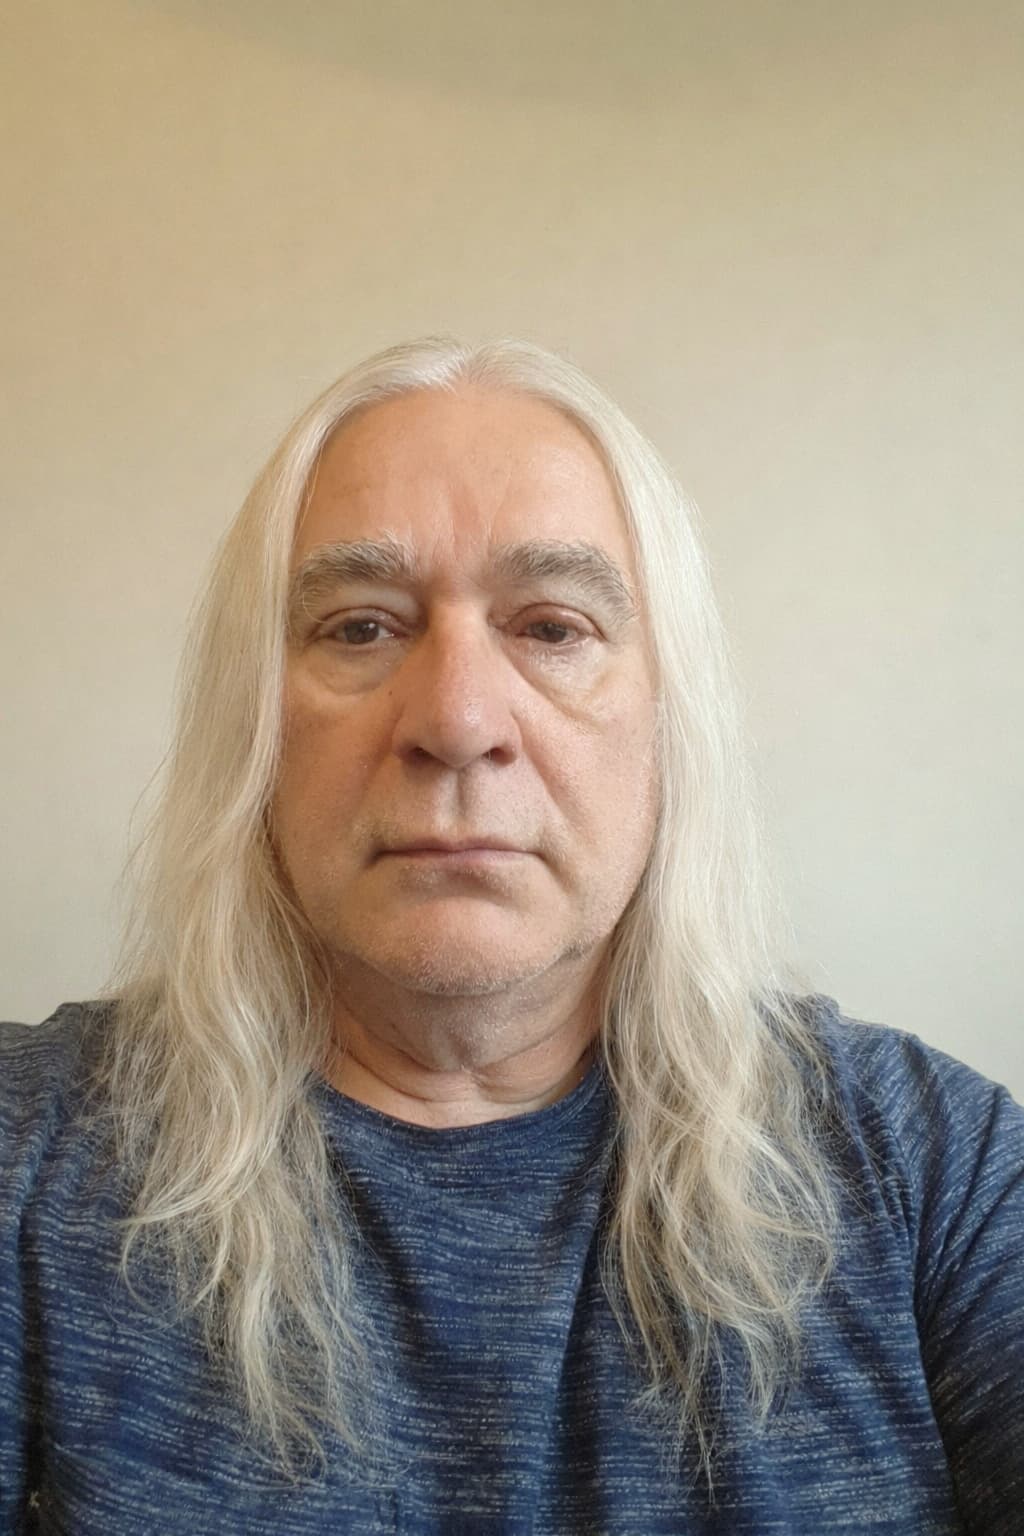
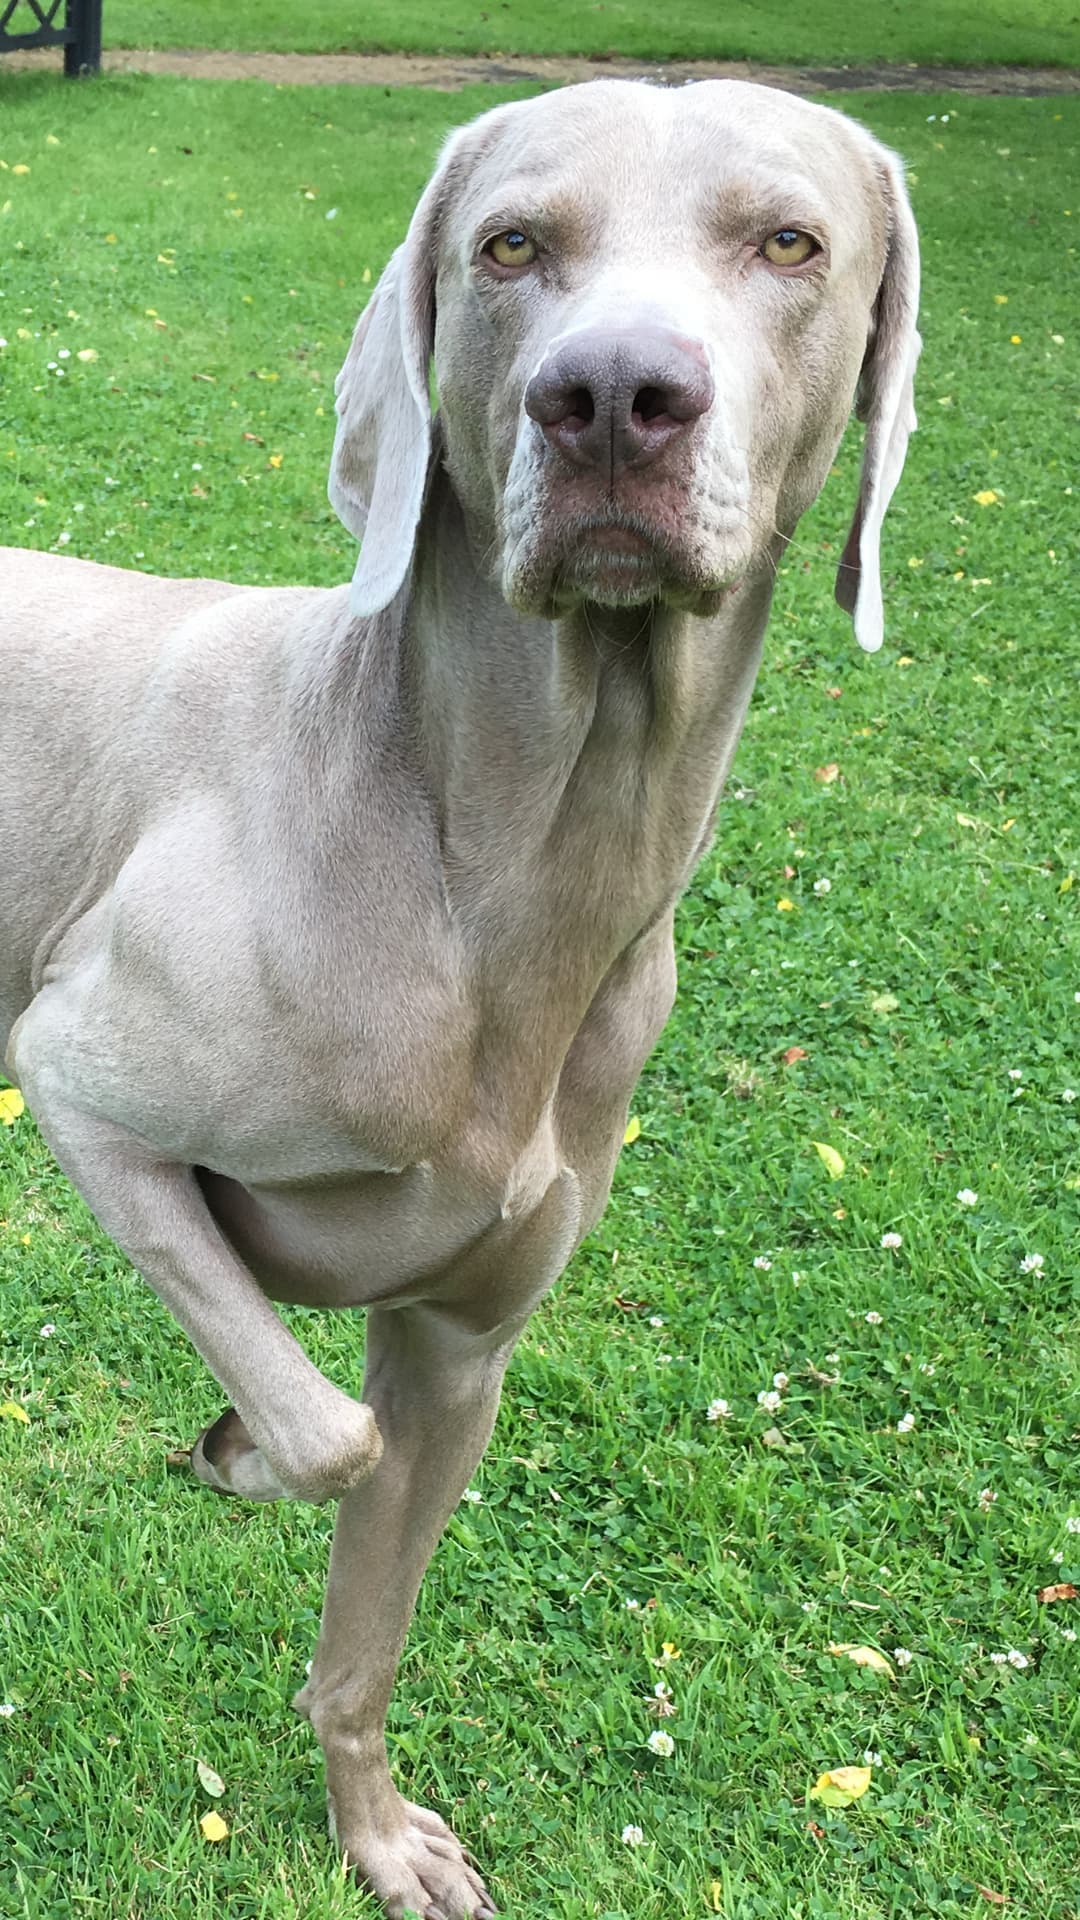
I send a passport style image:

I see a response and the number of tokens used:
{"AII":{"url":"/assets/ai_savefolder/passport.jpg","total_tokens":8503}}
and the image is transformed to:
Lets try another with sockets enables.
I define a socket called "ai_update" with the following inputs and emit action.
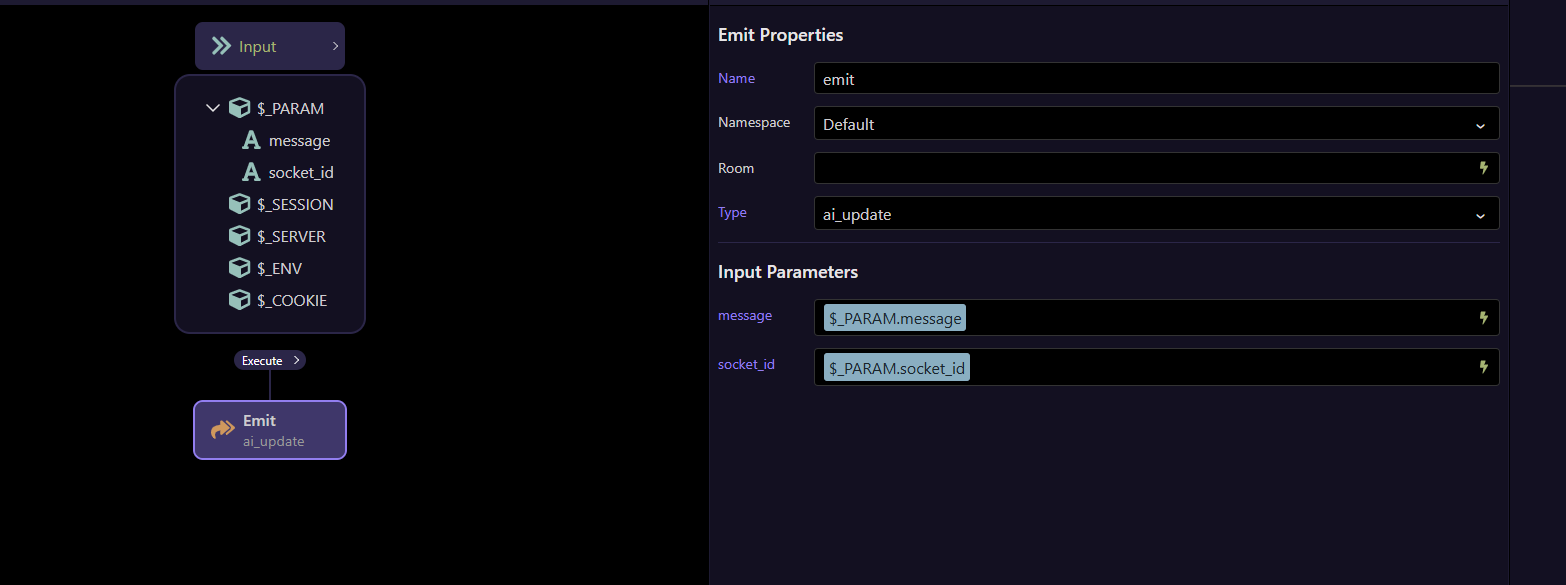
"message" and "socket_id" are coded into the module as emit() outputs.
We add the name to the module and bind the socket is parameter send from the form.

Now as the module runs, the messages will be emitted from the module, via the socket back to the client with that specific socket id.
In this image of the app connect page, i have changed the socket id input to text from hidden for display purposes where you can clearly see the socket id displayed.

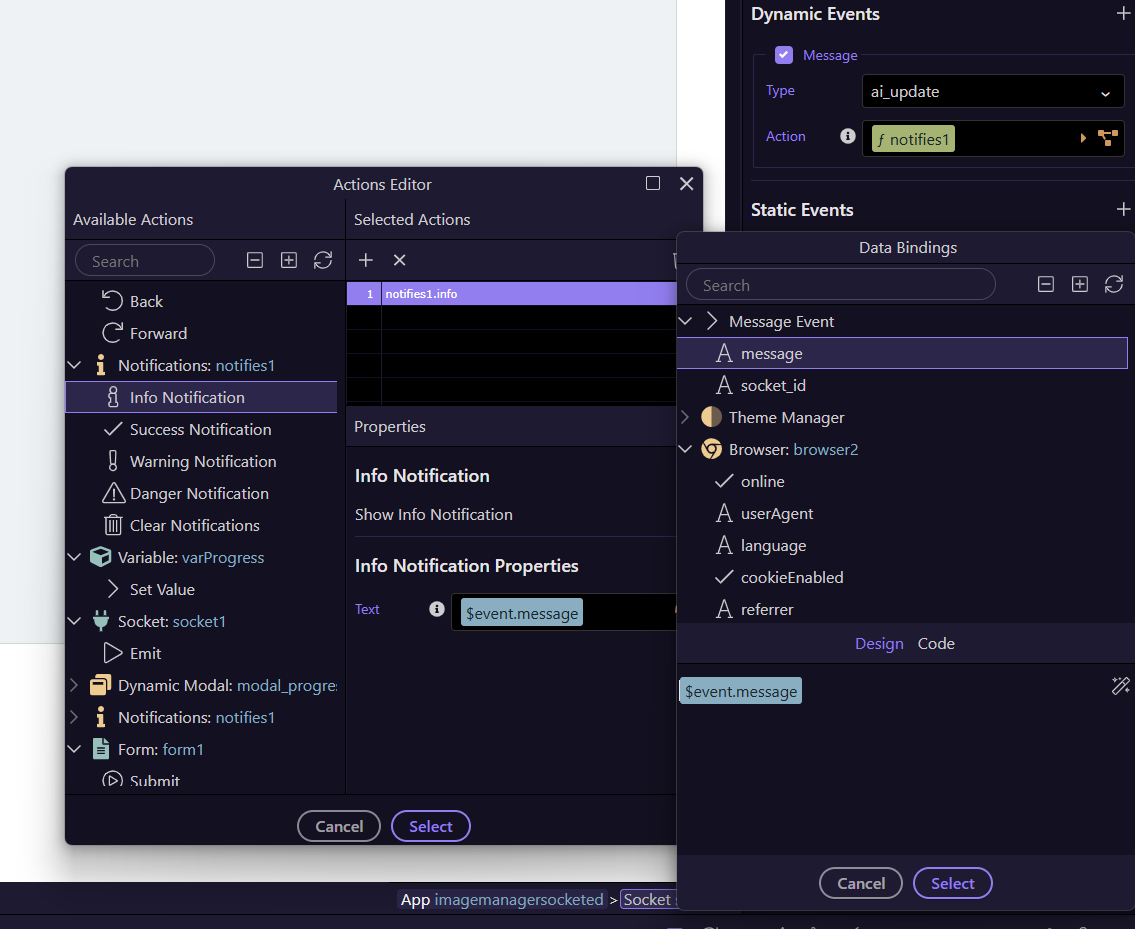
The returned socket messages can be captured via the dynamic message event of the app connect component and displayed however you with. A simple notification works well.
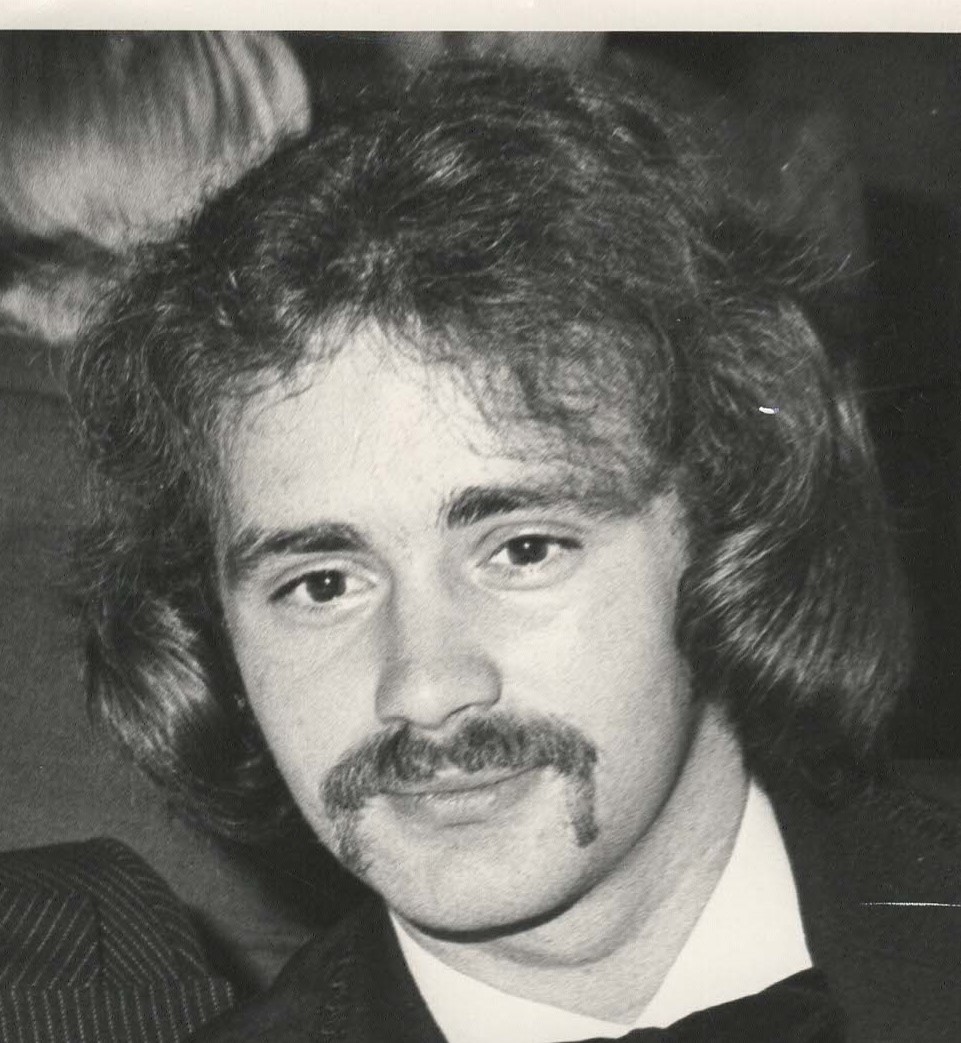
In this case i will use an old black and white image of me at 16 years old.
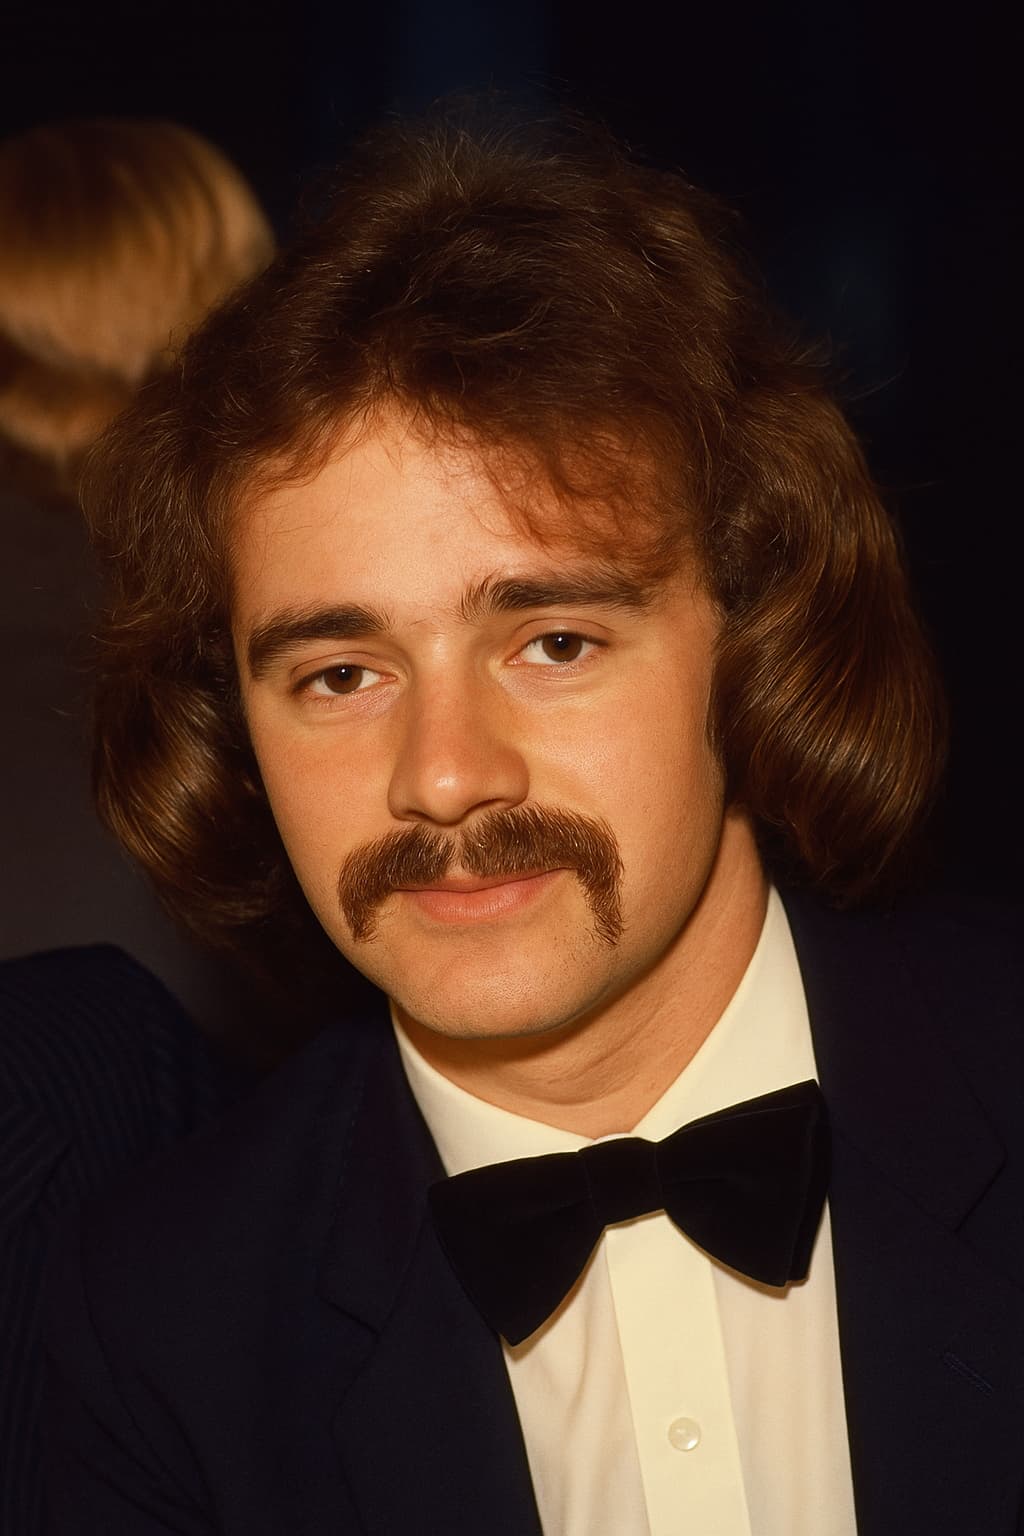
and ask for it to be colourised
Lastly, a more sophisticated prompt from @TMR which initiated this idea
His prompt was similar but not exactly this:
You are designing official visual assets for WEIM CRIME, a premium parody brand that blends real police-department aesthetics with deadpan humour. The style must always feel official, structured, and cinematic, like a serious law-enforcement document- never cartoonish or childish.
Visual tone: • Clean • High-contrast • Professional • Slightly ironic The output must look like a real investigative asset created by a police department that happens to deal exclusively with Weimaraners. we need to create a WEIM CRIME MUGSHOT TEMPLATE using the supplied image make sure the image is an accurate lifelike depiction of the supplied photo do not change the eyes or the face - show only the dogs head and shoulders, no paws- medium quality1 Canvas Sizenon-transparent canvas- 1080×1350 Meta‑optimised portrait- Weim Grey #7A7F862 Background LayerMugshot Height Chart- Horizontal black lines every 80px- Line thickness: 4px- Numbers on left side: 20, 30, 40, 50, 60 Oswald Bold, Mugshot Black #1A1A1A- Slight vignette around edges 3. Photo Area Centered square frame- 900×900- Thin Gunmetal border #4A4F55- Drop shadow: subtle, 20% opacity- This is where the Weimaraner photo goes4. Header BarTop Banner:- Background: Evidence Tag Orange #FF7A21- Height: 120px- Text: WEIMCRIME MUGSHOT- Font: Oswald Bold, white, 90pt- Alignment: centered- on right hand side police badge with a pawprint in the centre5. Suspect Plate Under PhotoBlack rectangle- Height: 180px- Width: 100%- Background: Mugshot Black #1A1A1A- Text in white Oswald Medium, 60ptFields:- SUSPECT: [Claude]- CRIME: [Bin Diving]- CASE #: WC‑[0124]Spacing:- Each field on its own line- Left‑aligned- 80px padding on left and right6. Stamp Overlay - GUILTY red distressed stamp transparent stamp backgroundPlacement:- Top‑right corner of the photo- 20° rotation for style7. Footer BarBottom Banner:- Background: Gunmetal #4A4F55- Height: 100px- Text:- “WEIM CRIME — GUILTY AS CHARGED”- Font: Inter Medium, white, 48pt- Centered- small centered text at bottom displaying website address: WWW.WEIMCRI.ME
and an image:
Gave:

Pretty amazing yes?
And lastly i fed it with a Wappler logo and asked it to be cartooned.

went to:

This has been tested quite extensively but any issues, let me know
A QUICK BUT IMPORTANT NOTE
Wappler seems to have an issue where if you add an input then later remove it and save, the input is not actually removed from the json file. So, for example, if you remove the socket name and leave it blank to disable socket functions, this may not work. A workaround is to set the content to NULL via the picker.