Overview
In this post, we will connect our web application with Google Sheets. So, you can actually use the Sheets as a database replacement, and pull the data written on them. We will use this data to populate a Bootstrap table on our page.
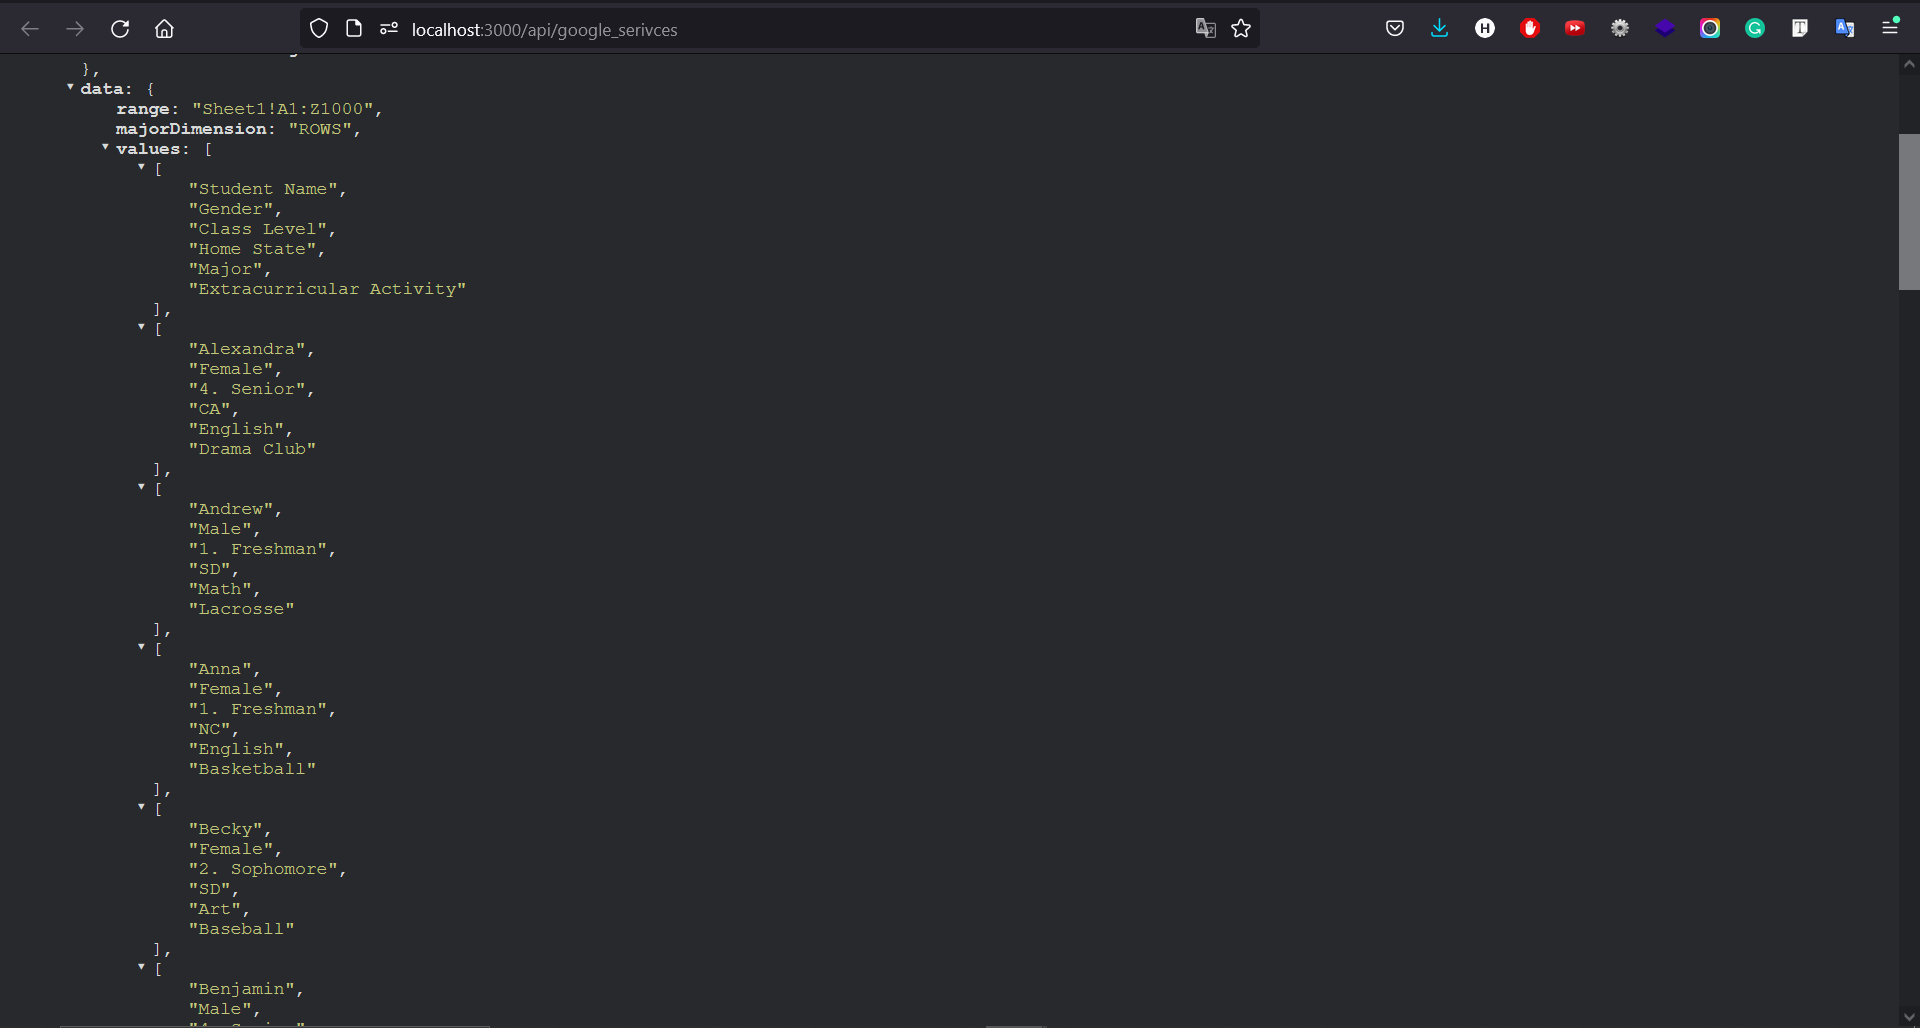
However, we will not use the Google Sheets API, as the data returned are not really formatted. If you are familiar with API response, then you surely know that this response is not really useful.
So, we are going to use a different platform called Sheety. This platform simplifies google sheets API response and helps to use Google Sheets as a database.
Google Sheets Data
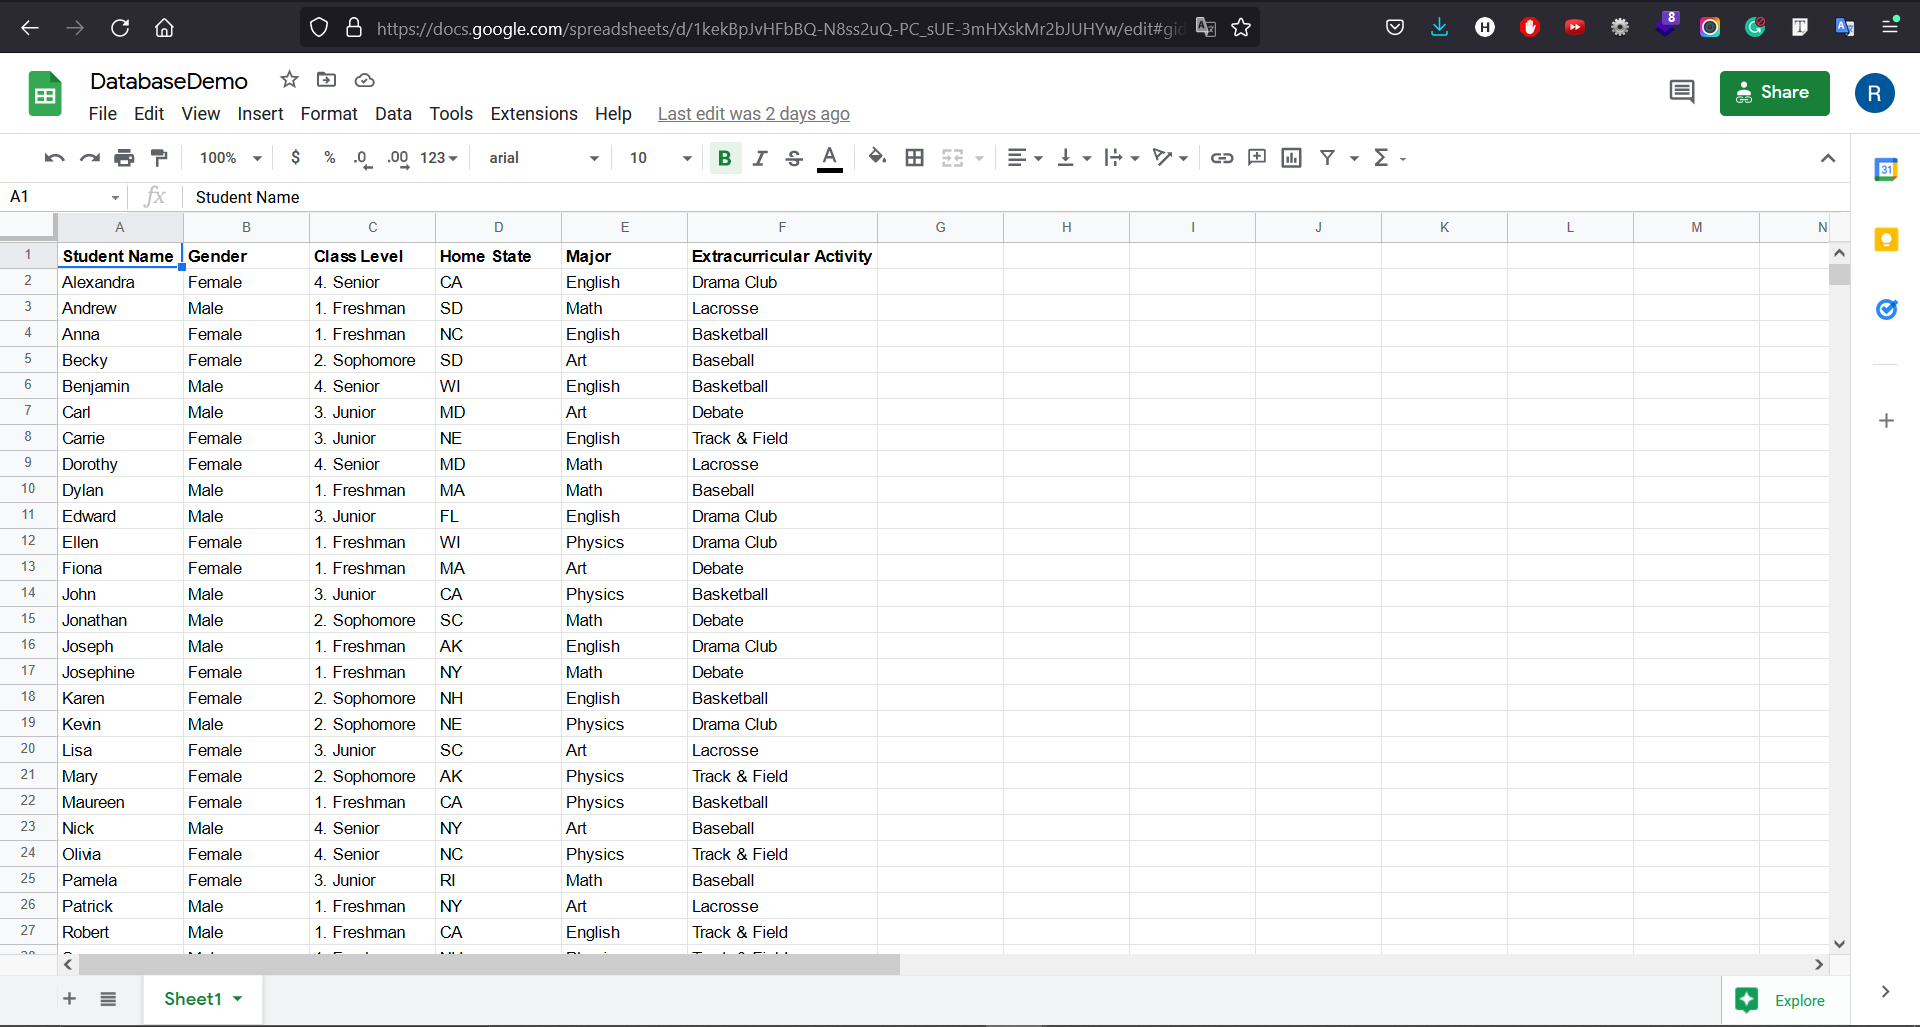
I have created dummy Google Sheets data for this tutorial. Below is the formatted data, with 6 columns, namely Student Name, Gender, Class, Home State, Major, and Activity. This is just for example.
Sheety Setup
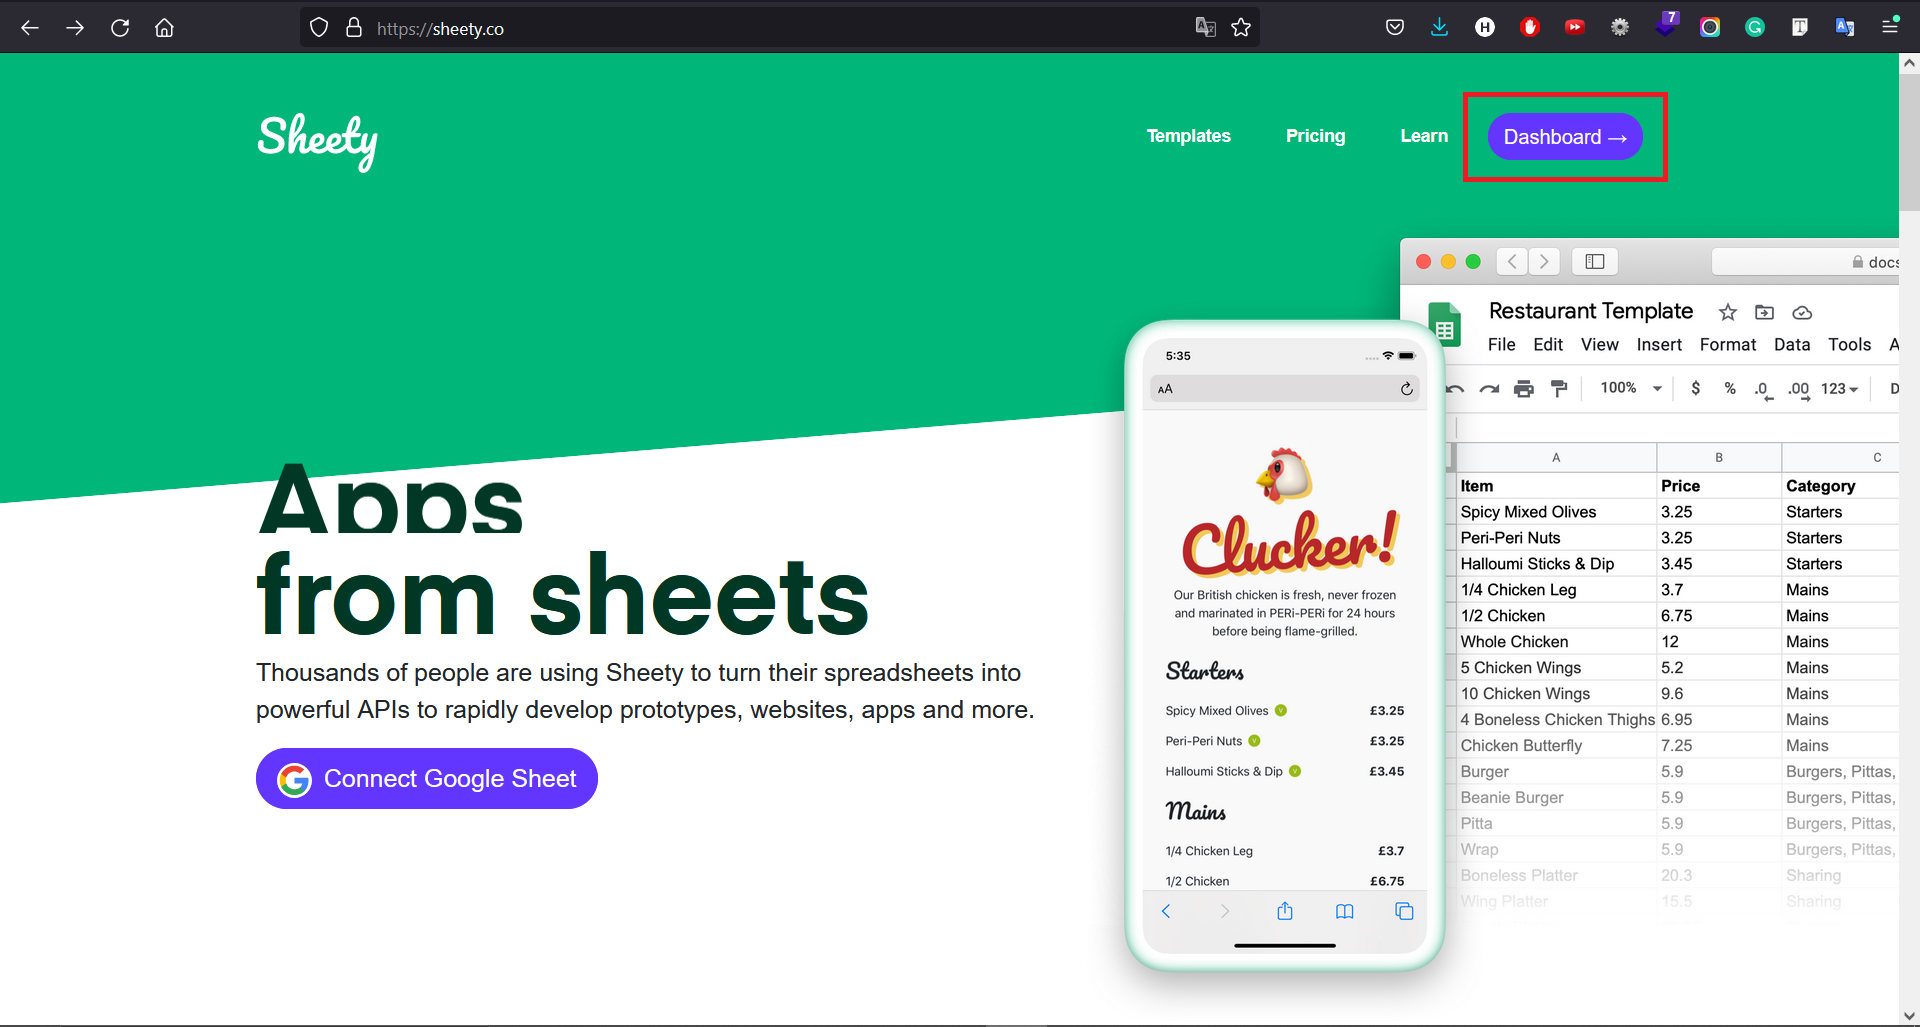
First, we need to go to https://sheety.co/ for creating an account and connecting our Sheets. On the top right, click Dashboard.
It will redirect you to sign in using your Google account. Click Sign in with Google and enter your credentials.

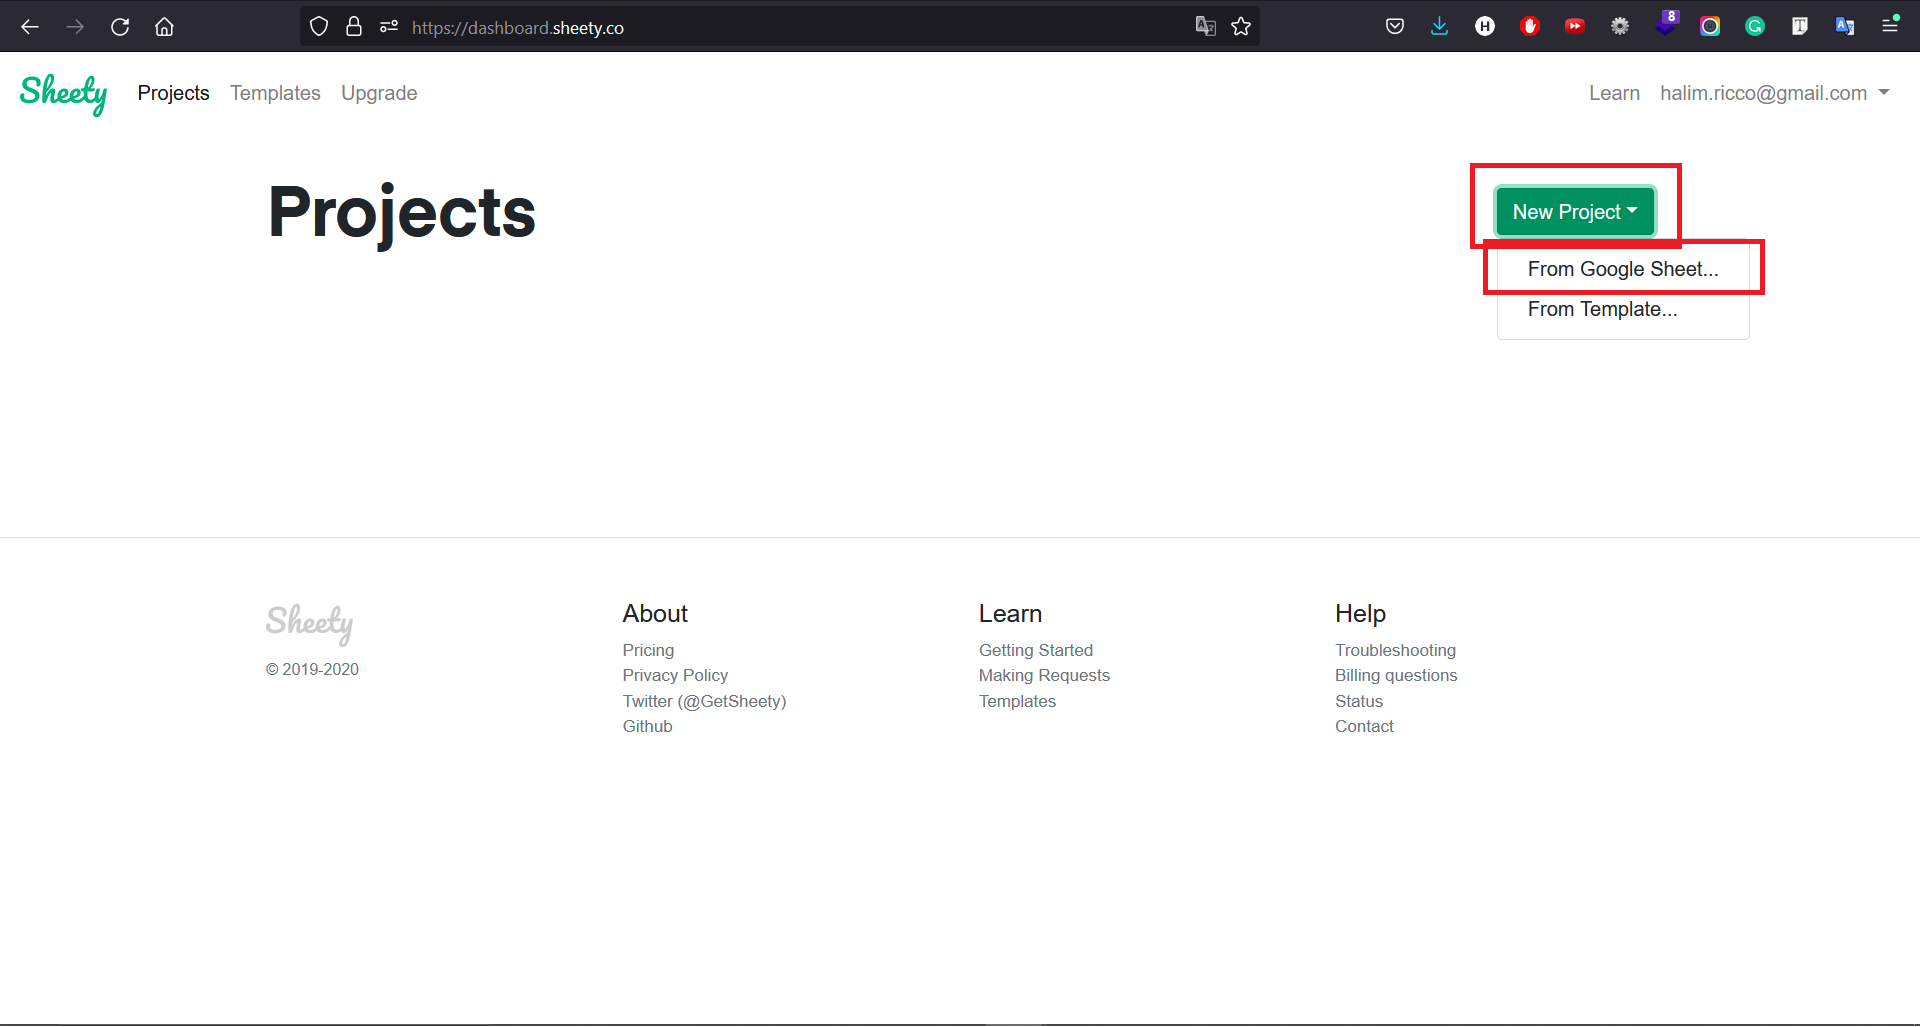
After successfully signing in, a Projects view will open. Click on the New Project button, and choose From Google Sheet.
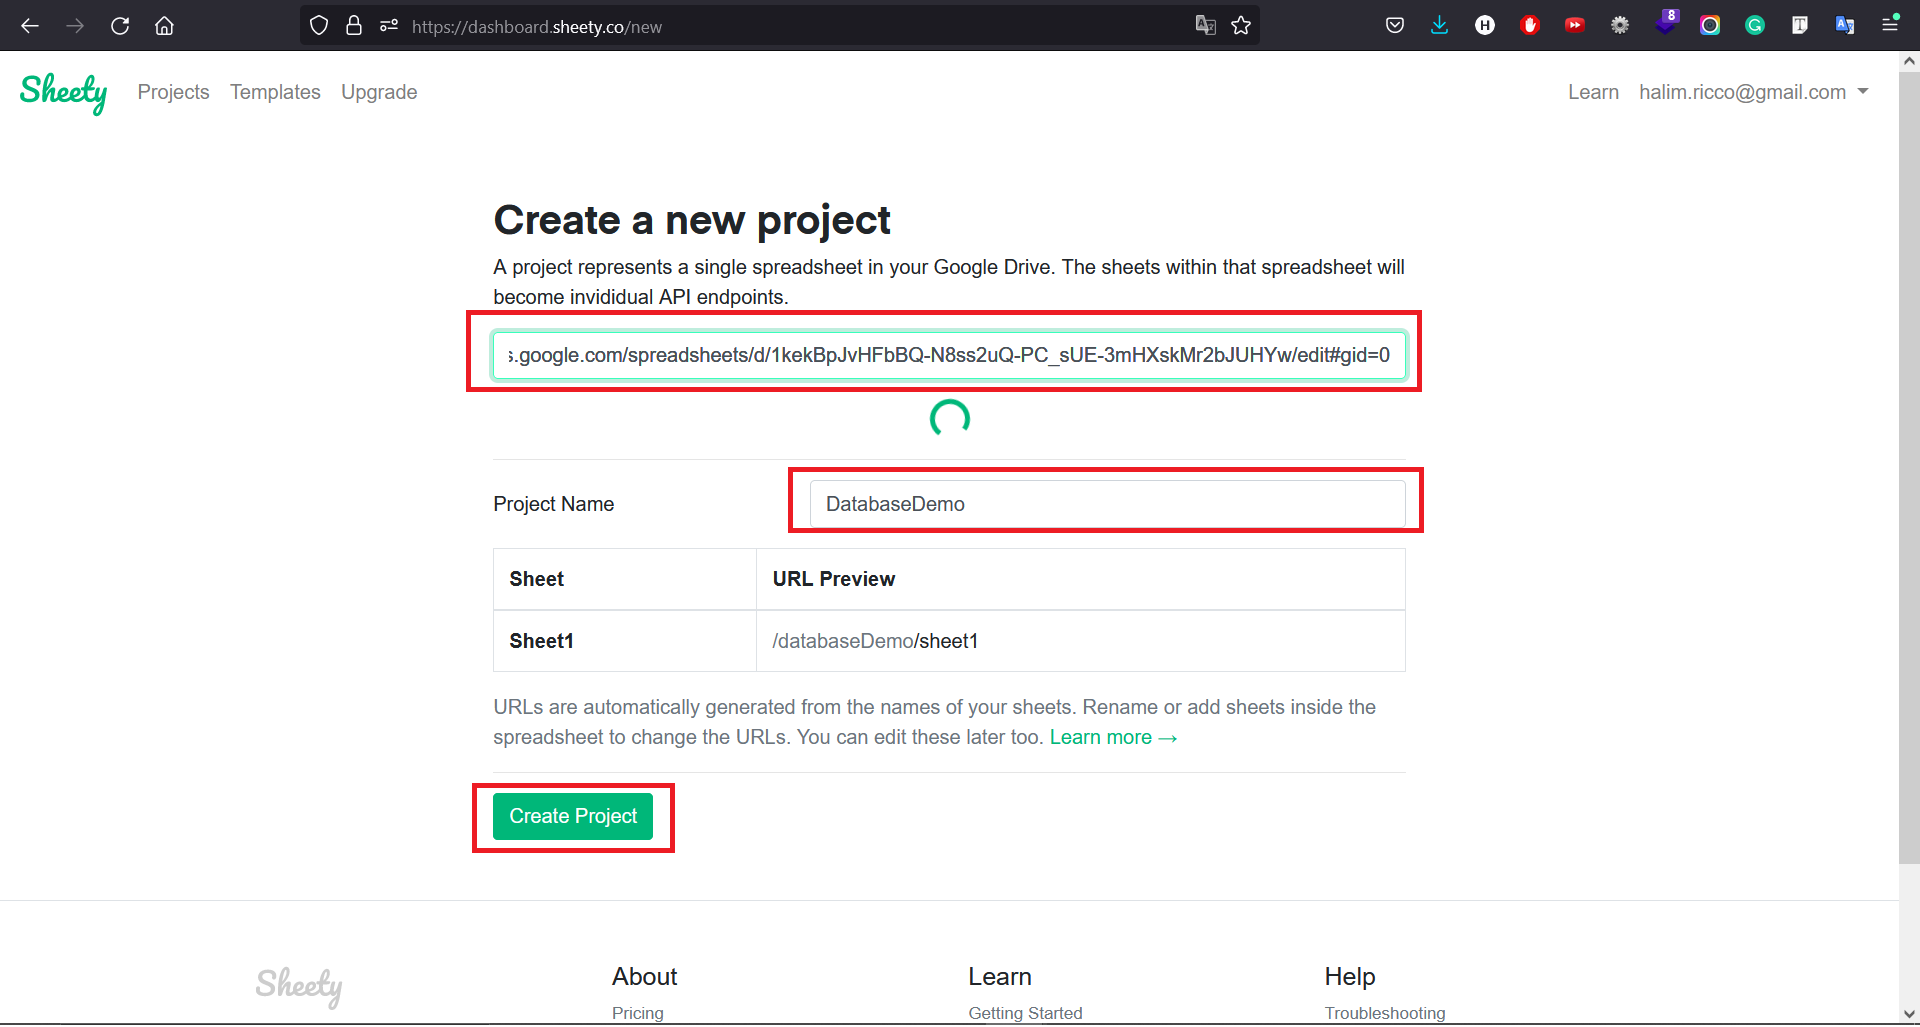
Copy and paste the Sheets URL you are going to use. Enter the Project Name and click Create Project.
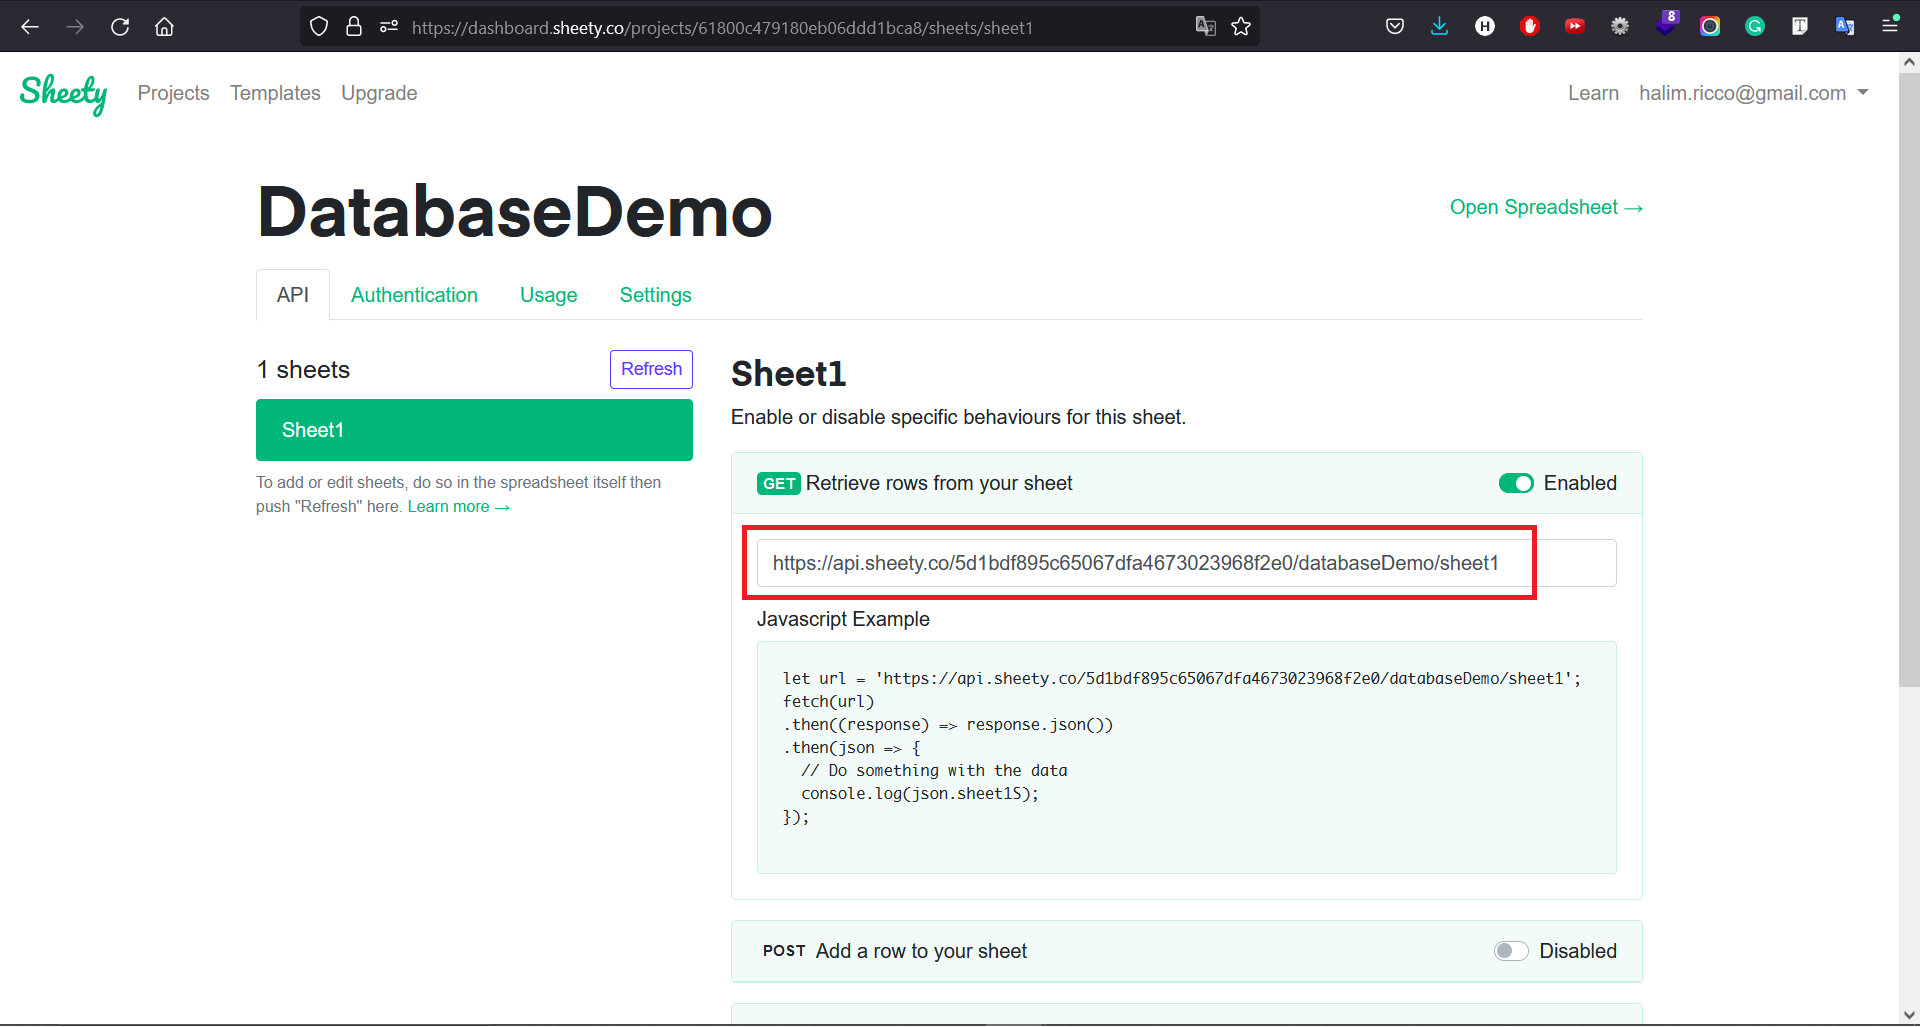
Now, your project has been created, copy the URL on GET section as we will need it later on.
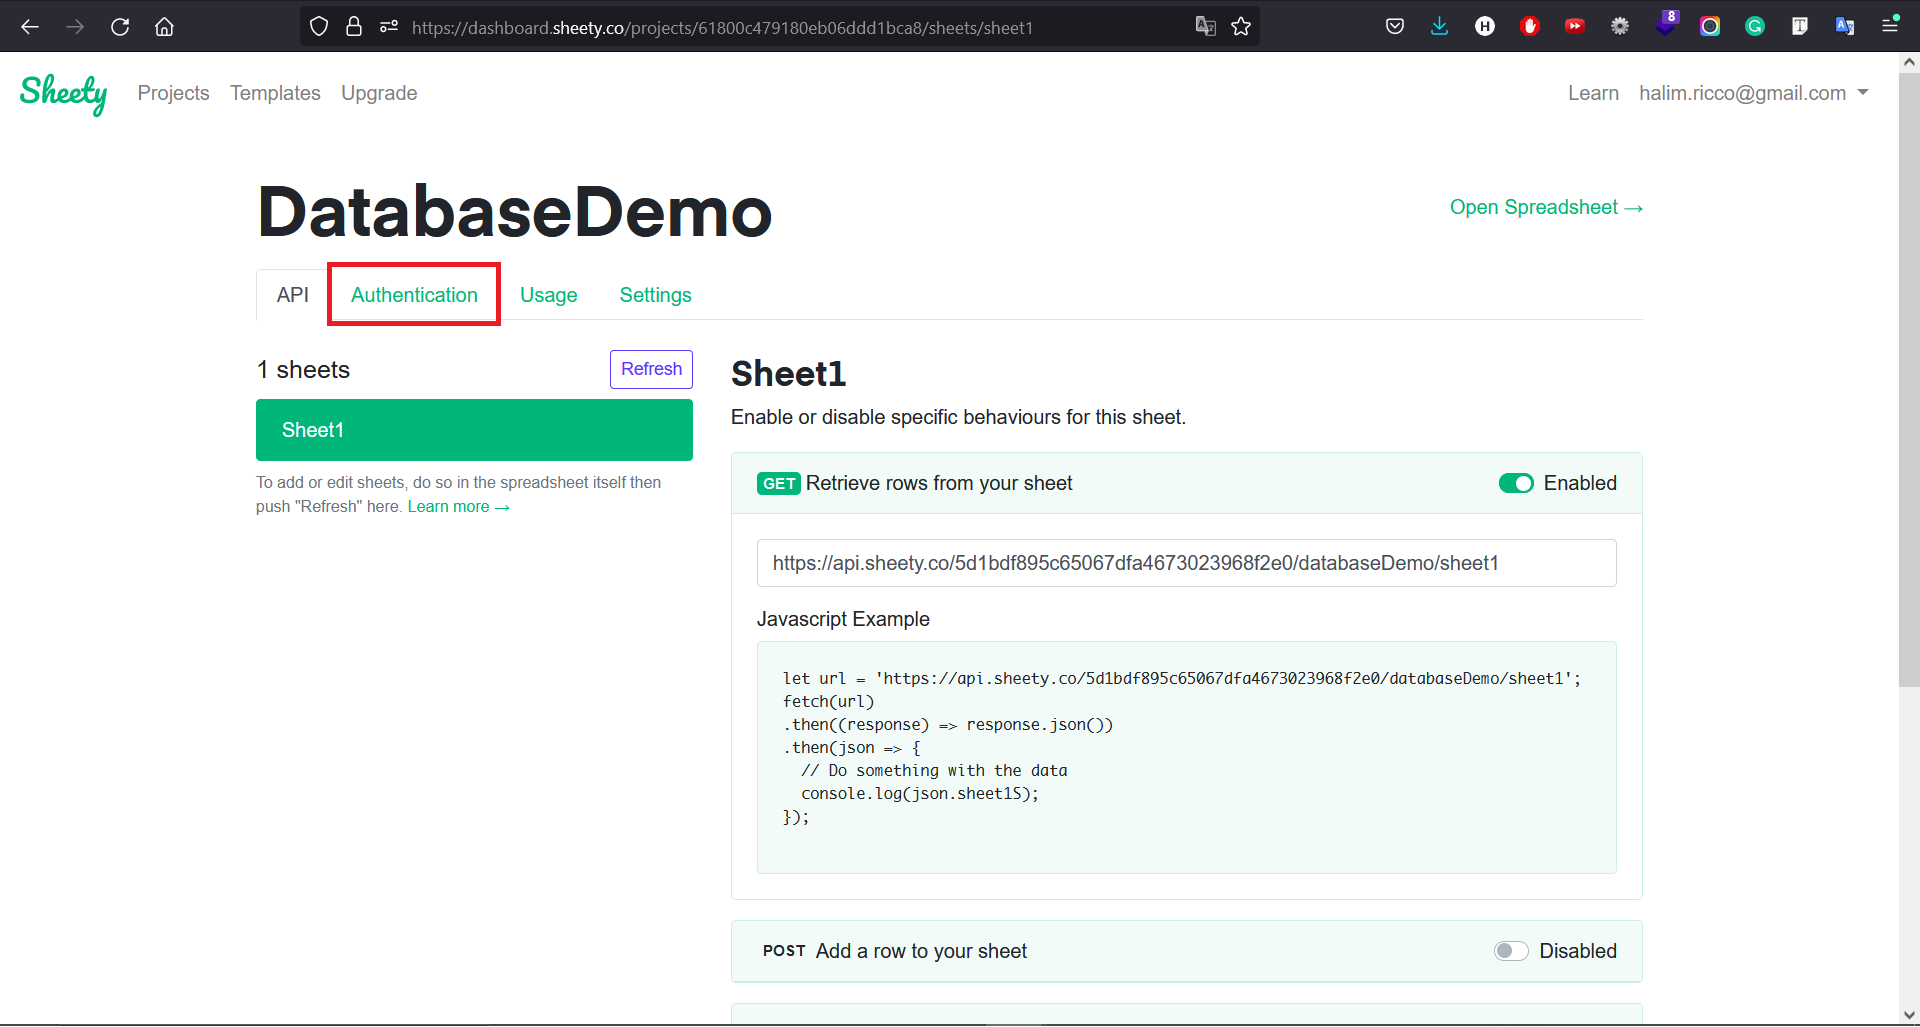
We want to add some security measures to our API action. Click on the Authentication tab.
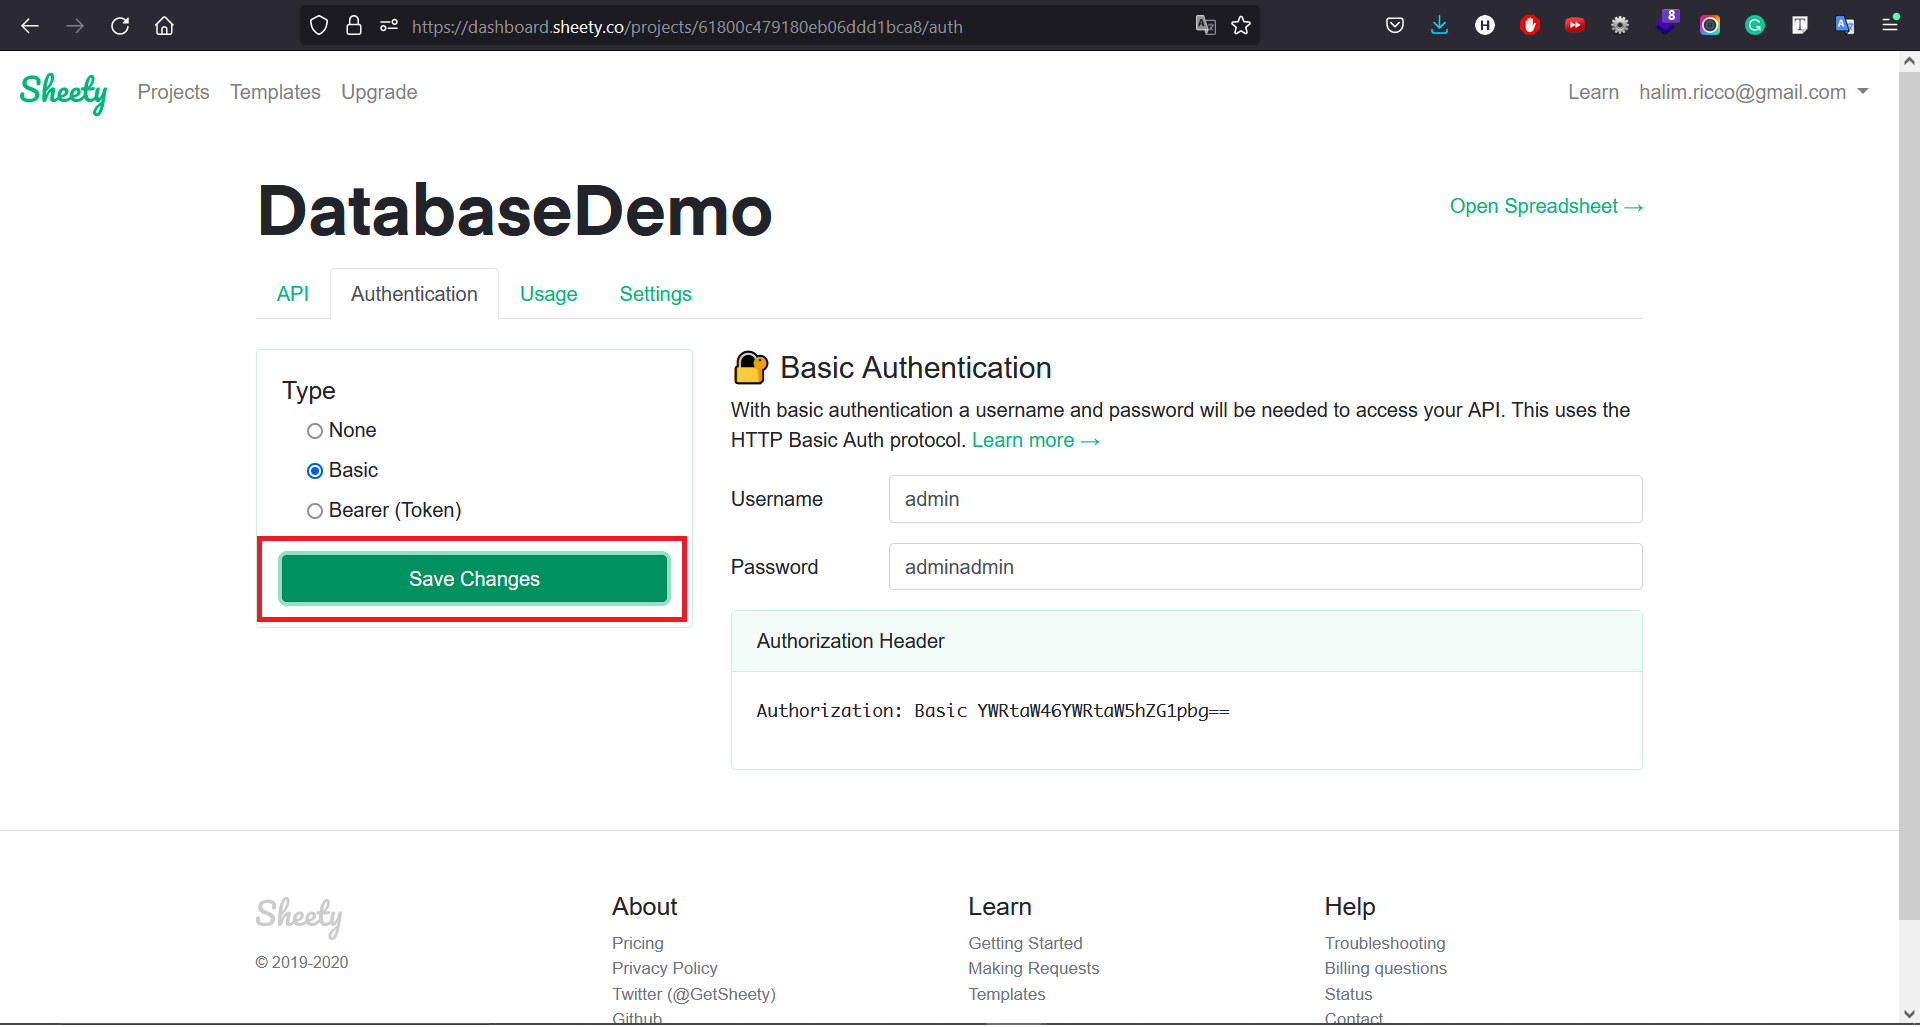
Change the Type from None to Basic. Provide the custom Username and Password. In this example, we will use Username: admin and Password: adminadmin. Click Save Changes, and the Authorization Header will change accordingly.

Copy the Authorization Header as well, we need to pass it on Wappler later on.
We are finished configuring the Sheety platform.
Back end configuration
Now, go to Wappler, and click on Workflows.
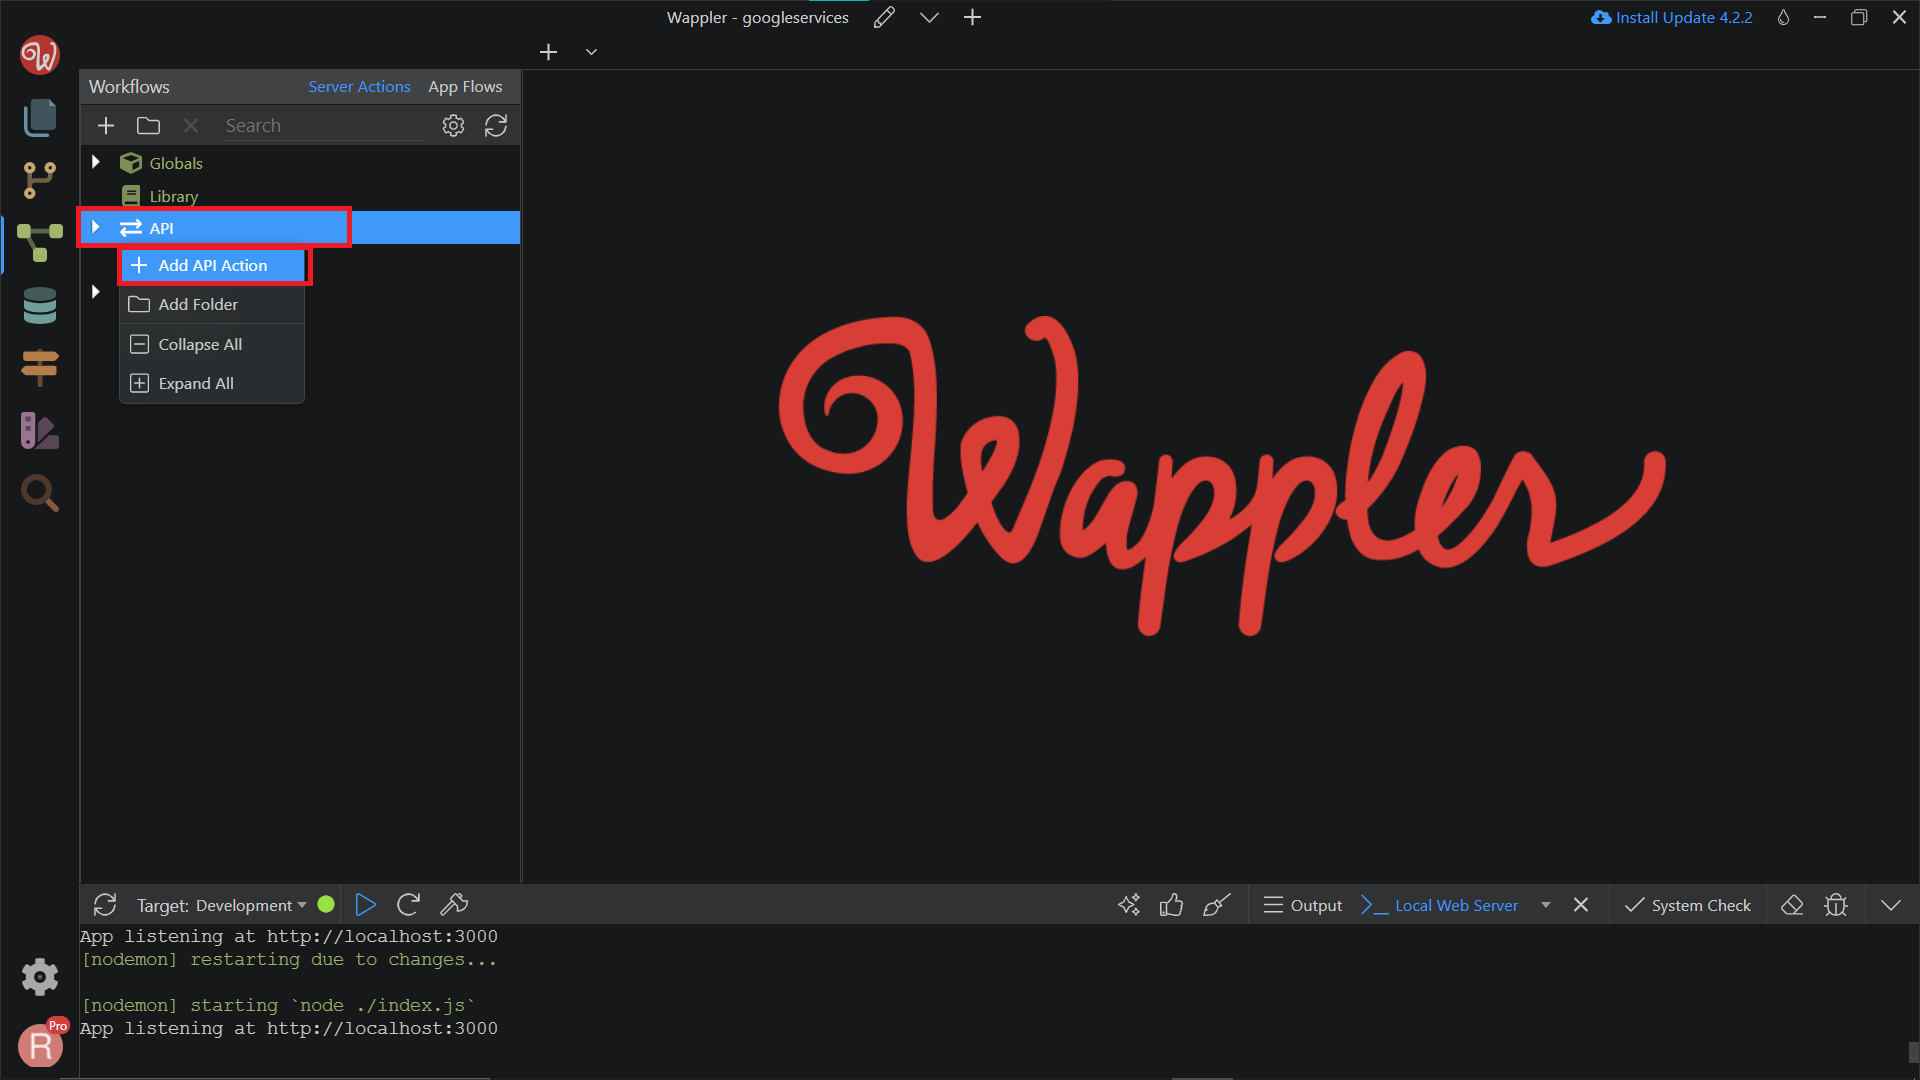
Right-click on API, and choose Add API Action.
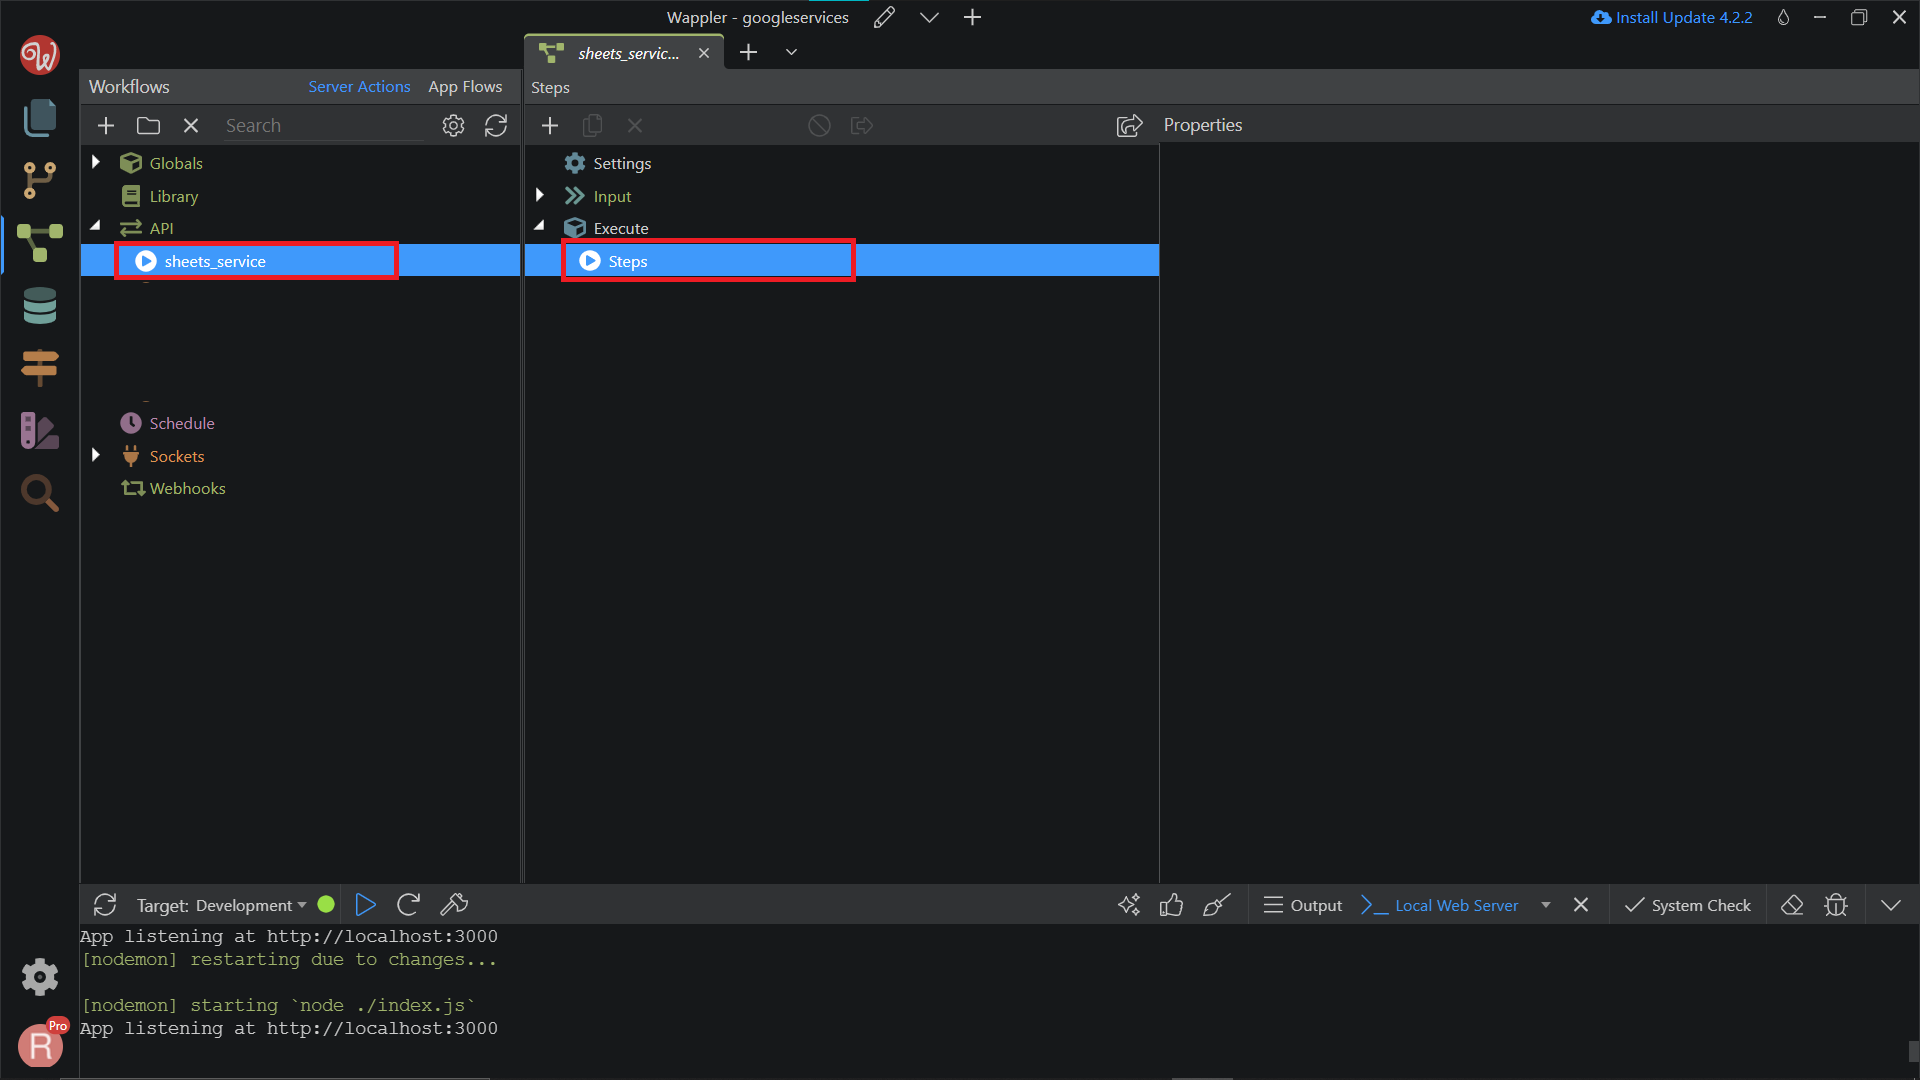
We will name it sheets_service. Then, right-click on the Steps.
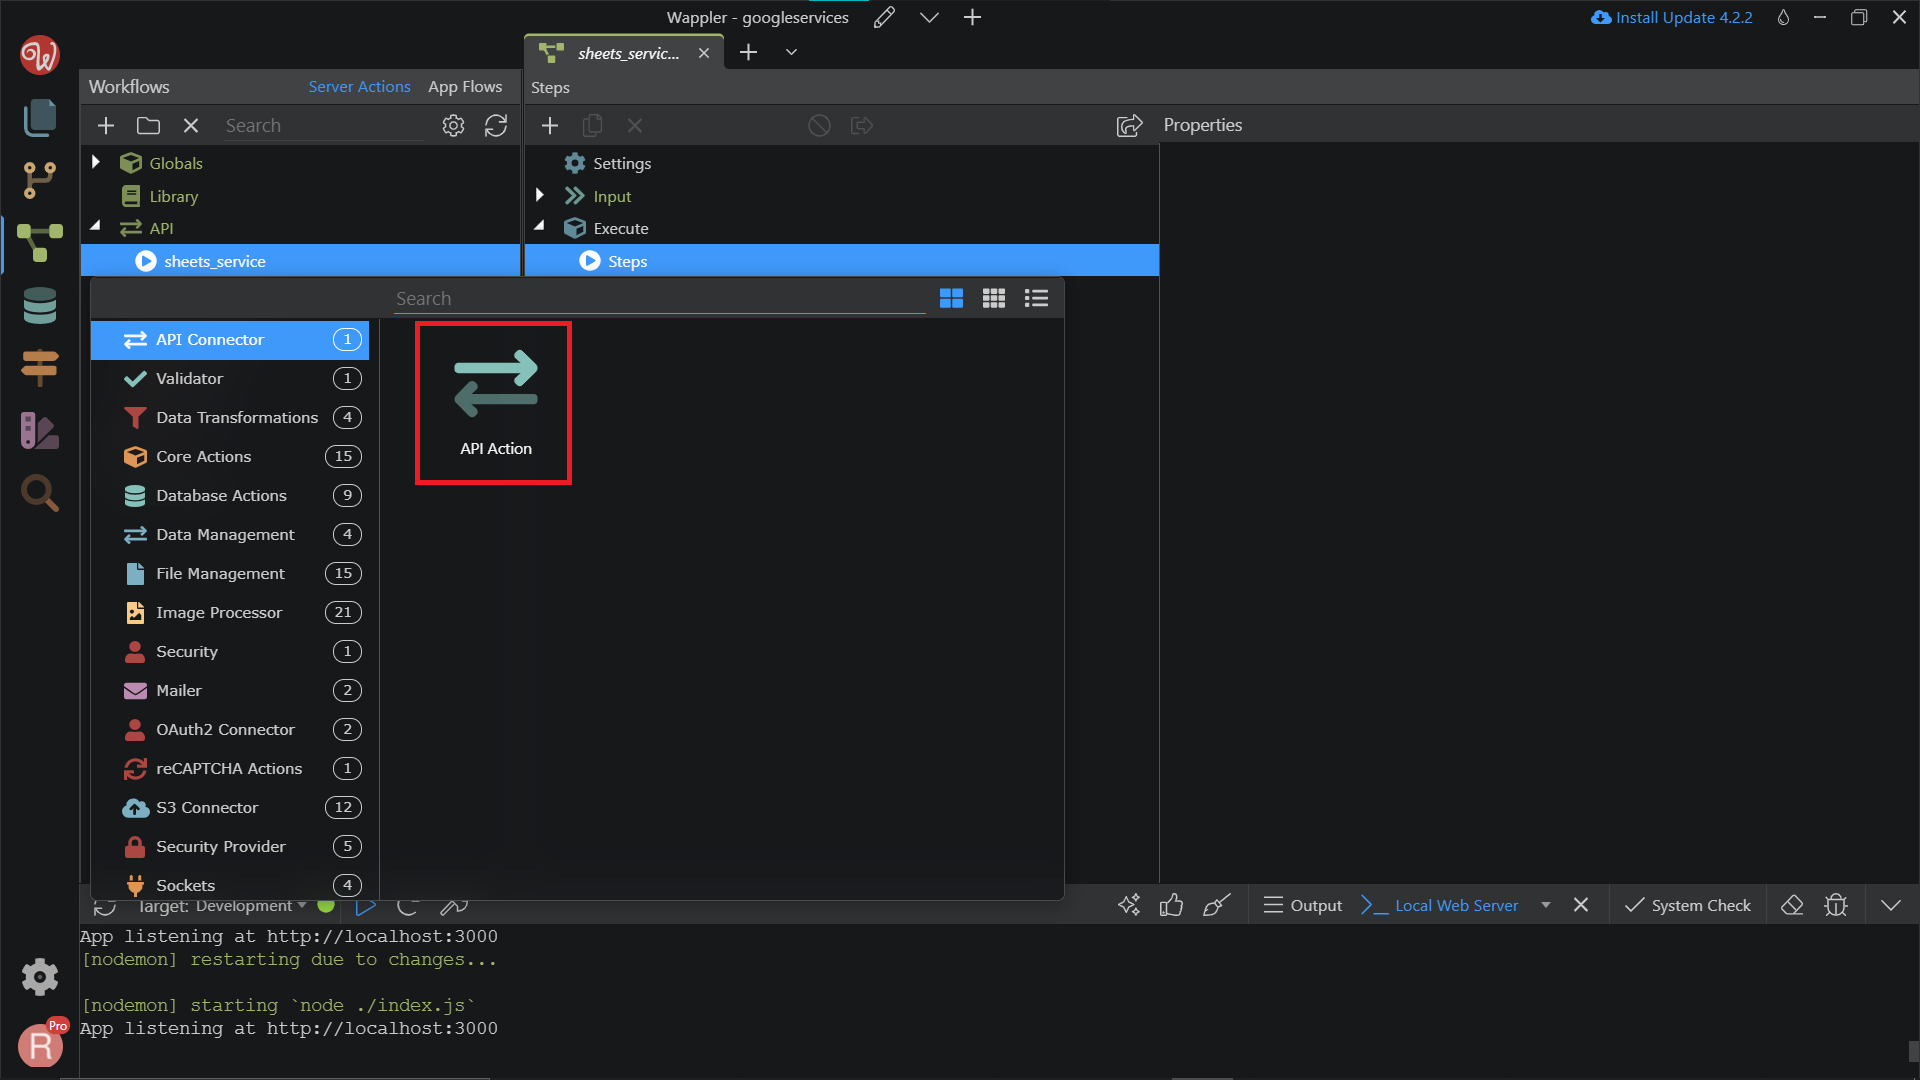
Search and add the API Action.
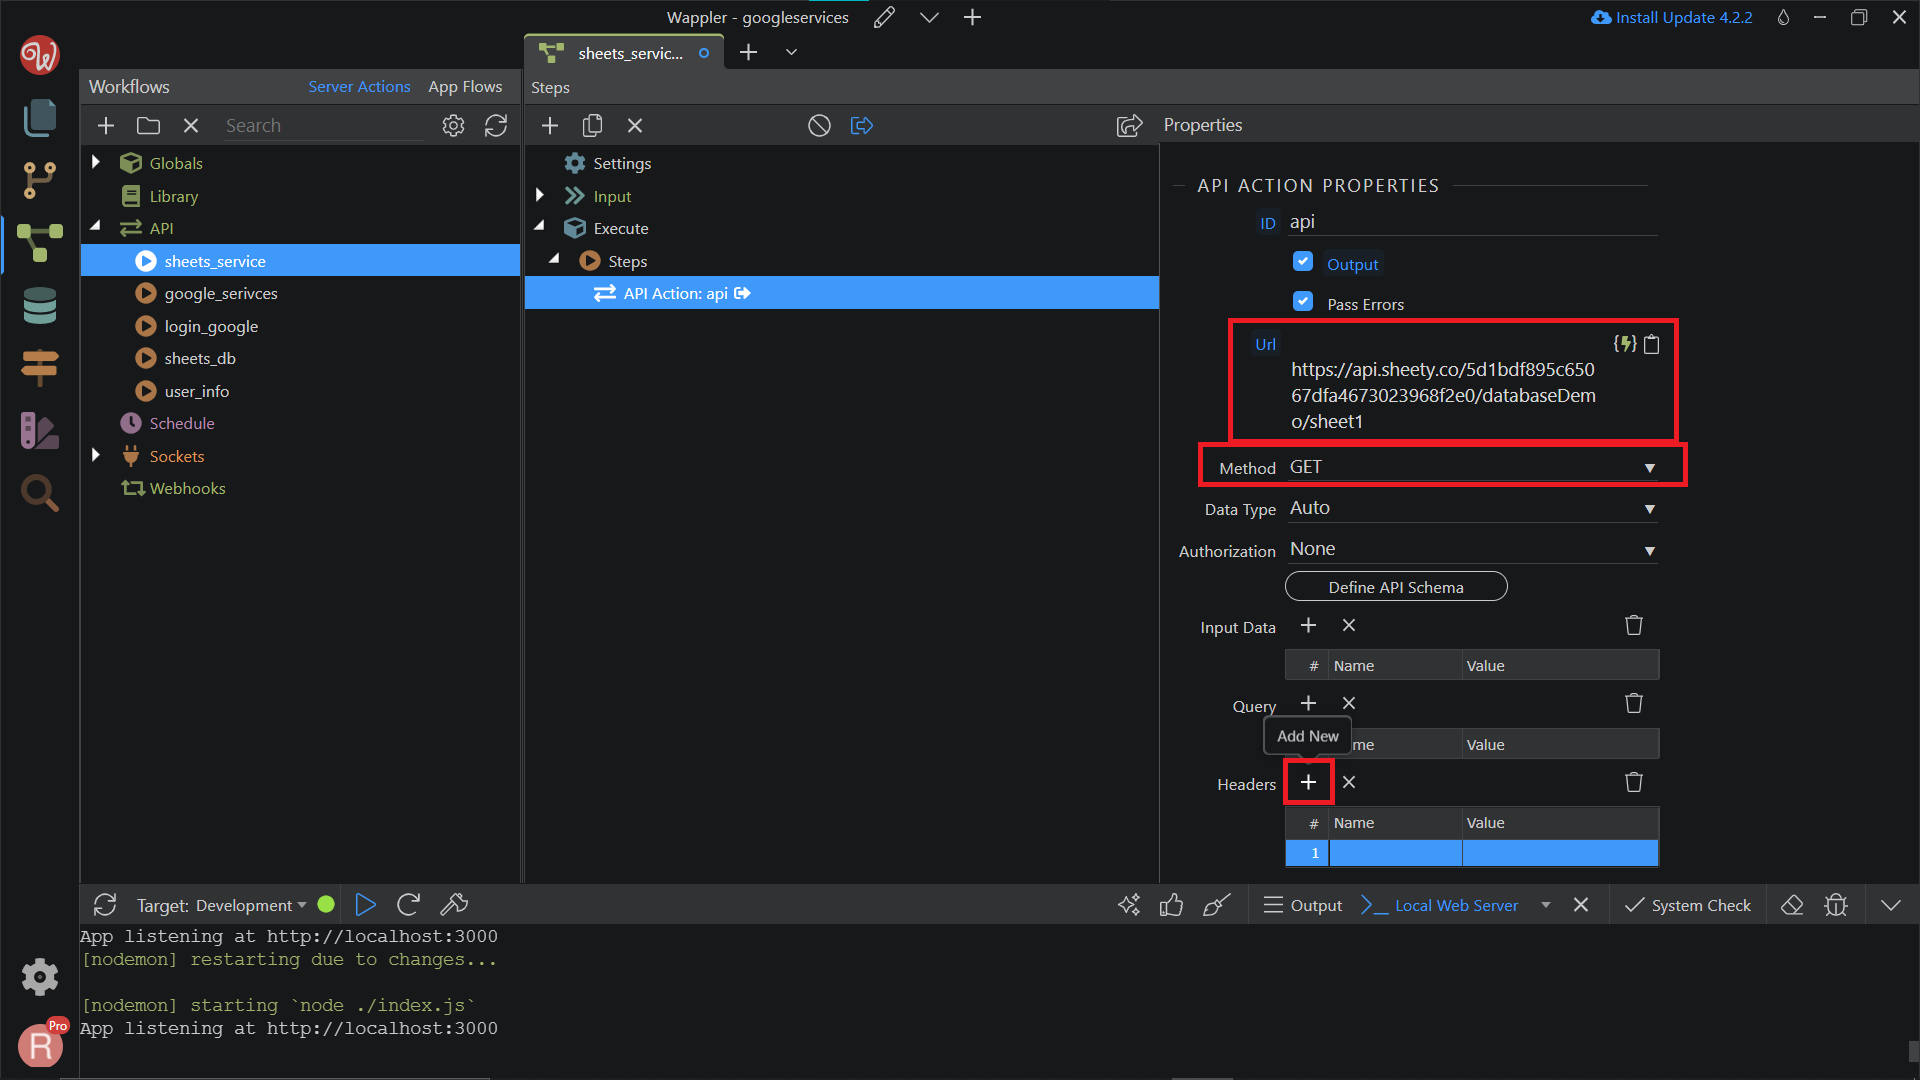
In the API Action Properties, paste the URL that we have copied before. Make sure the Method is already GET. In the Headers, we need to pass in the Authorization that we set before. So, click on Add New.
Put the Name Authorization, and Value with the key that we have copied before. It should start with Basic ...
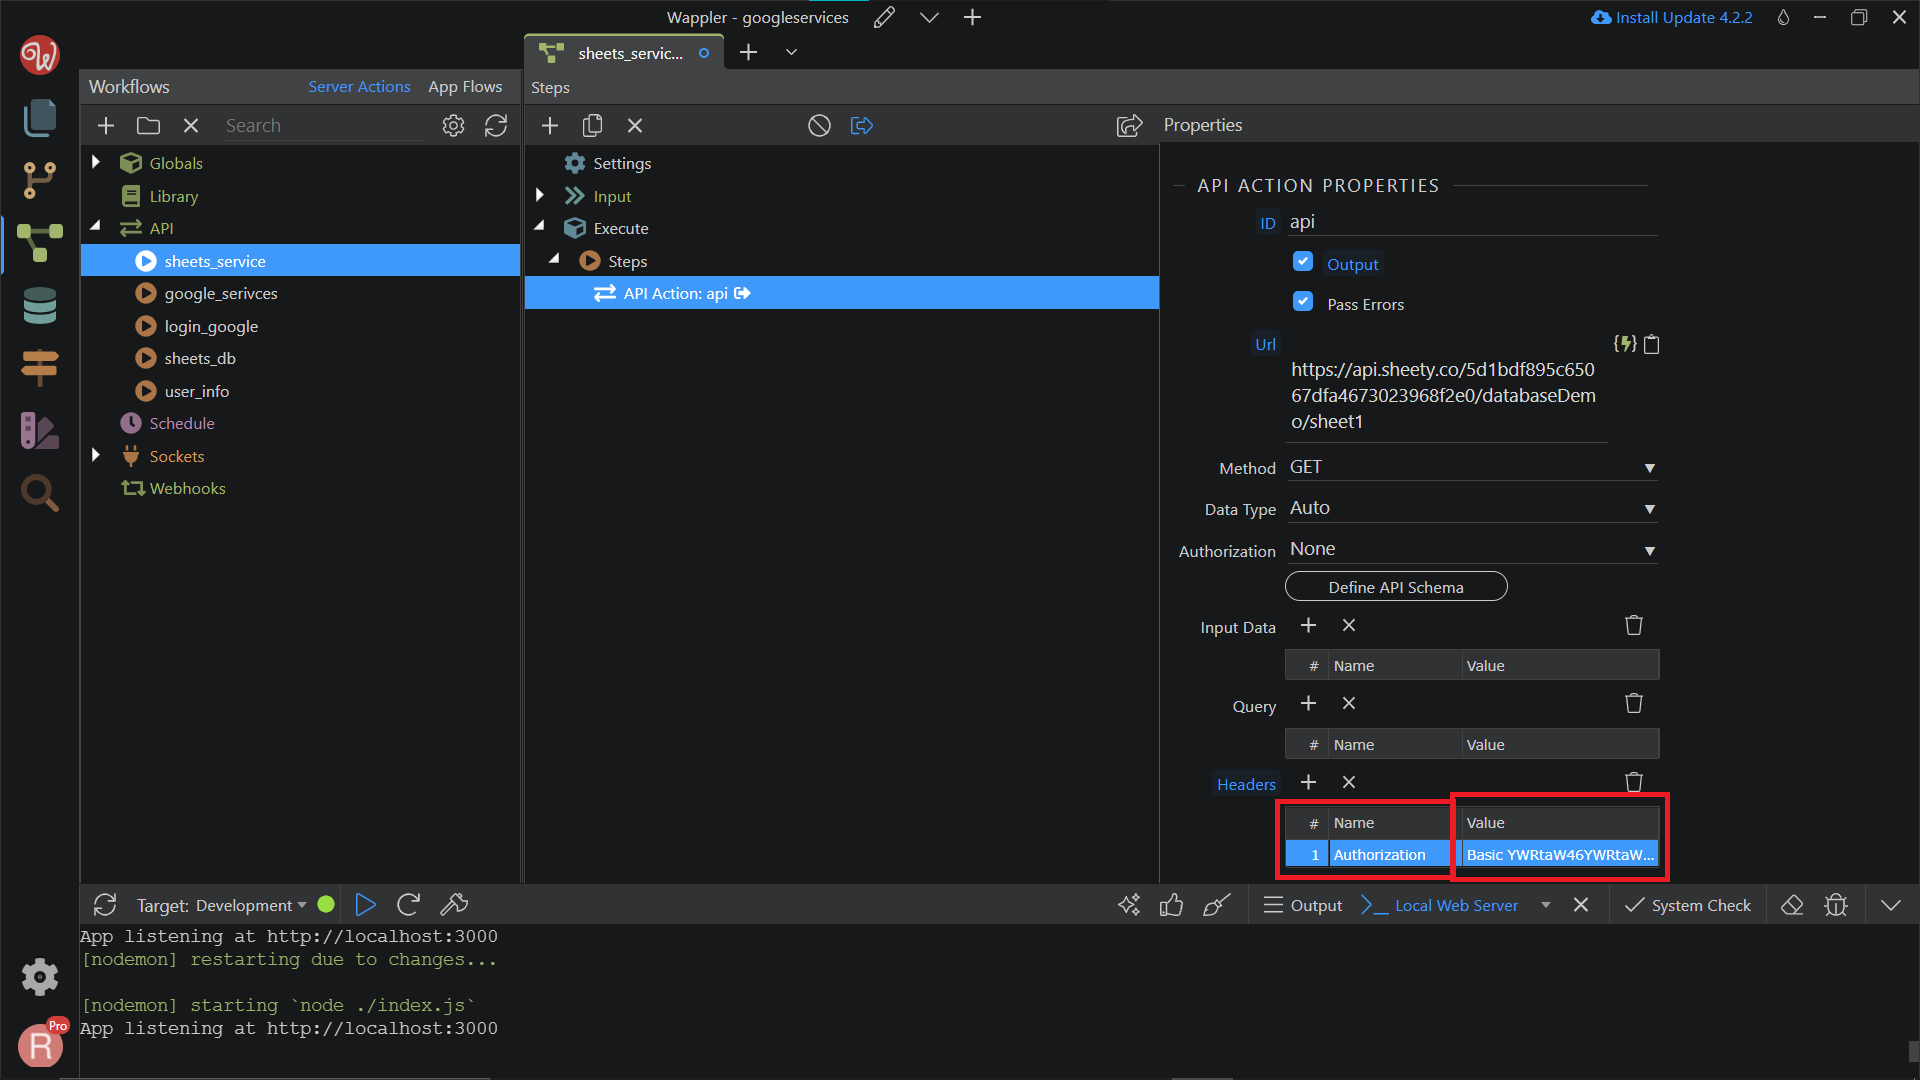
Then, save your file.
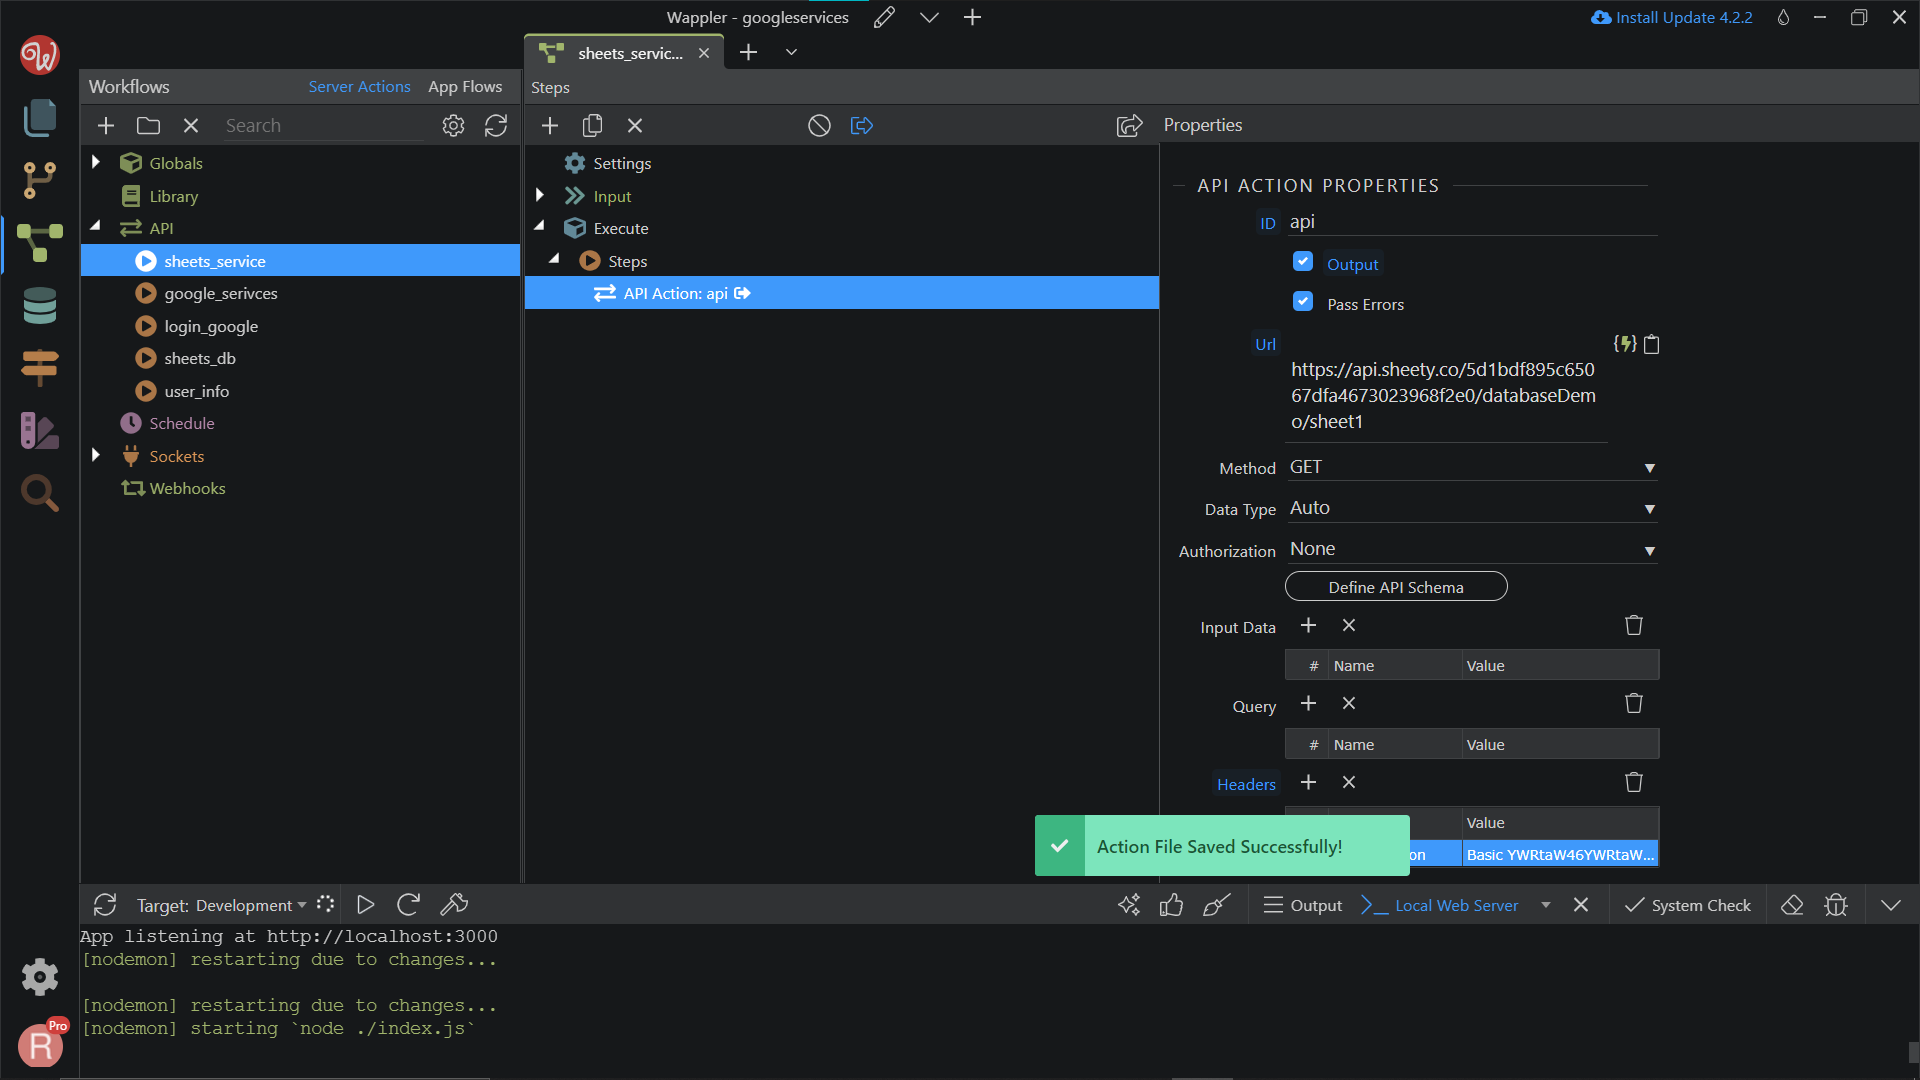
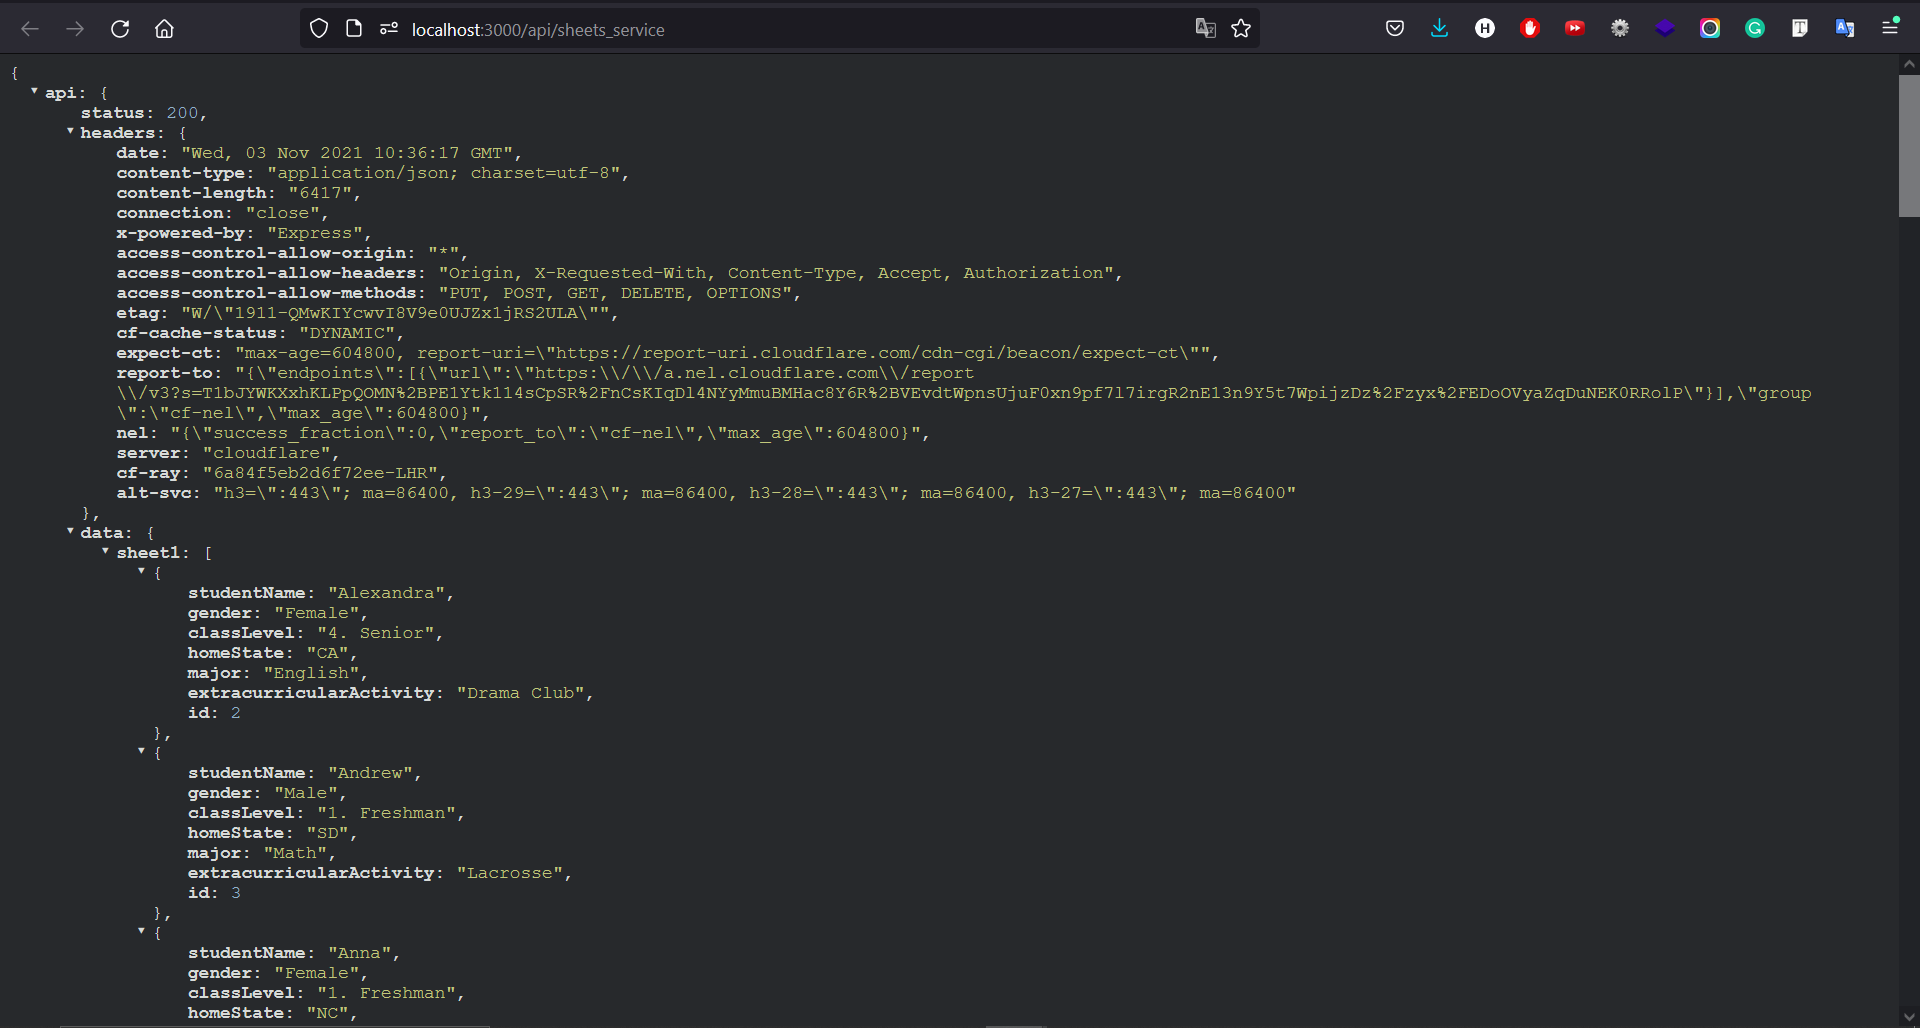
Click on the Open in Browser to check if the connection working properly.

If the connection succeeds, we will get a similar response to the screenshot below.
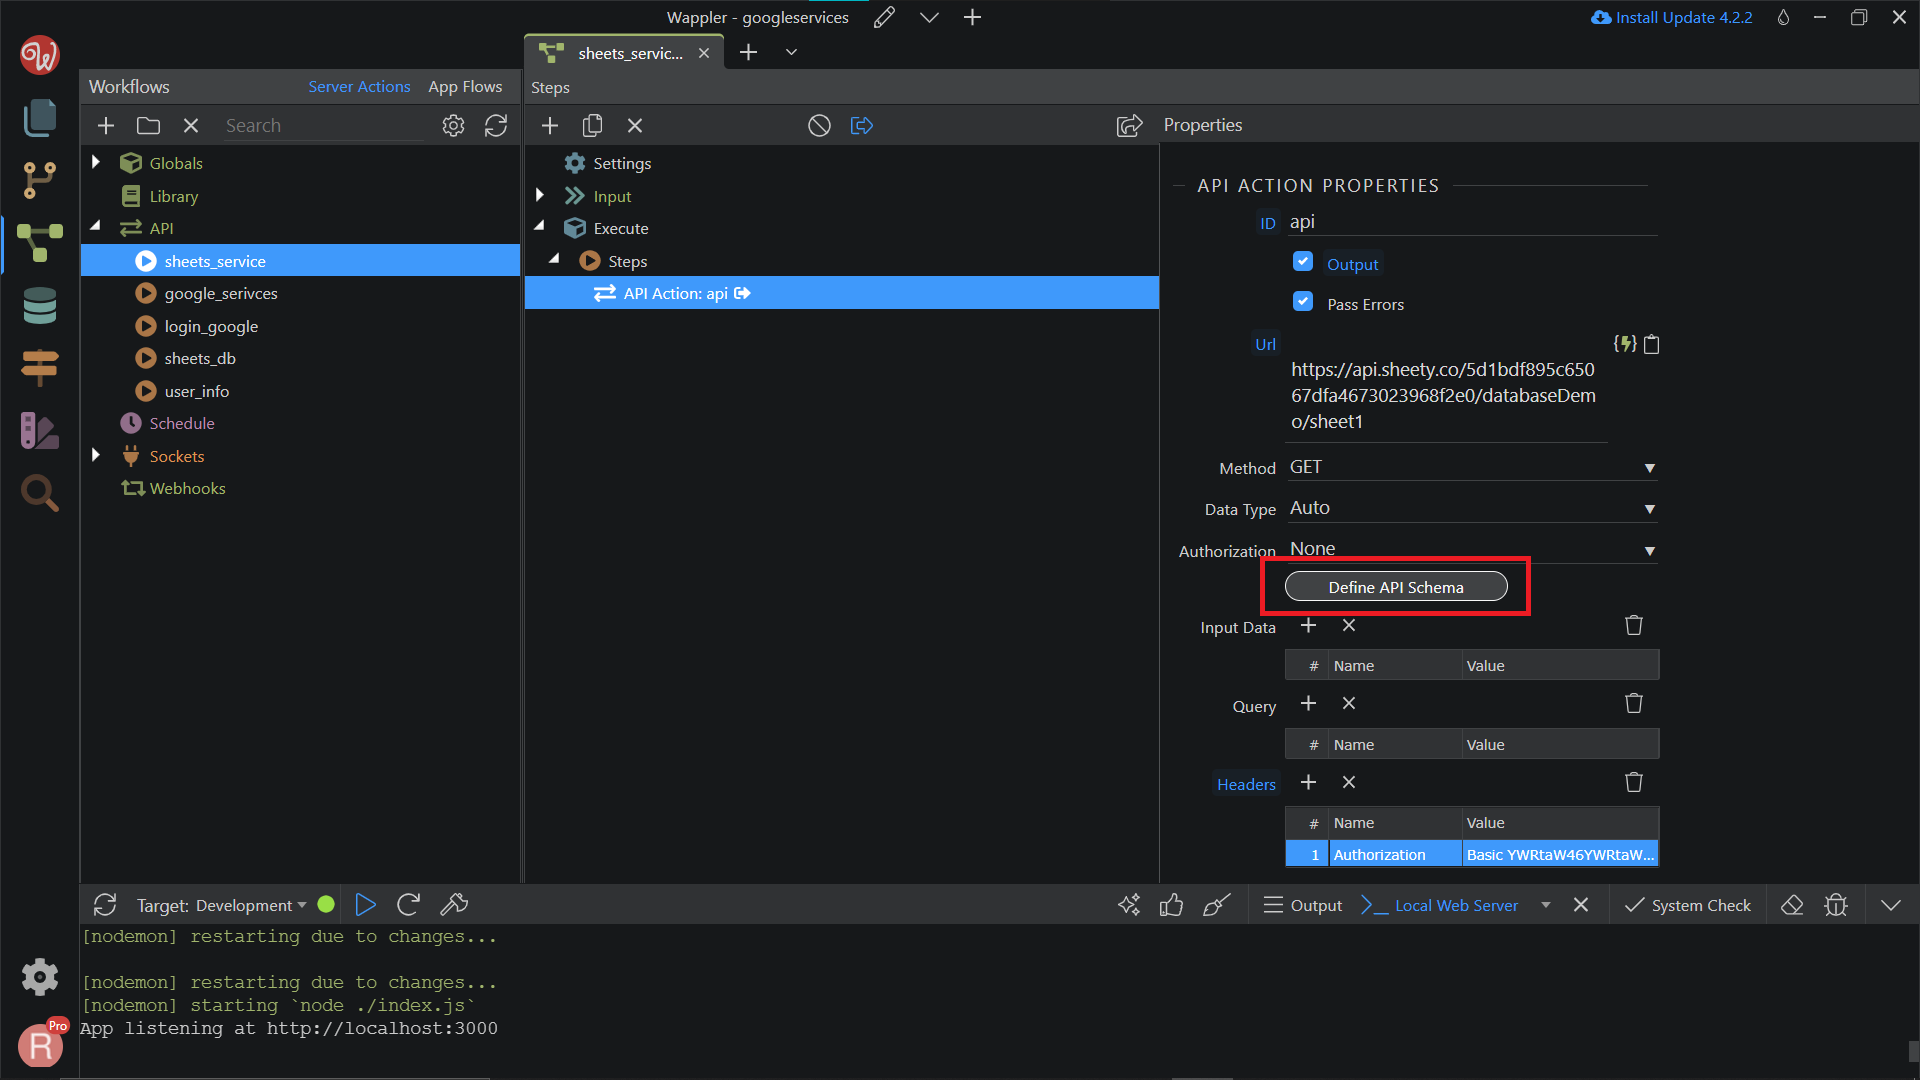
Go back to Wappler, and choose the Define API Schema.
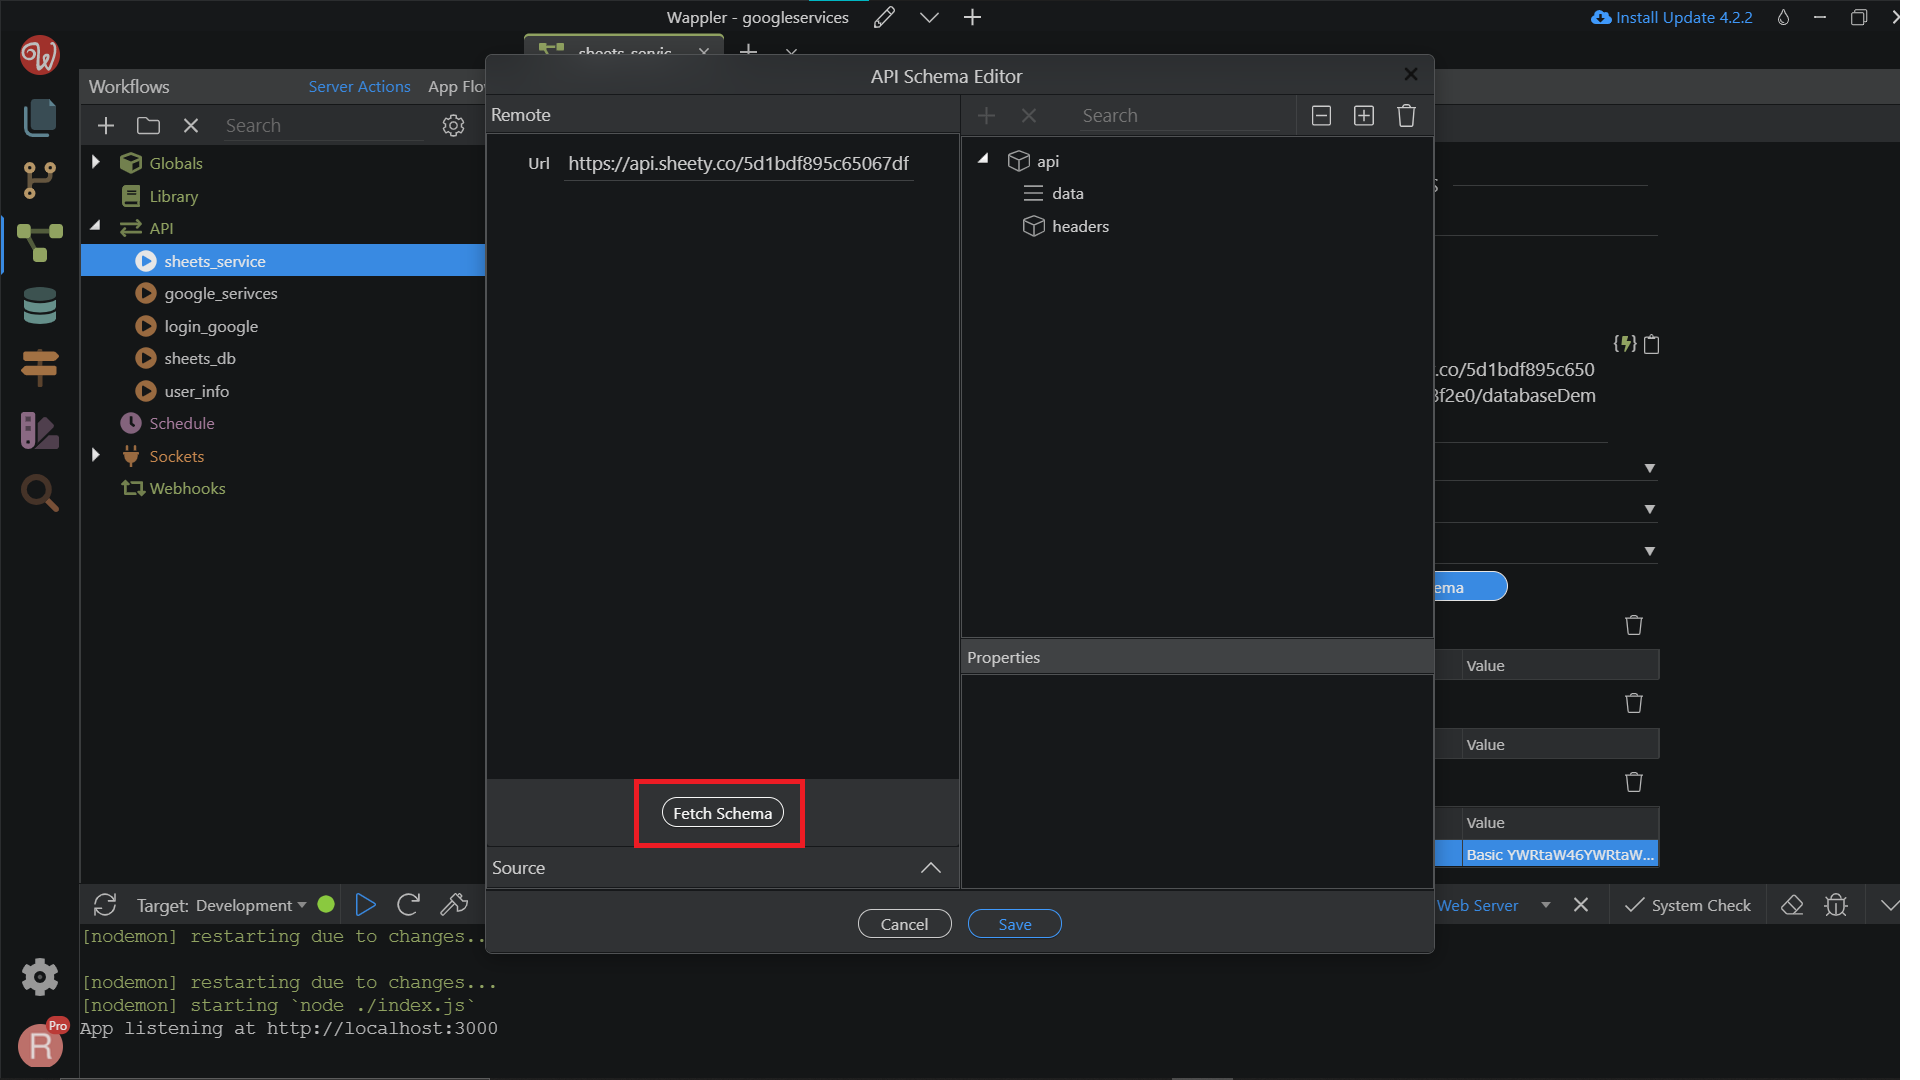
Click on Fetch Schema to automatically detect the data from the API response.
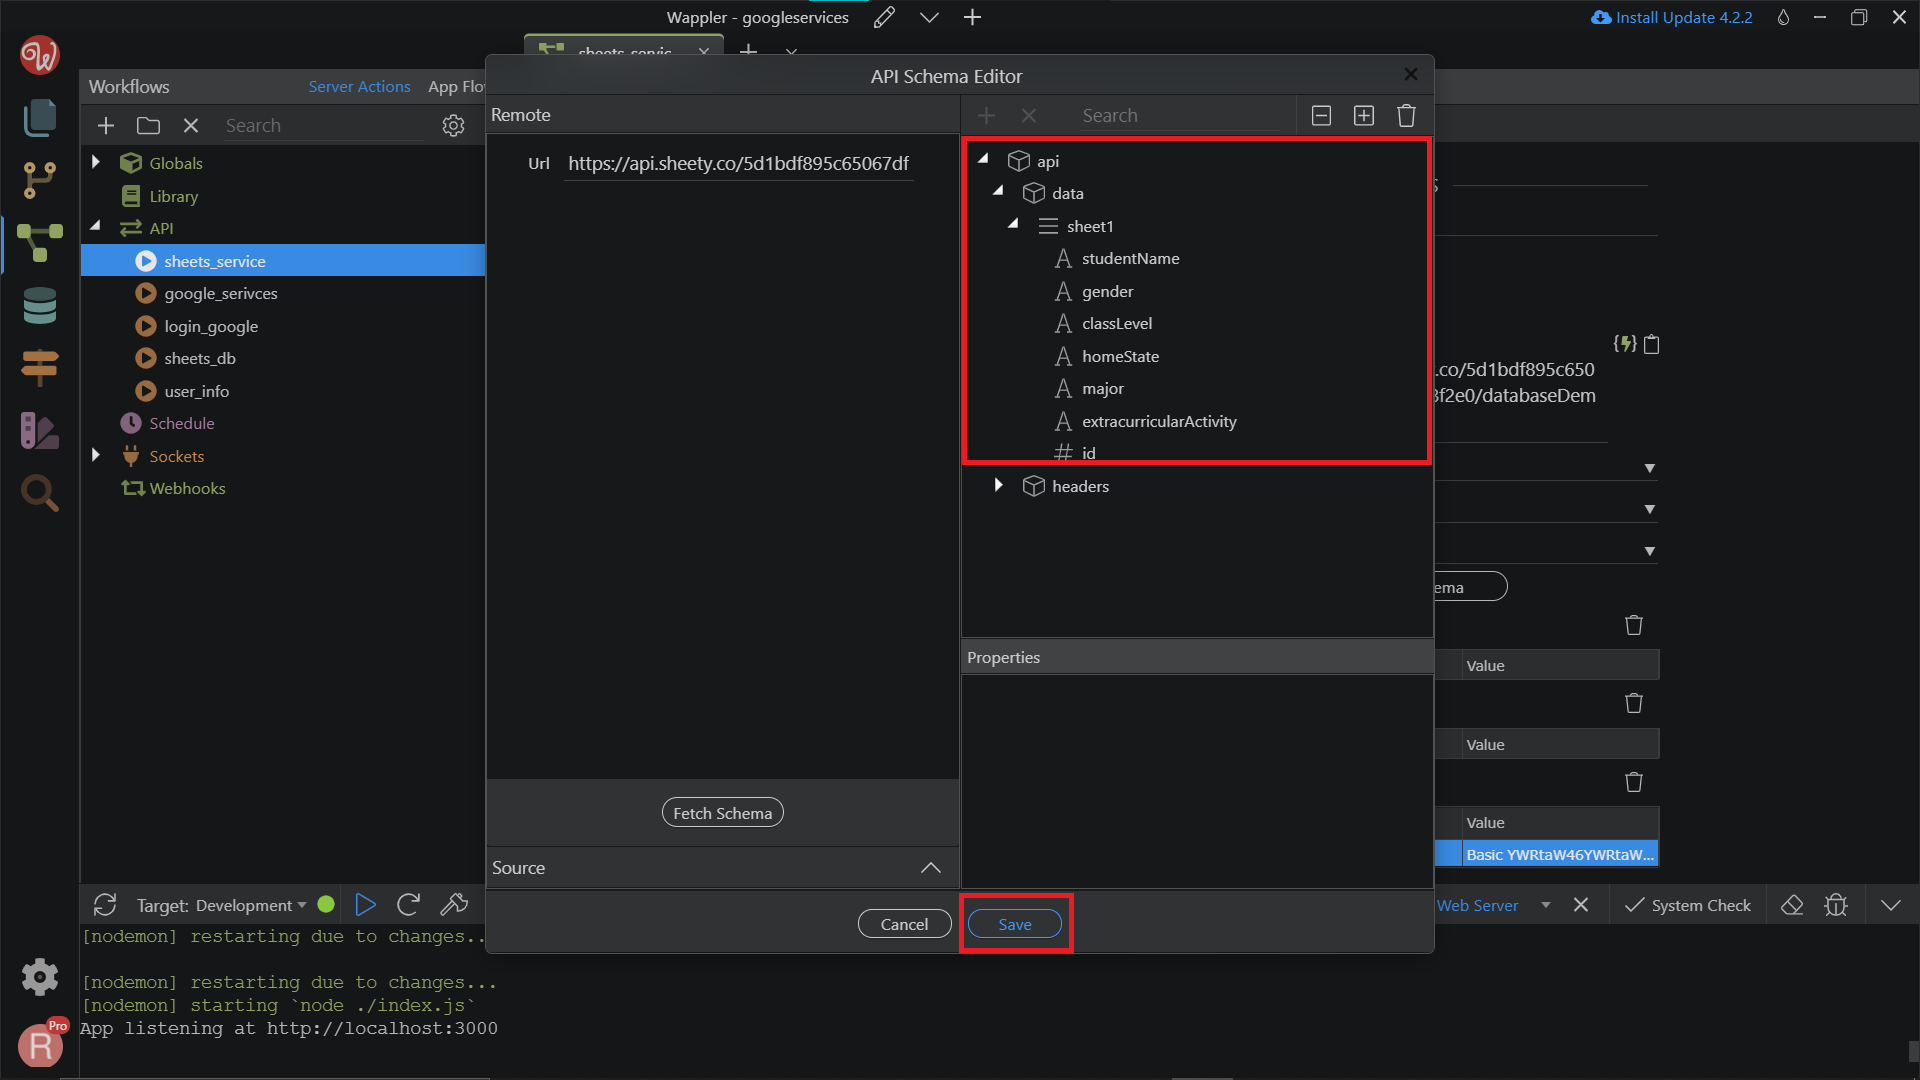
Make sure the sheet name and all the column names have appeared on the api > data. Then click Save.
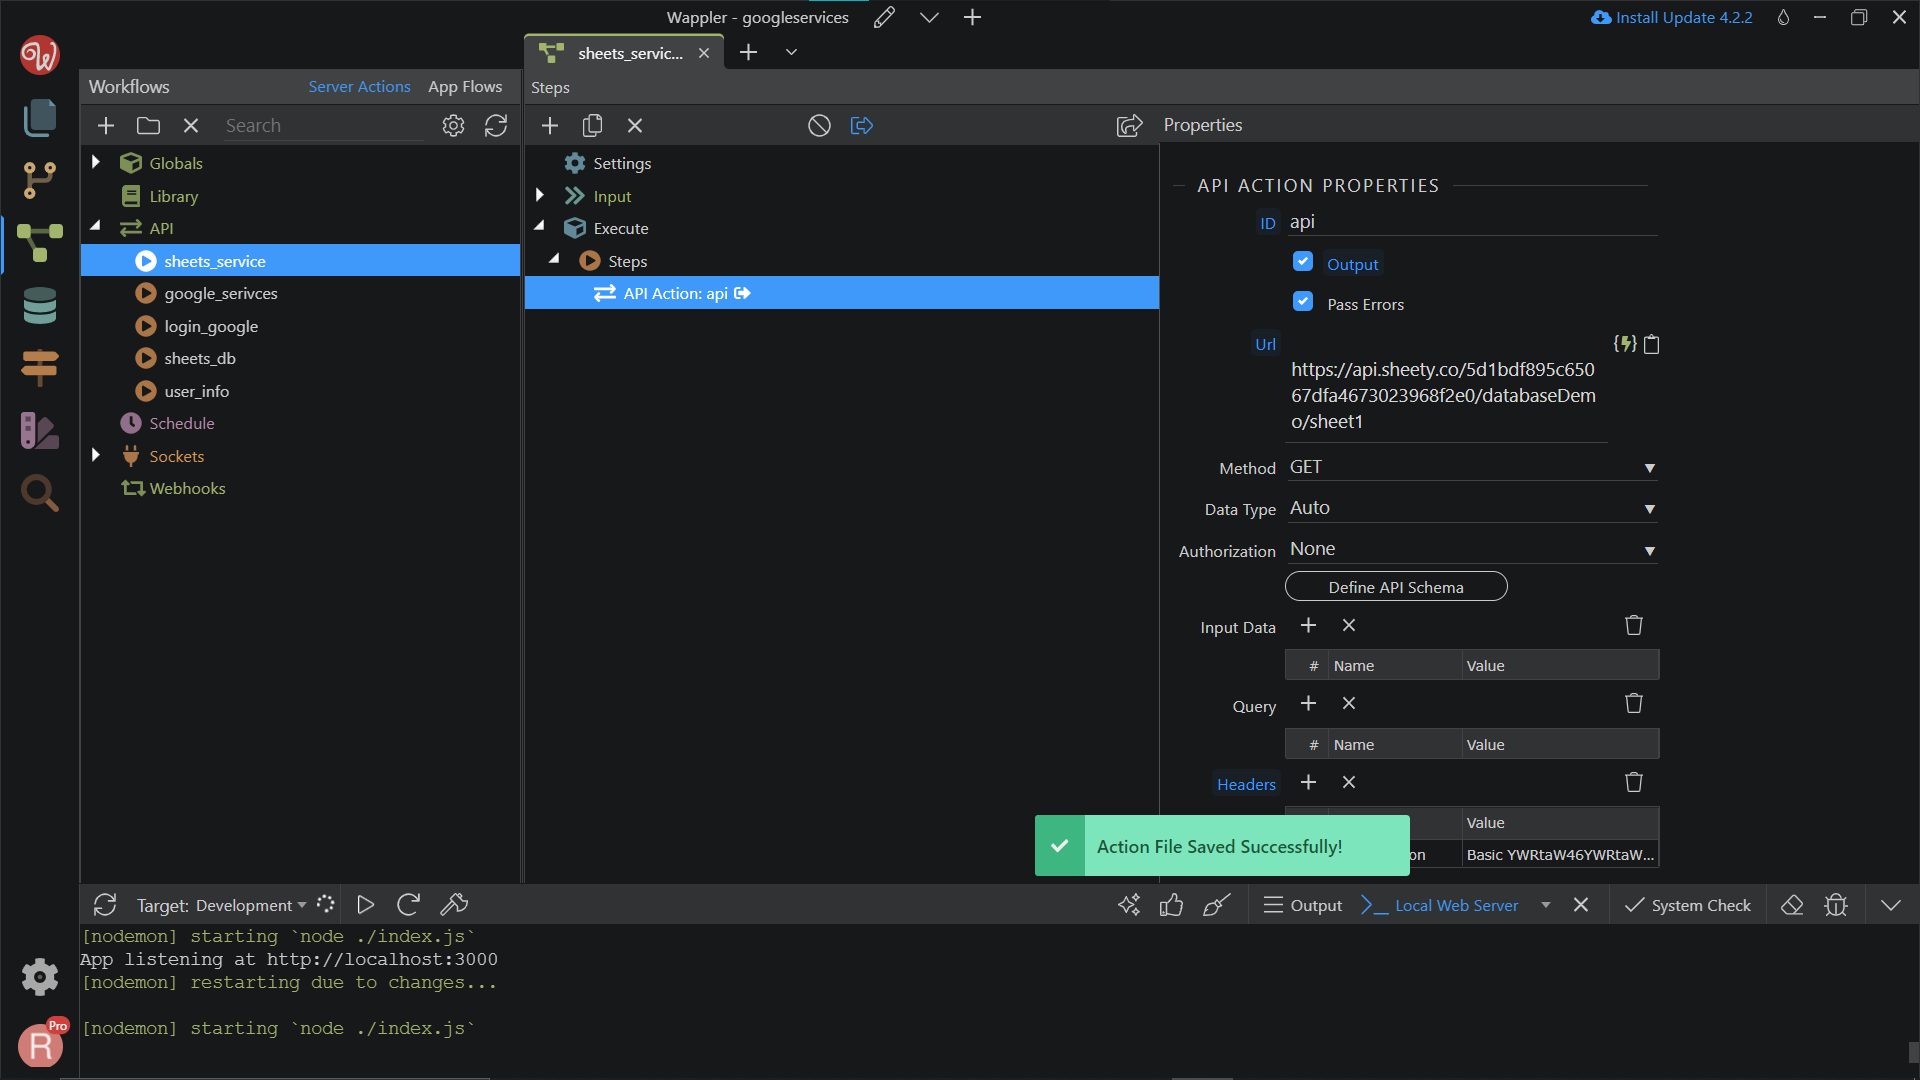
Save your API file again.
We are done configuring the back-end part.
Front end configuration
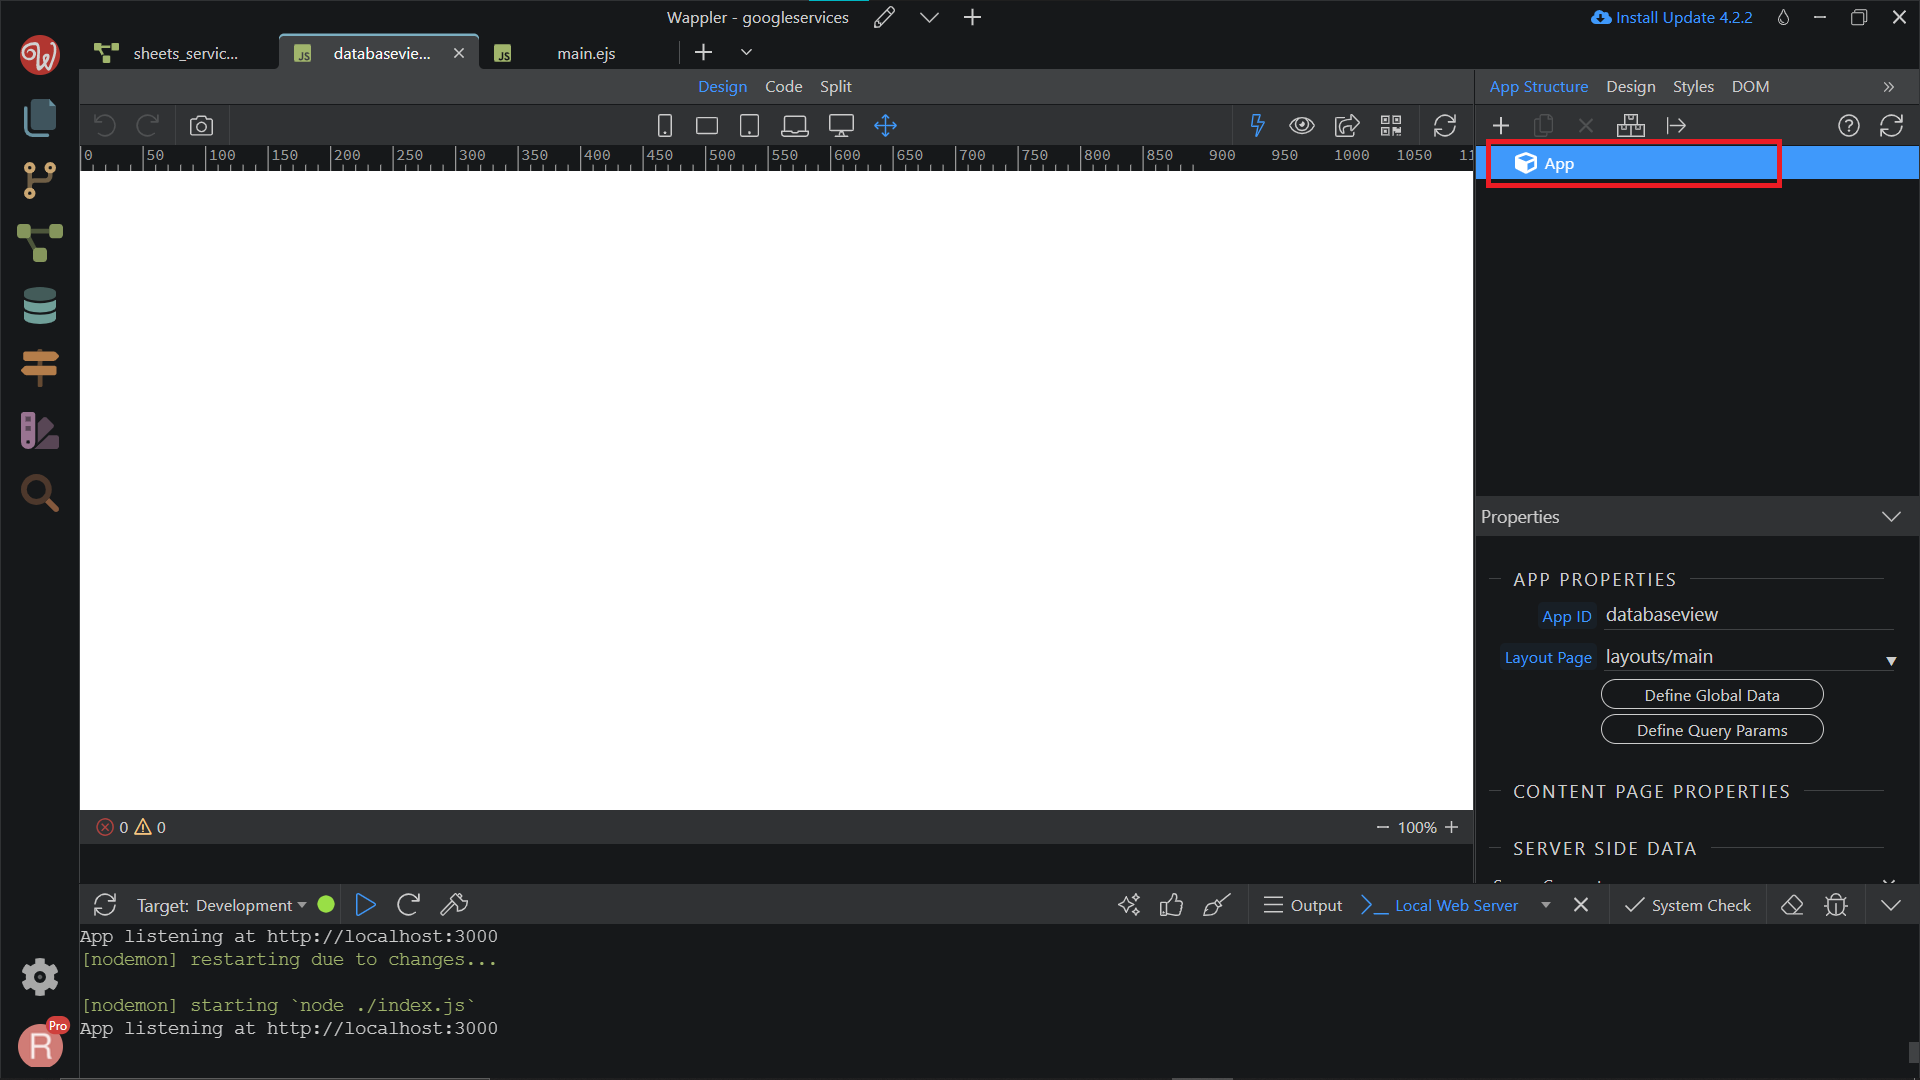
To display your data, we need a Server Connect component. So, right-click on the App.
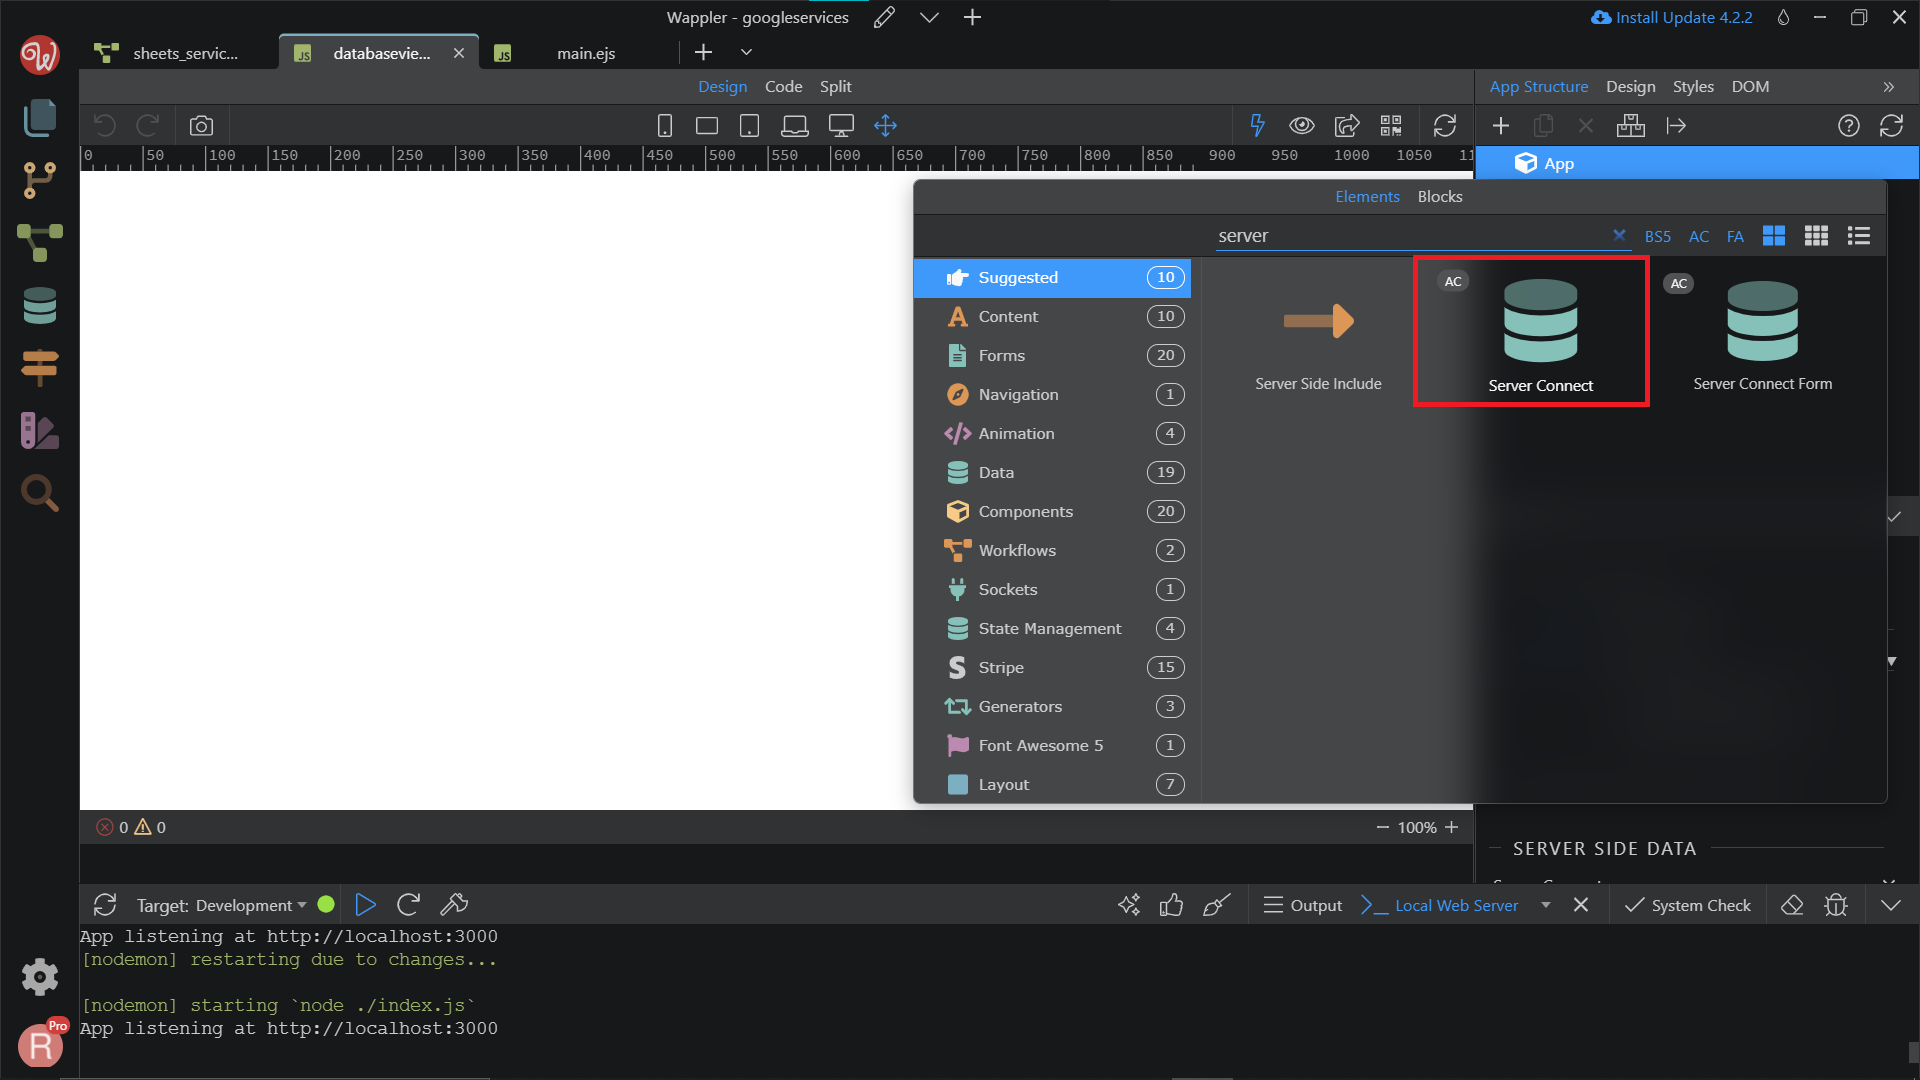
Search and add Server Connect.
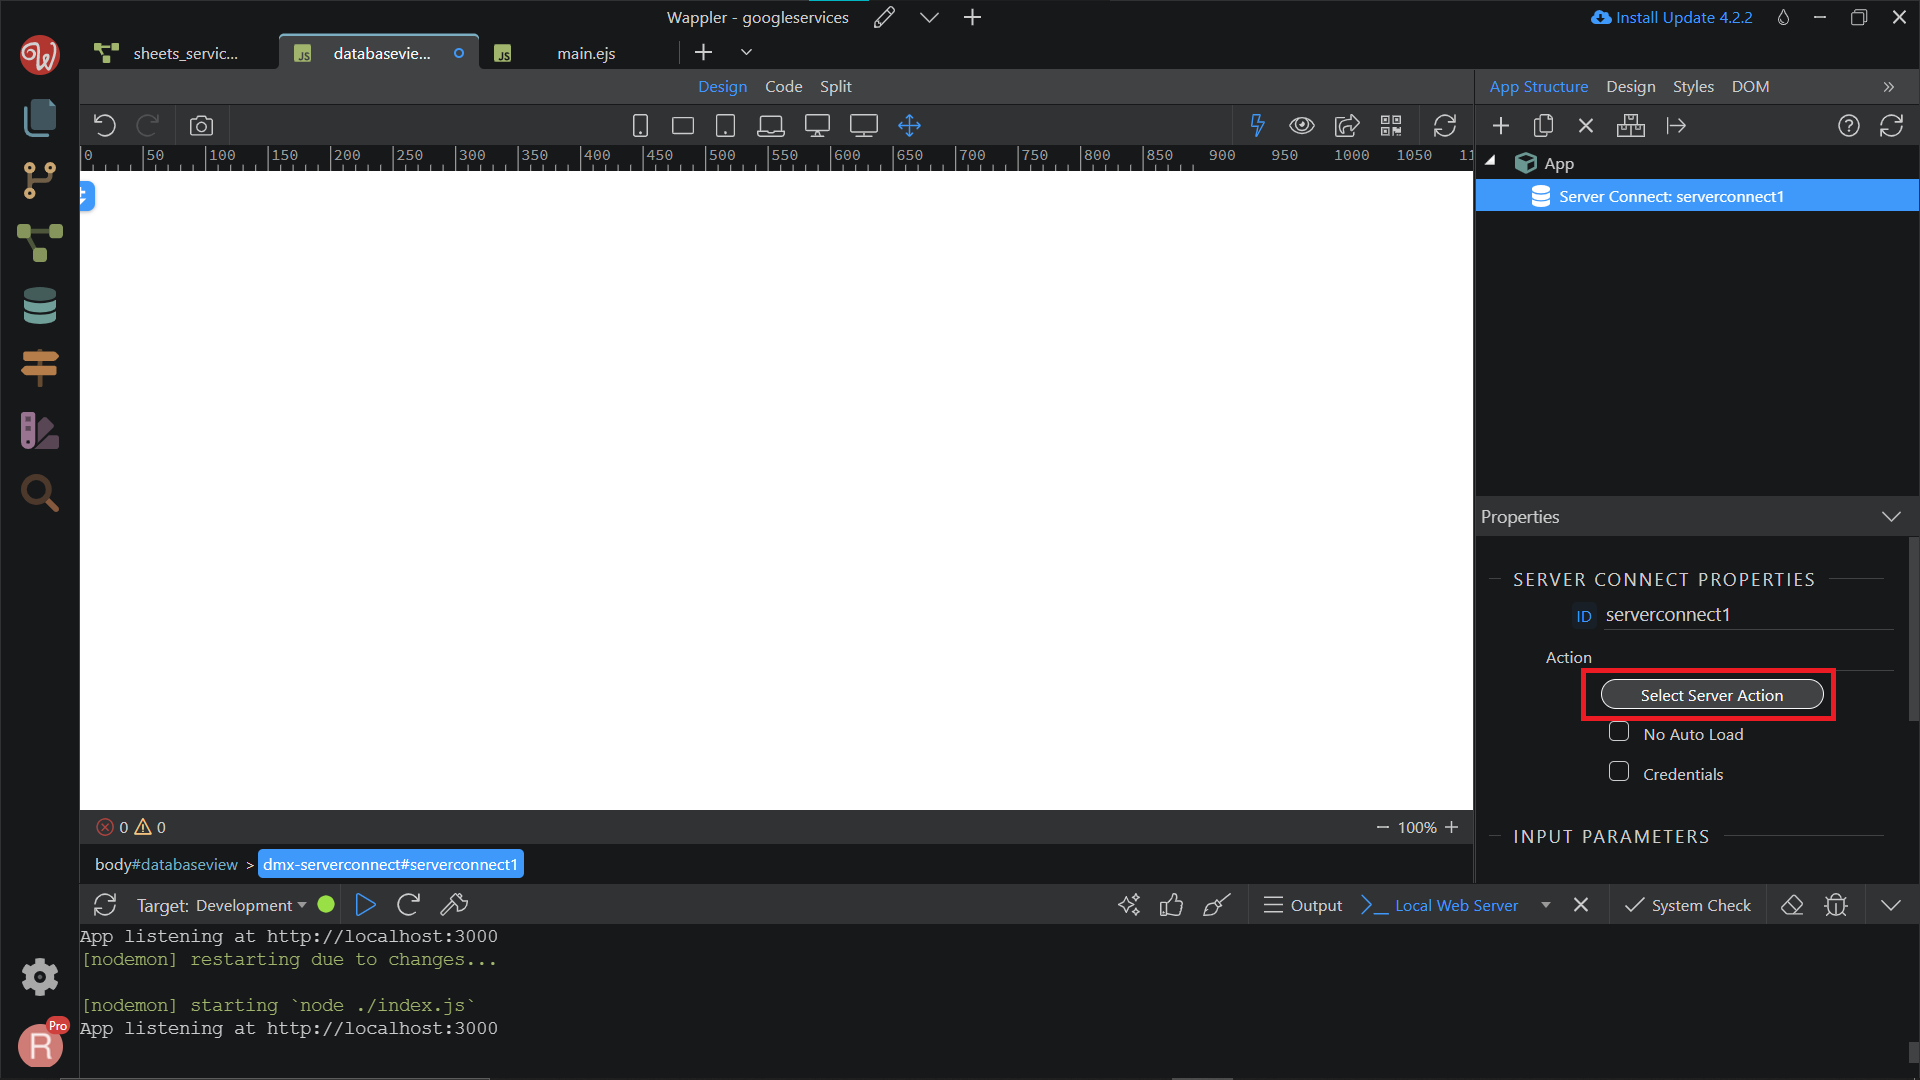
In the Server Connect Properties, click Select Server Action.
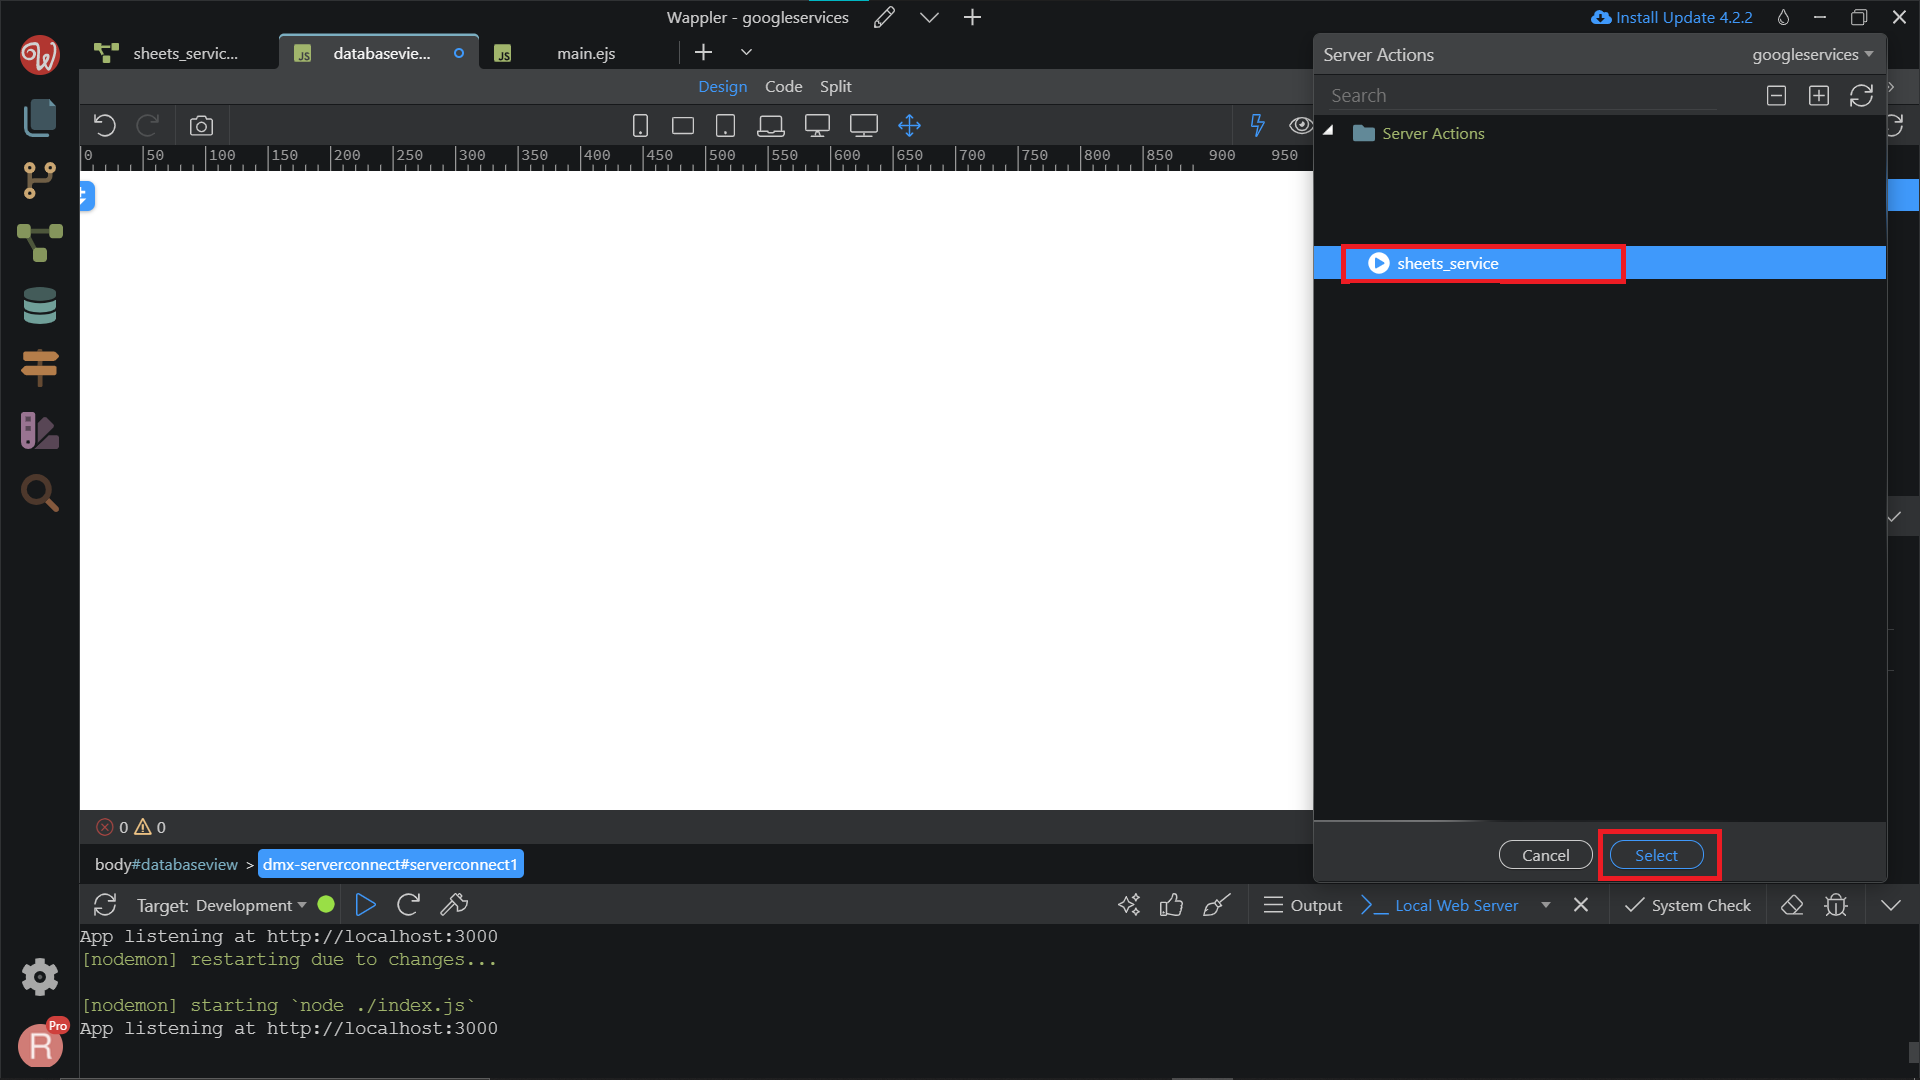
Choose the API that we created before which is sheets_service. Click Select.
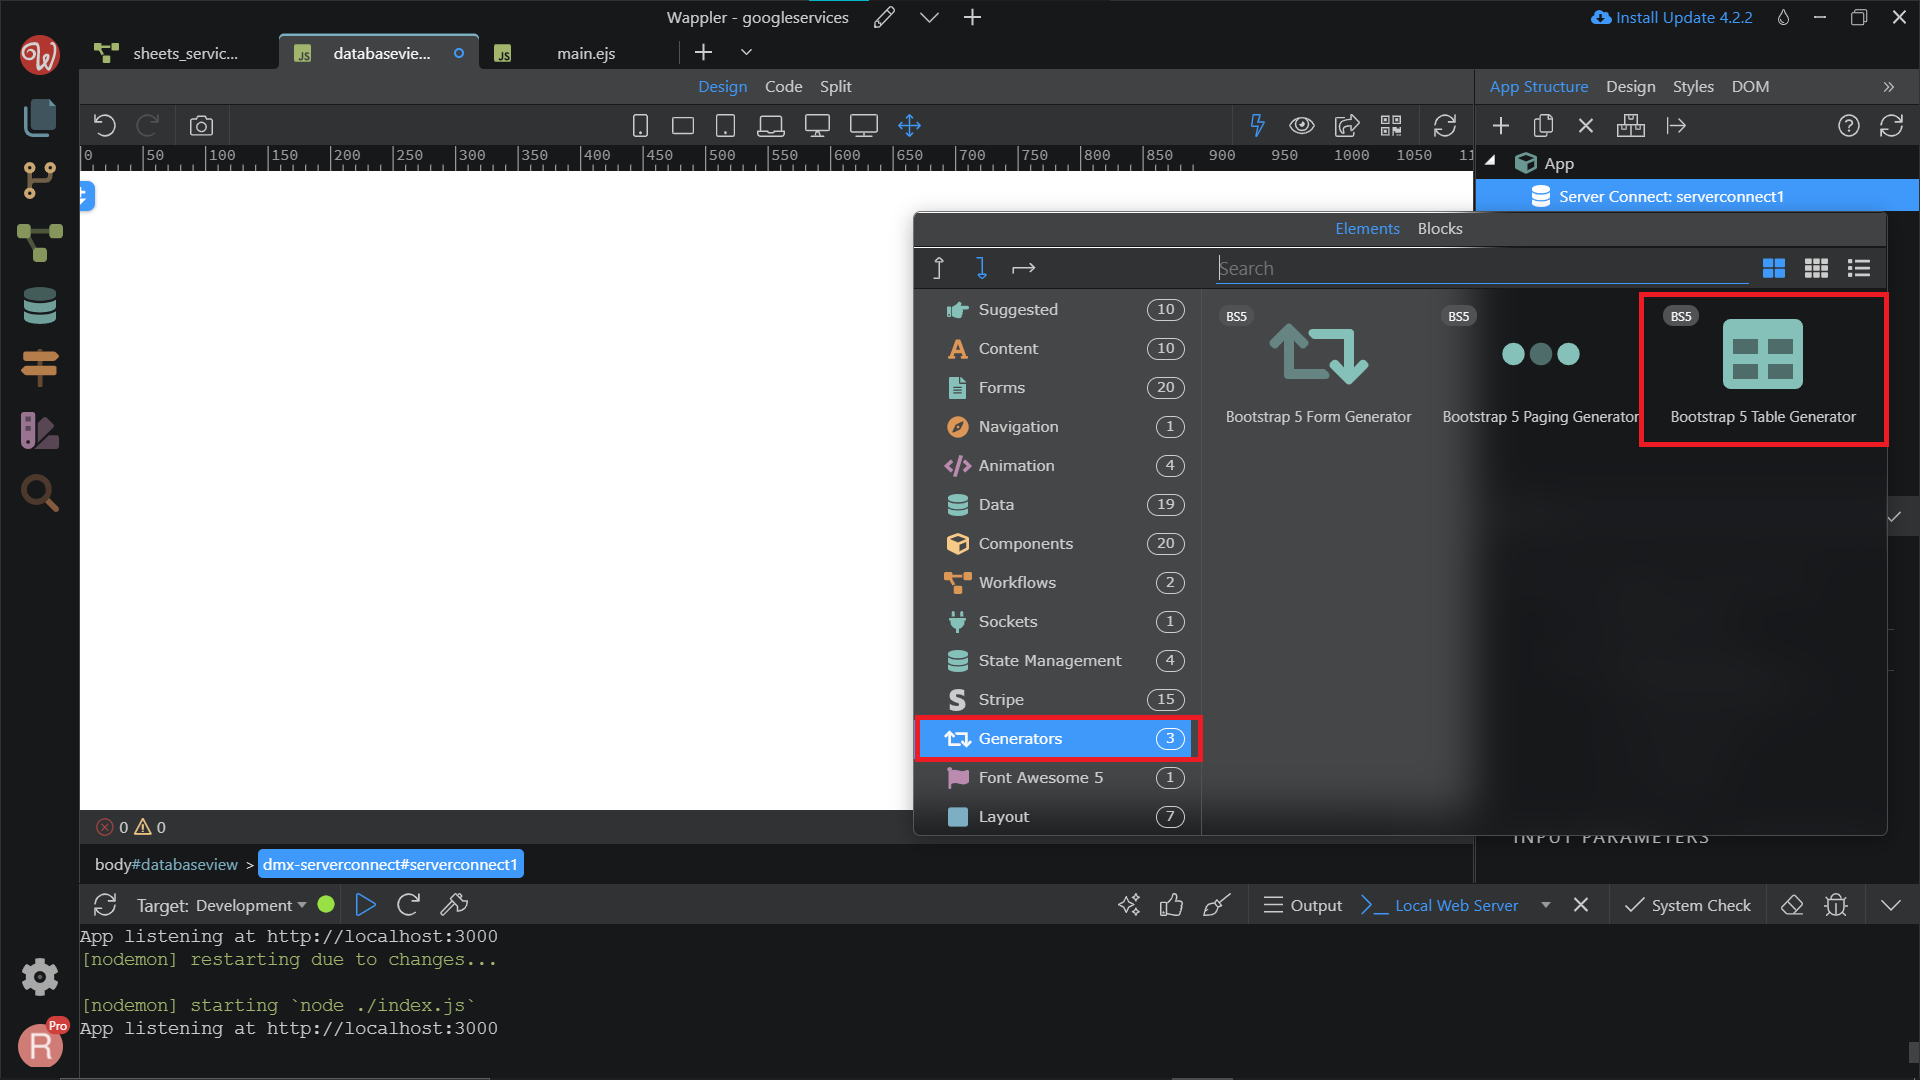
Then, we need to add the Bootstrap Table Generator. Right-click on the Server Connect component.

Go to the Generators section, and choose the Bootsrap Table Generator.
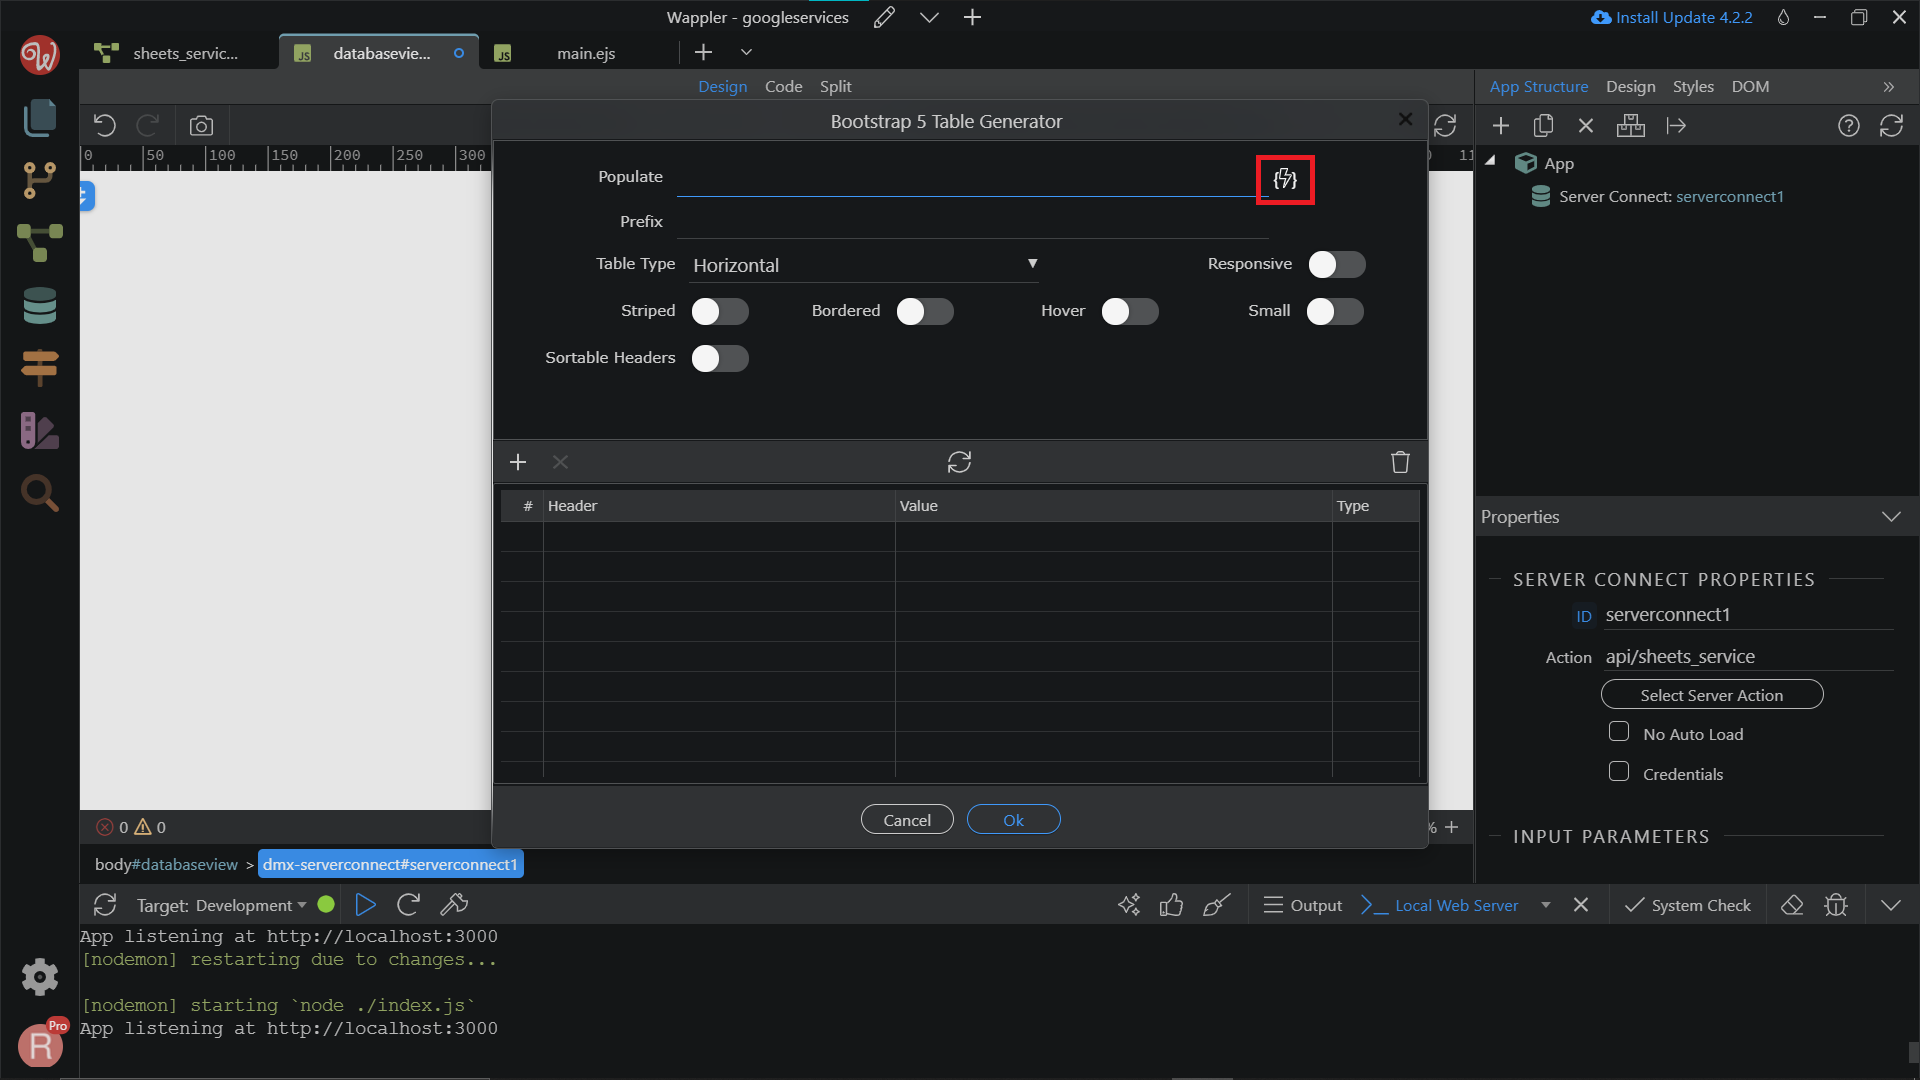
A new window will open, and click on the lightning icon to dynamically populate the table.
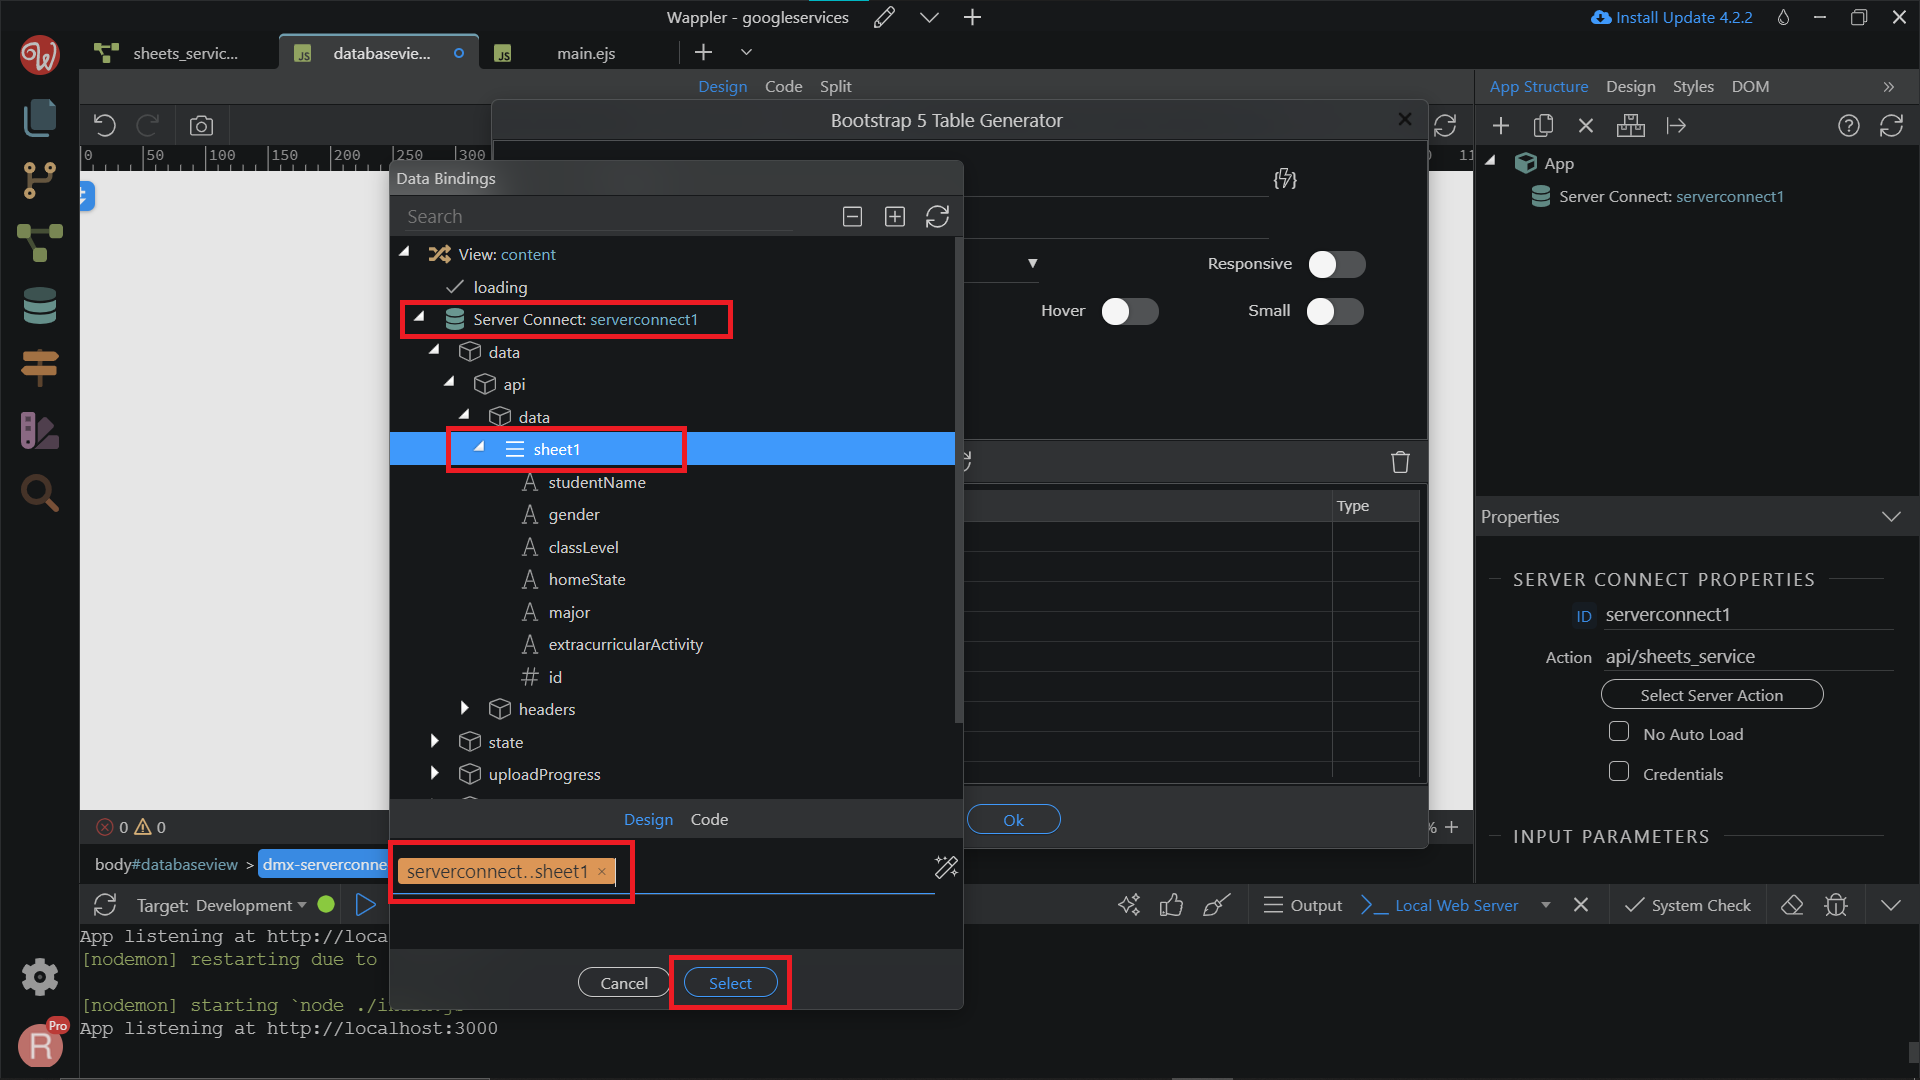
Choose the name of the sheet that you want to display from Server Connect > data > api > data. Click Select.
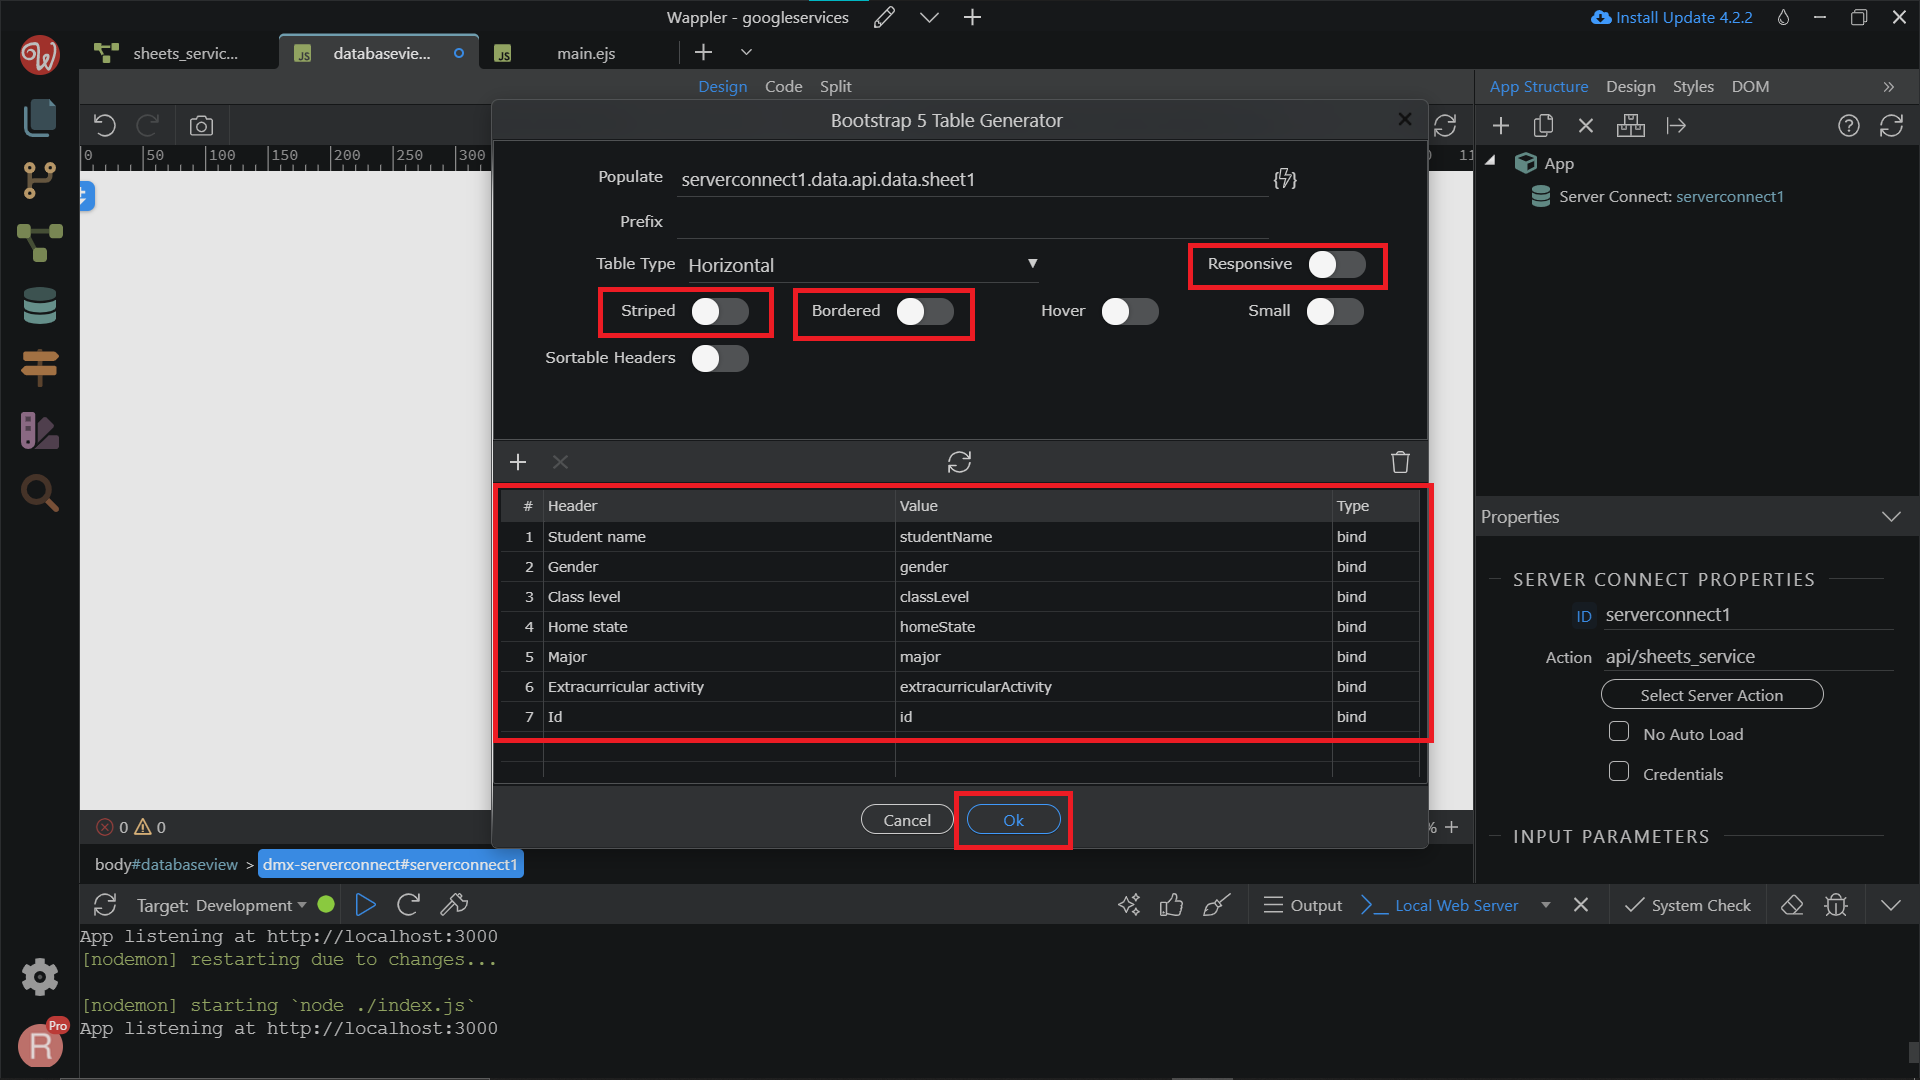
Make sure all the fields are there in the Header and Value columns. Adjust the table looks as you need. Click OK.
Now, you will see that your data from Google Sheets has been displayed on your website.
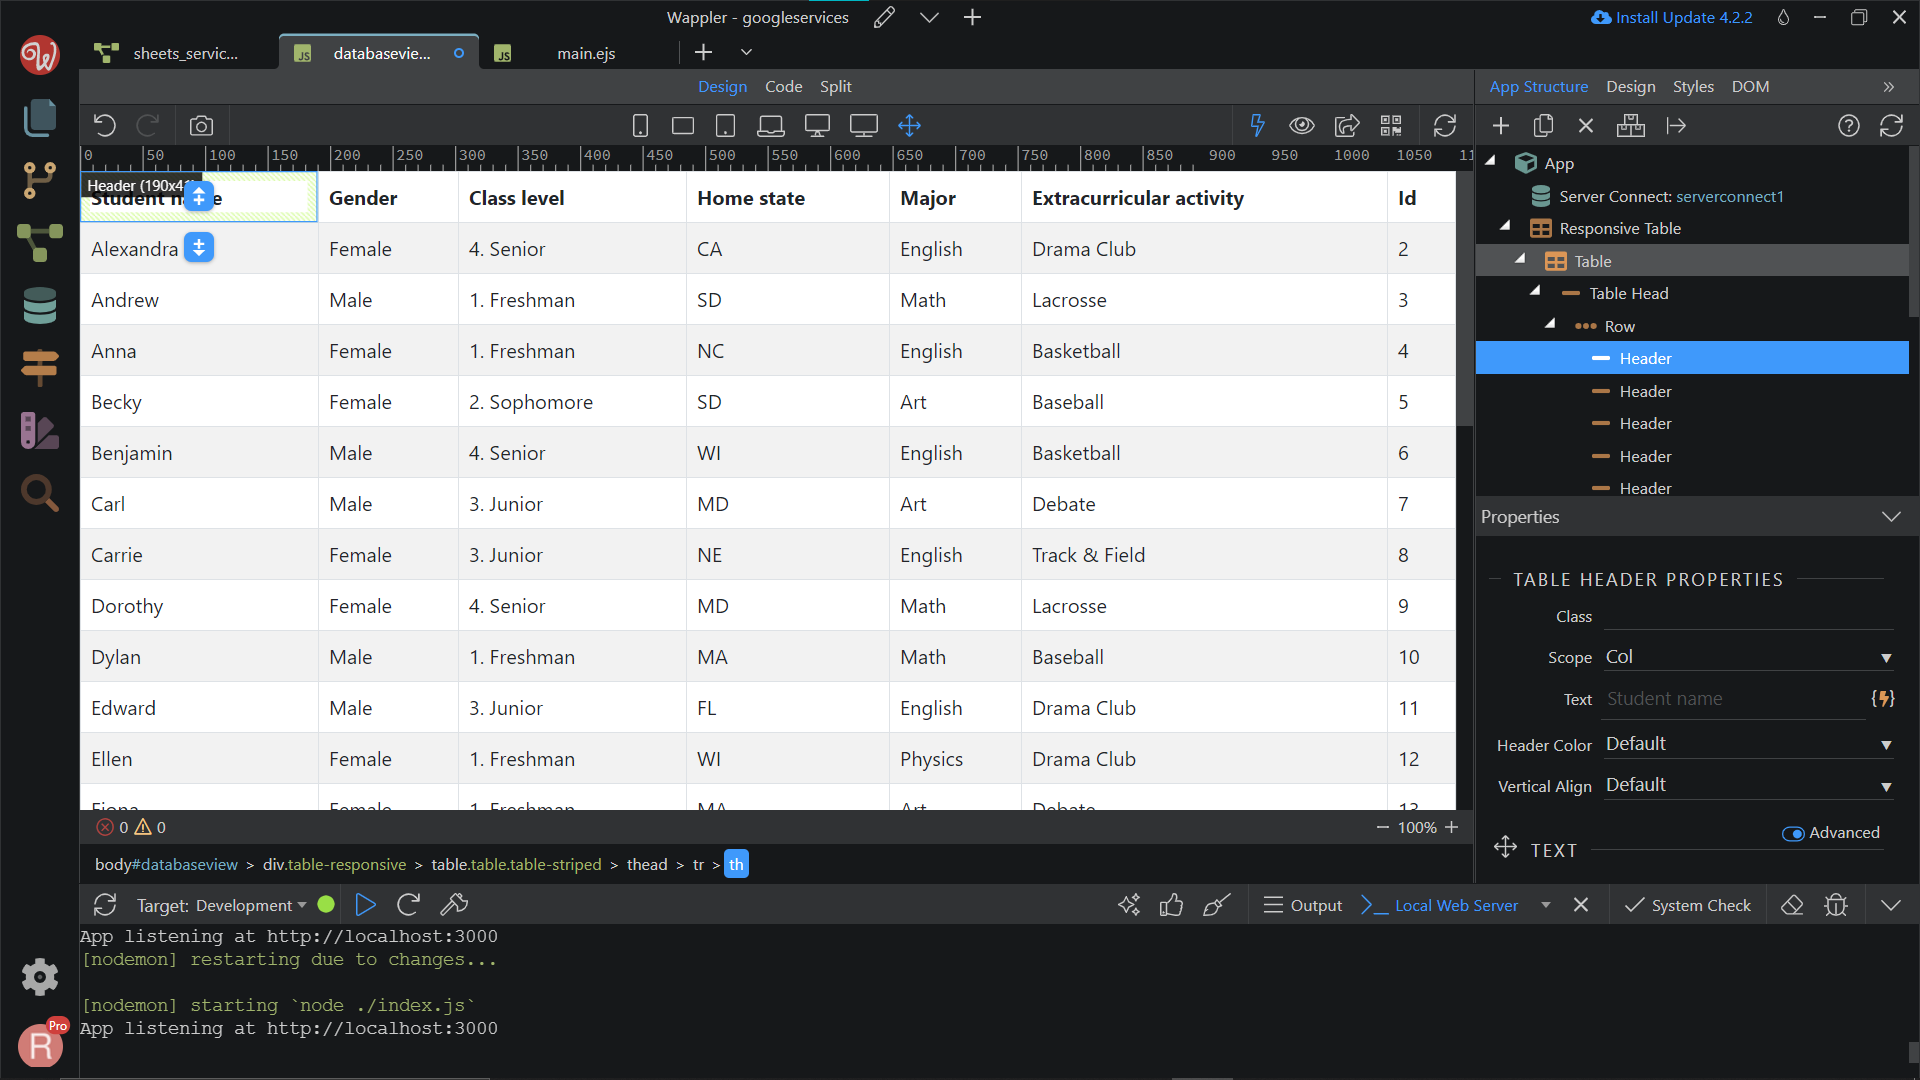
Don’t forget to save your file.
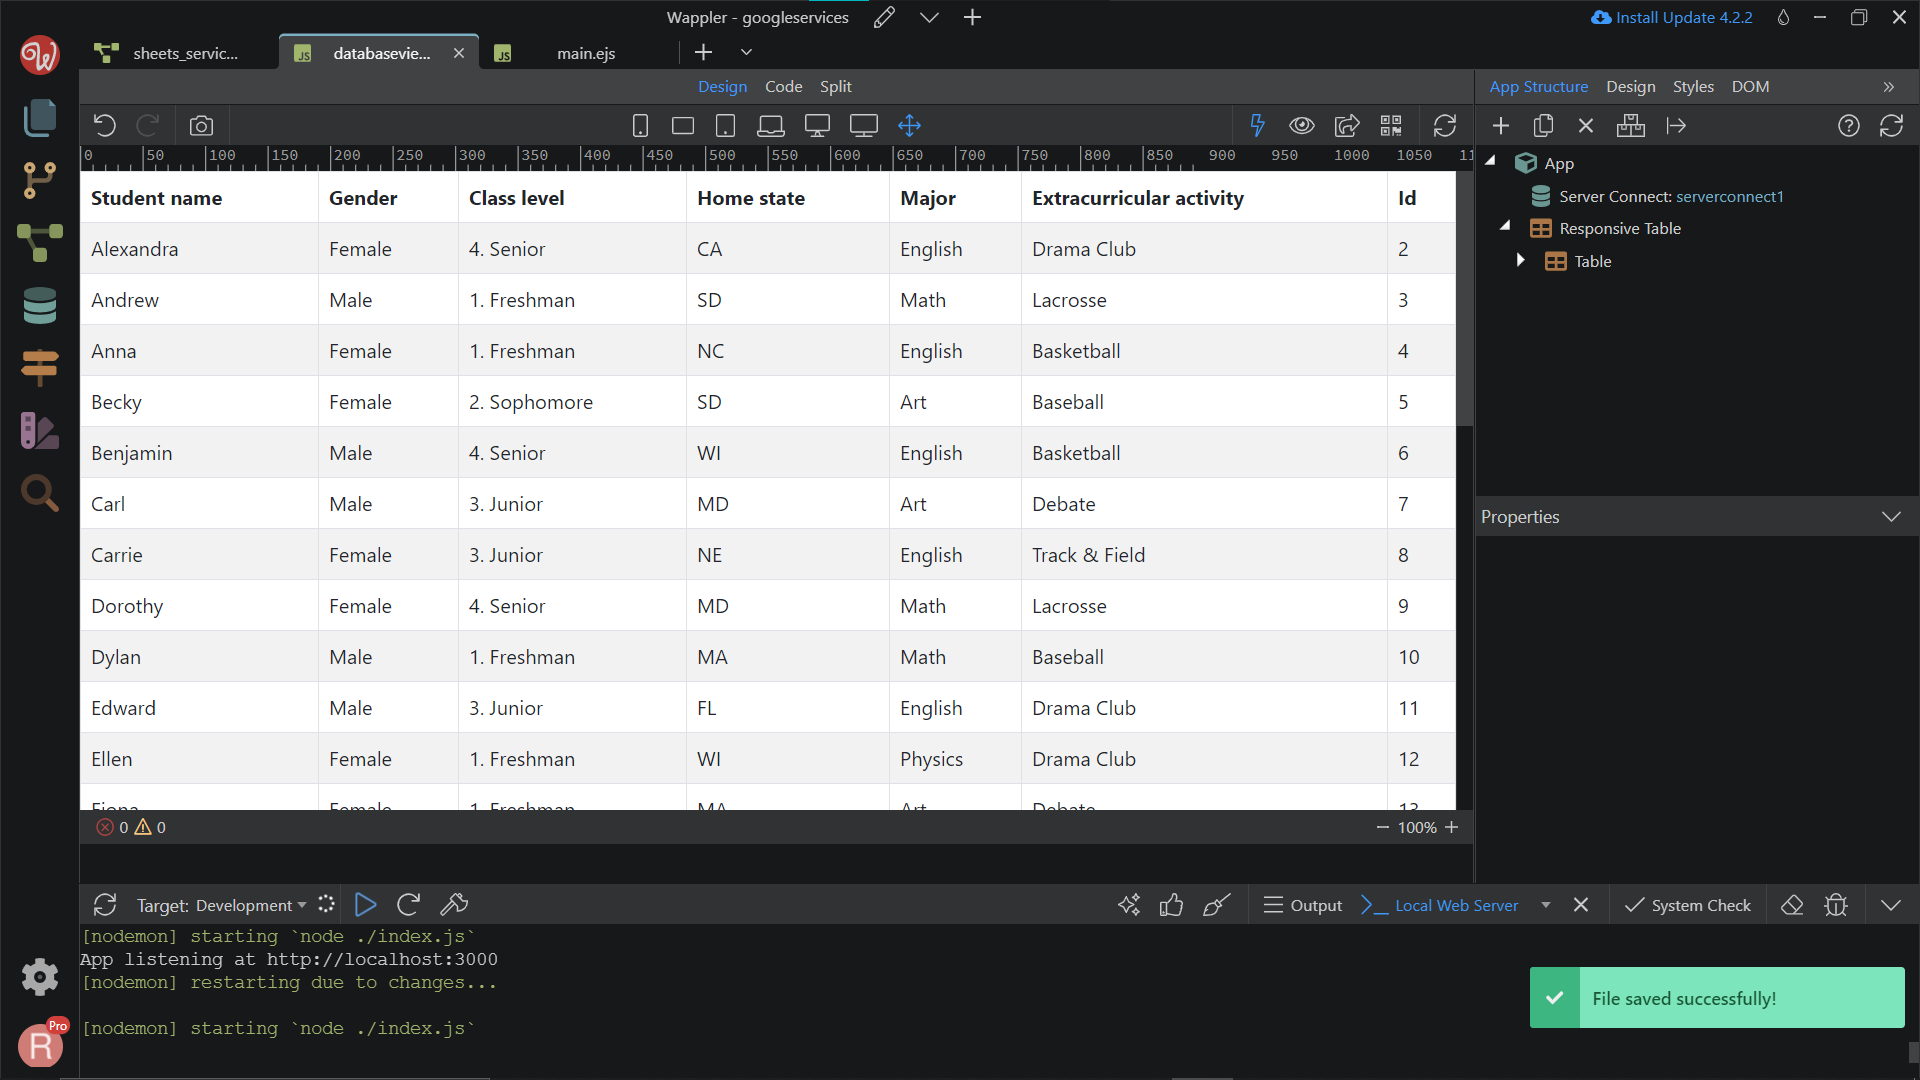
Your table now has been added to your page, and you can view it with your browser.
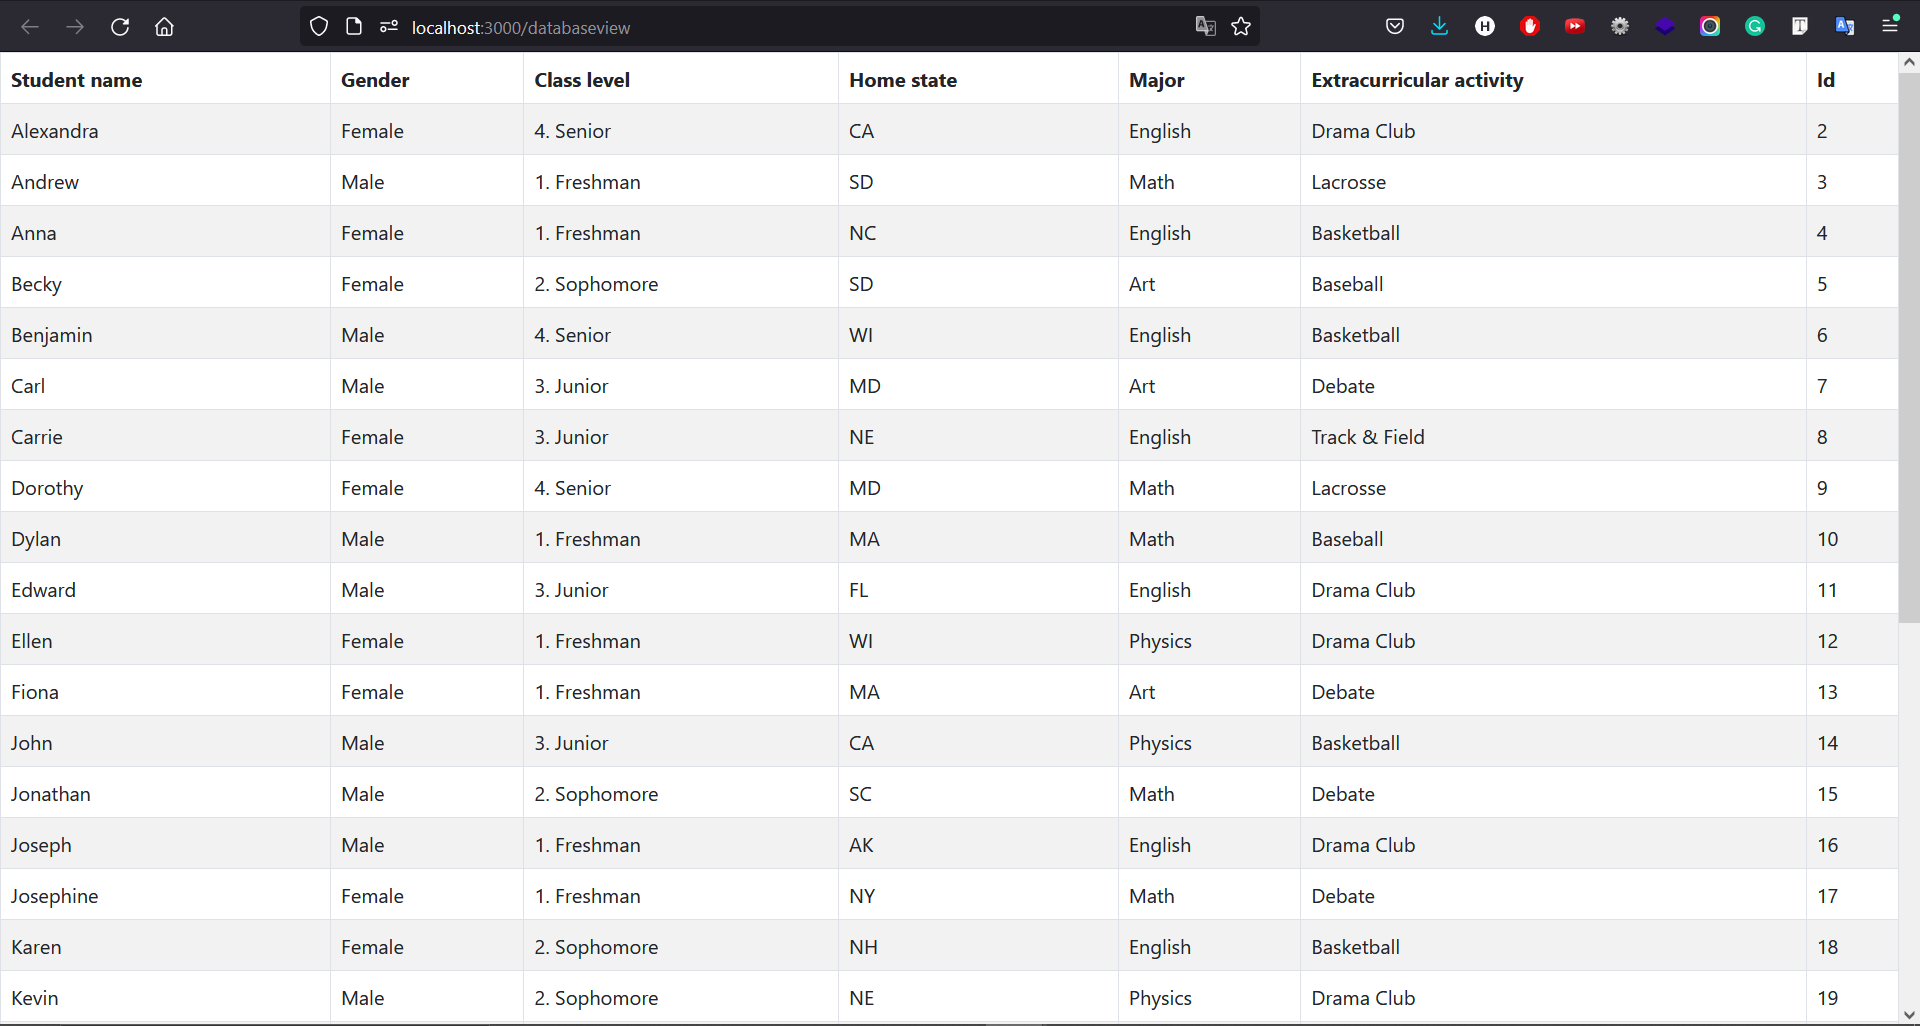
This is a simple example of how you connect Google Sheets and your web application. Then you can extend it as per your need.