About Elastic IP Addresses
An Elastic IP address is a reserved public IP address that you can assign to your Amazon AWS Docker Machine (EC2 instance) until you choose to release it.
Assigning Elastic IP to EC2 Instance
Creating an AWS Docker Machine
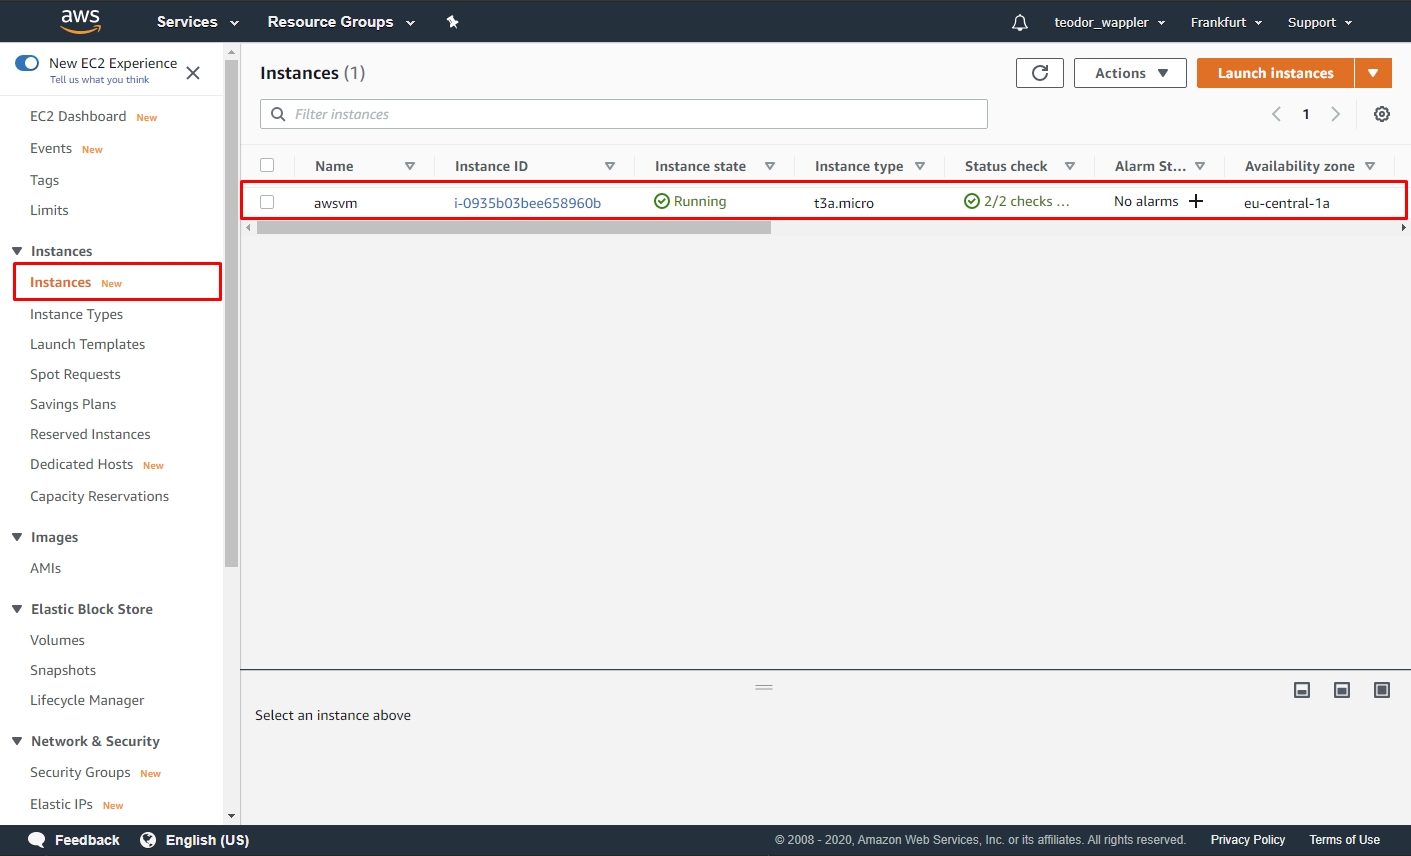
First you need to create an AWS Docker Machine in Wappler. This will add it to the Instances list in your AWS EC2 Management Console:
Allocating Elastic IP
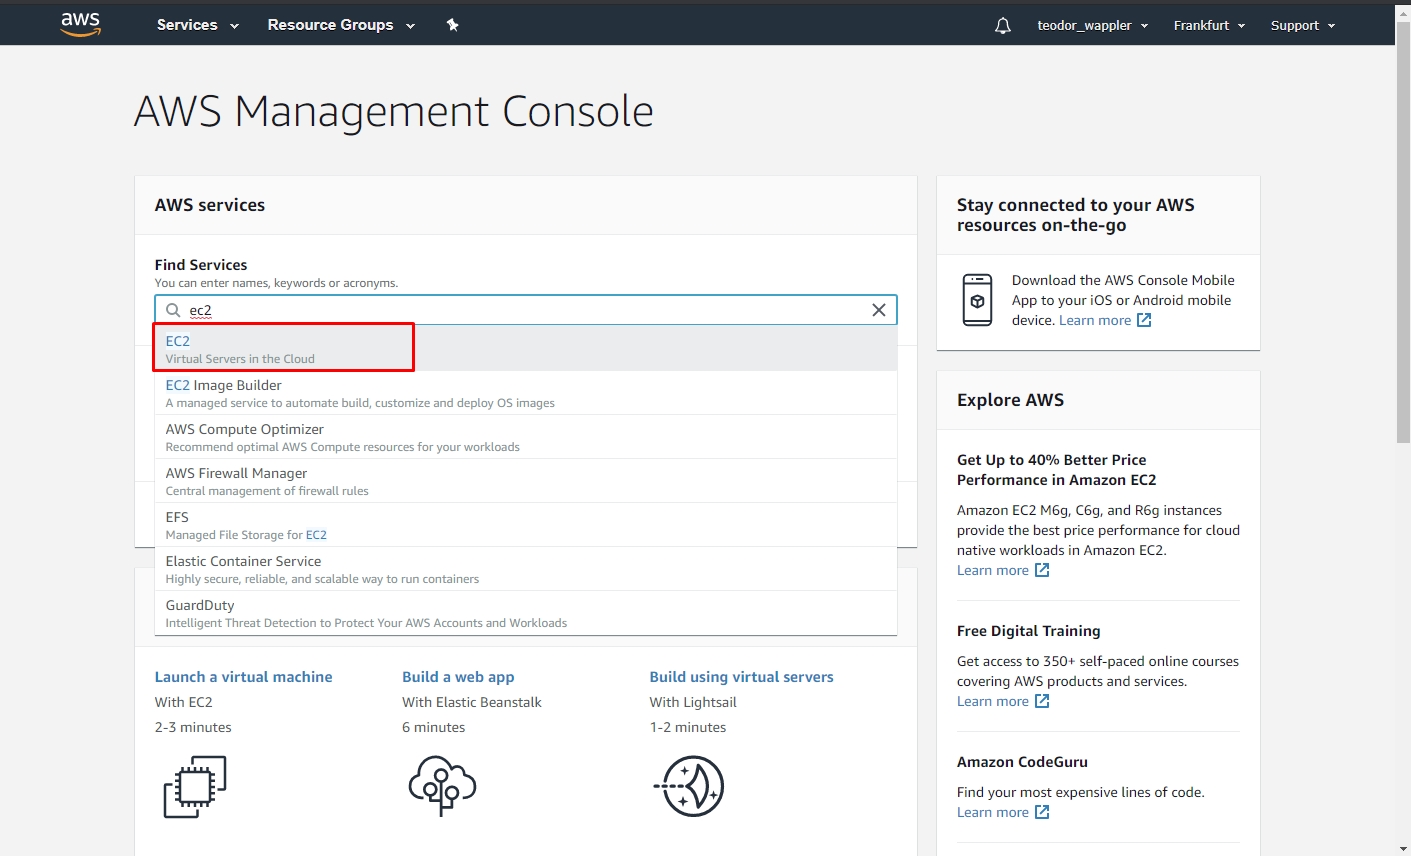
In order to assign an Elastic IP to your EC2 Instance, you need to allocate it first. Log into the AWS Console, look for EC2 and select it in the results list in order to open the EC2 Management Console:
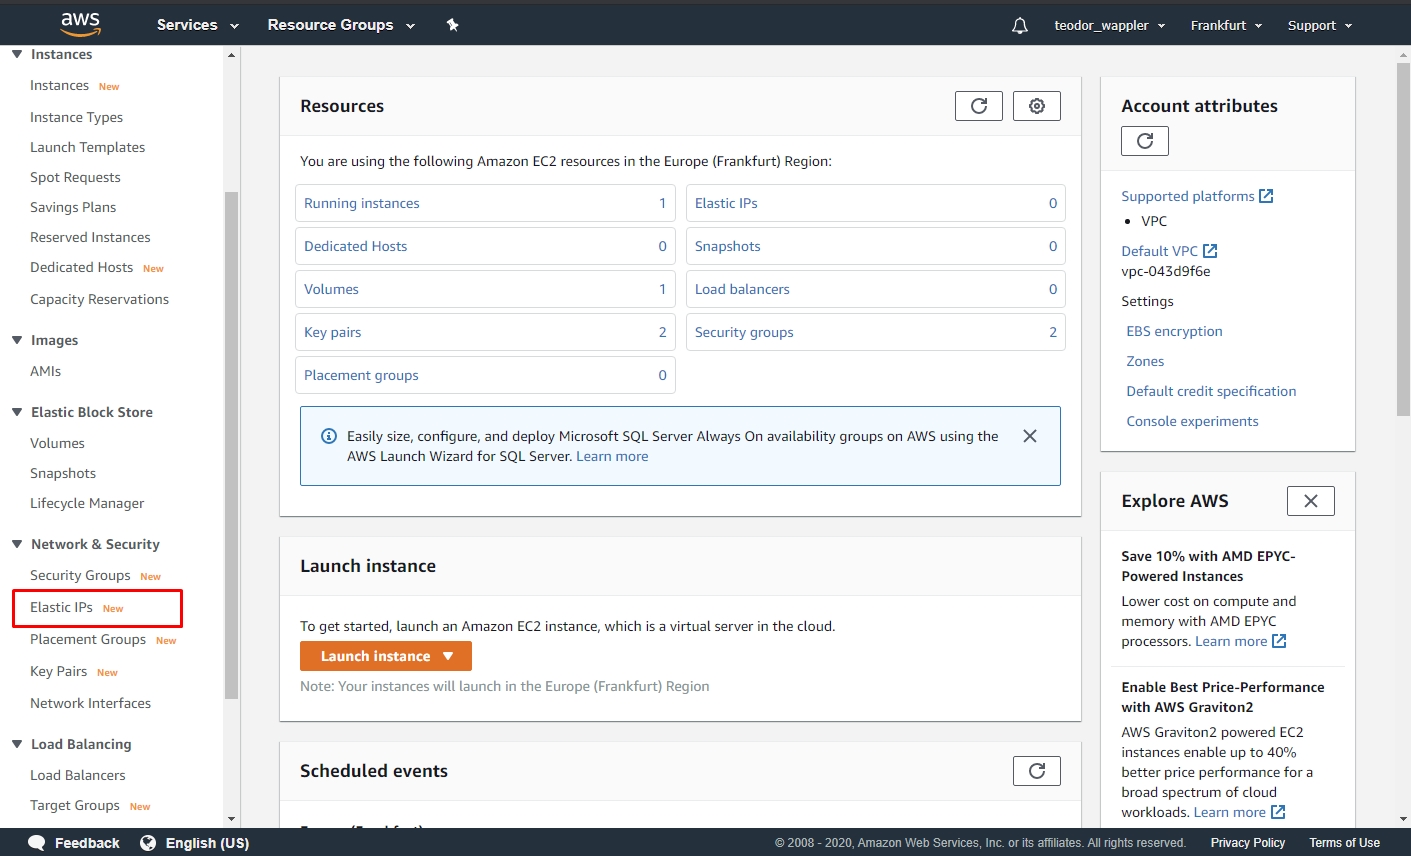
Then in the left sidebar select Elastic IPs:
And click Allocate Elastic IP Address:
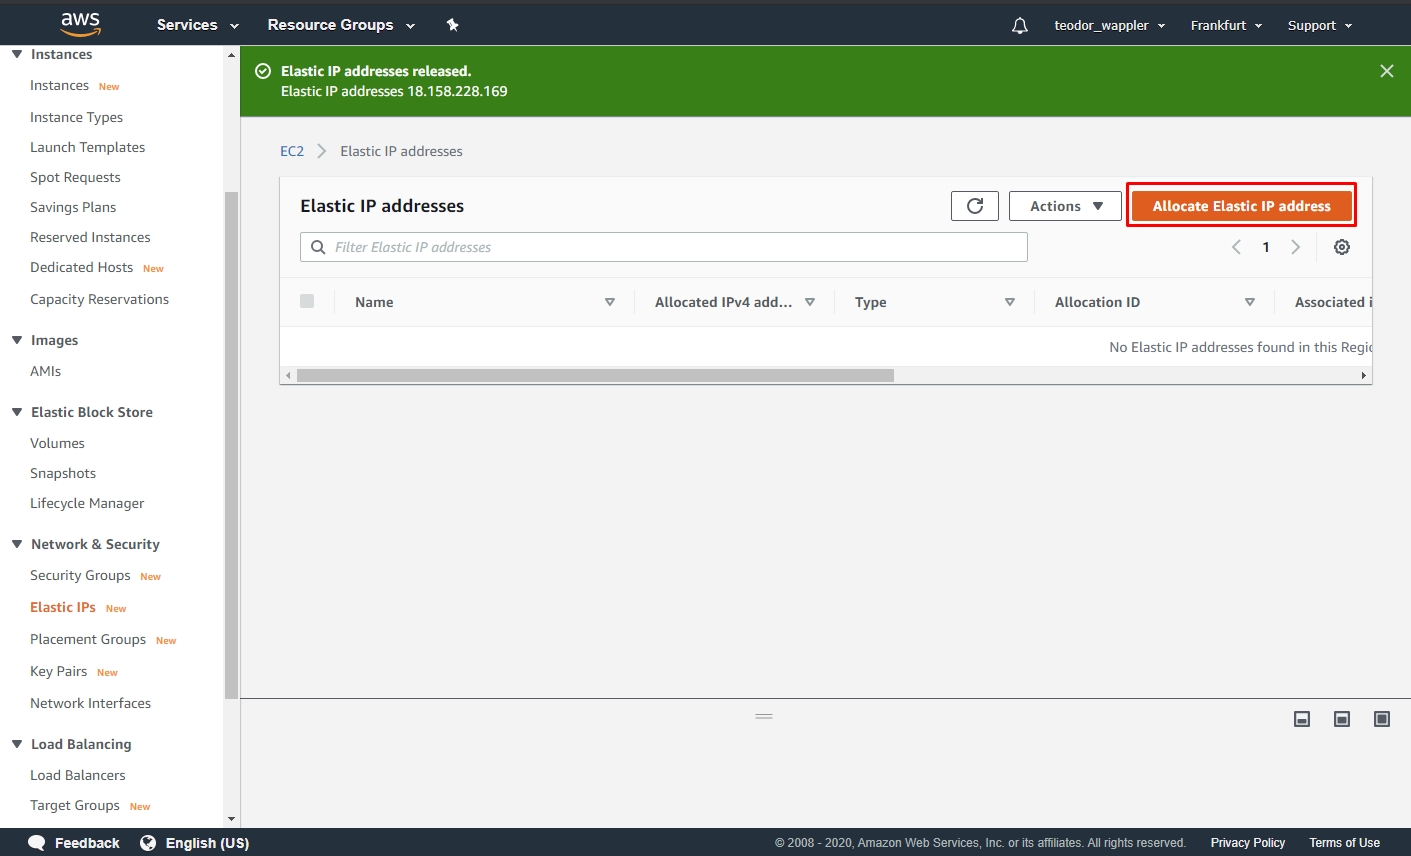
Click the Allocate button:
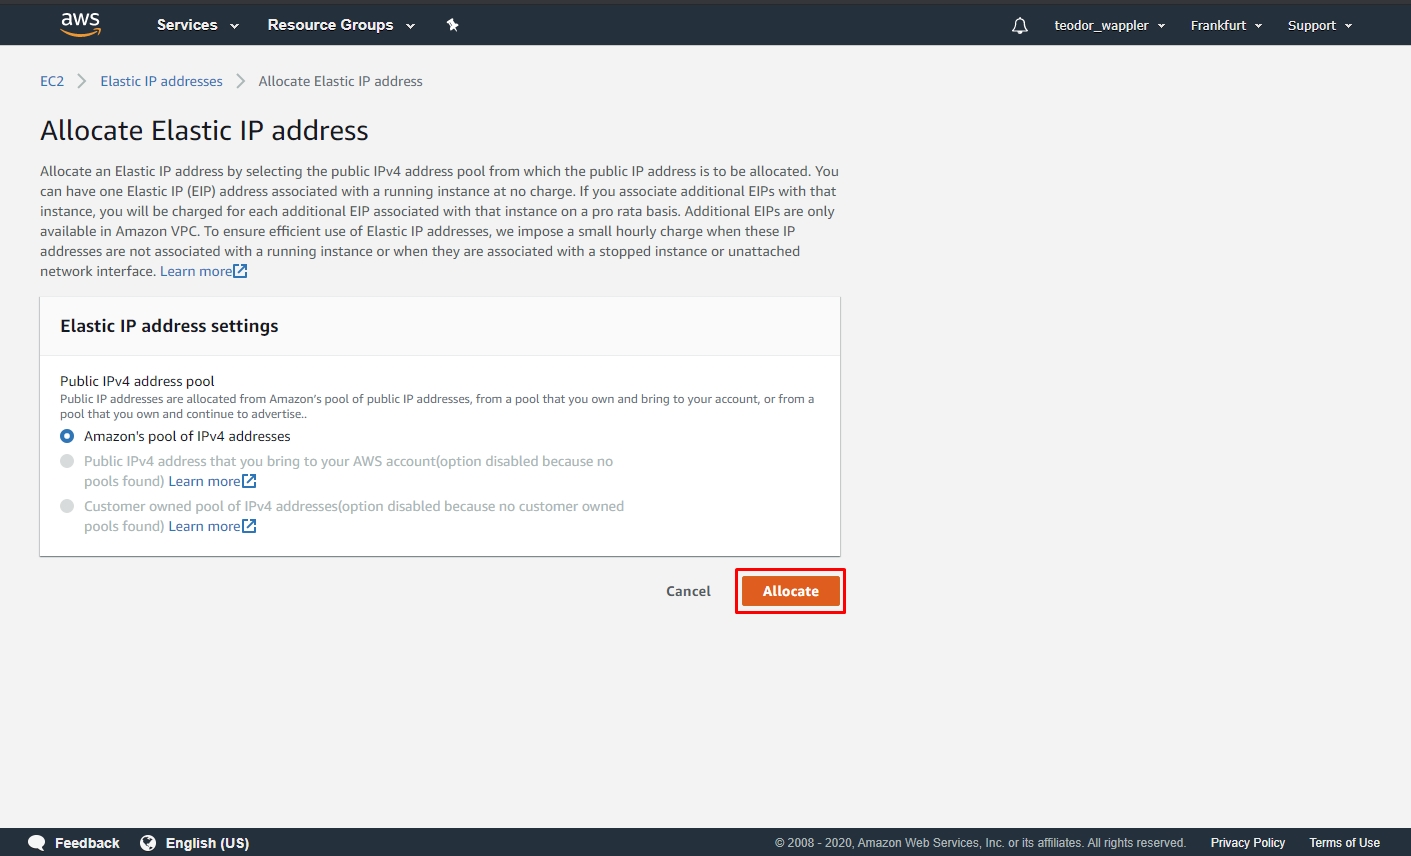
And you are done.
Associating Elastic IP
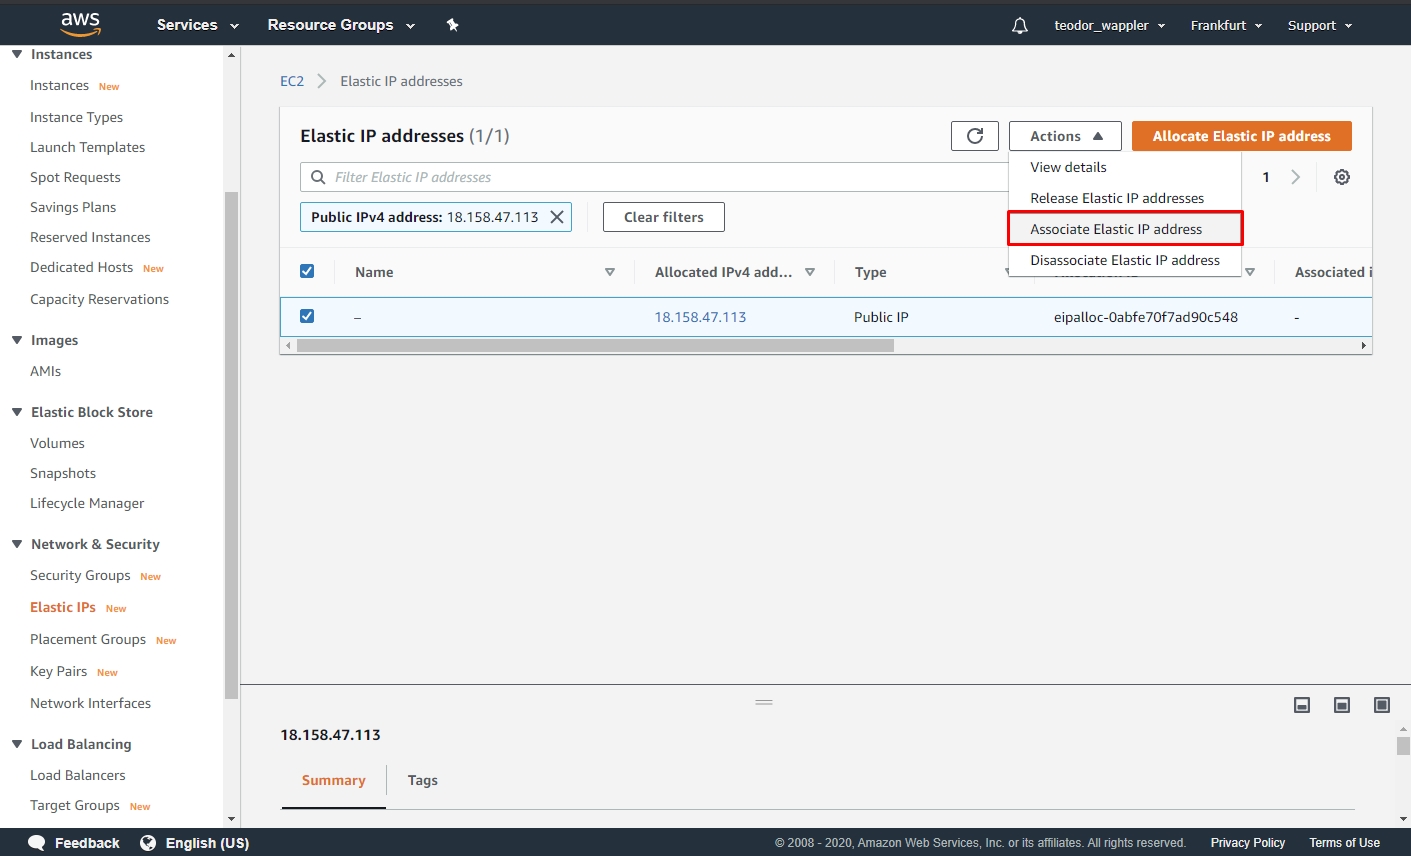
The next step is to Associate your newly created Elastic IP to an EC2 Instance.
Open the Actions dropdown and select Associate Elastic IP Address:
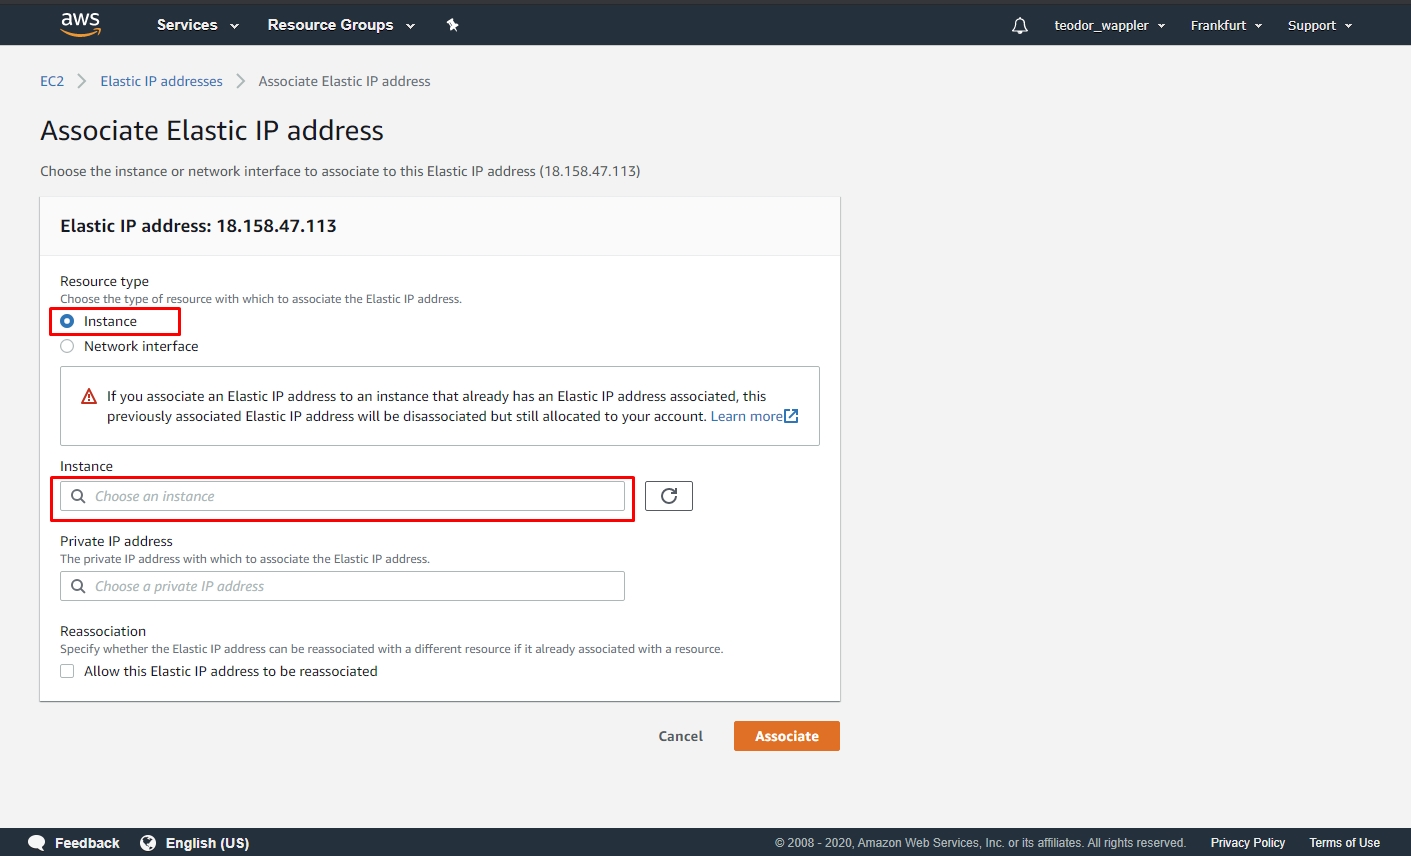
Select Instance under Resource Type, then click in the Instance input and select your instance there:
Click the Associate button:
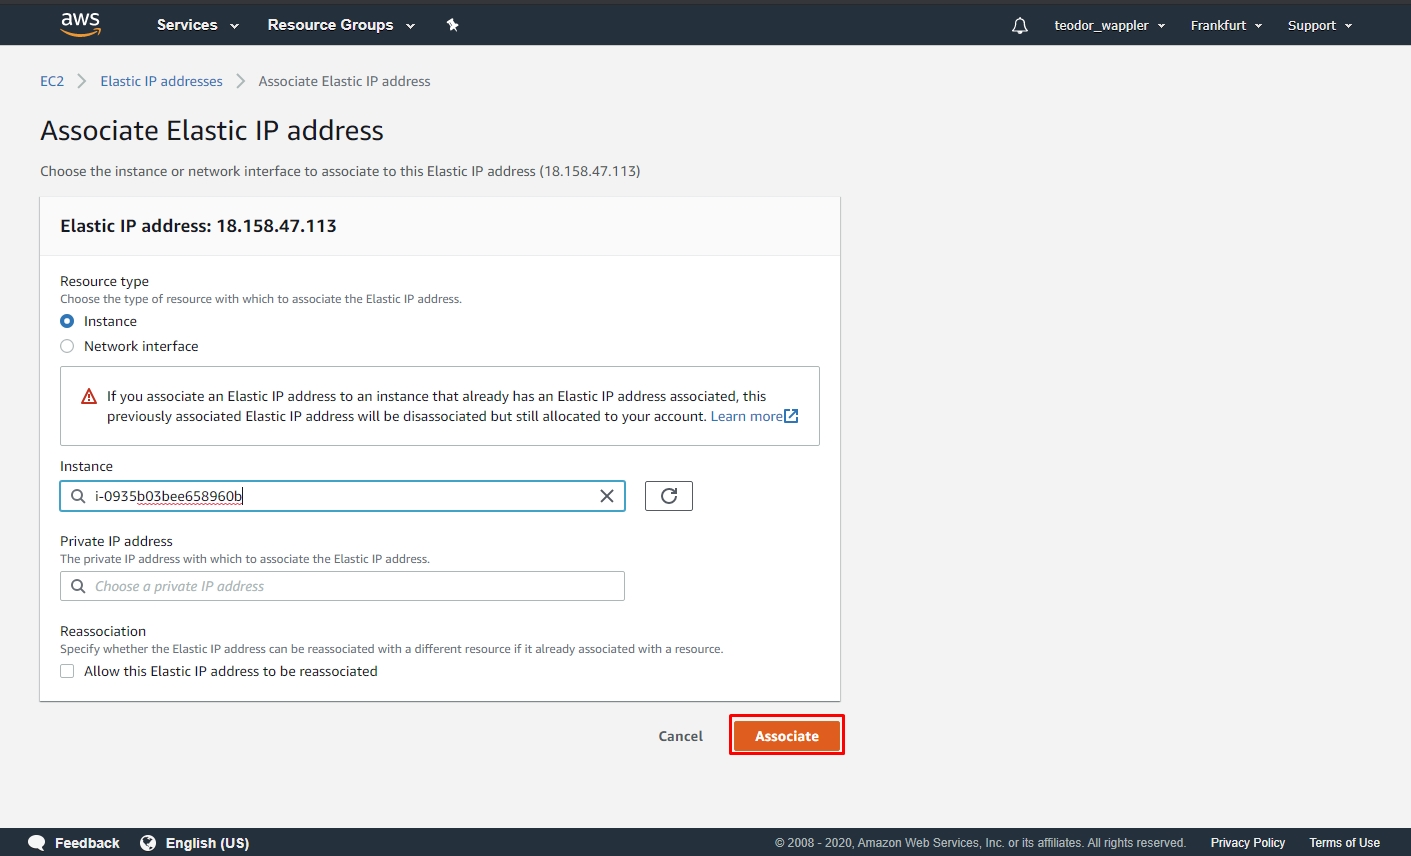
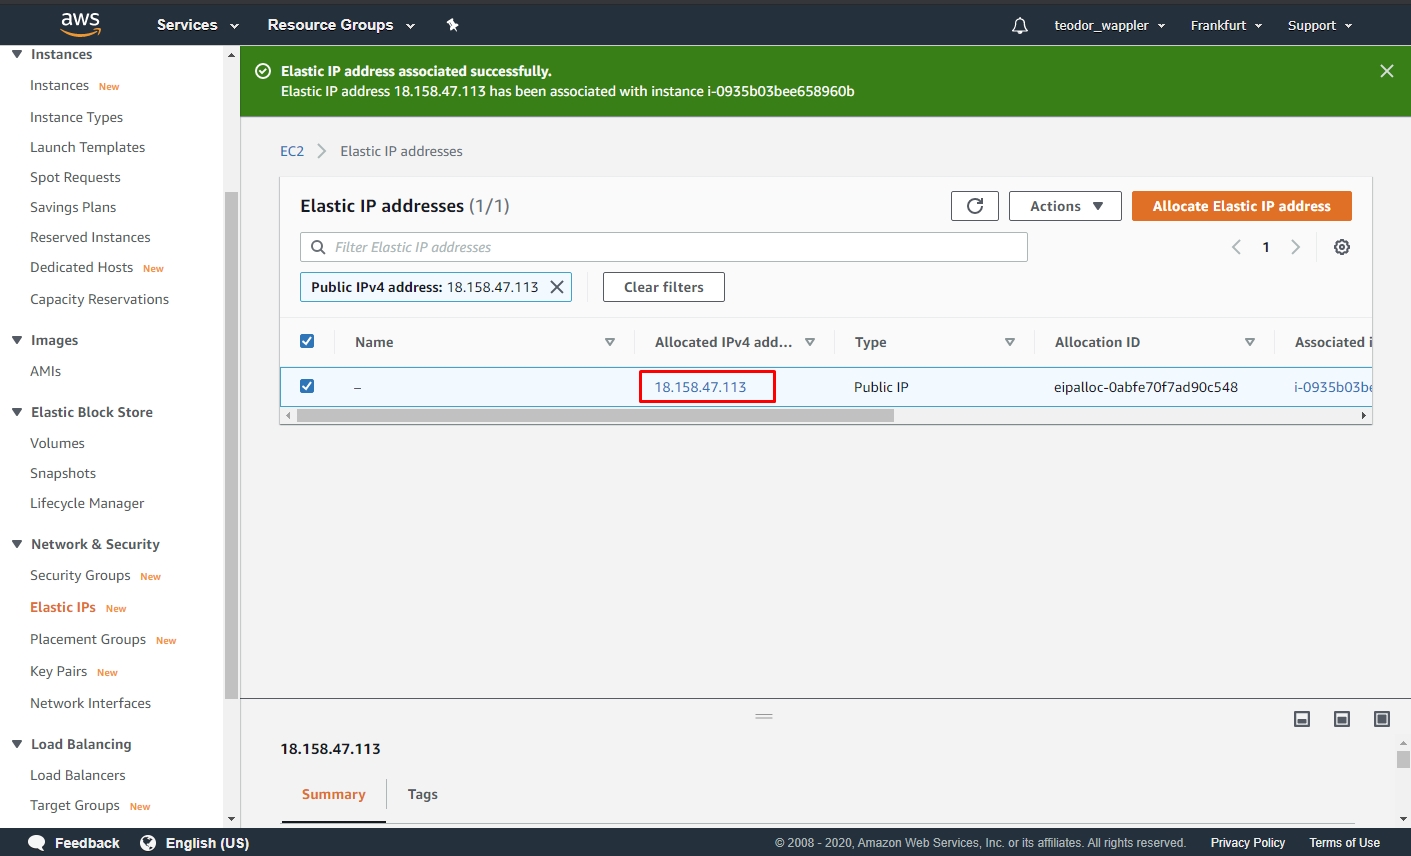
Your Elastic IP has been associated successfully. Copy the IP as we will need it in Wappler:
Setup Docker Options
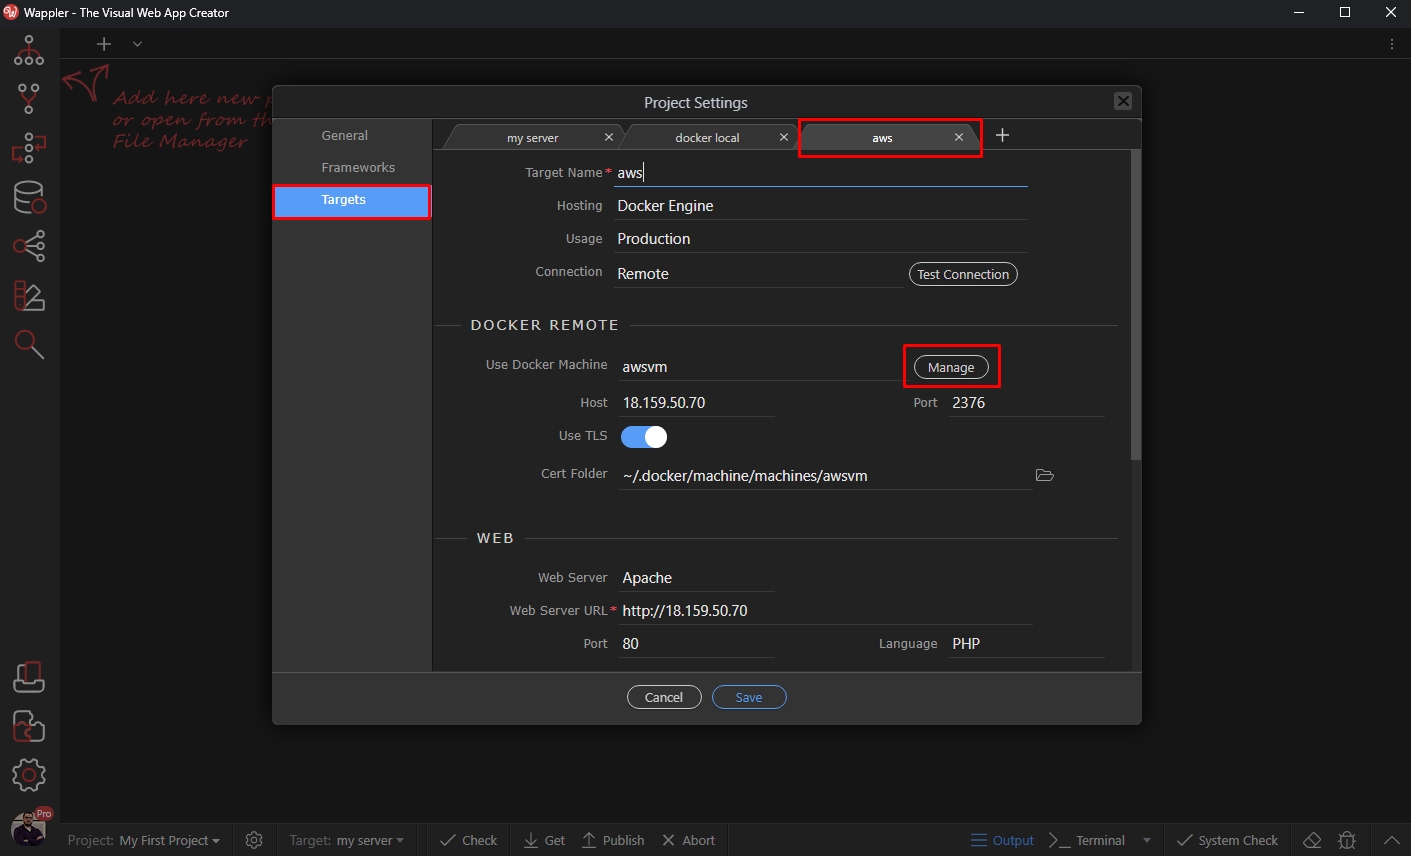
Load your project in Wappler and open the project settings:

Select your AWS Docker target and click the Manage button:
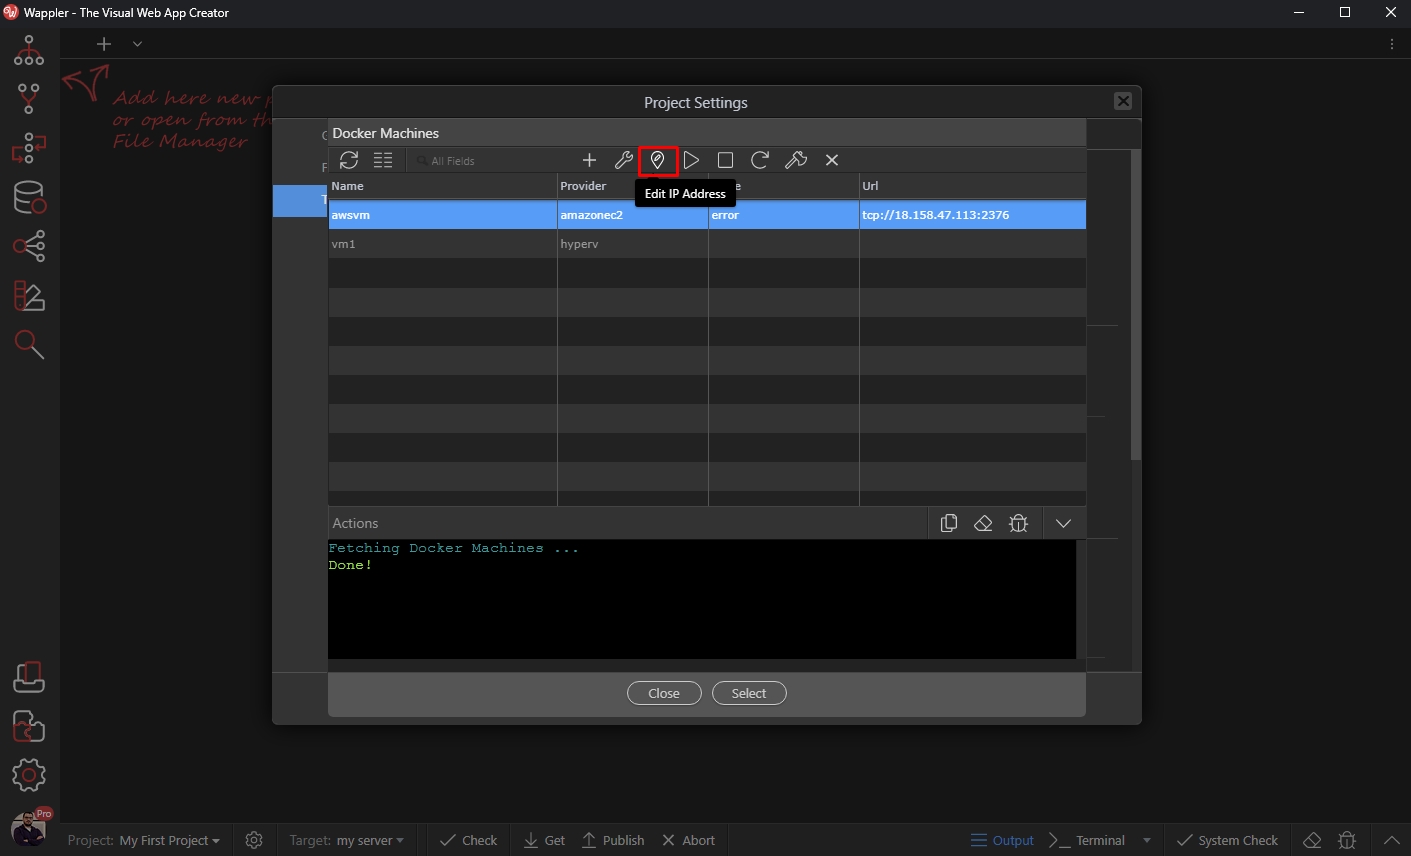
Select your Docker Machine in the list and click the Edit IP Address button:
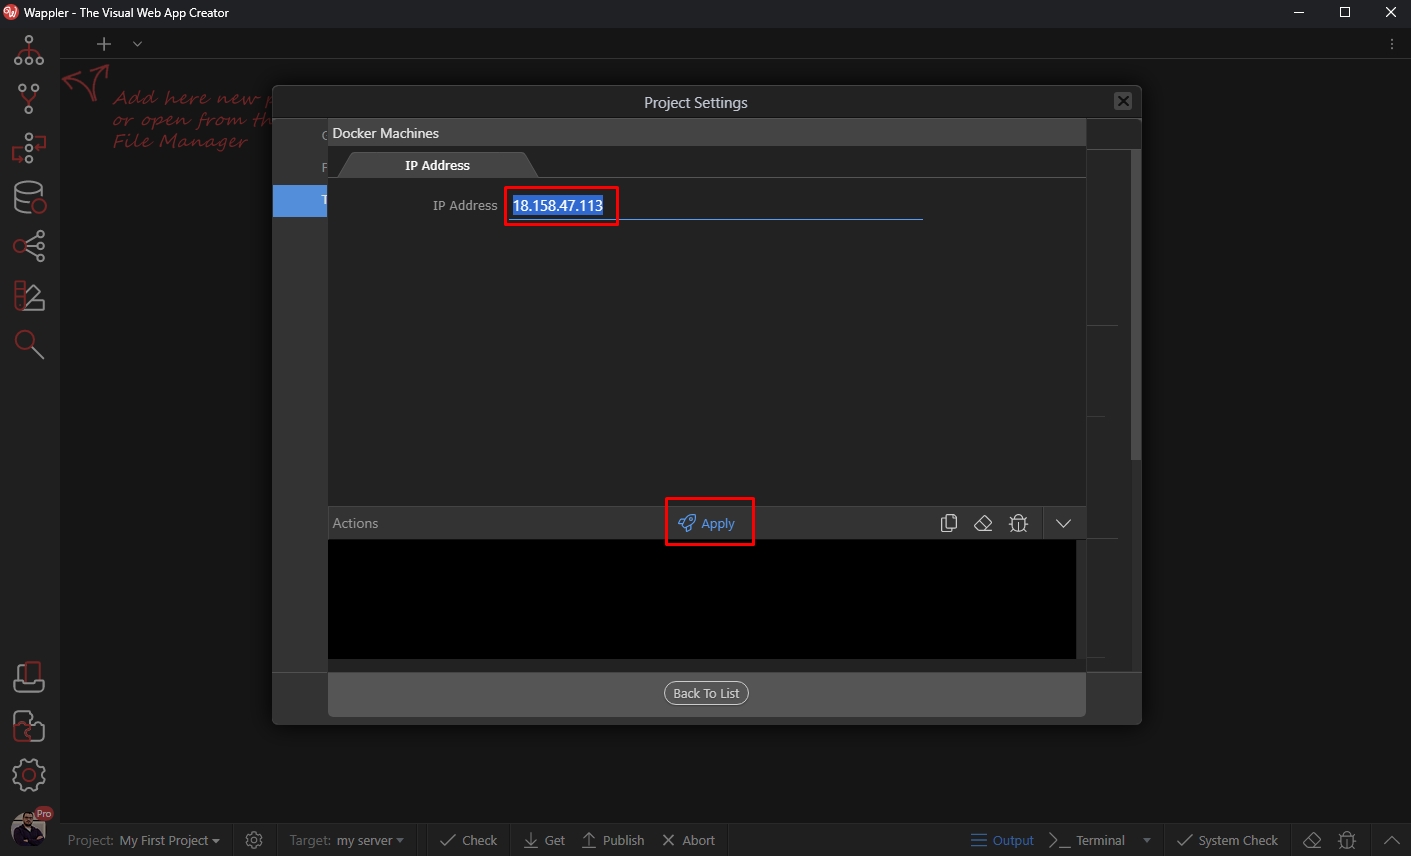
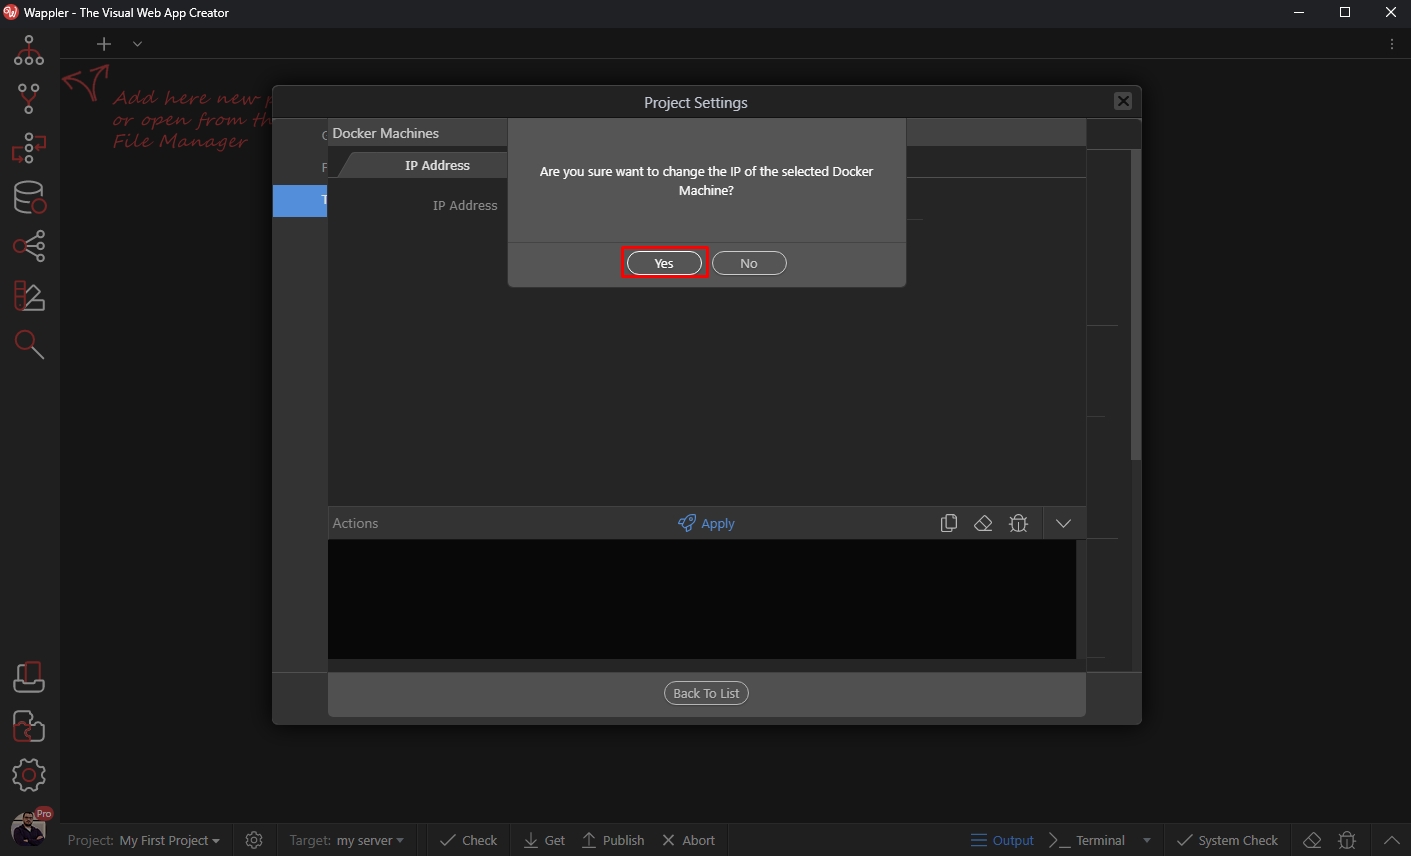
Paste your Elastic IP here and click the Apply button:
A confirmation dialog appears, click Yes
You will see a success message when the IP has been applied successfully:
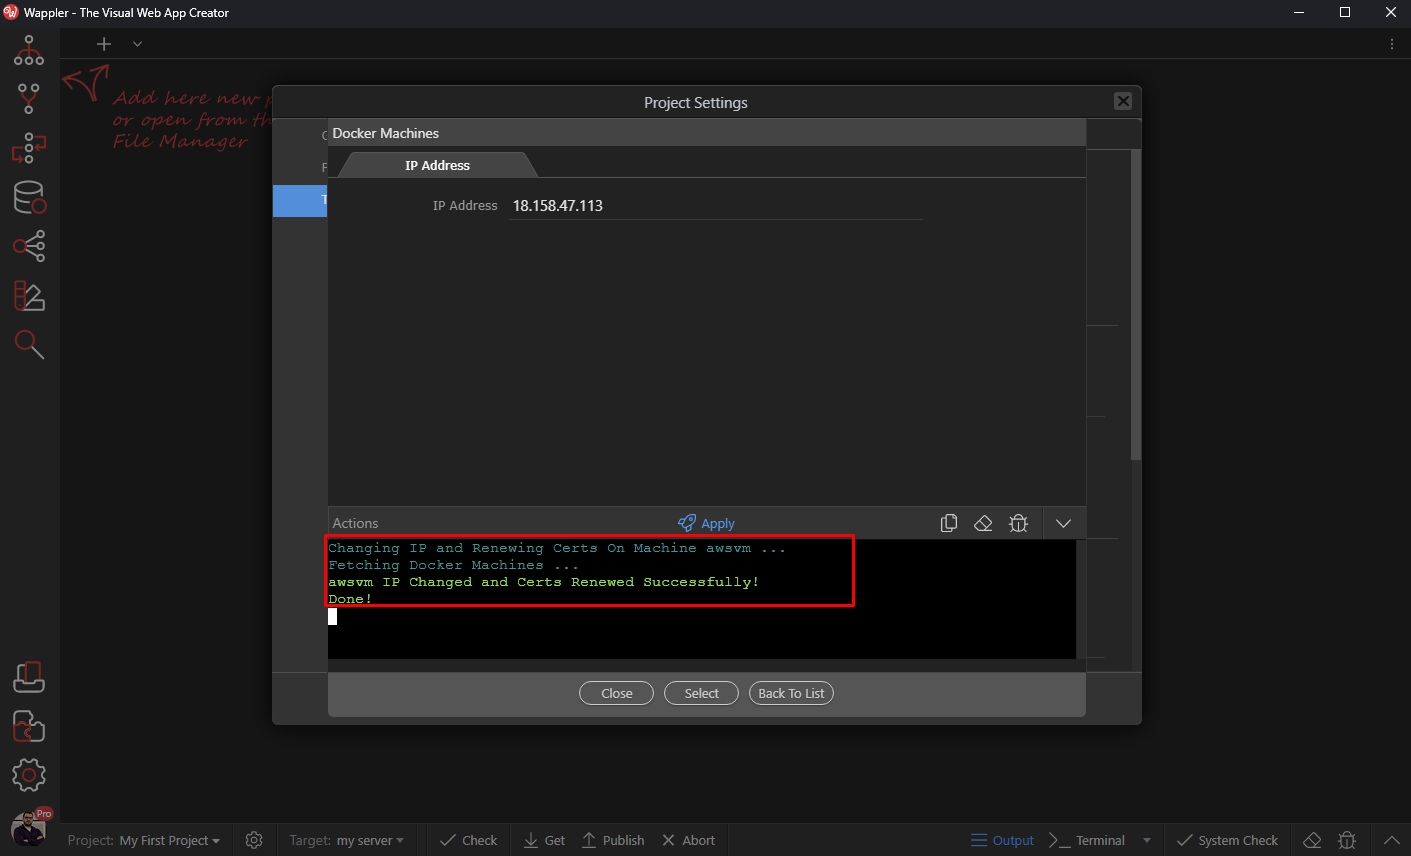
Click “Select” to use this Docker Machine and you are done:

Then you can click “Save” to save your target settings.