
Intro
You can use a JSON field in your database to store multiple choices like multiple checkbox or select values. In our example we will show you how to setup your database JSON field and how to generate an insert record form which will automatically create your checkboxes and their values and handle multiple value insert.
Creating a JSON Database Field
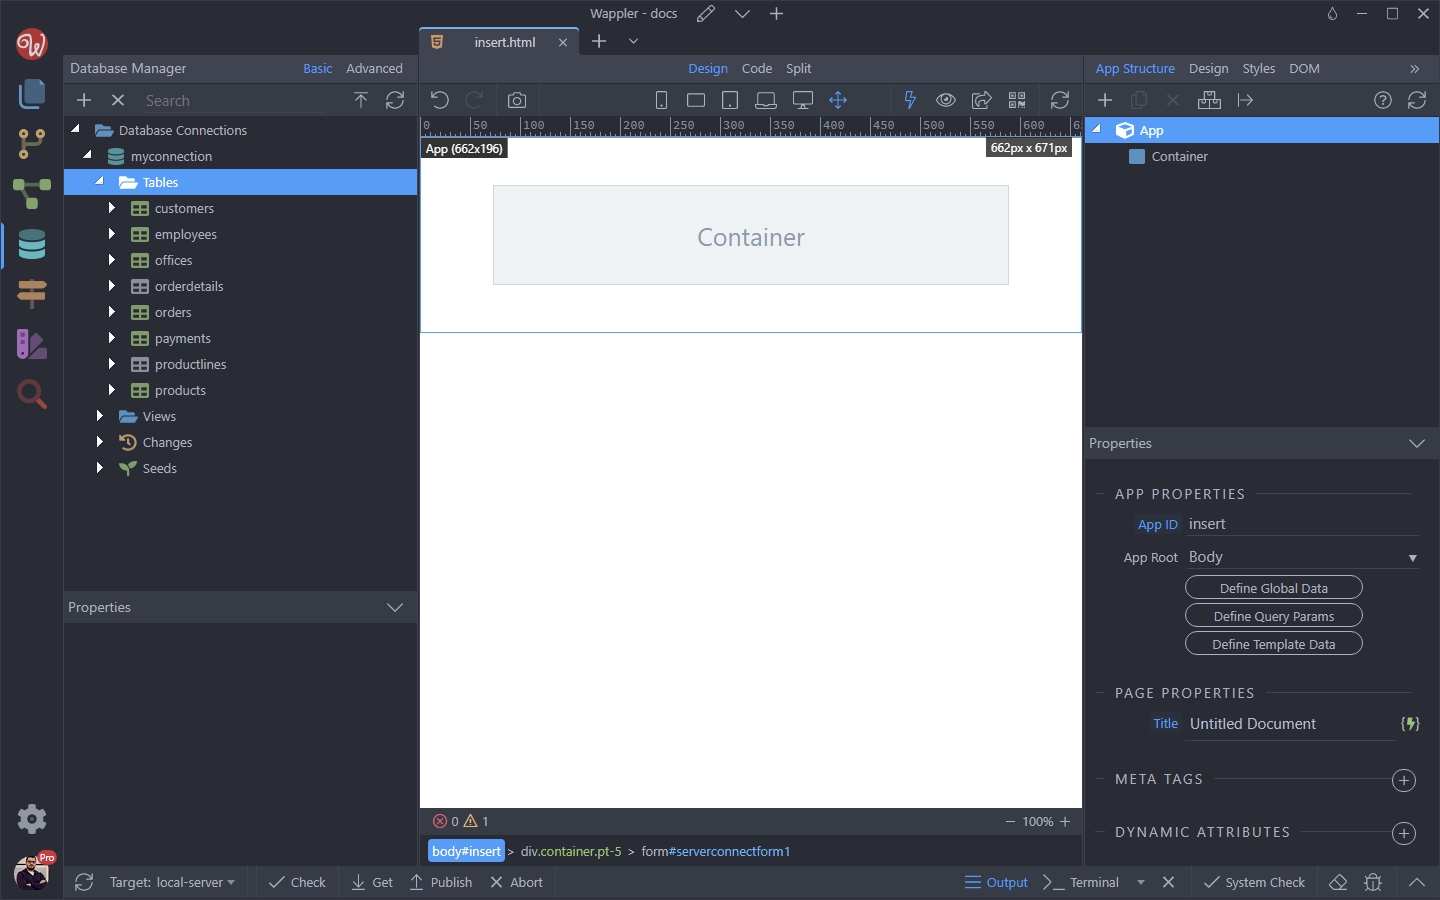
First let’s create a JSON field in our database table. Open the Database Manager:
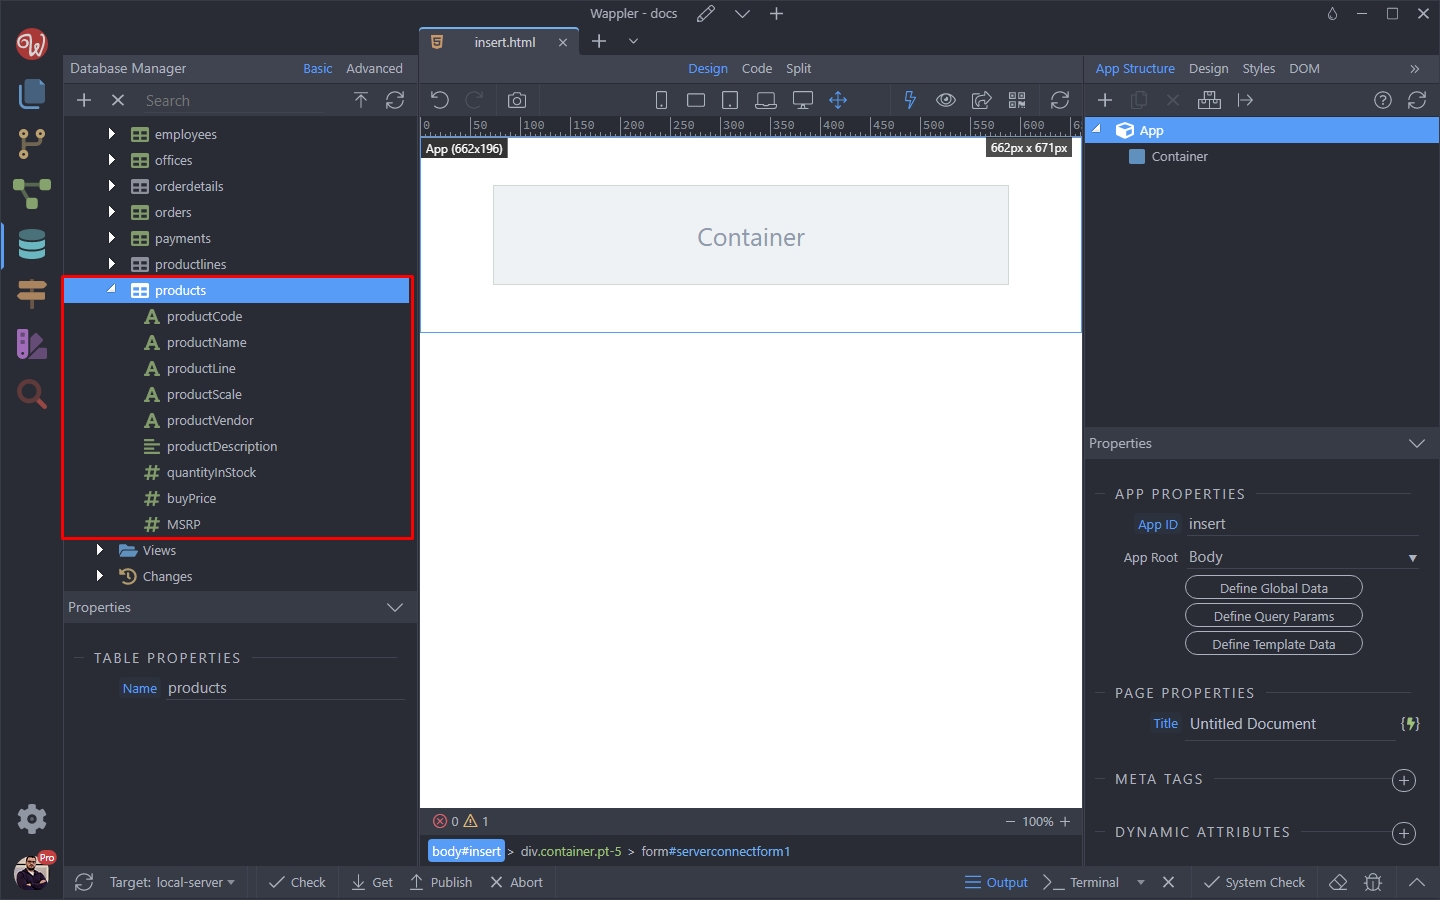
We have a table storing our products:
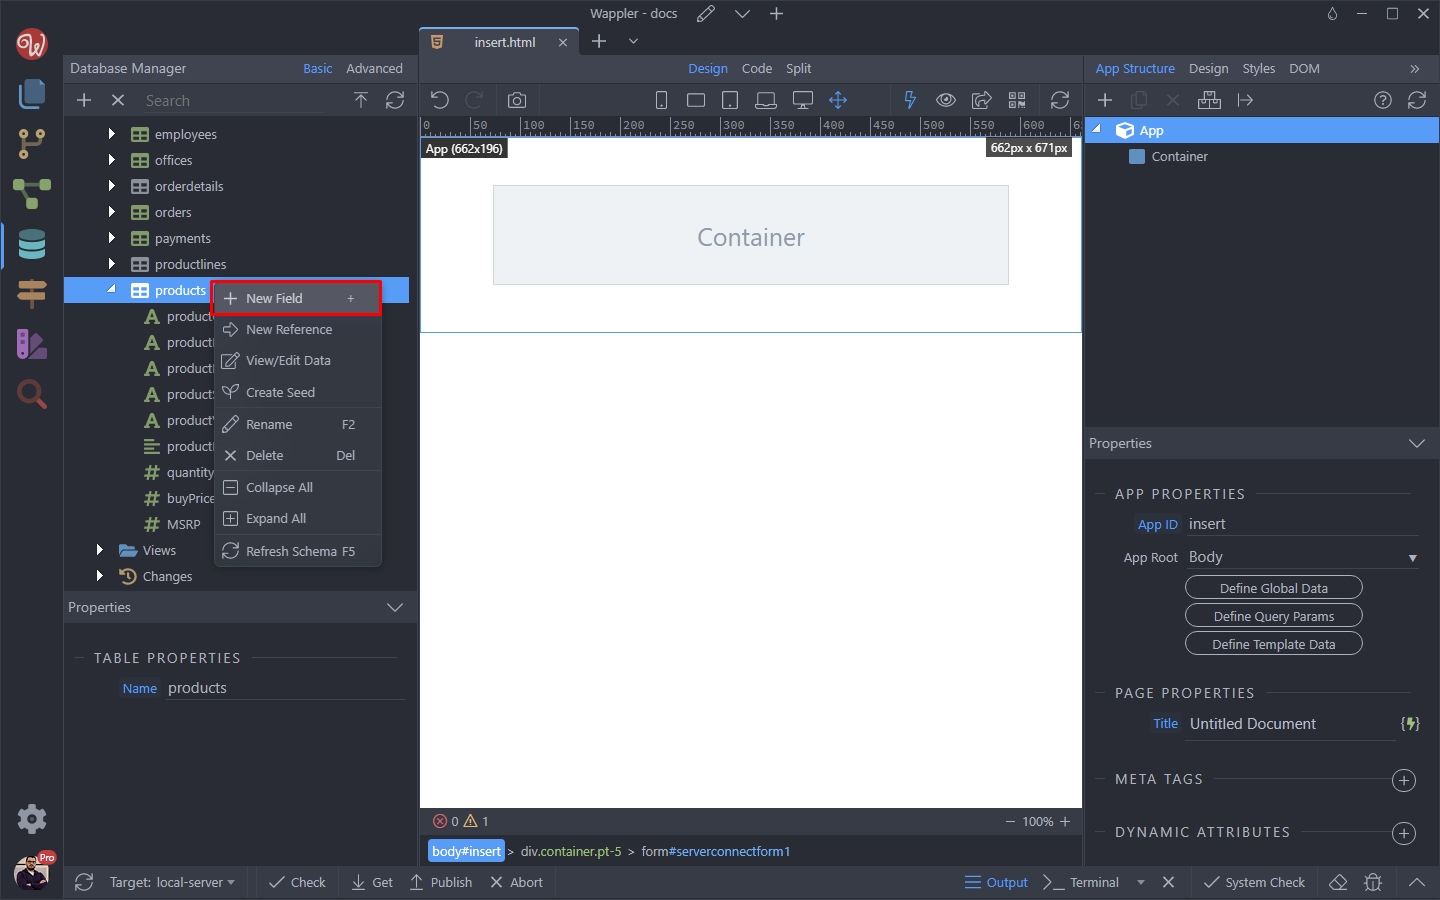
Let’s add a new field to it:
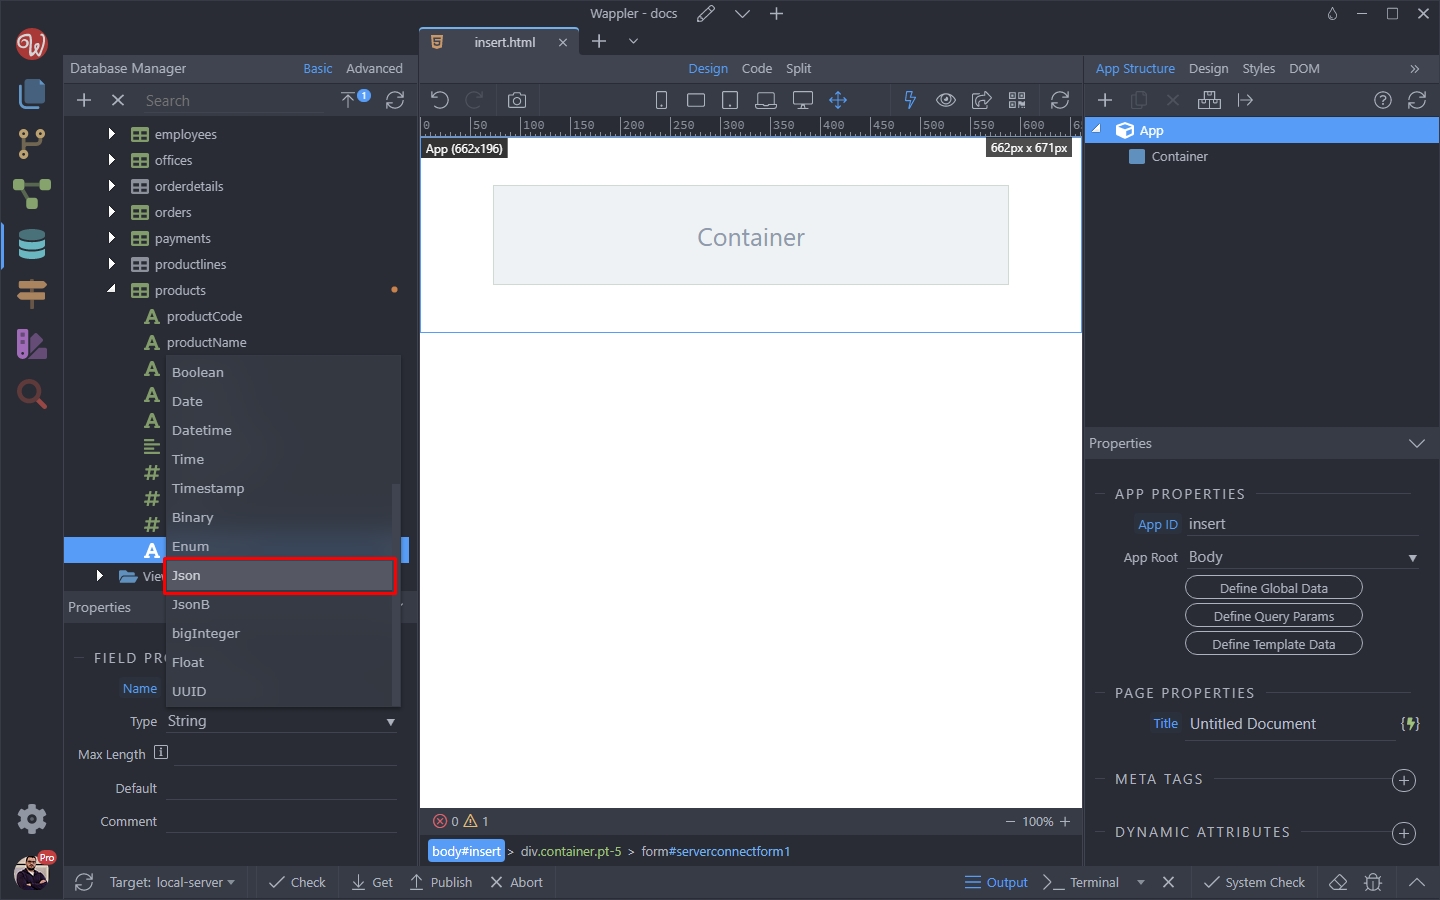
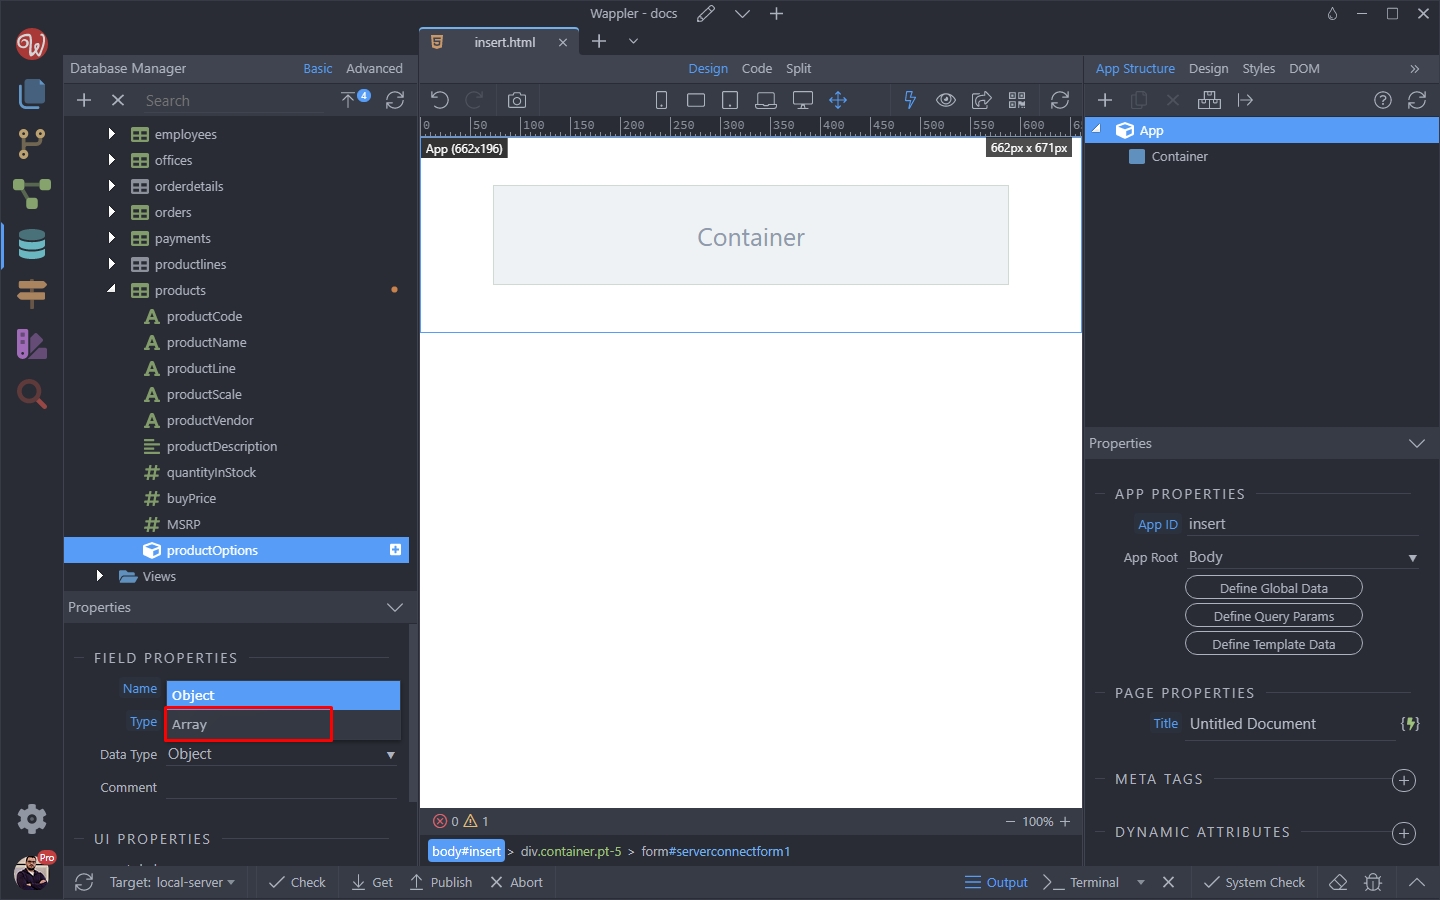
We call this field productOptions. Open the type menu:

And select JSON:
Then open the Data Type menu:

And select Array, that’s what we need to store multiple values there:
We are done setting up the JSON field. Click the apply changes button to save this field in your database:

Setup the UI Options
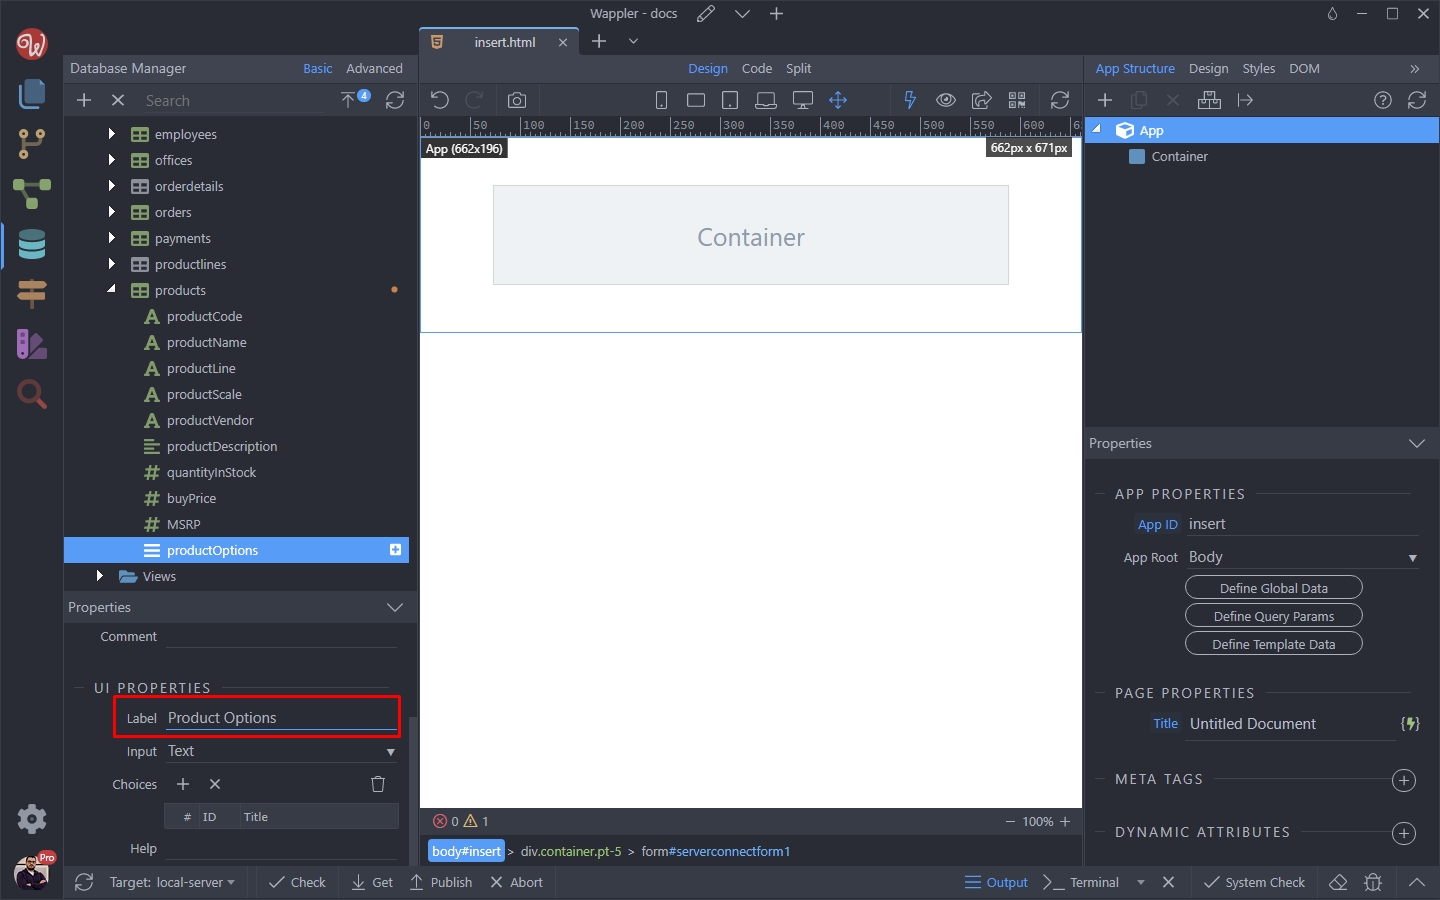
The next we will do is to set up the UI options for this field. These options are used by the Insert Step in the API Action and Bootstrap 4 and 5 Form Generators. So basically we tell the Form Generator what form input do we need for this database field:

We add a label for the input:
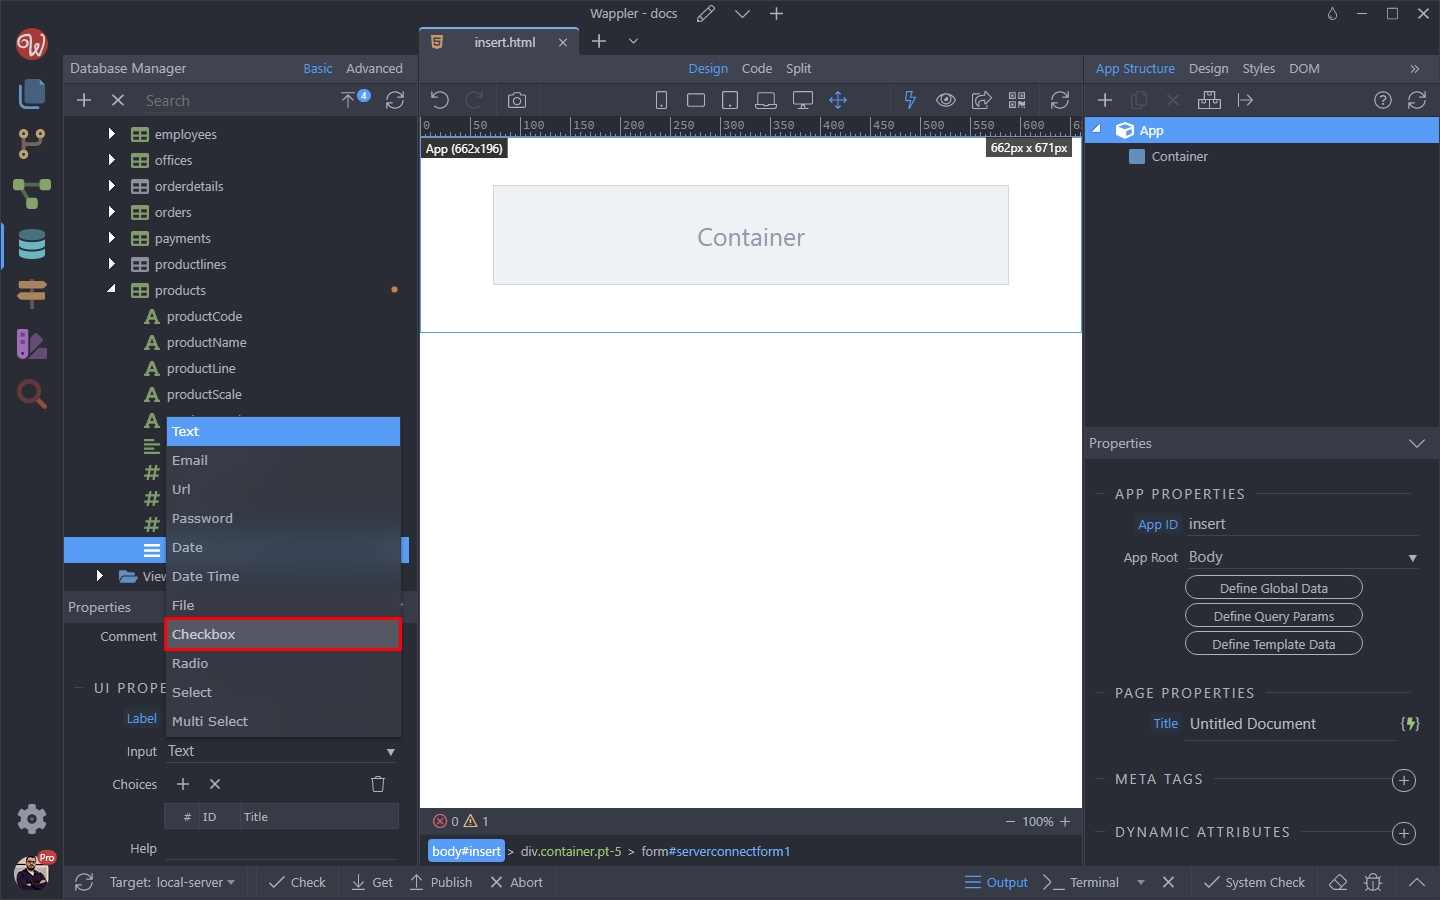
Then open the Input menu and select Checkbox:
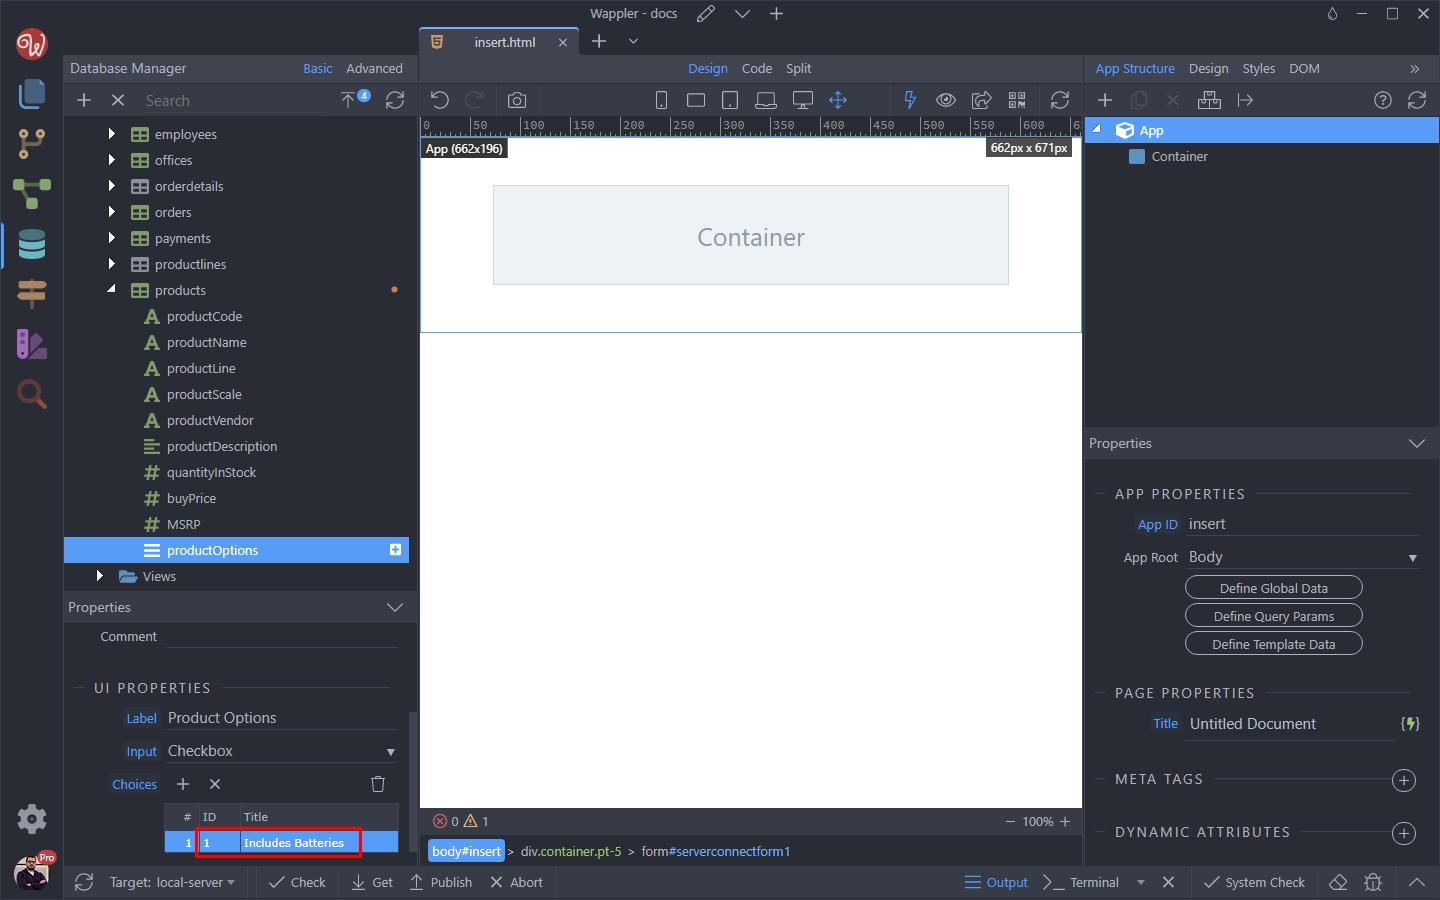
Add the checkboxes you want to show for this project. Click the Add Choice button:
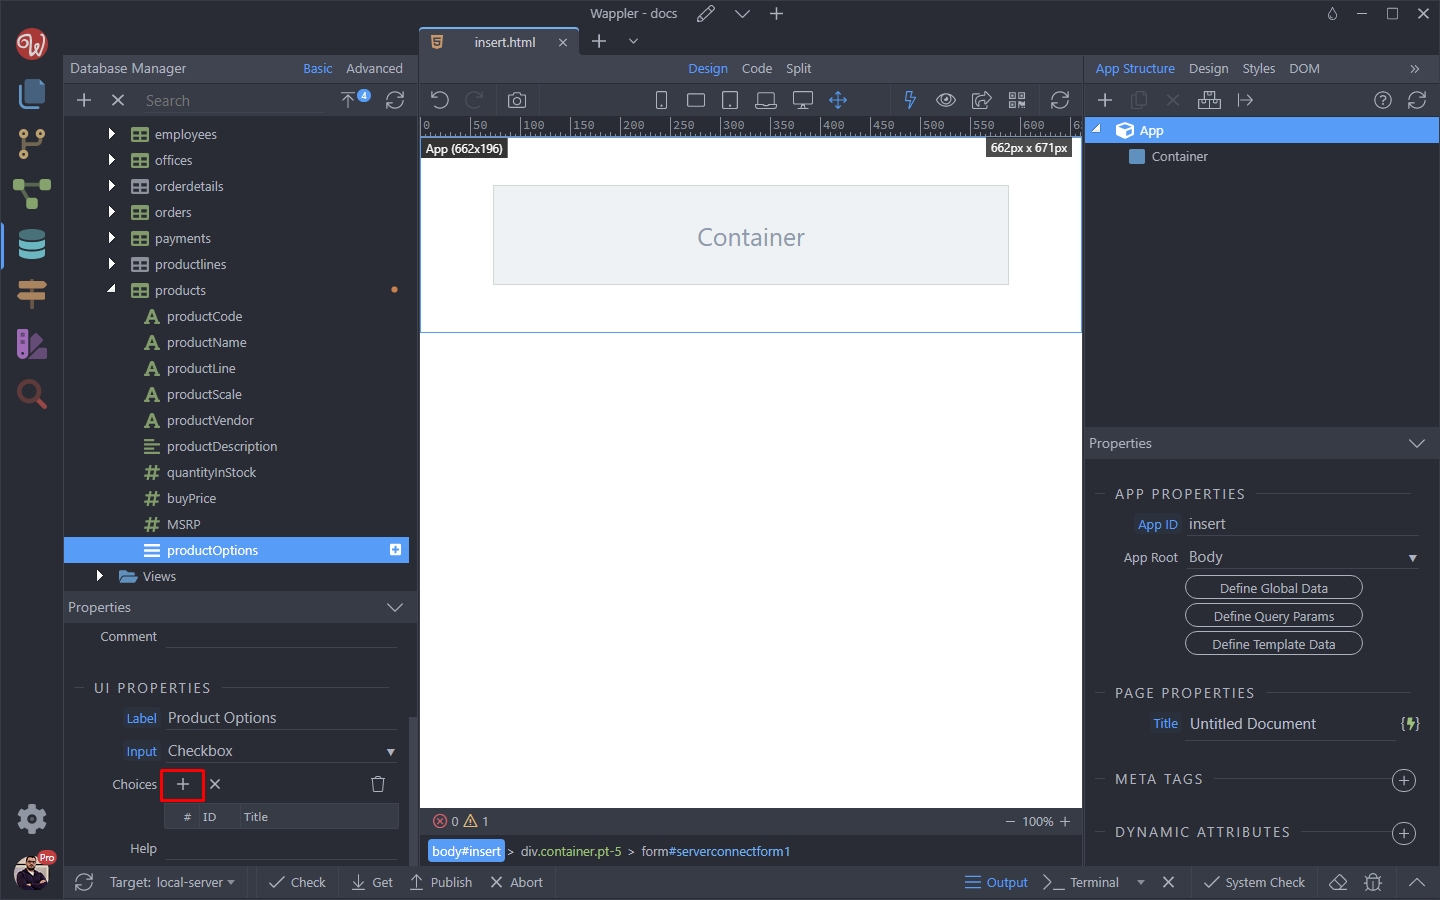
And enter the first checkbox value and text. ID is the value of your checkbox and Title is the text which appears next to the checkbox:
We add a total of 3 options. You can add as many as you need:
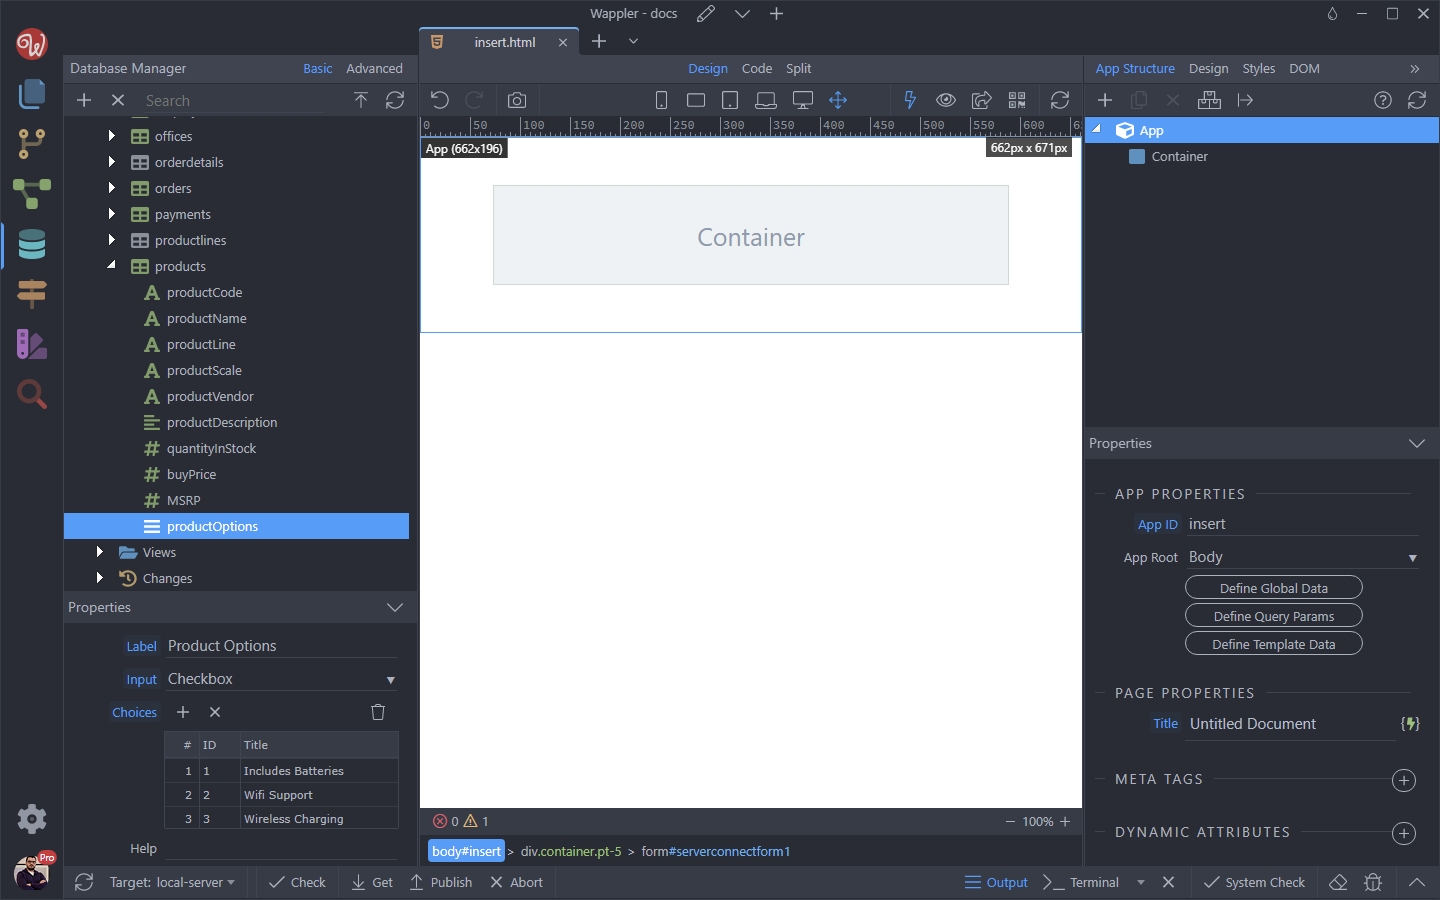
We are finish setting up our JSON database field and its UI options.
API Action Setup
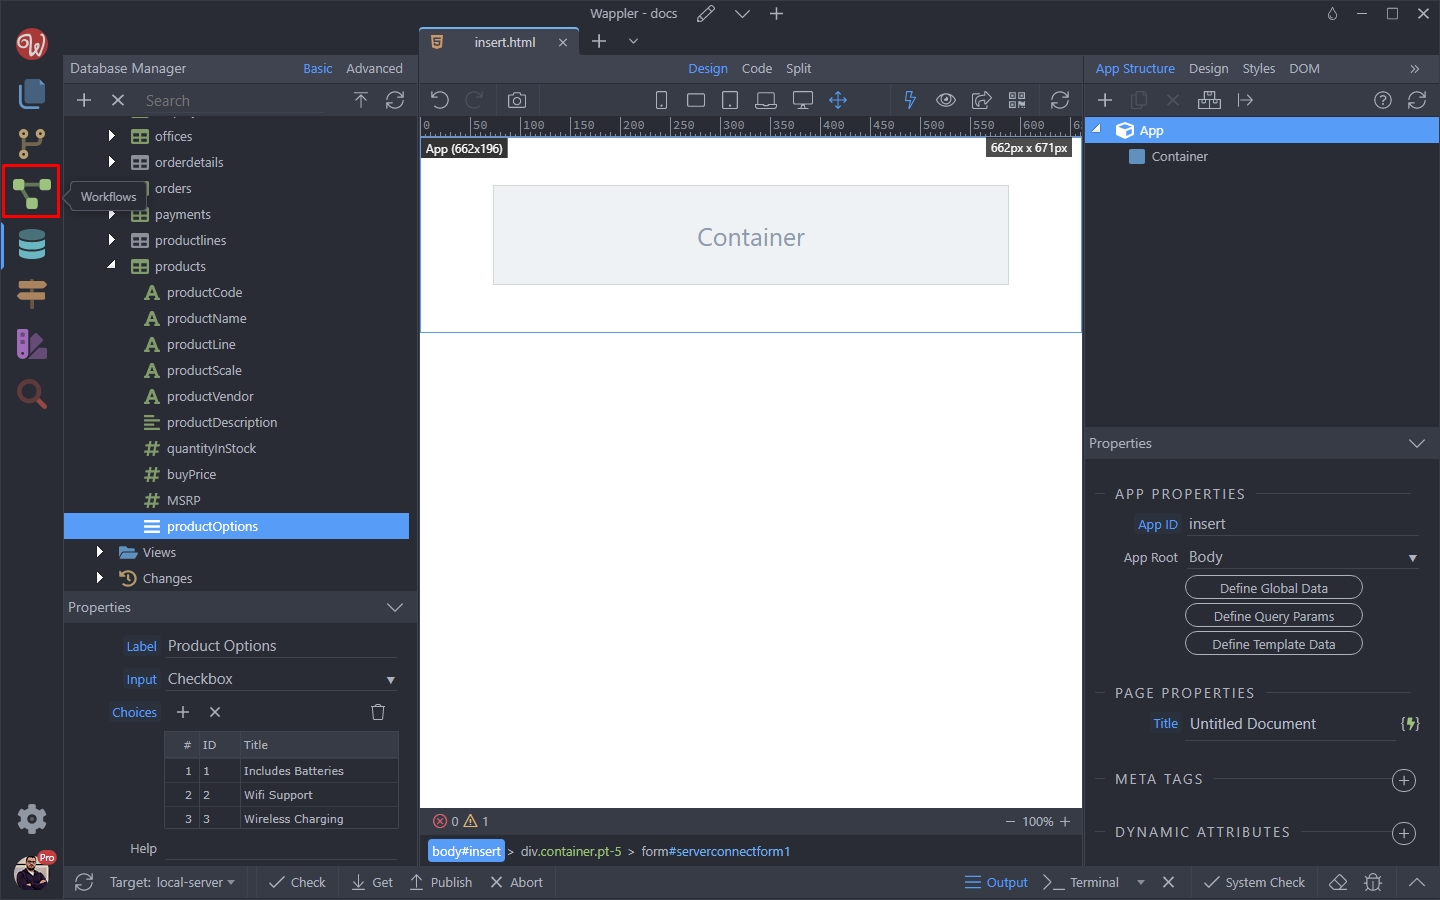
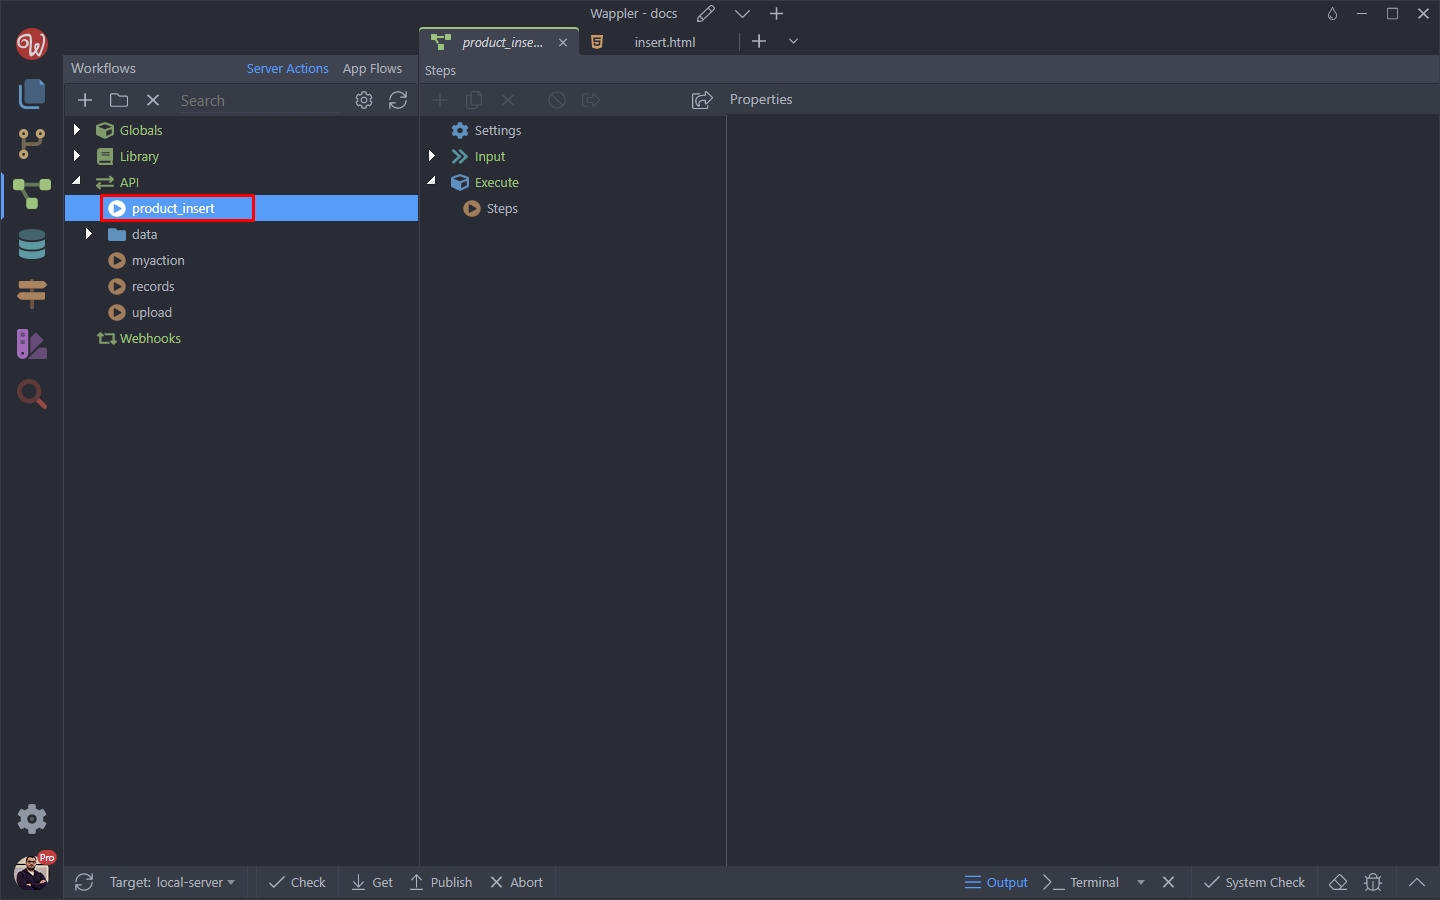
Now let’s create an API Action which will insert data in our products database table. Open the Workflows Panel / Server Connect:
And create a new API Action:
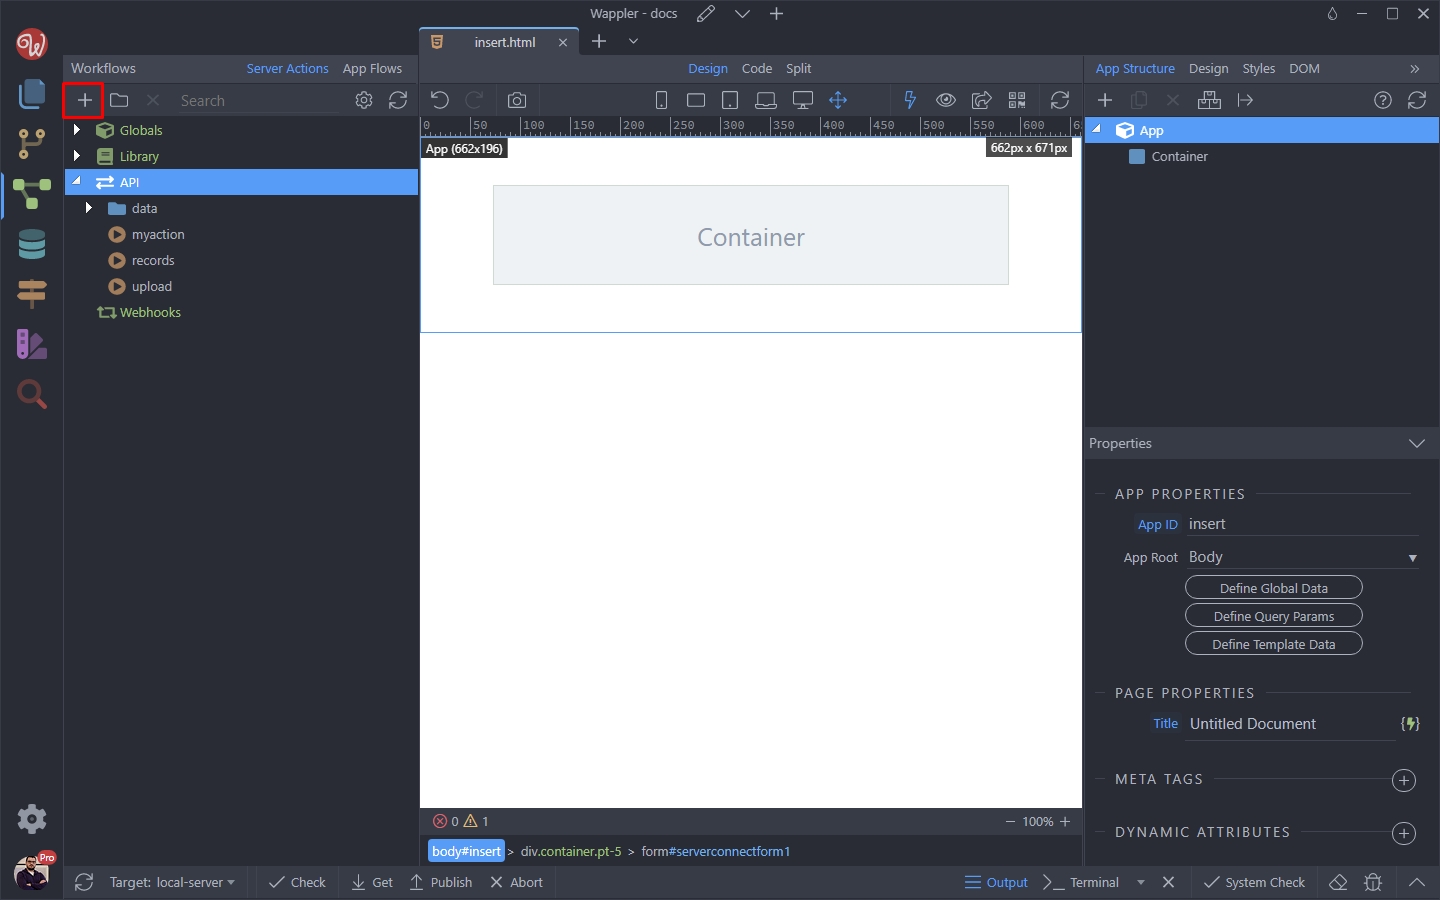
We call it product_insert:
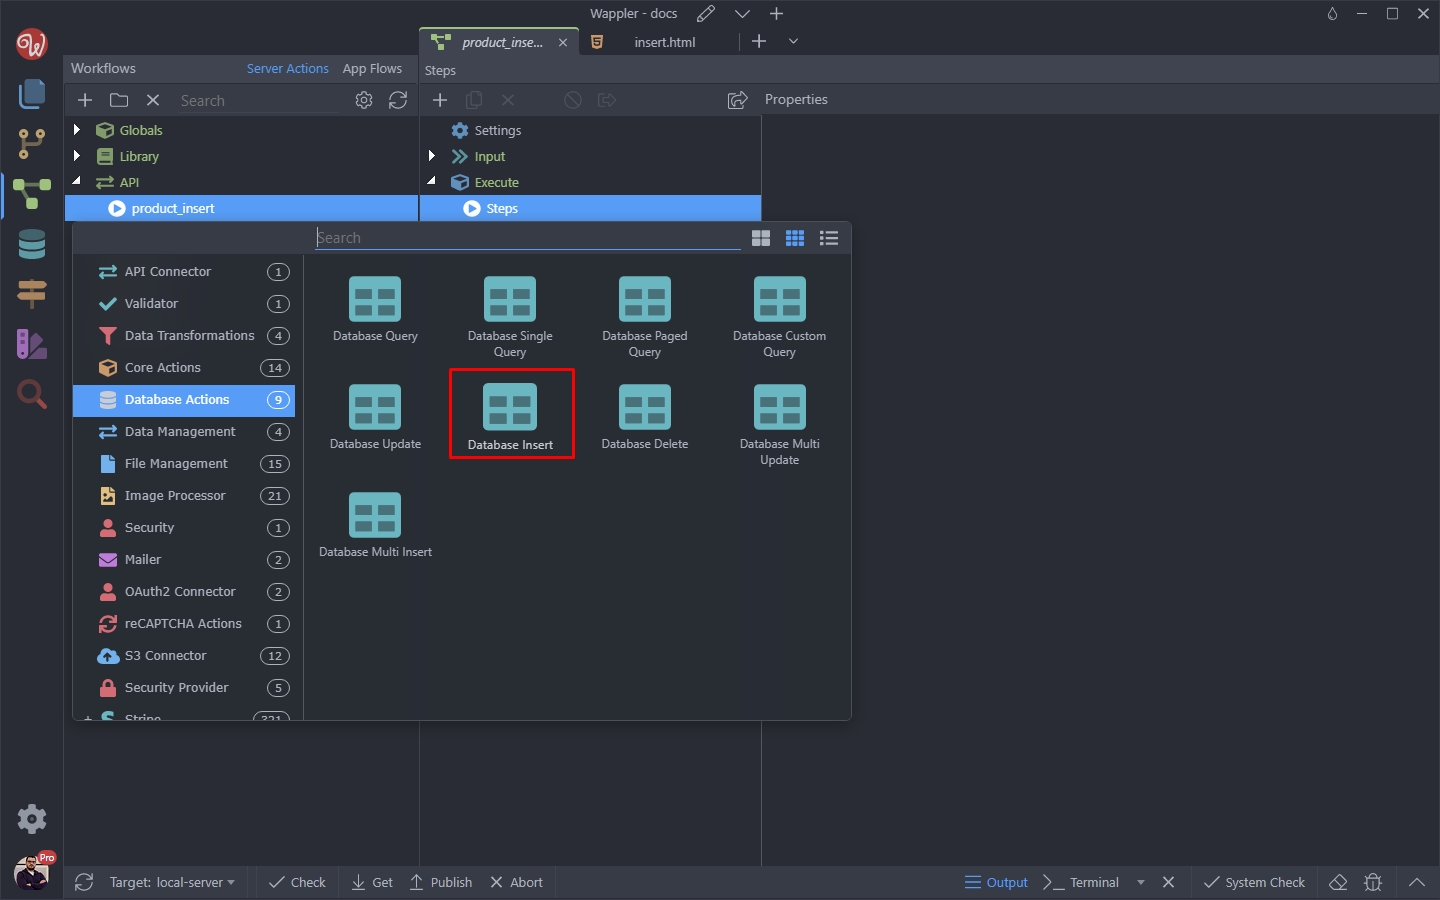
Add a step inside it. Open Database Actions and select Database Insert:
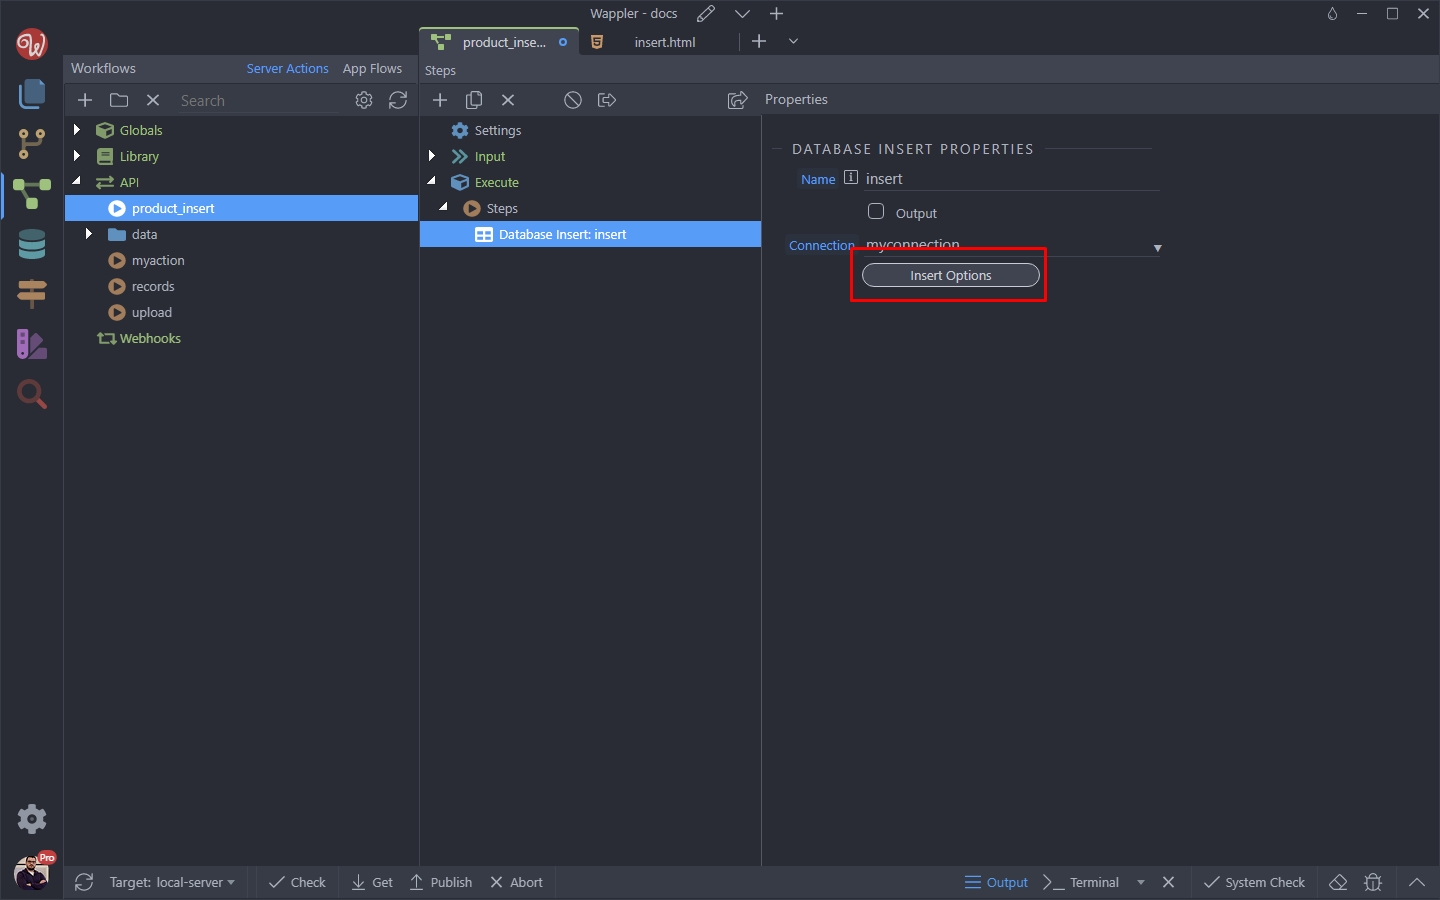
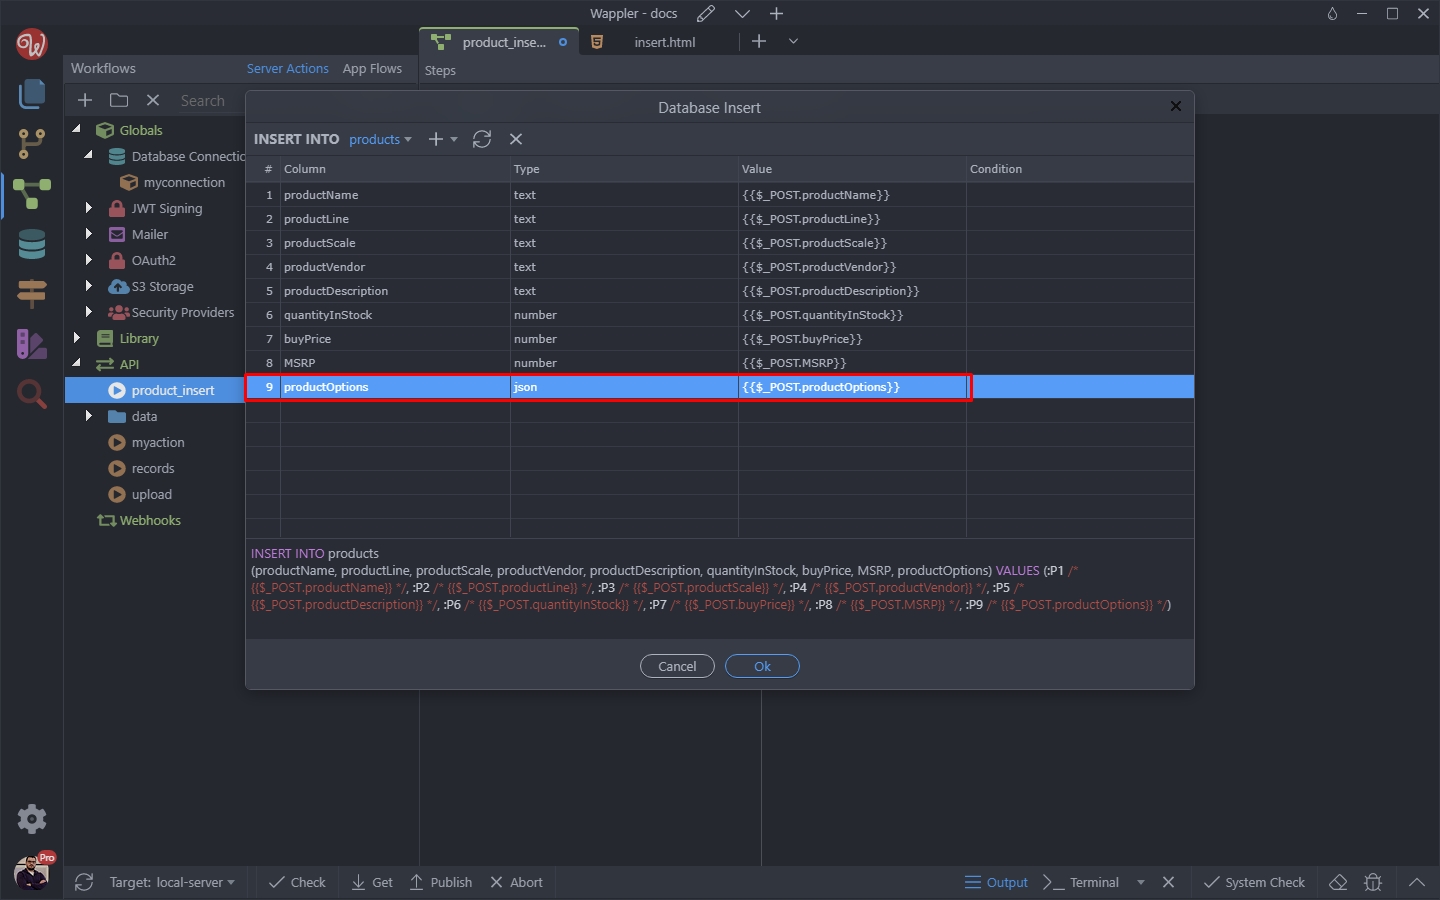
Click Insert Options:
And select the products table from the tables dropdown:
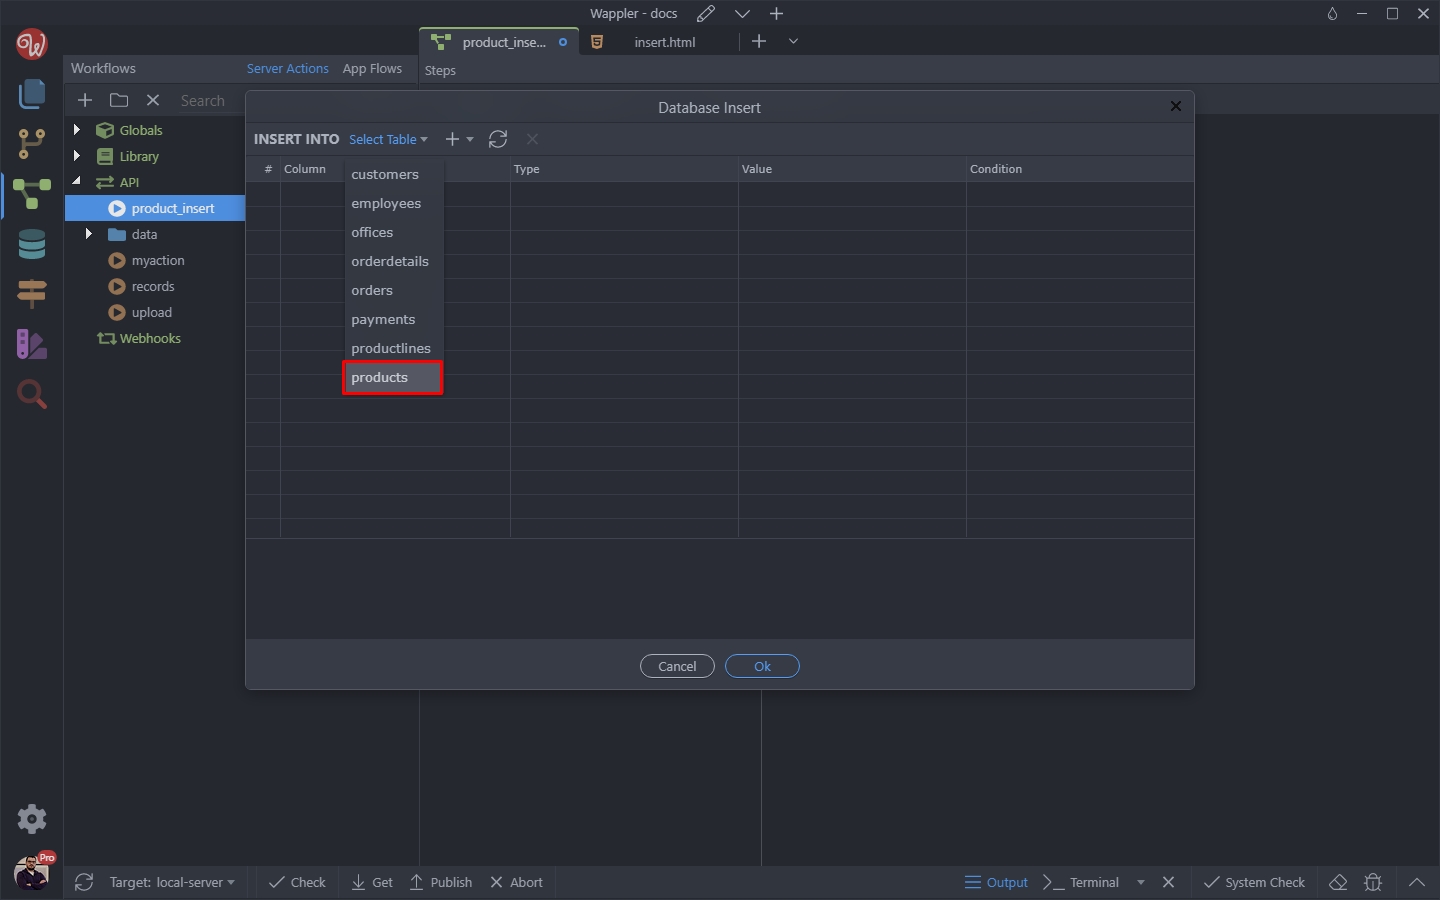
You can see our JSON field has been added as well:
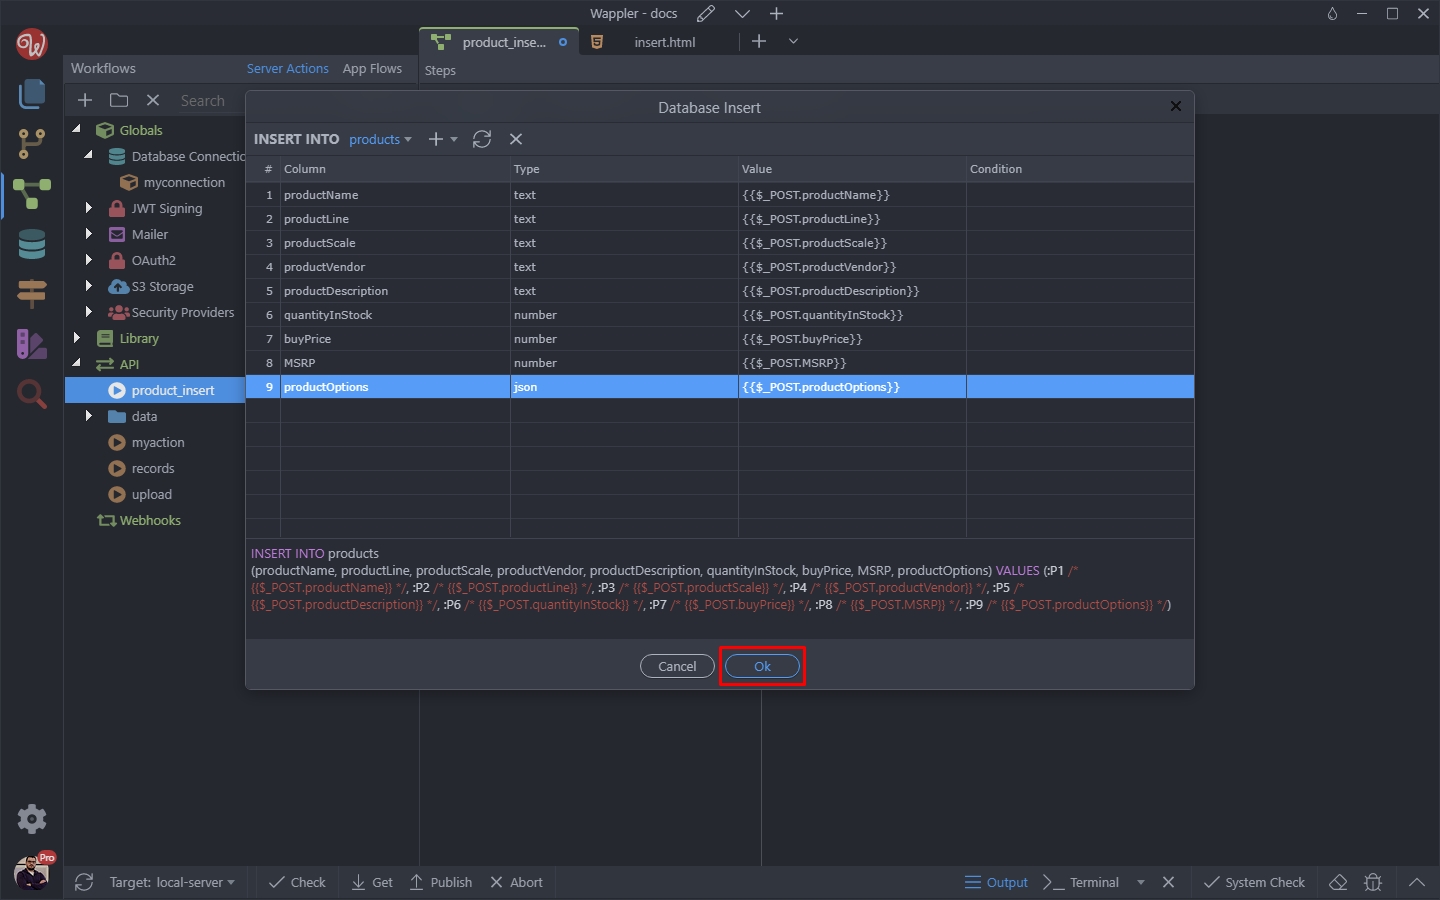
Click OK:
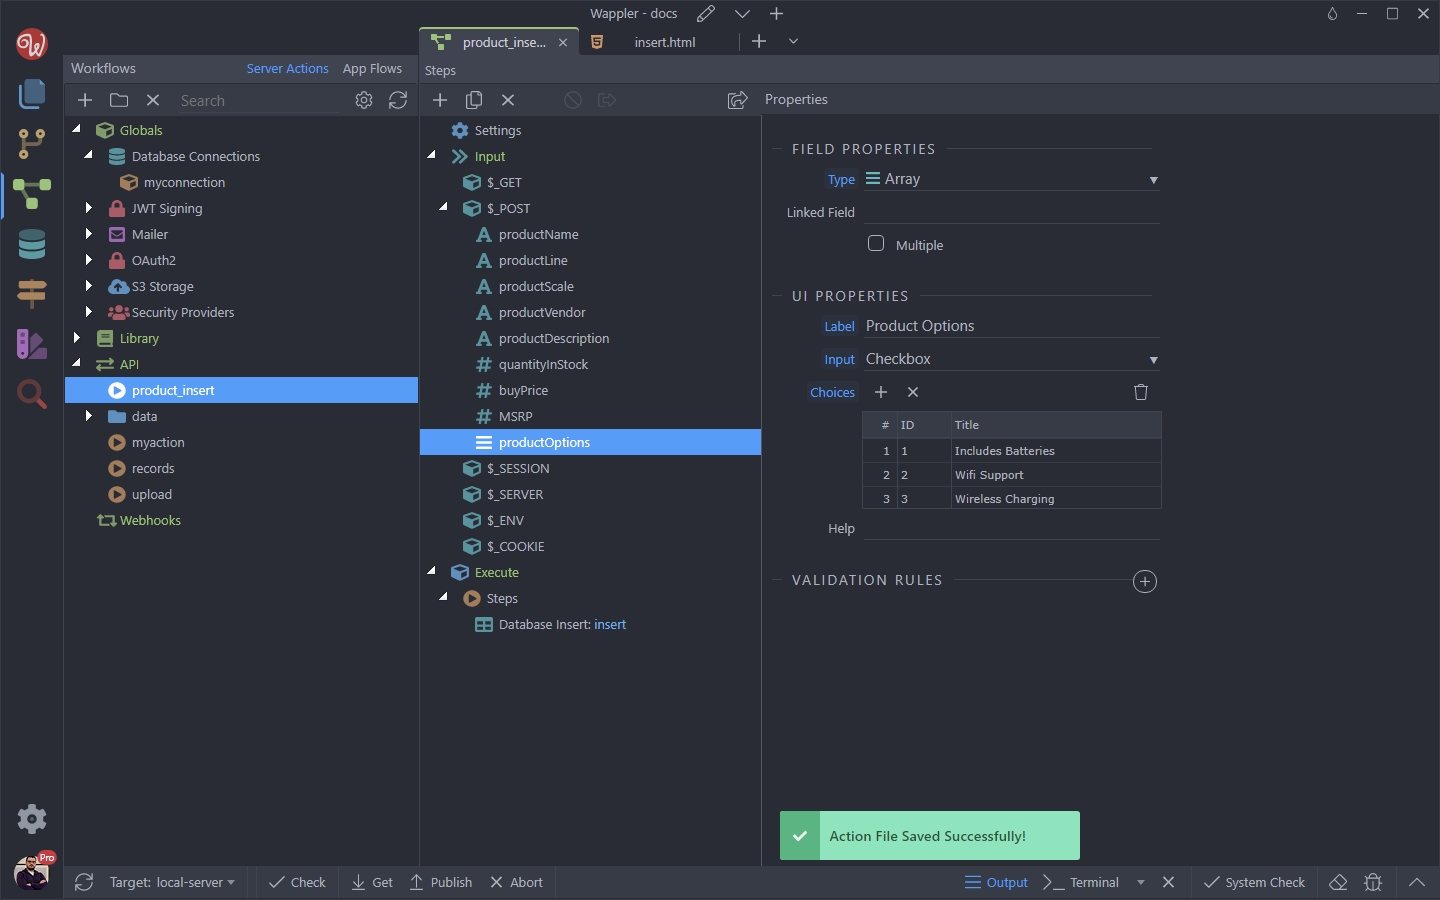
Expand the input options in the API Action:
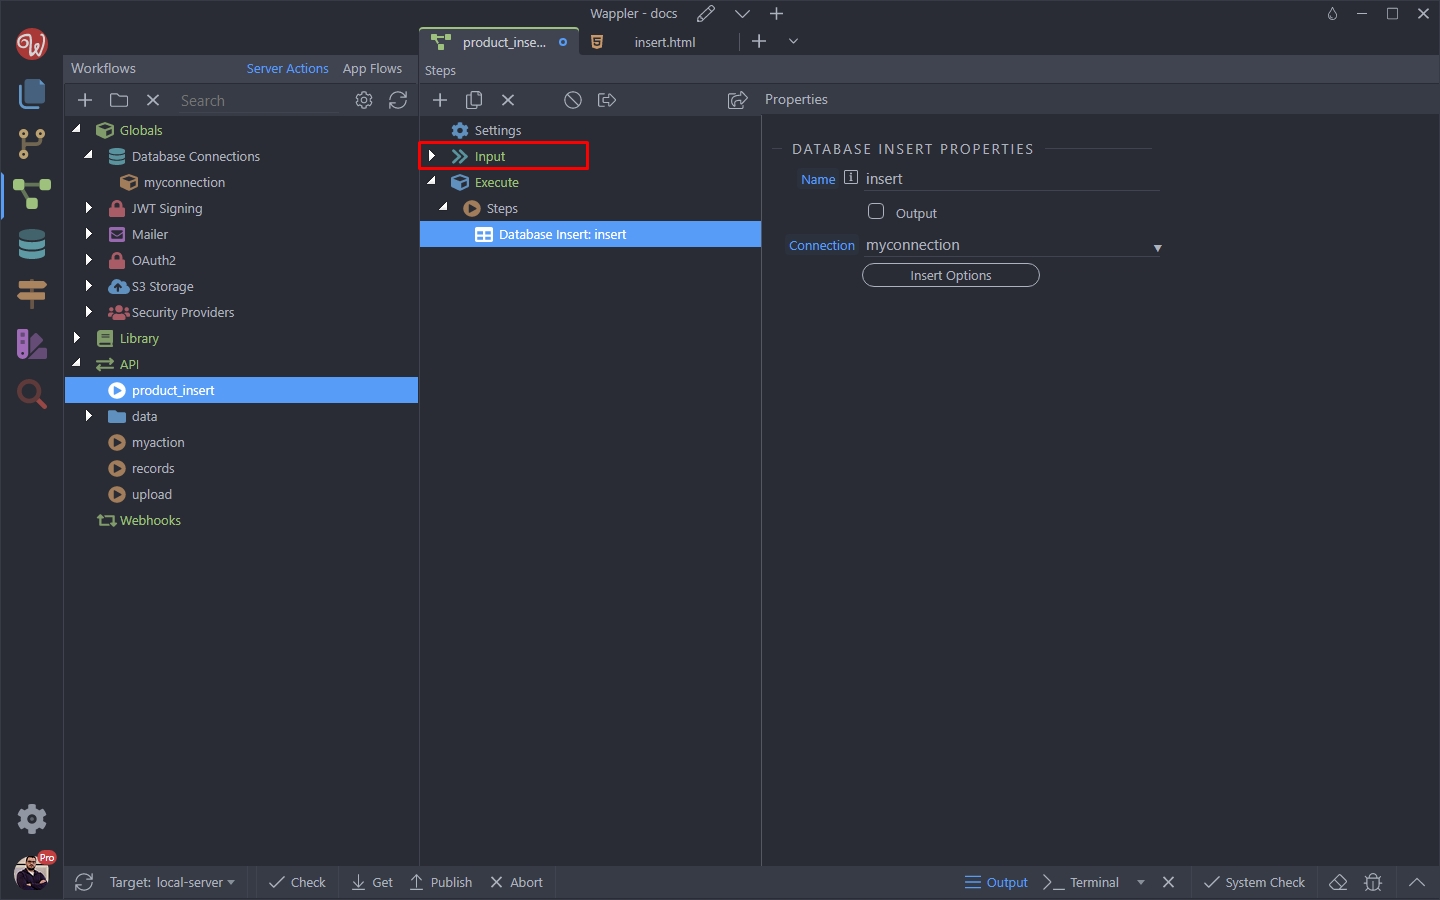
And you can see that a $_POST variable has been created for the prodctOptions database field. This $_POST variable will be used by the form generator on the page, to create an input in your form.
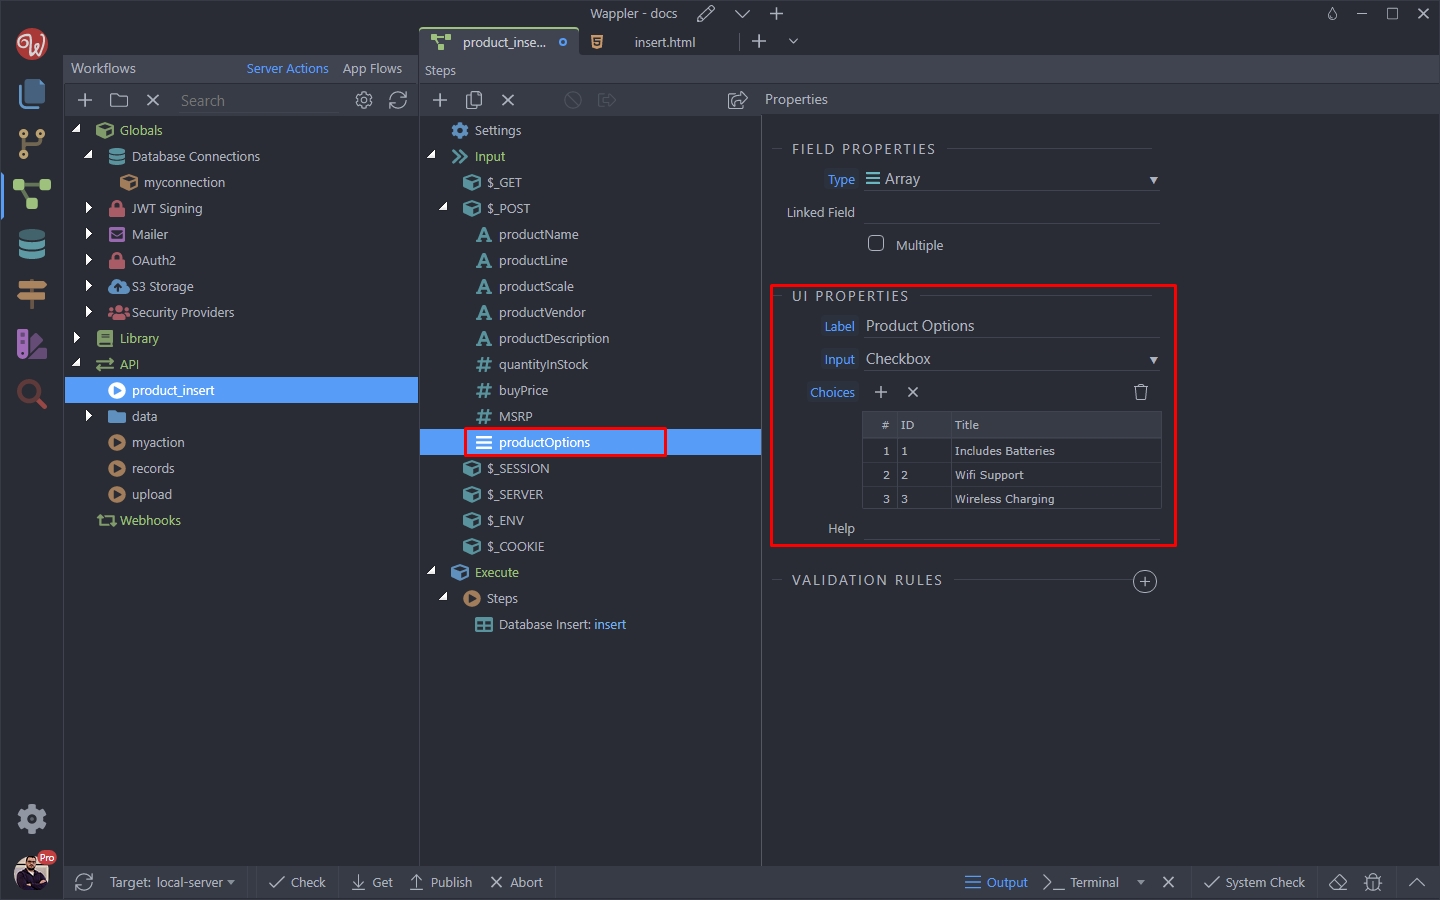
You can see that the UI properties we entered in the database manager for this field are available here:
Save your API Action:
Generating a Form
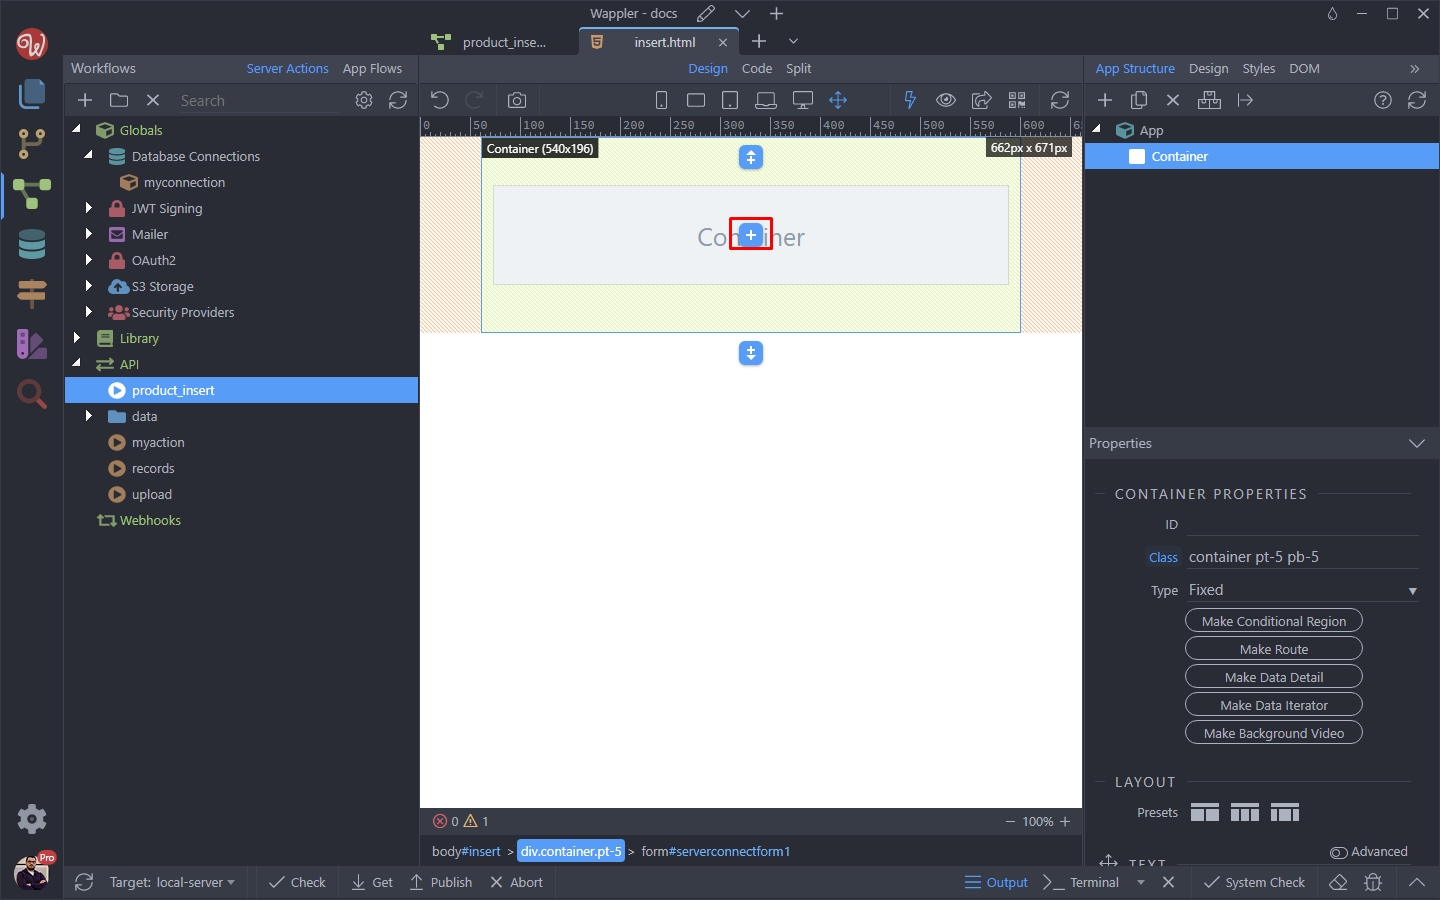
Open your page and add new component on it:
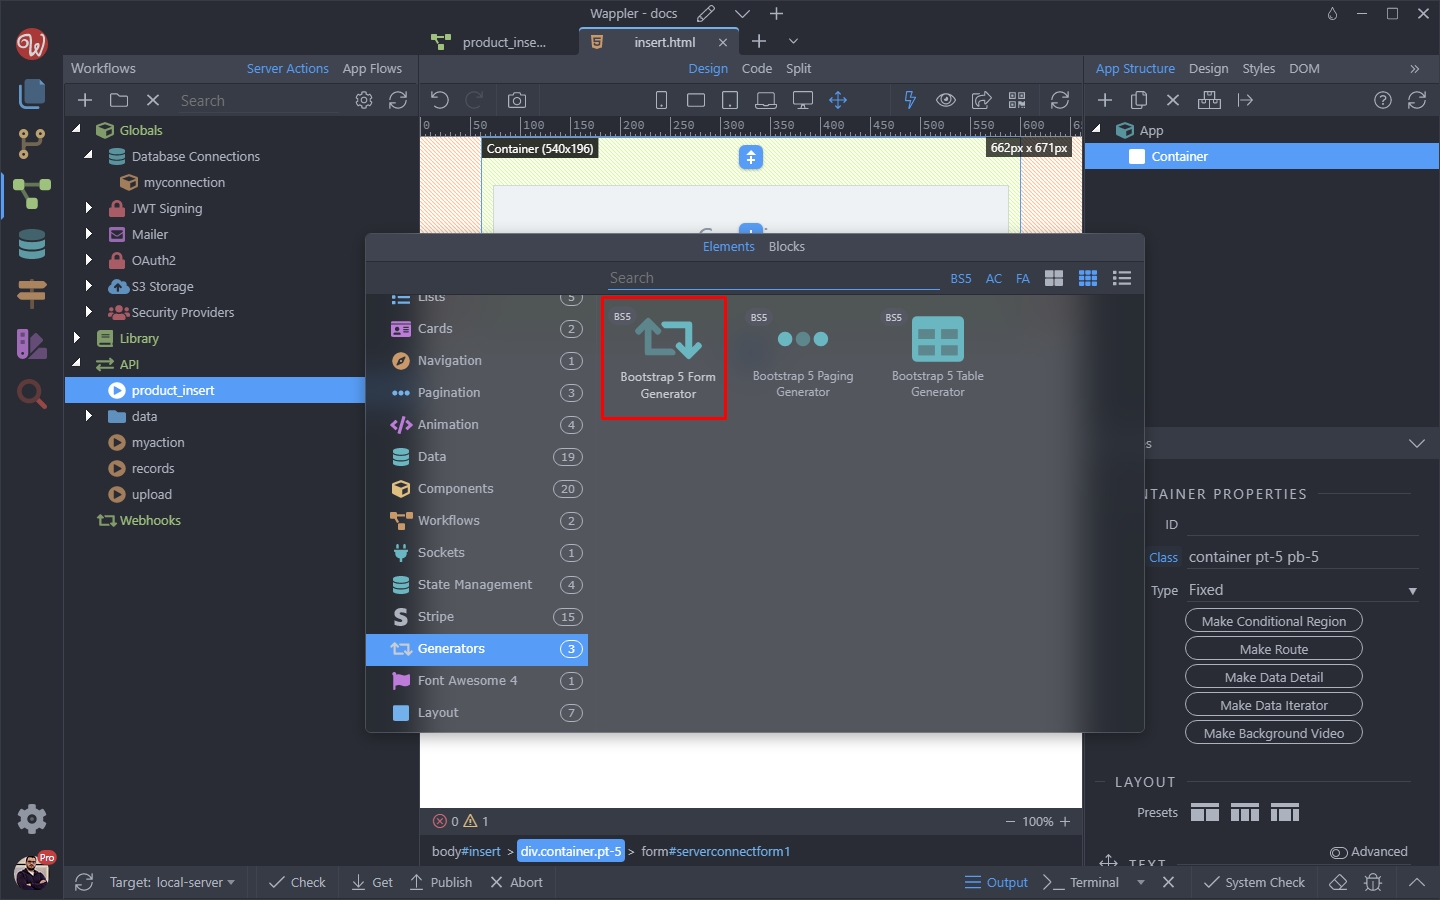
Open Generators and select Bootstrap Form Generator:
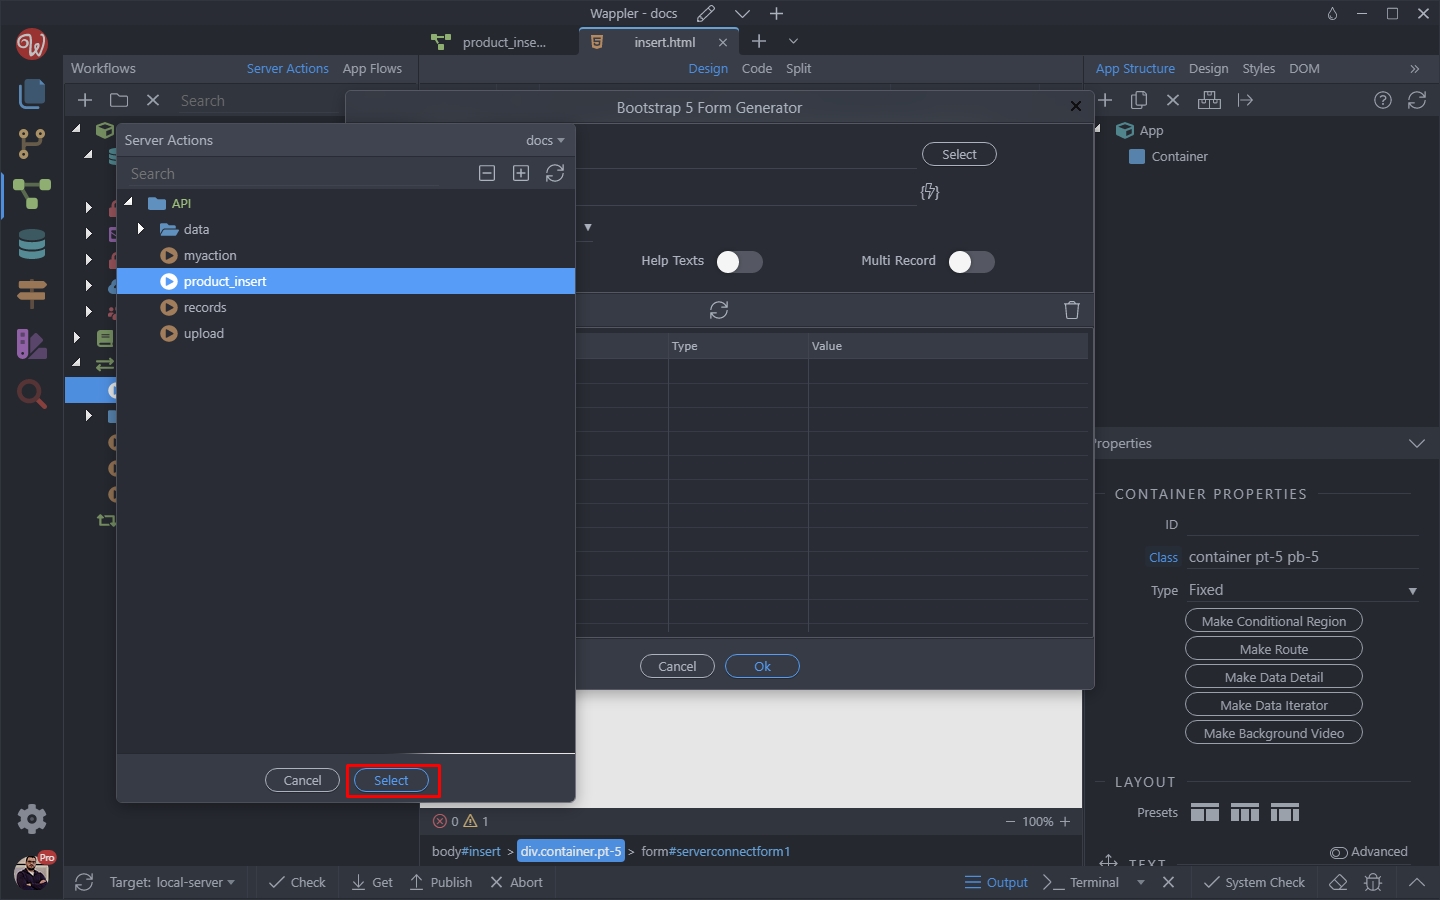
Select your insert server action:
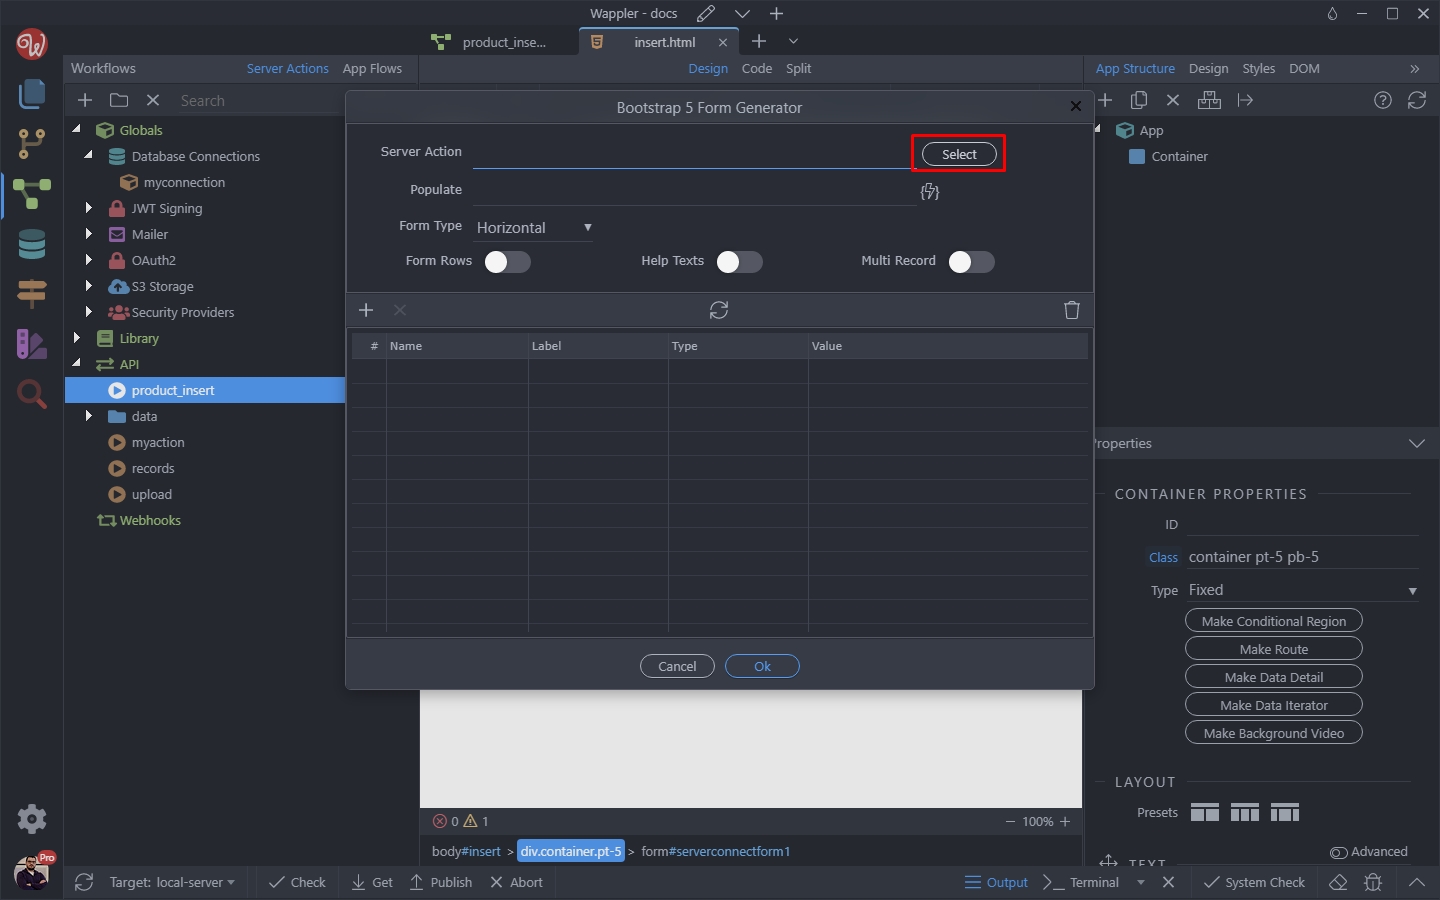
And click the Select button:
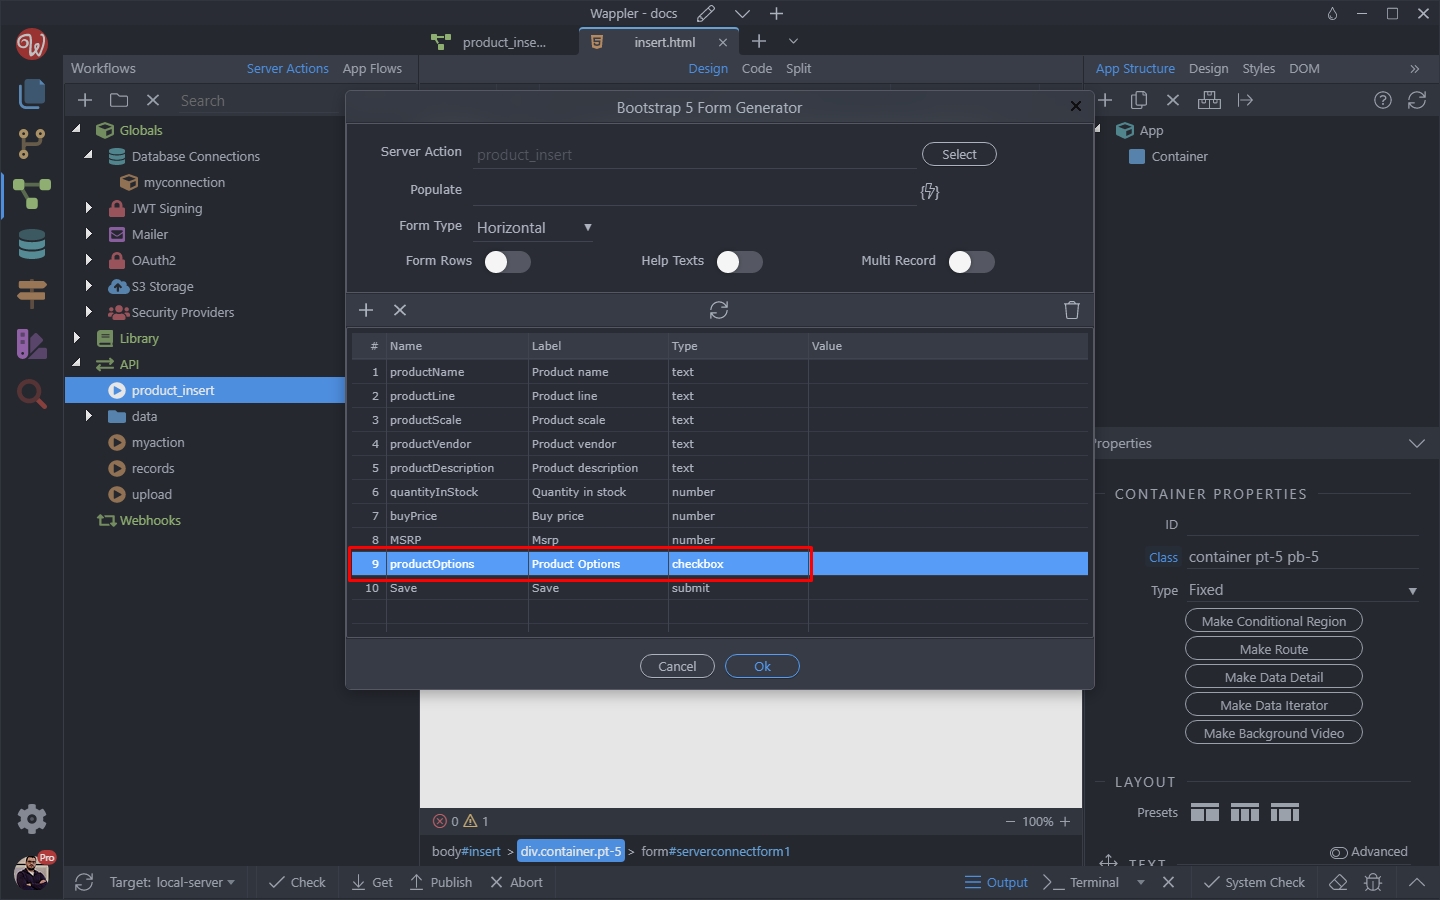
You can see that the Form Generator knows what field should be generated for the productOptions database field. It also knows what label we’d like to use there:
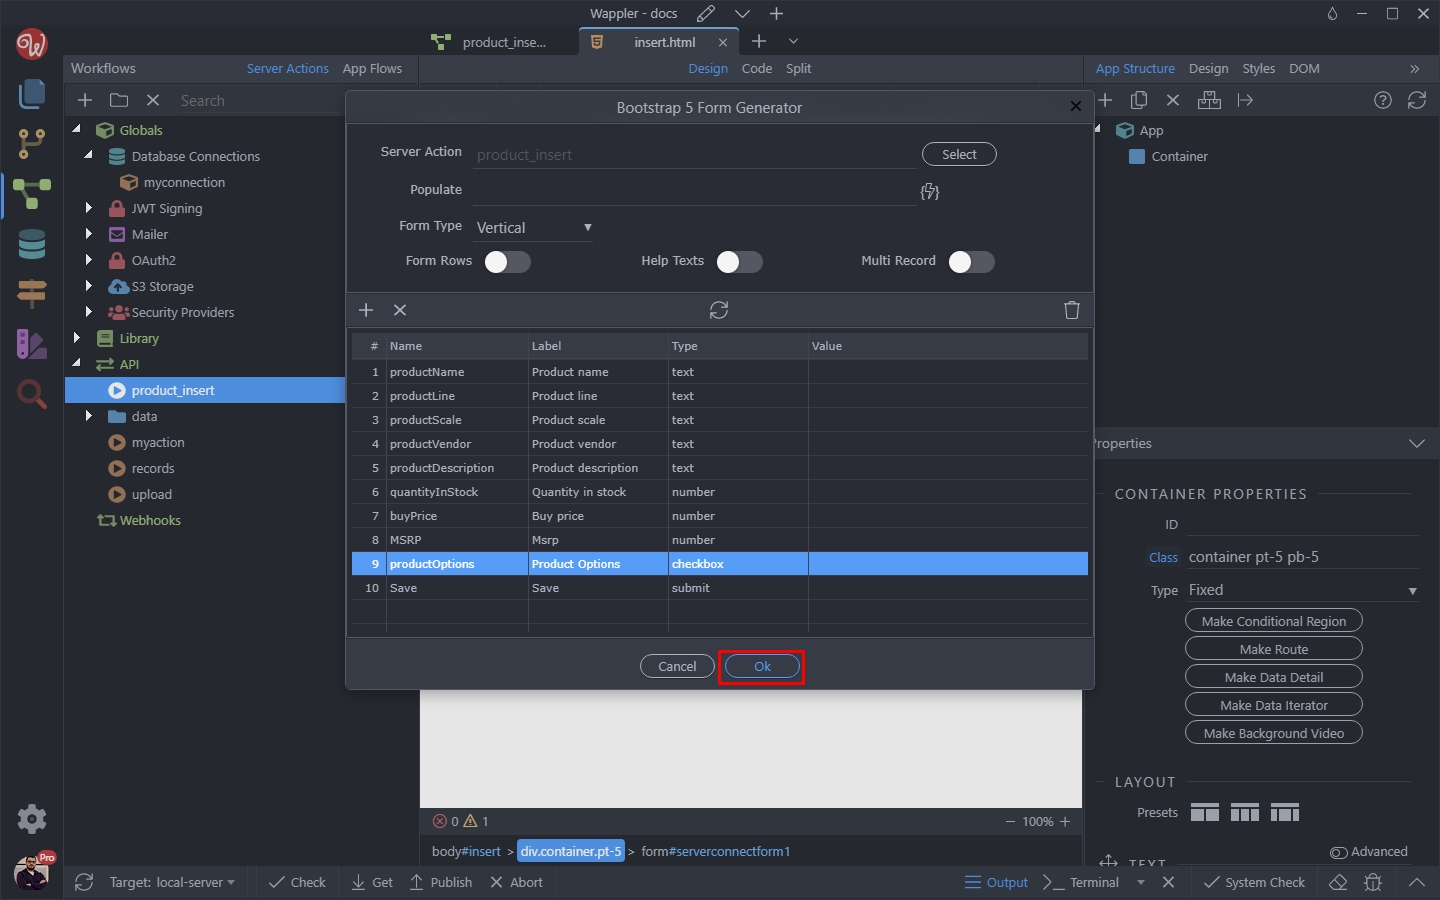
Click OK and you are done:
Your form has been generated and the checkboxes have automatically been created for you, based on the UI options you entered for the productOptions field:
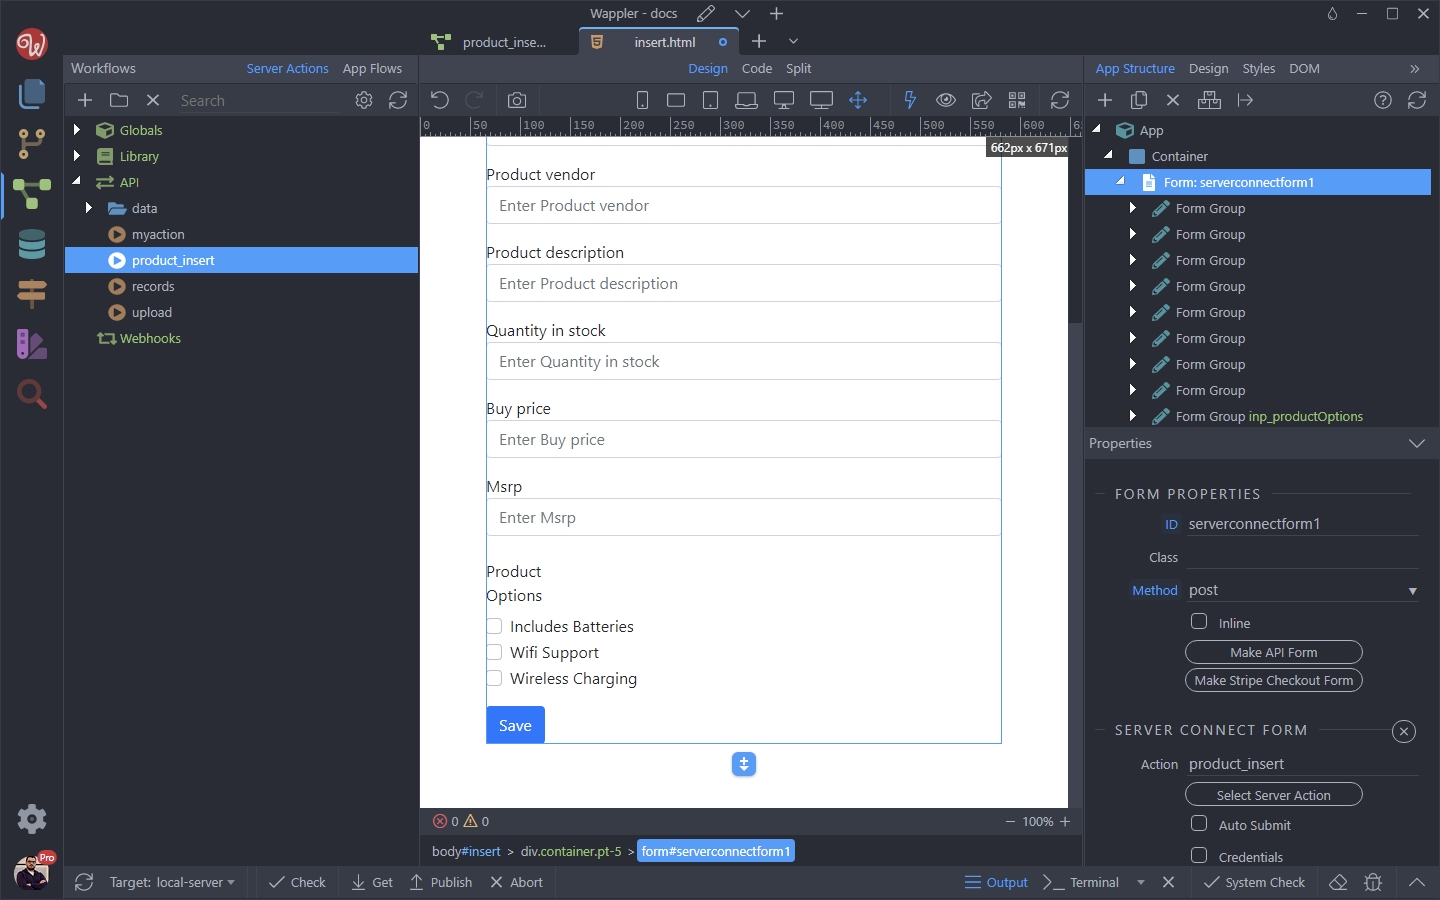
The selected values will be stored in your JSON field as an array.